
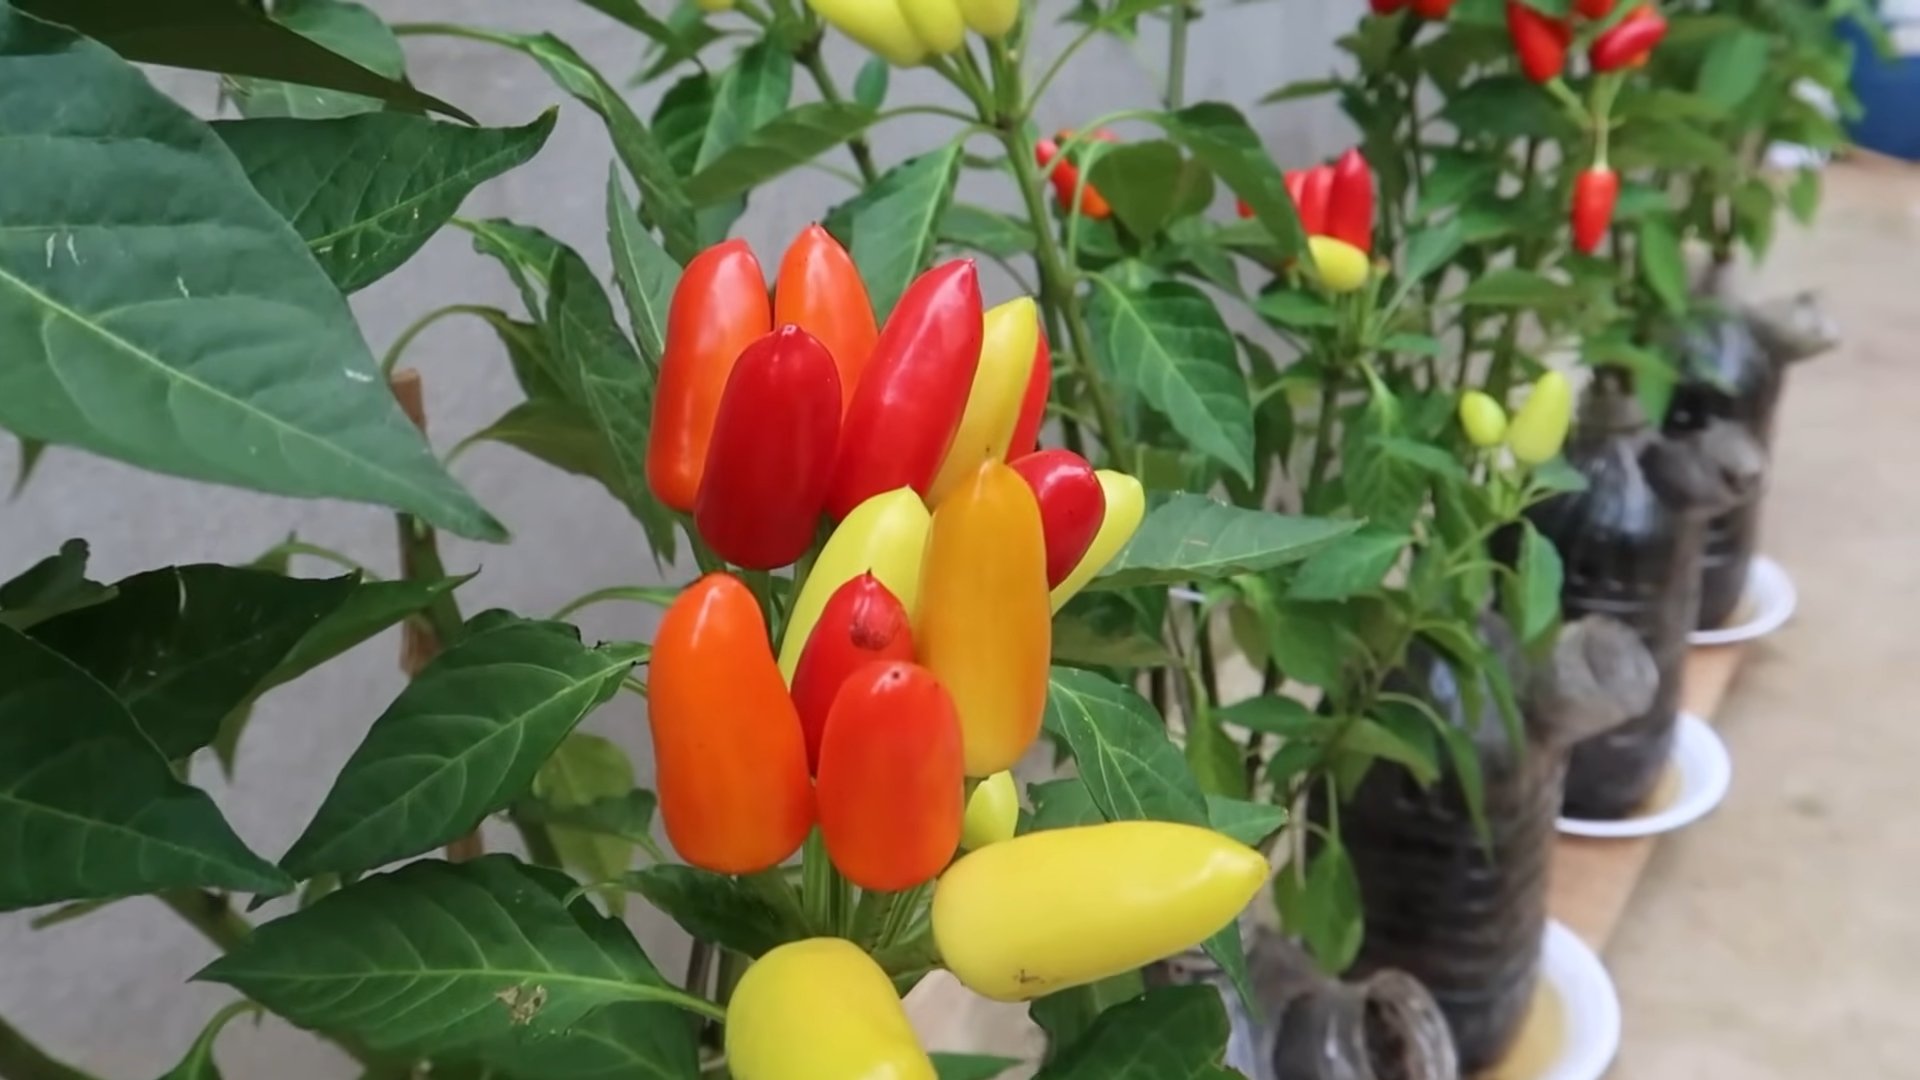
Recycled bottle pepper gardening: sounds like something out of a futuristic eco-novel, right? Well, it’s not! It’s a super accessible, budget-friendly, and surprisingly effective way to grow your own delicious peppers, even if you’re short on space or gardening experience. I’m so excited to share this with you!
For centuries, humans have cultivated peppers, from the fiery chilies of South America to the sweet bell peppers we enjoy in salads. But what if I told you that you don’t need a sprawling garden to participate in this rich tradition? This DIY trick allows you to bring the joy of pepper cultivation right to your balcony, patio, or even a sunny windowsill.
Let’s face it, buying fresh peppers from the store can be expensive, and you never quite know where they’ve come from or what they’ve been sprayed with. That’s where recycled bottle pepper gardening comes in! It’s a fantastic way to reduce waste, save money, and enjoy the satisfaction of harvesting your own homegrown peppers. Plus, it’s a fun and educational project for the whole family. So, are you ready to turn those empty plastic bottles into thriving pepper plants? Let’s get started!
DIY Self-Watering Pepper Planter from Recycled Bottles
Hey there, fellow gardening enthusiasts! I’m super excited to share one of my favorite DIY projects with you: creating a self-watering pepper planter using recycled plastic bottles. Not only is this a fantastic way to give those old bottles a new life, but it also makes growing peppers a breeze, especially if you’re like me and sometimes forget to water your plants! This project is budget-friendly, eco-conscious, and surprisingly effective. Let’s get started!
Materials You’ll Need
Before we dive in, let’s gather all the necessary materials. Trust me, having everything ready beforehand will make the process much smoother.
- Two plastic bottles (2-liter soda bottles or similar work great)
- Scissors or a utility knife
- A drill or a nail and hammer
- Rope, twine, or strips of fabric (cotton works best)
- Potting soil
- Pepper seedlings or seeds
- Water
- Optional: Decorative paint or markers to personalize your planter
Preparing the Bottles
Okay, first things first, we need to prep our bottles. This involves cutting them and creating the self-watering mechanism.
- Clean the Bottles: Make sure both bottles are thoroughly cleaned and dry. Remove any labels and sticky residue. I usually soak mine in warm soapy water for a few minutes, then scrub them clean.
- Cut the First Bottle: Take one of the bottles and cut it in half. You’ll want to cut it about a third of the way down from the top. The top part will become the planter, and the bottom part will act as the water reservoir.
- Cut the Second Bottle: Now, take the second bottle and cut it in half as well. Discard the top portion of this bottle. We’ll only be using the bottom half. This will serve as an outer container for stability and to prevent spills.
- Drill Drainage Holes (Optional but Recommended): If you live in an area with heavy rainfall, I highly recommend drilling a few small drainage holes in the bottom of the second bottle (the outer container). This will prevent the planter from becoming waterlogged during storms.
Creating the Self-Watering Wick
This is the heart of our self-watering system! The wick will draw water from the reservoir up into the soil, keeping your pepper plant consistently moist.
- Prepare the Wick: Cut a length of rope, twine, or fabric strips. The length should be long enough to reach from the bottom of the planter (the top half of the first bottle) down into the water reservoir (the bottom half of the first bottle) with some extra length to spare. I usually aim for about 12-18 inches.
- Thread the Wick: Thread the wick through the neck of the bottle (the top half of the first bottle). Make sure a good portion of the wick is hanging down inside the bottle. This is what will draw the water up.
- Secure the Wick (Optional): To prevent the wick from slipping out, you can tie a knot at the end that will be inside the planter. This isn’t strictly necessary, but it can provide extra security.
Assembling the Planter
Now comes the fun part – putting everything together!
- Invert the Top Half: Invert the top half of the first bottle (the part you cut off earlier) and place it inside the bottom half of the first bottle. The neck of the bottle should be pointing downwards, and the wick should be dangling into the bottom half.
- Add Potting Soil: Fill the top half of the bottle with potting soil. Leave about an inch of space at the top to prevent soil from spilling out when you water.
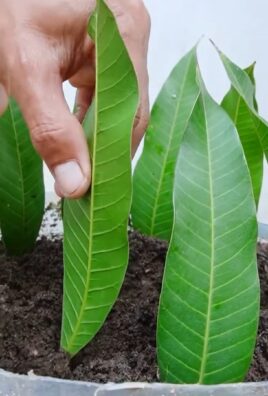
- Plant Your Pepper Seedling or Seeds: If you’re using a seedling, carefully remove it from its container and plant it in the center of the potting soil. If you’re using seeds, follow the instructions on the seed packet for planting depth and spacing.
- Water Thoroughly: Water the soil thoroughly until it’s evenly moist. This will help the wick start drawing water up from the reservoir.
- Place in the Outer Container: Carefully place the assembled planter (the two halves of the first bottle) inside the bottom half of the second bottle. This will provide stability and catch any spills.
Maintaining Your Self-Watering Pepper Planter
Once your planter is assembled, it’s important to maintain it properly to ensure your pepper plant thrives.
- Check the Water Reservoir: Regularly check the water level in the bottom half of the first bottle (the reservoir). You’ll need to refill it as the water is used up by the plant. How often you need to refill it will depend on the size of your plant, the weather, and the type of soil you’re using. I usually check mine every few days.
- Water from the Top (Initially): For the first week or two, I recommend watering the soil from the top as well as filling the reservoir. This will help the roots establish themselves and encourage them to grow towards the wick.
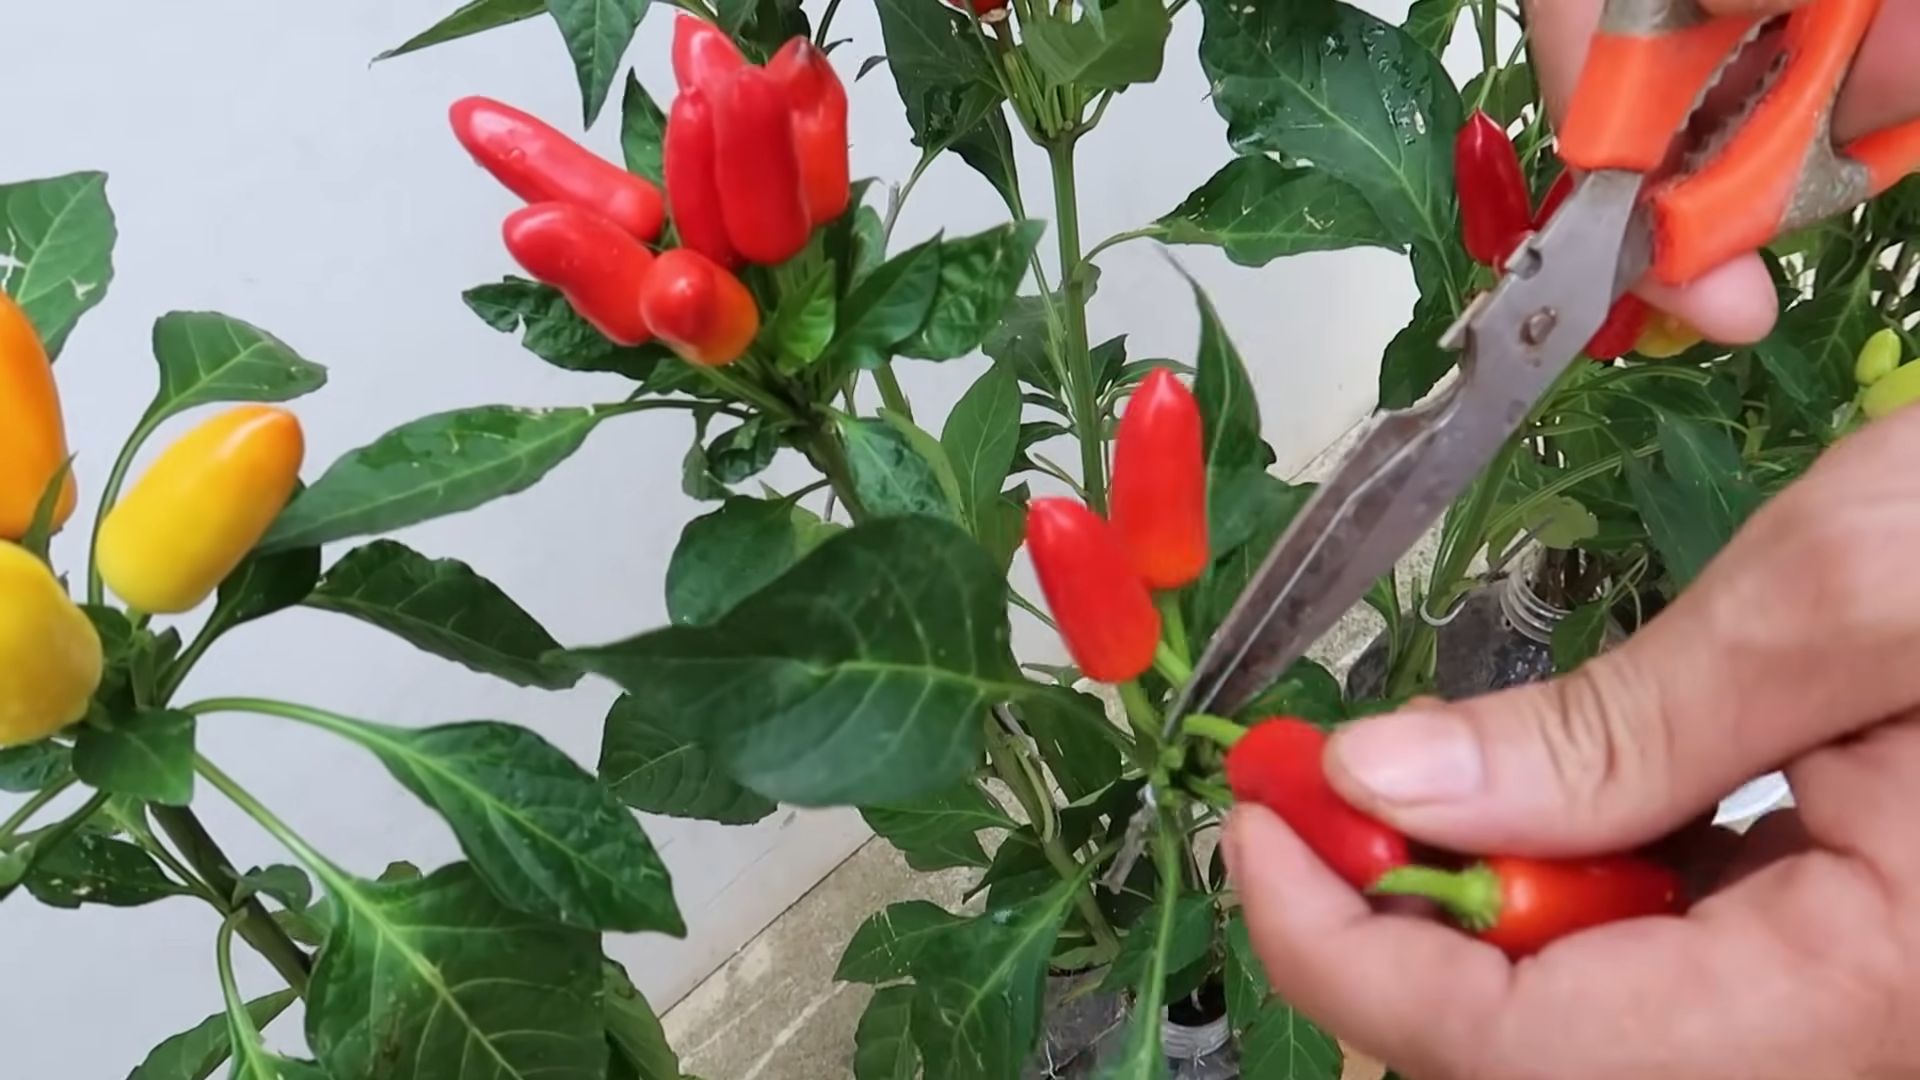
- Fertilize Regularly: Pepper plants are heavy feeders, so it’s important to fertilize them regularly. You can use a liquid fertilizer diluted according to the instructions on the label. I usually add fertilizer to the water reservoir every few weeks.
- Provide Adequate Sunlight: Pepper plants need at least 6-8 hours of sunlight per day to thrive. Place your planter in a sunny location, such as a windowsill or a patio.
- Monitor for Pests and Diseases: Keep an eye out for any signs of pests or diseases. If you notice any problems, take action immediately to prevent them from spreading. I like to use organic pest control methods whenever possible.
- Rotate the Plant: To ensure even growth, rotate the plant regularly so that all sides receive equal amounts of sunlight.
Troubleshooting
Sometimes things don’t go exactly as planned. Here are a few common issues you might encounter and how to fix them:
- Soil is too dry: If the soil is consistently dry, even with a full water reservoir, the wick may not be working properly. Try adjusting the wick so that more of it is in contact with the water. You can also try using a thicker wick or adding more wicks.
- Soil is too wet: If the soil is constantly soggy, the wick may be drawing up too much water. Try using a thinner wick or reducing the amount of water in the reservoir. Make sure you have adequate drainage holes in the outer container.
- Plant is wilting: Wilting can be caused by a variety of factors, including underwatering, overwatering, pests, and diseases. Check the soil moisture level and look for any signs of pests or diseases. Adjust your watering schedule and take action to control any pests or diseases.
Personalizing Your Planter
One of the best things about this DIY project is that you can personalize it to your heart’s content! Here are a few ideas:
- Paint the Bottles: Use acrylic paint to decorate the bottles with colorful designs.
- Add Labels: Label the planter with the type of pepper you’re growing.
- Use Different Colored Bottles: Experiment with different colored bottles to create a unique look.
- Add Decorative Stones or Mulch: Add a layer of decorative stones or mulch to the top of the soil to help retain moisture and suppress weeds.
Why This Works
The beauty of this self-watering system lies in its simplicity. The wick acts as a conduit, drawing water from the reservoir up into the soil through capillary action. This ensures that the soil remains consistently moist, providing the pepper plant with a steady supply of water. The reservoir also helps to prevent overwatering, as the plant will only draw up as much water as it needs.
Benefits of Using Recycled Bottles
Besides being a fun and rewarding project, using recycled bottles for your pepper planter offers several benefits:
- Reduces Waste: You’re giving plastic bottles a new life instead of sending them to the landfill.
- Saves Money: You’re saving money on buying expensive planters.
- Eco-Friendly: You’re reducing your environmental impact.
- Educational: It’s a great way to teach kids about recycling and gardening.
Other Plants You Can Grow
While I’ve focused on peppers in this guide, you can actually use this self-watering system to grow a variety of other plants, including:
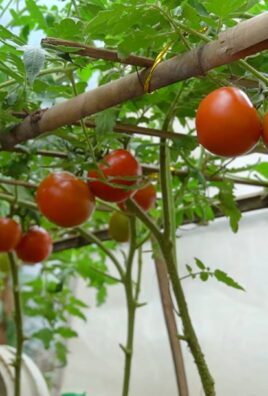
- Tomatoes
- Herbs (basil, mint, oregano)
- Strawberries
- Lettuce
- Spinach
Just be sure to choose plants that
Conclusion
So, there you have it! Transforming discarded plastic bottles into thriving pepper gardens is not just a clever upcycling project; it’s a sustainable, space-saving, and incredibly rewarding way to grow your own delicious peppers. We’ve walked you through the simple steps, highlighting the benefits of this eco-friendly approach. From reducing landfill waste to enjoying fresh, homegrown produce, the advantages are undeniable.
This DIY trick is a must-try for several compelling reasons. First, it’s incredibly accessible. You likely already have the primary material – plastic bottles – readily available. Second, it’s adaptable to various spaces. Whether you have a sprawling backyard or a tiny balcony, bottle gardening allows you to cultivate peppers virtually anywhere. Third, it’s a fantastic way to teach children about sustainability and the life cycle of plants.
But the real magic lies in the versatility. Feel free to experiment with different types of peppers. From the fiery heat of habaneros to the sweet crunch of bell peppers, the possibilities are endless. Consider painting your bottles to add a splash of color to your garden or grouping them in creative arrangements to create a visually appealing display. You can even explore different soil mixtures to optimize growth for specific pepper varieties. Try adding some compost tea to your watering routine for an extra boost of nutrients. Another variation is to create a self-watering system by adding a wick from the soil to a reservoir of water at the bottom of the bottle. This is especially helpful if you live in a hot climate or tend to forget to water your plants regularly.
Don’t be afraid to get creative with your bottle selection, too. While standard water bottles work well, larger soda bottles or even juice containers can accommodate larger pepper plants or multiple seedlings. Just be sure to adjust the drainage holes accordingly.
Ultimately, the success of your recycled bottle pepper gardening project hinges on your willingness to experiment and adapt. Observe your plants closely, adjust your watering schedule as needed, and don’t hesitate to seek out additional resources if you encounter any challenges.
We are confident that you’ll find this DIY project to be both enjoyable and fulfilling. Imagine the satisfaction of harvesting your own peppers, knowing that you played a part in reducing waste and contributing to a more sustainable future.
So, grab those empty bottles, gather your supplies, and get ready to embark on your own recycled bottle pepper gardening adventure! We encourage you to try this method and share your experiences with us. Post pictures of your bottle gardens, share your tips and tricks, and let us know what pepper varieties you’re growing. Together, we can inspire others to embrace sustainable gardening practices and enjoy the delicious rewards of homegrown peppers. Let’s cultivate a greener future, one bottle at a time!
Frequently Asked Questions (FAQ)
What types of plastic bottles are best for pepper gardening?
Ideally, you should use food-grade plastic bottles, such as those that previously contained water, soda, or juice. These are generally considered safe for growing edible plants. Avoid using bottles that contained harsh chemicals or cleaning products, as these could contaminate the soil and potentially harm your plants. PET (Polyethylene Terephthalate) bottles, commonly used for water and soda, are a good choice. Ensure the bottles are thoroughly cleaned before use to remove any residue.
How do I ensure proper drainage in my bottle garden?
Proper drainage is crucial to prevent waterlogging and root rot. Drill or poke several drainage holes in the bottom of the bottle. The number and size of the holes will depend on the size of the bottle and the type of soil you’re using. A good rule of thumb is to have at least four to five holes, each about ¼ inch in diameter. You can also add a layer of gravel or small stones at the bottom of the bottle to further improve drainage.
What type of soil should I use for growing peppers in bottles?
A well-draining potting mix is essential for successful pepper gardening. Avoid using garden soil, as it can be too heavy and compact, hindering root growth. A good potting mix should contain a blend of peat moss, perlite, and vermiculite. You can also add compost or other organic matter to enrich the soil and provide essential nutrients. Consider using a potting mix specifically formulated for vegetables or tomatoes, as these often contain added nutrients that are beneficial for pepper plants.
How often should I water my pepper plants in bottle gardens?
The frequency of watering will depend on several factors, including the size of the bottle, the type of soil, the weather conditions, and the size of the plant. Generally, you should water your pepper plants when the top inch of soil feels dry to the touch. Avoid overwatering, as this can lead to root rot. During hot, dry weather, you may need to water your plants more frequently. Check the soil moisture regularly and adjust your watering schedule accordingly. A self-watering system, as mentioned earlier, can also help maintain consistent moisture levels.
How much sunlight do pepper plants need in bottle gardens?
Pepper plants thrive in full sun, requiring at least 6-8 hours of direct sunlight per day. Choose a location for your bottle garden that receives ample sunlight. If you live in a particularly hot climate, you may need to provide some afternoon shade to prevent the plants from overheating. If you don’t have access to enough natural sunlight, you can supplement with grow lights.
Do I need to fertilize my pepper plants in bottle gardens?
Yes, pepper plants are heavy feeders and require regular fertilization to produce abundant fruit. Use a balanced fertilizer specifically formulated for vegetables or tomatoes. Follow the instructions on the fertilizer packaging for application rates and frequency. You can also use organic fertilizers, such as compost tea or fish emulsion. Fertilize your pepper plants every 2-3 weeks during the growing season.
How do I protect my pepper plants from pests and diseases in bottle gardens?
Regularly inspect your pepper plants for signs of pests or diseases. Common pests that affect pepper plants include aphids, whiteflies, and spider mites. You can control these pests with insecticidal soap or neem oil. Diseases such as powdery mildew and blossom end rot can also affect pepper plants. Ensure good air circulation around your plants to prevent fungal diseases. Blossom end rot is often caused by calcium deficiency, so you may need to supplement with calcium.
Can I grow different varieties of peppers in the same bottle garden?
While it’s possible to grow different varieties of peppers in the same bottle, it’s generally recommended to stick to one variety per bottle. Different pepper varieties may have different growth habits and nutrient requirements, which can make it challenging to manage them in the same container. Additionally, cross-pollination can occur between different pepper varieties, which can affect the flavor and appearance of the fruit.
How do I transplant pepper seedlings into recycled bottles?
When your pepper seedlings are large enough to handle (typically when they have several sets of true leaves), you can transplant them into your prepared recycled bottles. Gently remove the seedlings from their original containers, being careful not to damage the roots. Dig a hole in the soil in the bottle, large enough to accommodate the root ball. Place the seedling in the hole and gently backfill with soil. Water thoroughly after transplanting.
What do I do with the bottle garden at the end of the growing season?
At the end of the growing season, you can compost the spent pepper plants and reuse the plastic bottles for other gardening projects or recycle them properly. Clean the bottles thoroughly before storing them for future use. You can also use the bottles to start new seedlings indoors during the winter months.
Leave a Comment