
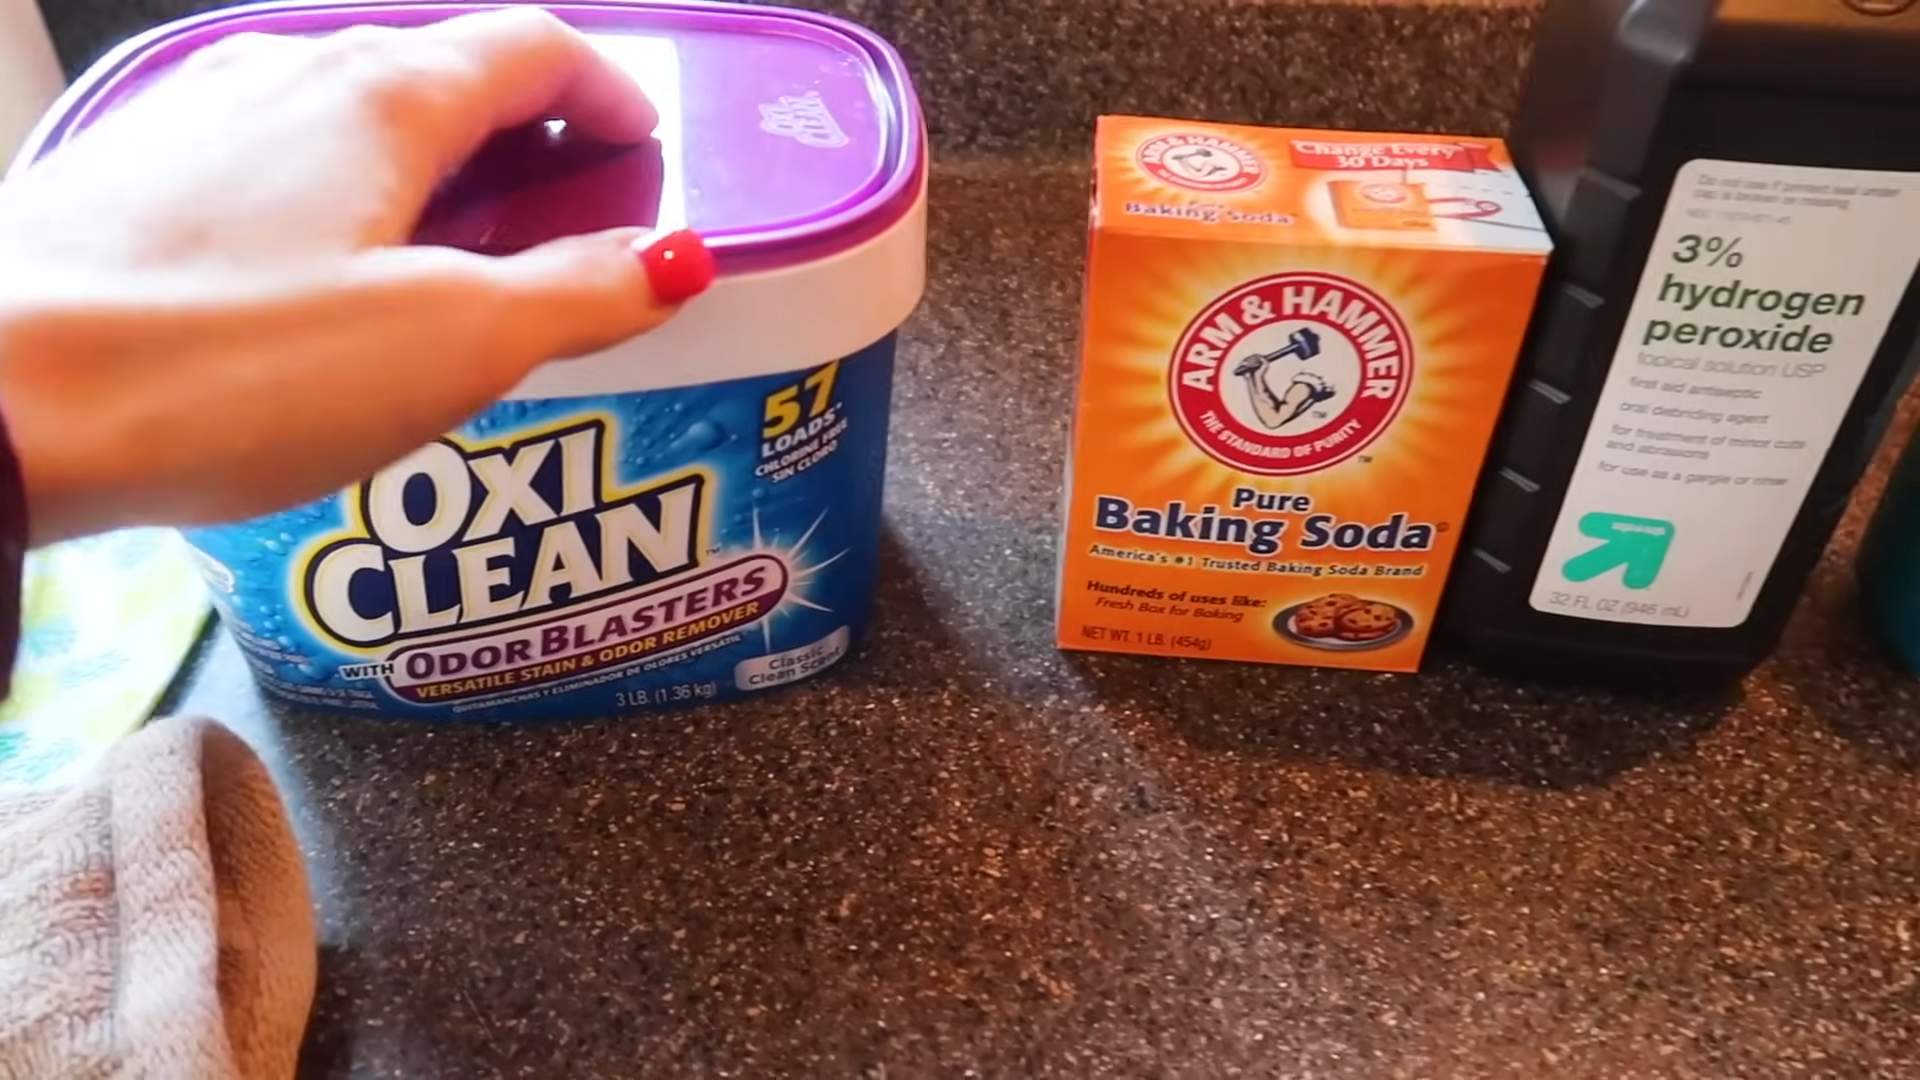
Grout cleaner: Oxiclean vs. Toilet Bowl Cleaner – Which Reigns Supreme? Are you tired of staring at dingy, discolored grout lines, wishing you could magically restore them to their former glory? I know I am! We’ve all been there, scrubbing tirelessly with little to no improvement. But what if I told you the secret to sparkling grout might be hiding in your laundry room or under your bathroom sink?
For generations, homeowners have battled the relentless grime that settles into grout. From ancient Roman mosaics to modern-day tile floors, keeping grout clean has always been a challenge. Today, we’re putting two common household cleaners head-to-head: Oxiclean and toilet bowl cleaner.
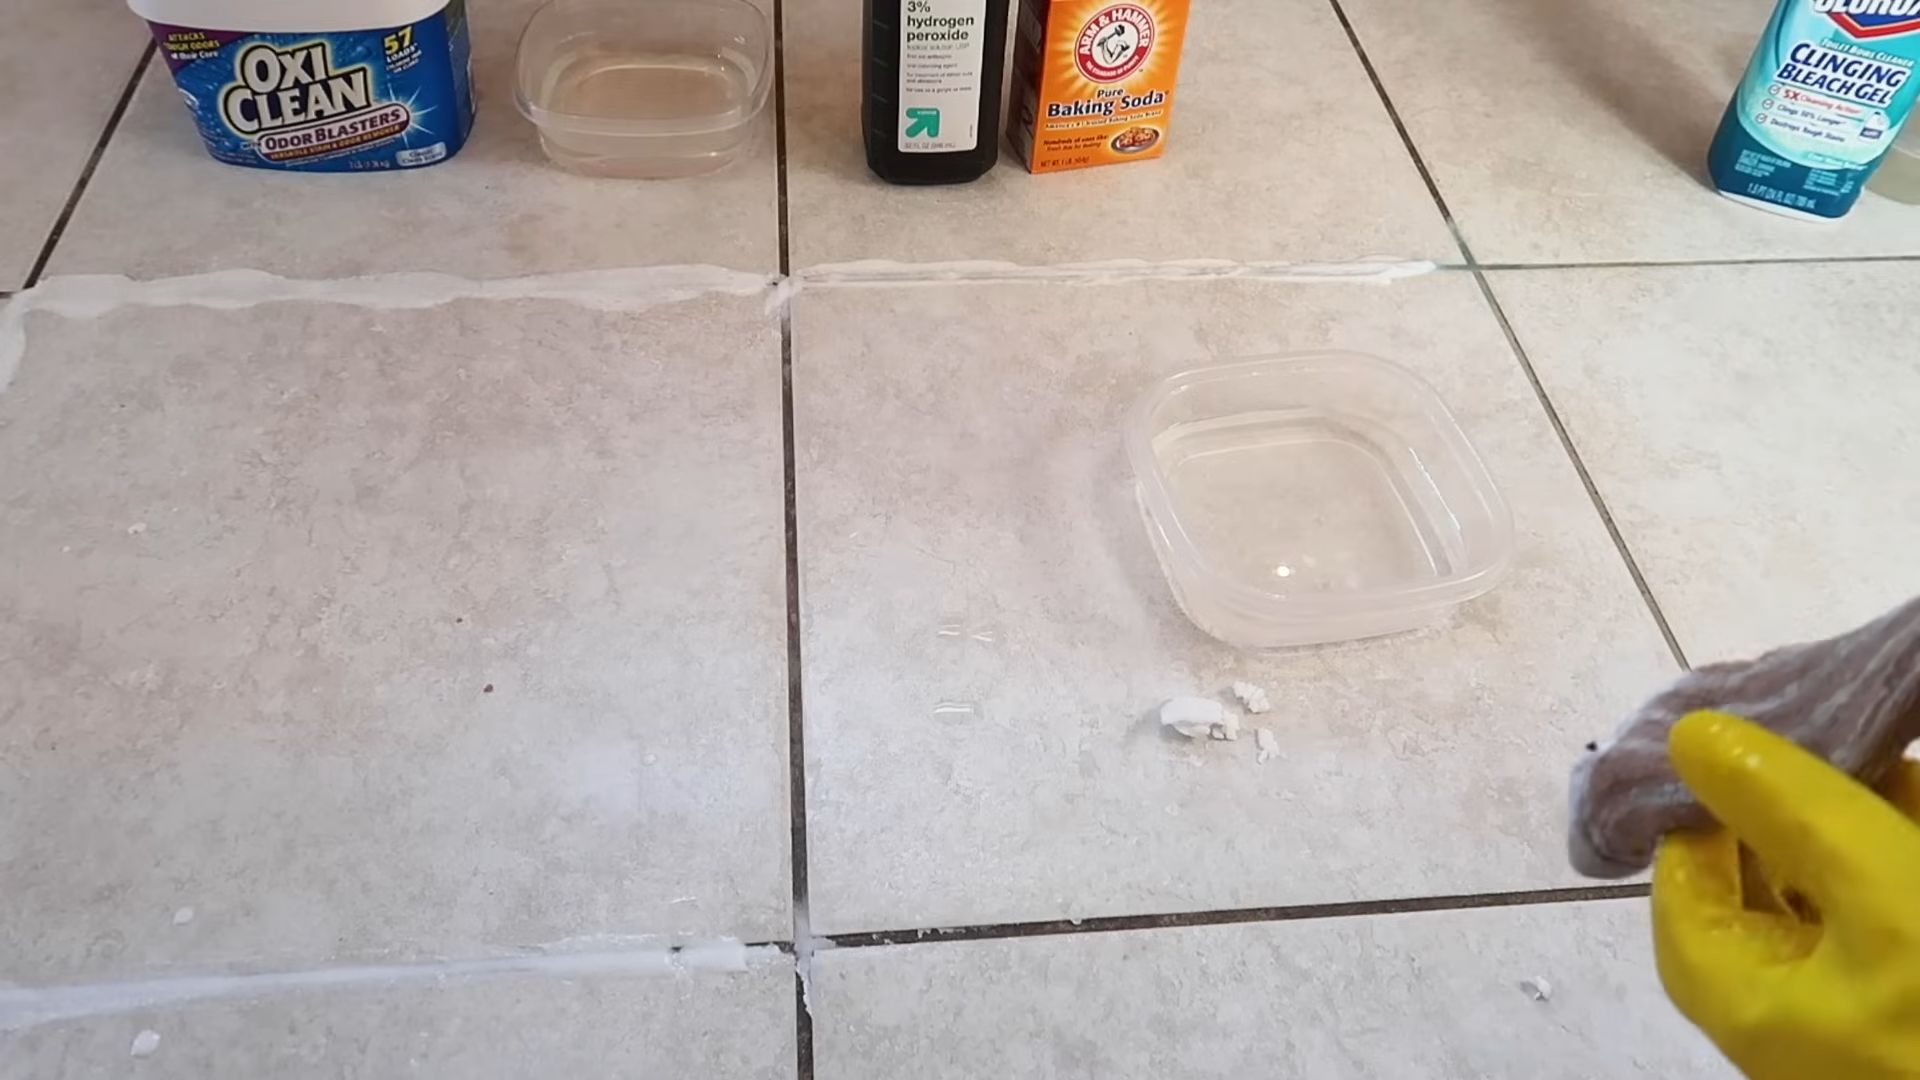
Why is this DIY grout cleaning hack so important? Because a clean home is a happy home, and nothing detracts from a beautiful space quite like dirty grout. Plus, professionally cleaning grout can be expensive! This article will explore whether Oxiclean or toilet bowl cleaner is the more effective and budget-friendly solution for tackling those stubborn stains. I’ll guide you through the pros and cons of each, ensuring you can confidently choose the best method to achieve grout so clean, you’ll think it’s brand new. Let’s dive in and discover the ultimate grout cleaner showdown!
Planting Corn in Bags: A DIY Guide to a Bountiful Harvest
Hey there, fellow gardening enthusiasts! I’m so excited to share one of my favorite gardening hacks with you: growing corn in bags! It’s a fantastic way to enjoy fresh, homegrown corn even if you have limited space, poor soil, or just want to get a head start on the season. Trust me, once you try it, you’ll be hooked. Let’s get started!
Why Grow Corn in Bags?
Before we dive into the how-to, let’s quickly cover why this method is so awesome:
* Space-Saving: Perfect for balconies, patios, or small yards. You don’t need a huge garden plot!
* Soil Control: You get to choose the perfect soil mix, ensuring your corn gets the nutrients it needs.
* Portability: Move your corn plants around to follow the sun or protect them from harsh weather.
* Early Start: Begin growing indoors to get a jump on the growing season.
* Reduced Weeding: Bags minimize weed competition, making your life easier.
* Fun and Educational: A great project for kids and adults alike!
Materials You’ll Need
Alright, let’s gather our supplies. Here’s what you’ll need to successfully grow corn in bags:
* Large Bags: I recommend using heavy-duty polypropylene grow bags (at least 15-20 gallons). You can also repurpose large feed bags or even sturdy garbage bags (just make sure to poke drainage holes). The bigger the bag, the better, as corn roots need space to spread.
* Potting Mix: A well-draining potting mix is crucial. I like to create my own blend using equal parts compost, peat moss (or coconut coir), and perlite. This provides excellent drainage, aeration, and nutrients.
* Corn Seeds: Choose a variety of corn that’s suitable for your climate and growing season. Sweet corn is a popular choice, but you can also grow popcorn or ornamental corn.
* Slow-Release Fertilizer: This will provide a steady supply of nutrients throughout the growing season. Look for a fertilizer specifically formulated for vegetables.
* Watering Can or Hose: Essential for keeping your corn plants hydrated.
* Trowel or Shovel: For filling the bags with potting mix.
* Optional: Stakes or Trellis: Depending on the corn variety, you might need to provide support to prevent the stalks from falling over.
* Optional: Mulch: Helps retain moisture and suppress weeds.
Step-by-Step Instructions: Planting Your Corn
Now for the fun part! Follow these steps to plant your corn in bags and set yourself up for a successful harvest.
1. Prepare the Bags: If you’re using repurposed bags, make sure they’re clean and free of any debris. Poke several drainage holes in the bottom of each bag to prevent waterlogging. This is super important!
2. Fill the Bags: Using your trowel or shovel, fill the bags with your potting mix. Leave about 2-3 inches of space at the top of the bag. This will make watering easier and prevent the soil from spilling out.
3. Add Fertilizer: Mix the slow-release fertilizer into the top few inches of the potting mix, following the instructions on the fertilizer package. Don’t overdo it – too much fertilizer can harm your plants.
4. Plant the Seeds: Corn needs to be planted in blocks rather than rows to ensure proper pollination. Plant 4-5 seeds per bag, spacing them evenly apart. Plant the seeds about 1-2 inches deep.
5. Water Thoroughly: Gently water the bags until the soil is evenly moist. Be careful not to overwater, as this can cause the seeds to rot.
6. Choose a Sunny Location: Corn needs at least 6-8 hours of sunlight per day to thrive. Place your bags in a sunny spot where they’ll receive plenty of light.
7. Germination: Keep the soil consistently moist but not soggy. Corn seeds typically germinate in 7-10 days, depending on the temperature and variety.
8. Thin the Seedlings: Once the seedlings emerge, thin them to 2-3 plants per bag. Choose the strongest, healthiest-looking seedlings and snip off the others at the soil line. Don’t pull them out, as this can disturb the roots of the remaining plants.
Caring for Your Corn Plants
Once your corn plants are established, it’s important to provide them with the proper care to ensure a healthy and productive harvest.
1. Watering: Corn needs consistent moisture, especially during hot, dry weather. Water deeply whenever the top inch of soil feels dry to the touch. Avoid overhead watering, as this can promote fungal diseases.
2. Fertilizing: Corn is a heavy feeder, so it’s important to provide it with regular fertilization. Side-dress your plants with a nitrogen-rich fertilizer every 4-6 weeks, following the instructions on the fertilizer package.
3. Weeding: Although bags minimize weeds, it’s still important to remove any weeds that do pop up. Weeds compete with your corn plants for nutrients and water.
4. Pollination: Corn is wind-pollinated, so it’s important to ensure that the pollen from the tassels (the male flowers at the top of the plant) reaches the silks (the female flowers that emerge from the developing ears). If you’re growing corn in a sheltered location, you may need to hand-pollinate your plants. To do this, gently shake the tassels over the silks to release the pollen. You can also cut off a tassel and gently brush it against the silks.
5. Support: As your corn plants grow taller, they may need support to prevent them from falling over. You can use stakes or a trellis to provide support. Insert the stakes into the soil near the base of the plants and tie the stalks to the stakes with twine.
6. Pest and Disease Control: Keep an eye out for common corn pests, such as corn earworms and aphids. Treat infestations promptly with insecticidal soap or other appropriate pest control methods. Also, watch out for fungal diseases, such as corn smut. Prevent fungal diseases by providing good air circulation and avoiding overhead watering.
Harvesting Your Corn
The moment we’ve all been waiting for! Knowing when to harvest your corn is key to enjoying the sweetest, most flavorful kernels.
1. Timing: Sweet corn is typically ready to harvest about 20-25 days after the silks emerge. The silks will turn brown and dry, and the ears will feel plump and full.
2. The Husk Test: Peel back a small portion of the husk and puncture a kernel with your fingernail. If the liquid that comes out is milky, the corn is ready to harvest. If the liquid is clear, the corn is not yet ripe. If the liquid is doughy, the corn is overripe.
3. Harvesting: To harvest the corn, grasp the ear firmly and twist it downward. The ear should snap off easily from the stalk.
4. Enjoy! Eat your freshly harvested corn as soon as possible for the best flavor. You can grill it, boil it, roast it, or use it in your favorite recipes.
Troubleshooting Tips
Even with the best planning, sometimes things don’t go exactly as expected. Here are a few common problems you might encounter and how to fix them:
* Poor Germination: Make sure your seeds are fresh and viable. Also, ensure that the soil is warm enough for germination (at least 60°F).
* Yellow Leaves: Yellow leaves can indicate a nutrient deficiency, usually nitrogen. Fertilize your plants with a nitrogen-rich fertilizer.
* Stunted Growth: Stunted growth can be caused by a variety of factors, including poor soil, lack of sunlight, or pest infestations. Make sure your plants are getting enough sunlight, water, and nutrients.
* Poor Pollination: If you’re not getting well-filled ears of corn, it could be due to poor pollination. Hand-pollinate your plants to improve pollination rates.
* Pest Problems: Regularly inspect your plants for pests and treat infestations promptly.
Choosing the Right Corn Variety
Selecting the right corn variety is crucial for success. Consider your climate, growing season length, and personal preferences when making your choice. Here are a few popular options:
* ‘Sugar Buns’: A super-sweet variety that’s perfect for eating fresh.
* ‘Honey Select’: Another super-sweet variety with excellent disease resistance.
* ‘Silver Queen’: A classic white sweet corn with a creamy texture.
* ‘Strawberry Popcorn’: A fun and unique variety that produces small, red kernels perfect for popping.
* ‘Ornamental Corn’: Choose from a variety of colorful ornamental corn varieties for decorative purposes.
Conclusion
So, there you have it! Ditching the harsh chemicals and embracing the power of Oxiclean for your grout cleaning needs is not just a trend; it’s a game-changer. We’ve explored how this simple, readily available product can effectively tackle stubborn stains and grime, leaving your tile surfaces sparkling and refreshed. But why is this DIY trick a must-try?
Firstly, it’s about effectiveness. Oxiclean, with its oxygen-based bleaching action, penetrates deep into the porous surface of grout, lifting away dirt and discoloration without the abrasive scrubbing often required with traditional cleaners. This means less elbow grease for you and a gentler approach to your delicate tile.
Secondly, it’s about safety. Many commercial grout cleaners contain harsh chemicals that can irritate your skin, damage your lungs, and pose a risk to children and pets. Oxiclean, while still requiring caution and proper ventilation, is generally considered a safer alternative, especially for those with sensitivities or allergies.
Thirdly, it’s about cost-effectiveness. A tub of Oxiclean is significantly more affordable than specialized grout cleaners, and a little goes a long way. You’re not just saving money; you’re also reducing your environmental impact by opting for a product with multiple uses around the home.
But the beauty of this DIY grout cleaning solution lies in its versatility. Feel free to experiment with variations to suit your specific needs and preferences. For instance, if you’re dealing with particularly stubborn stains, try creating a paste of Oxiclean and water, applying it directly to the affected area, and letting it sit for a longer period before scrubbing. You can also add a few drops of your favorite essential oil, like tea tree or lemon, for an extra boost of cleaning power and a refreshing scent. For colored grout, always test in an inconspicuous area first to ensure no discoloration occurs. Consider using a grout brush with stiff bristles for optimal scrubbing power, or even an old toothbrush for those hard-to-reach corners.
And don’t forget the power of prevention! Regular cleaning with a mild solution of Oxiclean and water can help prevent grout from becoming heavily soiled in the first place, making future cleaning tasks much easier. Sealing your grout after cleaning is also crucial to protect it from future stains and moisture damage.
Ultimately, this DIY grout cleaning trick using Oxiclean is about empowering you to take control of your cleaning routine, using simple, effective, and safer alternatives. So, ditch the harsh chemicals, grab your Oxiclean, and get ready to transform your tile surfaces. We’re confident you’ll be amazed by the results.
Now, we want to hear from you! Have you tried using Oxiclean to clean your grout? What were your results? Do you have any tips or variations to share? Head over to the comments section and let us know! Your experiences can help others discover the power of this simple yet effective cleaning solution. Let’s build a community of clean, happy homes, one sparkling grout line at a time!
Frequently Asked Questions (FAQs)
What exactly is Oxiclean, and why does it work on grout?
Oxiclean is a brand of oxygen bleach, primarily composed of sodium percarbonate and sodium carbonate. When mixed with water, the sodium percarbonate breaks down and releases oxygen. This oxygen acts as a powerful cleaning agent, lifting away dirt, stains, and grime from porous surfaces like grout. Unlike chlorine bleach, oxygen bleach is color-safe and generally less harsh, making it a suitable option for many types of tile and grout. The effervescent action helps to penetrate the grout lines, dislodging embedded dirt that regular cleaners might miss.
Is Oxiclean safe to use on all types of grout and tile?
While Oxiclean is generally considered safe for most types of grout and tile, it’s always best to test it in an inconspicuous area first, especially if you have colored grout or delicate tile like natural stone. Some types of natural stone, such as marble, can be sensitive to even mild cleaning agents. If you notice any discoloration or damage after testing, discontinue use. For epoxy grout, Oxiclean is generally safe, but always refer to the manufacturer’s recommendations for cleaning.
How do I prepare the Oxiclean solution for cleaning grout?
The ideal ratio of Oxiclean to water depends on the severity of the staining. For light cleaning, start with a solution of 1 scoop of Oxiclean per gallon of warm water. For more stubborn stains, you can increase the concentration to 2 scoops per gallon. Always dissolve the Oxiclean completely in the water before applying it to the grout. You can also create a paste by mixing Oxiclean with just enough water to form a thick consistency. This paste is particularly effective for spot-treating heavily stained areas.
How long should I let the Oxiclean solution sit on the grout before scrubbing?
The dwell time depends on the severity of the staining. For light cleaning, 5-10 minutes may be sufficient. For more stubborn stains, you can let the solution sit for up to 30 minutes. However, it’s important to keep the area moist during this time to prevent the solution from drying out. You can do this by periodically spraying the area with water. Avoid letting the solution sit for longer than 30 minutes, as it could potentially damage the grout or tile.
What type of brush should I use to scrub the grout?
A grout brush with stiff bristles is the most effective tool for scrubbing grout. These brushes are designed to fit into the narrow grout lines and provide the necessary scrubbing power to remove dirt and grime. You can also use an old toothbrush for hard-to-reach areas or corners. Avoid using abrasive scrub pads, as they can scratch the tile surface.
Do I need to wear gloves and eye protection when using Oxiclean?
Yes, it’s always recommended to wear gloves and eye protection when using any cleaning product, including Oxiclean. While Oxiclean is generally considered safer than harsh chemicals, it can still cause skin and eye irritation. Gloves will protect your hands from prolonged exposure to the solution, and eye protection will prevent accidental splashes from getting into your eyes.
How do I rinse the Oxiclean solution off the grout after scrubbing?
After scrubbing the grout, rinse the area thoroughly with clean water. You can use a sponge, mop, or even a hose to remove all traces of the Oxiclean solution. It’s important to rinse thoroughly to prevent any residue from remaining on the grout, which could attract dirt and grime in the future.
Can I use Oxiclean to clean colored grout?
Yes, you can use Oxiclean to clean colored grout, but it’s crucial to test it in an inconspicuous area first to ensure that it doesn’t cause any discoloration. Apply a small amount of the Oxiclean solution to a hidden area of the grout and let it sit for the recommended dwell time. Rinse thoroughly and check for any changes in color. If you notice any discoloration, discontinue use.
How often should I clean my grout with Oxiclean?
The frequency of cleaning depends on the amount of traffic and exposure to dirt and grime. In high-traffic areas like bathrooms and kitchens, you may need to clean your grout every few weeks. In less frequently used areas, you can clean your grout every few months. Regular cleaning with a mild solution of Oxiclean and water can help prevent grout from becoming heavily soiled in the first place, making future cleaning tasks much easier.
Is sealing grout after cleaning necessary?
Yes, sealing grout after cleaning is highly recommended. Grout is porous and susceptible to staining and moisture damage. Sealing the grout creates a protective barrier that prevents dirt, grime, and liquids from penetrating the surface, making it easier to clean and maintain. Choose a high-quality grout sealer that is specifically designed for your type of grout. Apply the sealer according to the manufacturer’s instructions.

Leave a Comment