
DIY Grout Cleaning with Clorox: Are you tired of staring at dingy, discolored grout lines that seem to mock your cleaning efforts? I know I have been! It’s like no matter how much you scrub, those stubborn stains just won’t budge. But don’t despair, because I’m about to share a game-changing DIY trick that will transform your tiles from drab to fab using a common household staple: Clorox!
Grout, that porous material between your tiles, has been a part of construction for centuries. From the intricate mosaics of ancient Rome to the modern kitchens and bathrooms of today, grout has served a vital purpose. However, its porous nature makes it a magnet for dirt, grime, and mildew, turning it into a breeding ground for unsightly stains. This is where the magic of DIY Grout Cleaning with Clorox comes in.
Why is this DIY trick so essential? Because a clean home is a happy home! Not only does sparkling grout improve the overall aesthetic of your space, but it also contributes to a healthier environment by eliminating mold and bacteria. Plus, let’s be honest, nobody wants to spend hours on their hands and knees scrubbing with ineffective cleaners. This method is quick, easy, and incredibly effective, saving you time, money, and a whole lot of elbow grease. So, get ready to say goodbye to grimy grout and hello to a sparkling clean home with this simple yet powerful DIY solution!

DIY Grout Cleaning with Clorox: A Sparkling Transformation!
Okay, let’s face it: grout is the bane of every homeowner’s existence. It gets grimy, stained, and just generally looks…unpleasant. But fear not! I’m here to share my go-to method for getting that grout looking sparkling clean again using a common household hero: Clorox bleach. Now, before we dive in, a word of caution: bleach is powerful stuff. Always prioritize safety and ventilation!
Safety First!
Before we even think about mixing anything, let’s get our safety gear on. This is super important, so don’t skip this step!
* Gloves: Protect your hands from the harshness of the bleach. Trust me, you don’t want to skip this.
* Eye Protection: Goggles or safety glasses are a must. Splashes happen, and you definitely don’t want bleach in your eyes.
* Ventilation: Open windows and doors to ensure good airflow. Bleach fumes can be strong, so a well-ventilated space is key. A fan can also help.
* Old Clothes: Wear clothes you don’t mind getting stained. Bleach stains are permanent, so protect your favorite outfit!
* Test Patch: Before applying bleach to a large area, test it on a small, inconspicuous spot to ensure it doesn’t discolor your tile or grout. This is especially important for colored grout.
Gather Your Supplies
Now that we’re all geared up and ready to go, let’s gather our cleaning arsenal. Here’s what you’ll need:
* Clorox Bleach: The star of the show! Regular Clorox bleach works great.
* Spray Bottle: For easy application of the bleach solution.
* Old Toothbrush or Grout Brush: For scrubbing those stubborn stains. An electric toothbrush with a small brush head can also work wonders!
* Small Bowl: For mixing the bleach solution (if you choose to dilute it).
* Water: For diluting the bleach (optional).
* Clean Rags or Sponges: For wiping away the bleach solution and rinsing.
* Floor Squeegee (Optional): For removing excess water from large tiled areas.
* Baking Soda (Optional): For extra scrubbing power on tough stains.
* Vinegar (Optional): For neutralizing the bleach after cleaning (use with caution – never mix bleach and vinegar directly!).
Preparing the Bleach Solution
Okay, here’s where we decide how strong we want our cleaning solution to be. You have a couple of options:
* Option 1: Undiluted Bleach: For really tough stains, you can use Clorox bleach straight from the bottle. This is the most potent option, so be extra careful with ventilation and safety precautions.
* Option 2: Diluted Bleach Solution: For less severe stains or for general cleaning, you can dilute the bleach with water. A good ratio is 1 part bleach to 1 part water. This is a gentler option, but still effective.
I usually start with the diluted solution and only move to undiluted bleach if the stains are particularly stubborn.
Important Note: Never mix bleach with ammonia or other cleaning products. This can create dangerous and toxic fumes.
The Cleaning Process: Step-by-Step
Alright, let’s get down to business! Here’s the step-by-step guide to cleaning your grout with Clorox bleach:
1. Prepare the Area: Remove any loose debris, dirt, or grime from the tiled surface. You can sweep, vacuum, or use a damp cloth to wipe down the area. This will help the bleach solution penetrate the grout more effectively.
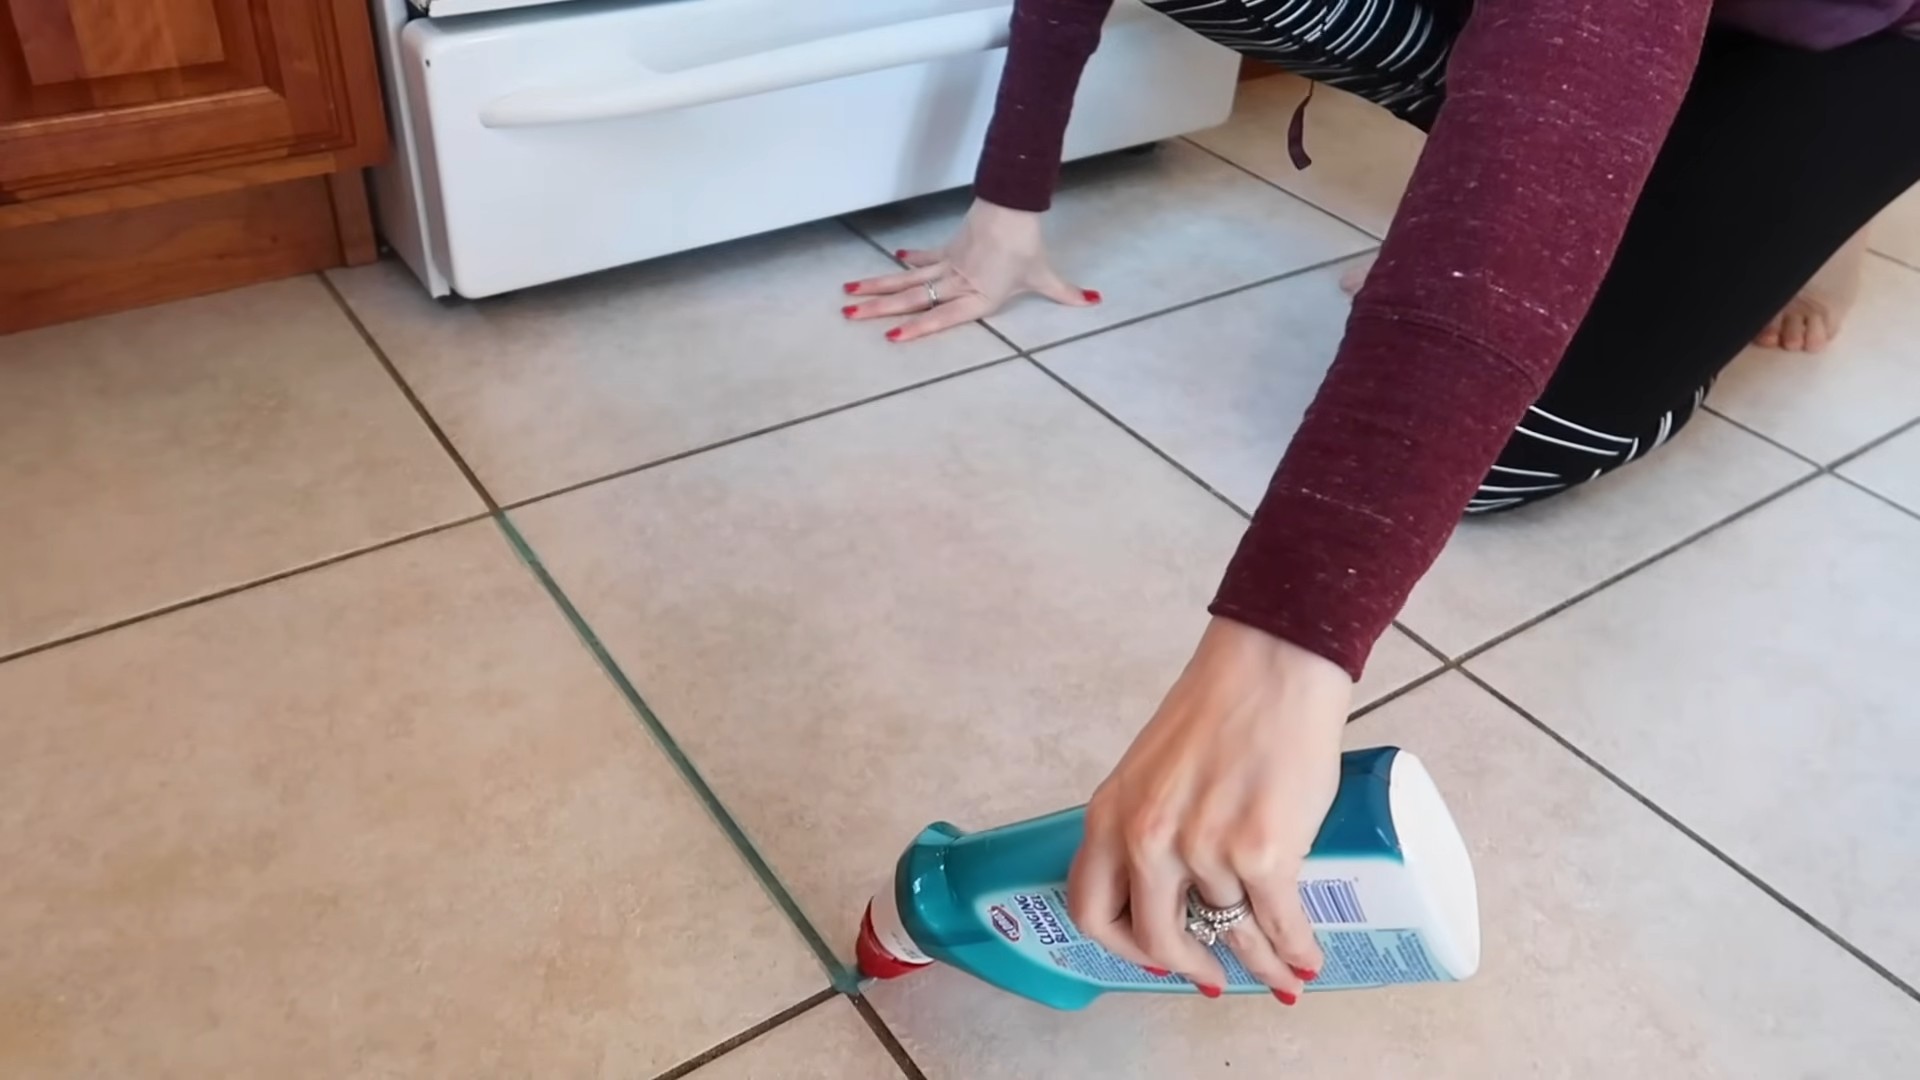
2. Apply the Bleach Solution: Pour your chosen bleach solution (diluted or undiluted) into the spray bottle. Carefully spray the solution directly onto the grout lines. Avoid spraying it excessively on the tiles themselves, especially if you have colored tiles.
3. Let it Sit: Allow the bleach solution to sit on the grout for about 10-15 minutes. This gives the bleach time to work its magic and break down the stains. Don’t let it sit for too long, as it can potentially damage the grout or tile.
4. Scrub, Scrub, Scrub! Now comes the fun part (okay, maybe not fun, but necessary!). Using your old toothbrush or grout brush, scrub the grout lines vigorously. Focus on areas with stubborn stains. If you’re using baking soda, you can sprinkle a small amount onto the grout lines before scrubbing for extra abrasive power.
5. Rinse Thoroughly: After scrubbing, rinse the area thoroughly with clean water. Use a clean rag or sponge to wipe away the bleach solution and any remaining residue. Make sure to remove all traces of bleach, as it can be corrosive.
6. Dry the Area: Use a clean, dry towel or rag to dry the tiled surface. For large areas, a floor squeegee can be helpful to remove excess water.
7. Repeat if Necessary: If the grout is still stained after the first cleaning, repeat the process. You may need to use a stronger bleach solution or scrub more vigorously.
8. Neutralize (Optional): If you’re concerned about the lingering effects of bleach, you can neutralize it with a diluted vinegar solution. Mix 1 part white vinegar with 10 parts water and apply it to the grout lines. Let it sit for a few minutes, then rinse thoroughly with clean water. Remember, never mix bleach and vinegar directly!
9. Admire Your Sparkling Grout! Once the area is dry, step back and admire your freshly cleaned grout. It should look significantly brighter and cleaner.
Tackling Stubborn Stains
Sometimes, you’ll encounter grout stains that just won’t budge. Here are a few extra tips for dealing with those stubborn spots:
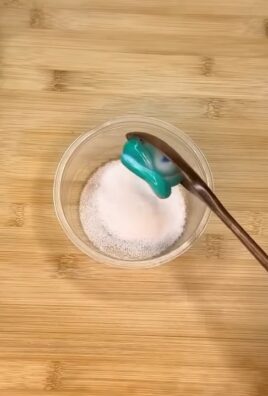
* Baking Soda Paste: Mix baking soda with a small amount of water to create a thick paste. Apply the paste to the stained grout lines and let it sit for several hours or even overnight. Then, scrub with a toothbrush and rinse thoroughly.
* Bleach and Baking Soda Combo: Create a paste using bleach and baking soda. Apply it to the stained grout, let it sit for 5-10 minutes, then scrub and rinse. Be extra careful when using this method, as it’s quite potent.
* Steam Cleaning: A steam cleaner can be a great way to loosen stubborn stains and sanitize grout. Follow the manufacturer’s instructions for your steam cleaner.
* Grout Pen: If all else fails, you can use a grout pen to cover up the stains. These pens are available in a variety of colors to match your grout.
Maintaining Your Clean Grout
Once you’ve gone through the effort of cleaning your grout, you’ll want to keep it looking its best. Here are a few tips for maintaining your clean grout:
* Regular Cleaning: Clean your tiled surfaces regularly with a mild detergent and water. This will help prevent dirt and grime from building up in the grout lines.
* Seal Your Grout: Applying a grout sealer can help protect your grout from stains and moisture. Reapply the sealer every 6-12 months, or as needed.
* Wipe Up Spills Immediately: Clean up spills as soon as they happen to prevent them from staining the grout.
* Use a Squeegee: After showering, use a squeegee to remove excess water from the tiled walls and floor. This will help prevent mold and mildew growth.
* Ventilate Your Bathroom: Ensure your bathroom is well-ventilated to prevent moisture buildup. Use the exhaust fan during and after showering.
Troubleshooting
* Grout is Discolored: If your grout is discolored after cleaning, it may be due to mineral deposits or hard water stains. Try using a grout cleaner specifically designed for removing mineral deposits.
* Bleach is Damaging My Tile: If you’re concerned about bleach damaging your tile, test it on a small, inconspicuous area first. You can also try diluting the bleach solution further.
* Grout is Crumbling: If your grout is crumbling, it may be old or damaged. In this case, you may need to re-grout the area.
Final Thoughts
Cleaning grout with Clorox bleach is a relatively simple and effective way to restore your tiled surfaces to their former glory. Just remember to prioritize safety, follow the steps carefully, and be patient. With a little elbow grease, you can achieve sparkling clean grout that will make your bathroom or kitchen look brand new! And remember, regular maintenance is key to keeping your grout looking its best for years to come. Happy cleaning!
Conclusion
So, there you have it! This simple yet incredibly effective DIY grout cleaning with Clorox is a game-changer for anyone battling dingy, stained grout. Forget spending a fortune on specialized cleaners or hours scrubbing with minimal results. This method harnesses the power of readily available household ingredients to deliver a sparkling clean that will transform your tiled surfaces.
Why is this a must-try? Because it’s cost-effective, efficient, and delivers visible results. You’re likely already have Clorox bleach in your laundry room, and baking soda is a pantry staple. This means you can tackle that grimy grout without a trip to the store or breaking the bank. The combination of baking soda’s mild abrasive action and Clorox’s disinfecting and stain-removing properties creates a powerful cleaning duo that effectively lifts dirt, grime, and mildew from grout lines.
But the beauty of this DIY trick lies in its adaptability. Feel free to experiment with variations to suit your specific needs and preferences. For instance, if you’re dealing with particularly stubborn stains, you can create a thicker paste of baking soda and Clorox and let it sit on the grout for a longer period – perhaps 30 minutes to an hour – before scrubbing. Alternatively, for lighter cleaning or maintenance, you can dilute the Clorox with water to create a less potent solution.
Consider adding a few drops of your favorite essential oil, like tea tree or eucalyptus, to the mixture for a fresh, clean scent and added antimicrobial benefits. Just be sure to test the mixture in an inconspicuous area first to ensure it doesn’t discolor your grout.
Another variation involves using an old toothbrush or a grout brush with stiffer bristles for more aggressive scrubbing. A power scrubber with a grout brush attachment can also significantly reduce the elbow grease required, especially for large tiled areas. Remember to always wear gloves and eye protection when working with Clorox to protect your skin and eyes from irritation.
The key to success with this DIY grout cleaning with Clorox is patience and persistence. Don’t expect miracles overnight, especially if your grout is heavily stained. You may need to repeat the process several times to achieve the desired results. However, with each application, you’ll notice a significant improvement in the appearance of your grout.
We are confident that this DIY grout cleaning method will become your go-to solution for maintaining sparkling clean tiled surfaces. It’s a simple, effective, and affordable way to keep your home looking its best.
Now, it’s your turn! We encourage you to try this DIY grout cleaning with Clorox and see the amazing results for yourself. Don’t be afraid to experiment with the variations we’ve suggested to find the perfect formula for your specific needs.
And most importantly, we want to hear about your experience! Share your before-and-after photos, tips, and tricks in the comments section below. Let us know what worked best for you and any modifications you made to the recipe. Your feedback will help other readers achieve the same sparkling clean results. Let’s create a community of grout-cleaning experts!
Frequently Asked Questions (FAQ)
Is it safe to use Clorox on grout?
Yes, Clorox bleach can be safely used on grout, but it’s crucial to take necessary precautions. Always wear gloves and eye protection to prevent skin and eye irritation. Ensure proper ventilation by opening windows or using a fan to avoid inhaling fumes. Avoid prolonged contact with skin. If you have colored grout, test the solution in an inconspicuous area first to ensure it doesn’t cause discoloration. Diluting the Clorox with water can also help minimize the risk of damage, especially for more delicate grout types.
What type of Clorox should I use?
Regular, unscented Clorox bleach is generally recommended for grout cleaning. Avoid using splash-less bleach or bleach with added fragrances, as these may contain ingredients that can leave a residue or damage the grout. The goal is to use a simple, effective bleach solution that will disinfect and remove stains without introducing unnecessary chemicals.
Can I use this method on all types of grout?
While this method is generally safe for most types of grout, it’s always best to test it in an inconspicuous area first, especially if you have colored grout or are unsure of the grout’s composition. Some types of grout may be more sensitive to bleach than others. If you notice any discoloration or damage after testing, discontinue use and consider alternative cleaning methods.
How often should I clean my grout with Clorox?
The frequency of cleaning depends on the amount of traffic and exposure to dirt and grime. For high-traffic areas like bathrooms and kitchens, cleaning every 1-2 months may be necessary. For less frequently used areas, cleaning every 3-6 months may suffice. Regular maintenance cleaning can help prevent stains from setting in and make future cleaning easier.
What if the stains are really stubborn?
For stubborn stains, try creating a thicker paste of baking soda and Clorox and applying it directly to the grout lines. Let the paste sit for a longer period, up to an hour, before scrubbing. You can also use a grout brush with stiffer bristles or a power scrubber with a grout brush attachment for more aggressive cleaning. Repeating the process several times may be necessary to achieve the desired results.
Can I use this method on natural stone tiles?
No, Clorox bleach is generally not recommended for use on natural stone tiles like marble, granite, or limestone. Bleach can damage the surface of natural stone and cause discoloration or etching. For natural stone tiles, use a pH-neutral cleaner specifically designed for natural stone.
What are some alternative cleaning solutions if I don’t want to use Clorox?
If you prefer not to use Clorox, there are several alternative cleaning solutions you can try. A mixture of baking soda and vinegar can be effective for removing dirt and grime. You can also use a commercial grout cleaner specifically designed for your type of grout. Another option is to use a steam cleaner, which uses hot steam to loosen dirt and grime without the need for harsh chemicals.
How do I prevent grout from getting dirty in the first place?
Preventing grout from getting dirty is key to minimizing the need for frequent cleaning. Seal your grout with a grout sealer to protect it from stains and moisture. Wipe up spills immediately to prevent them from setting in. Use mats or rugs in high-traffic areas to reduce the amount of dirt and grime that gets tracked onto the tiles. Regularly sweep or vacuum your tiled floors to remove loose dirt and debris.
What kind of ventilation do I need when using Clorox?
Proper ventilation is essential when using Clorox to avoid inhaling fumes. Open windows and doors to allow fresh air to circulate. If you don’t have adequate ventilation, use a fan to help circulate the air. Avoid prolonged exposure to Clorox fumes, and take breaks if you start to feel dizzy or nauseous.
How do I dispose of the Clorox cleaning solution safely?
The Clorox cleaning solution can be safely disposed of down the drain with plenty of water. Avoid mixing Clorox with other cleaning products, especially ammonia, as this can create dangerous fumes. If you have a septic system, check with your local regulations to ensure that it’s safe to dispose of bleach down the drain.
Leave a Comment