
Grow Cabbage Backyard: Imagine stepping outside your back door and harvesting crisp, fresh cabbage for your dinner table. Sounds idyllic, right? Well, it doesn’t have to be just a dream! For centuries, cultivating your own food has been a source of sustenance and pride. From the ancient Egyptians, who revered vegetables, to the victory gardens of World War II, growing your own produce connects you to a rich history of self-sufficiency and a deeper understanding of where your food comes from.
But let’s be honest, the thought of starting a garden can be daunting. Where do you even begin? That’s where this DIY guide comes in! I’m here to share some simple, effective tricks and hacks that will empower you to grow cabbage backyard, even if you’re a complete beginner. We’ll break down the process into manageable steps, covering everything from choosing the right variety to protecting your precious plants from pests.
Why cabbage, you ask? Well, it’s not only incredibly versatile in the kitchen – think coleslaw, stir-fries, and hearty soups – but it’s also packed with nutrients and relatively easy to grow with the right knowledge. Plus, there’s nothing quite like the satisfaction of nurturing a plant from seed to harvest. So, grab your gardening gloves, and let’s get started on your cabbage-growing adventure! You’ll be amazed at how rewarding it can be to cultivate your own delicious and healthy food right in your own backyard.
Growing Cabbage in Your Backyard: A Comprehensive DIY Guide
Hey there, fellow gardening enthusiasts! I’m so excited to share my experience and knowledge on growing cabbage right in your own backyard. It’s easier than you might think, and the satisfaction of harvesting your own fresh, crisp cabbage is truly rewarding. Let’s dive in!
Choosing the Right Cabbage Variety
Before we get our hands dirty, it’s crucial to select the right cabbage variety for your climate and growing season. Different varieties mature at different rates and have varying levels of heat or cold tolerance. Here are a few popular options:
* Early Varieties: These mature quickly (around 60-70 days) and are great for shorter growing seasons. Examples include ‘Early Jersey Wakefield’ and ‘Golden Acre’.
* Mid-Season Varieties: These take a bit longer (70-85 days) and offer good yields. ‘Copenhagen Market’ and ‘Savoy Ace’ are excellent choices.
* Late Varieties: These require the longest growing season (85+ days) and are often best suited for areas with mild winters. ‘Brunswick’ and ‘January King’ are popular late-season options.
* Savoy Cabbage: Known for their crinkled leaves and mild flavor.
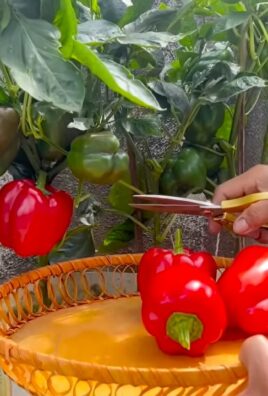
* Red Cabbage: Adds a pop of color to your garden and is packed with nutrients.
Consider your local climate and the length of your growing season when making your selection. I always check with my local nursery for recommendations specific to my area.
Preparing the Soil
Cabbage thrives in well-drained, fertile soil with a pH between 6.0 and 7.5. Proper soil preparation is key to a successful harvest.
* Soil Testing: I highly recommend getting your soil tested to determine its pH and nutrient levels. You can usually find soil testing kits at your local garden center or through your county extension office.
* Amending the Soil: Based on your soil test results, amend the soil with compost, well-rotted manure, or other organic matter. This will improve drainage, fertility, and water retention. Cabbage is a heavy feeder, so it needs plenty of nutrients. I usually add a generous amount of compost and a slow-release fertilizer formulated for vegetables.
* Tilling or Digging: Loosen the soil to a depth of at least 12 inches. This will allow the cabbage roots to penetrate deeply and access nutrients and water. I prefer to use a garden fork to avoid compacting the soil.
* Removing Rocks and Debris: Clear the area of any rocks, weeds, or other debris that could hinder growth.
Starting Cabbage Seeds Indoors (Optional)
Starting cabbage seeds indoors gives you a head start on the growing season, especially in areas with short summers.
* Timing: Start seeds about 4-6 weeks before the last expected frost.
* Seed Starting Mix: Use a high-quality seed starting mix that is lightweight and well-draining.
* Containers: Sow seeds in seed trays or individual pots. I prefer using individual pots to minimize root disturbance when transplanting.
* Sowing Seeds: Sow seeds about ¼ inch deep and gently water them.
* Warmth and Light: Keep the seeds in a warm location (around 70-75°F) and provide plenty of light. A grow light is ideal, but a sunny windowsill can also work.
* Watering: Keep the soil consistently moist but not waterlogged.
* Hardening Off: Before transplanting seedlings outdoors, gradually acclimate them to outdoor conditions over a period of 7-10 days. This process is called “hardening off.” Start by placing the seedlings in a sheltered location for a few hours each day, gradually increasing the amount of time they spend outdoors.
Transplanting Cabbage Seedlings
Once the seedlings have developed several sets of true leaves and the danger of frost has passed, it’s time to transplant them into the garden.
1. Choose a Sunny Location: Cabbage needs at least 6 hours of sunlight per day.
2. Prepare the Planting Holes: Dig holes that are slightly larger than the root balls of the seedlings. Space the holes 12-24 inches apart, depending on the variety. Closer spacing will result in smaller heads.
3. Carefully Remove Seedlings: Gently remove the seedlings from their containers, being careful not to damage the roots.
4. Plant the Seedlings: Place the seedlings in the holes and backfill with soil. Make sure the top of the root ball is level with the surrounding soil.
5. Water Thoroughly: Water the seedlings thoroughly after planting.
6. Mulch: Apply a layer of mulch around the plants to help retain moisture, suppress weeds, and regulate soil temperature. I like to use straw or shredded leaves.
Direct Sowing Cabbage Seeds
If you have a longer growing season, you can also direct sow cabbage seeds directly into the garden.
1. Prepare the Soil: Follow the soil preparation steps outlined above.
2. Sow the Seeds: Sow seeds about ½ inch deep and 1-2 inches apart.
3. Water Gently: Water the seeds gently to avoid washing them away.
4. Thin Seedlings: Once the seedlings emerge, thin them to the desired spacing (12-24 inches apart).
Caring for Your Cabbage Plants
Consistent care is essential for healthy cabbage plants and a bountiful harvest.
* Watering: Cabbage needs consistent moisture, especially during head formation. Water deeply and regularly, especially during dry spells. Aim for about 1-1.5 inches of water per week.
* Fertilizing: Cabbage is a heavy feeder and benefits from regular fertilization. Side-dress the plants with a balanced fertilizer every 3-4 weeks. I also like to use a liquid seaweed fertilizer for an extra boost.
* Weeding: Keep the area around the cabbage plants free of weeds. Weeds compete with the cabbage for nutrients and water.
* Pest Control: Cabbage is susceptible to several pests, including cabbage worms, aphids, and flea beetles. Regularly inspect your plants for signs of infestation and take appropriate action.
* Cabbage Worms: These green caterpillars can quickly devour cabbage leaves. Handpicking them off the plants is an effective method for small infestations. You can also use Bacillus thuringiensis (Bt), a biological insecticide that is safe for humans and pets.
* Aphids: These tiny insects suck sap from the leaves, causing them to curl and distort. Spraying the plants with a strong stream of water can dislodge aphids. You can also use insecticidal soap or neem oil.
* Flea Beetles: These small, jumping beetles can create tiny holes in the leaves. Covering the plants with row covers can prevent flea beetles from reaching the plants. You can also use insecticidal soap or diatomaceous earth.
* Disease Control: Cabbage can also be affected by several diseases, including black rot and clubroot.
* Black Rot: This bacterial disease causes yellowing and browning of the leaves. To prevent black rot, use disease-free seeds and practice crop rotation.
* Clubroot: This fungal disease causes swollen and distorted roots. To prevent clubroot, raise the soil pH to 7.0-7.5 and practice crop rotation.
Harvesting Your Cabbage
The time to harvest cabbage depends on the variety and the growing conditions.
1. Check for Firmness: The cabbage head should feel firm and solid when squeezed.
2. Check the Size: The head should be the size typical for the variety you are growing.
3. Harvesting: Use a sharp knife to cut the cabbage head from the stem. Leave a few outer leaves attached to protect the head.
Storing Your Cabbage
Proper storage can extend the shelf life of your harvested cabbage.
* Cool and Dry: Store cabbage in a cool, dry place, such as a refrigerator or root cellar.
* Remove Outer Leaves: Remove any damaged or discolored outer leaves.
* Wrap in Plastic: Wrap the cabbage head in plastic wrap to prevent it from drying out.
* Storage Time: Cabbage can be stored for several weeks or even months under the right conditions.
Troubleshooting Common Cabbage Problems
Even with the best care, you may encounter some problems while growing cabbage. Here are a few common issues and how to address them:
* Heads Not Forming: This can be caused by insufficient sunlight, poor soil fertility, or inadequate watering. Make sure your cabbage plants are getting at least 6 hours of sunlight per day, fertilize them regularly, and water them deeply and consistently.
* Splitting Heads: This can occur when the cabbage head grows too quickly after a period of drought. To prevent splitting, water the plants regularly and consistently, especially during dry spells.
* Bolting:
Conclusion
So, there you have it! Growing cabbage in your backyard isn’t just a gardening project; it’s a gateway to fresher, tastier, and more rewarding meals. We’ve explored the simple yet effective DIY trick of [mention the specific DIY trick discussed in the article, e.g., using coffee grounds as fertilizer, companion planting with dill, or creating a DIY cabbage collar]. This method, whether it’s enriching your soil naturally or protecting your precious plants from pests, offers a significant advantage over conventional gardening techniques.
Why is this DIY trick a must-try? Because it empowers you to take control of your cabbage growing process, ensuring healthier plants and a more abundant harvest. Imagine biting into a crisp, juicy cabbage head that you nurtured from seedling to table, knowing you did it with your own two hands and a little bit of ingenuity. The satisfaction is unparalleled! Plus, you’re contributing to a more sustainable lifestyle by reducing your reliance on store-bought produce and potentially harmful chemicals.
But the fun doesn’t stop there! Feel free to experiment with variations of this DIY trick to suit your specific needs and preferences. For example, if you’re using coffee grounds, try combining them with other organic materials like eggshells or banana peels for an even richer fertilizer blend. If you’re companion planting, explore different combinations of herbs and flowers to see what works best in your garden. Consider adding marigolds to deter nematodes, or nasturtiums to attract aphids away from your cabbage. The possibilities are endless!
And speaking of possibilities, don’t be afraid to get creative with your cabbage harvest. Beyond the classic coleslaw and sauerkraut, explore new recipes like cabbage steaks, cabbage rolls, or even grilled cabbage wedges. The versatility of this humble vegetable is truly remarkable.
We are confident that this DIY trick will revolutionize your cabbage growing experience. It’s simple, effective, and environmentally friendly. But don’t just take our word for it – try it yourself! We encourage you to implement this technique in your backyard garden and witness the difference it makes.
Once you’ve given it a go, we’d love to hear about your experience. Share your successes, your challenges, and any variations you’ve tried in the comments section below. Let’s build a community of cabbage-growing enthusiasts and learn from each other’s experiences. Together, we can unlock the full potential of our backyard gardens and enjoy the delicious rewards of our labor. So, grab your gardening gloves, get your hands dirty, and start growing cabbage like a pro! Remember, the key to a thriving cabbage patch often lies in simple, sustainable solutions – and this DIY trick is a perfect example. Happy gardening, and may your cabbage harvest be bountiful!
Frequently Asked Questions (FAQ)
What exactly is the DIY trick you’re referring to?
The DIY trick we’ve been focusing on is [mention the specific DIY trick again, e.g., using coffee grounds as fertilizer]. This involves [briefly explain the process, e.g., collecting used coffee grounds, allowing them to dry, and then incorporating them into the soil around your cabbage plants]. It’s a simple and effective way to boost your cabbage’s growth and overall health.
Why is using coffee grounds beneficial for growing cabbage?
Coffee grounds are a fantastic source of nitrogen, which is an essential nutrient for plant growth, especially for leafy greens like cabbage. They also contain other beneficial nutrients like phosphorus and potassium. Furthermore, coffee grounds can help improve soil drainage and aeration, creating a more favorable environment for your cabbage roots. They also slightly acidify the soil, which cabbage generally prefers.
How often should I apply coffee grounds to my cabbage plants?
A good rule of thumb is to apply coffee grounds every 2-3 weeks. However, it’s important to monitor your plants and adjust the frequency as needed. If you notice any signs of nutrient deficiency, such as yellowing leaves, you may need to apply coffee grounds more often. Conversely, if you see signs of over-fertilization, such as excessive leaf growth, reduce the frequency. Remember to always use used coffee grounds, as fresh grounds are too acidic and can harm your plants.
Can I use too many coffee grounds?
Yes, you can. While coffee grounds are beneficial, overdoing it can lead to problems. Too much nitrogen can cause excessive leaf growth at the expense of head formation. It can also disrupt the soil’s pH balance. Always use coffee grounds in moderation and monitor your plants closely. A thin layer around the base of the plant is usually sufficient.
What other DIY fertilizers can I use for growing cabbage?
Besides coffee grounds, there are several other excellent DIY fertilizer options for cabbage. Eggshells are a great source of calcium, which helps prevent blossom-end rot. Banana peels are rich in potassium, another essential nutrient for plant growth. Compost is a fantastic all-around fertilizer that provides a wide range of nutrients and improves soil structure. You can also try using diluted seaweed extract or fish emulsion.
How does companion planting help with growing cabbage?
Companion planting involves growing different plants together that benefit each other. For cabbage, some excellent companion plants include dill, which attracts beneficial insects that prey on cabbage pests; rosemary, which deters cabbage moths; and marigolds, which repel nematodes. Companion planting can help reduce pest problems, improve pollination, and enhance the overall health of your cabbage plants.
What are some common pests that affect cabbage, and how can I control them naturally?
Cabbage loopers, cabbage worms, and aphids are common pests that can damage cabbage plants. To control them naturally, you can try hand-picking the pests off the plants, using insecticidal soap, or applying Bacillus thuringiensis (Bt), a natural bacterium that is toxic to caterpillars. You can also use row covers to protect your plants from pests.
How do I know when my cabbage is ready to harvest?
Cabbage is typically ready to harvest when the head is firm and solid. The size of the head will vary depending on the variety, but a good indicator is when the head feels heavy for its size. You can also check the outer leaves; they should be tightly wrapped around the head. To harvest, simply cut the head off the plant at the base with a sharp knife.
What are some different varieties of cabbage I can grow in my backyard?
There are many different varieties of cabbage to choose from, each with its own unique characteristics. Some popular varieties include Green Acre, which is a fast-maturing variety; Red Acre, which has a beautiful red color; Savoy cabbage, which has crinkled leaves; and January King, which is a cold-hardy variety. Consider your climate and growing season when selecting a cabbage variety.
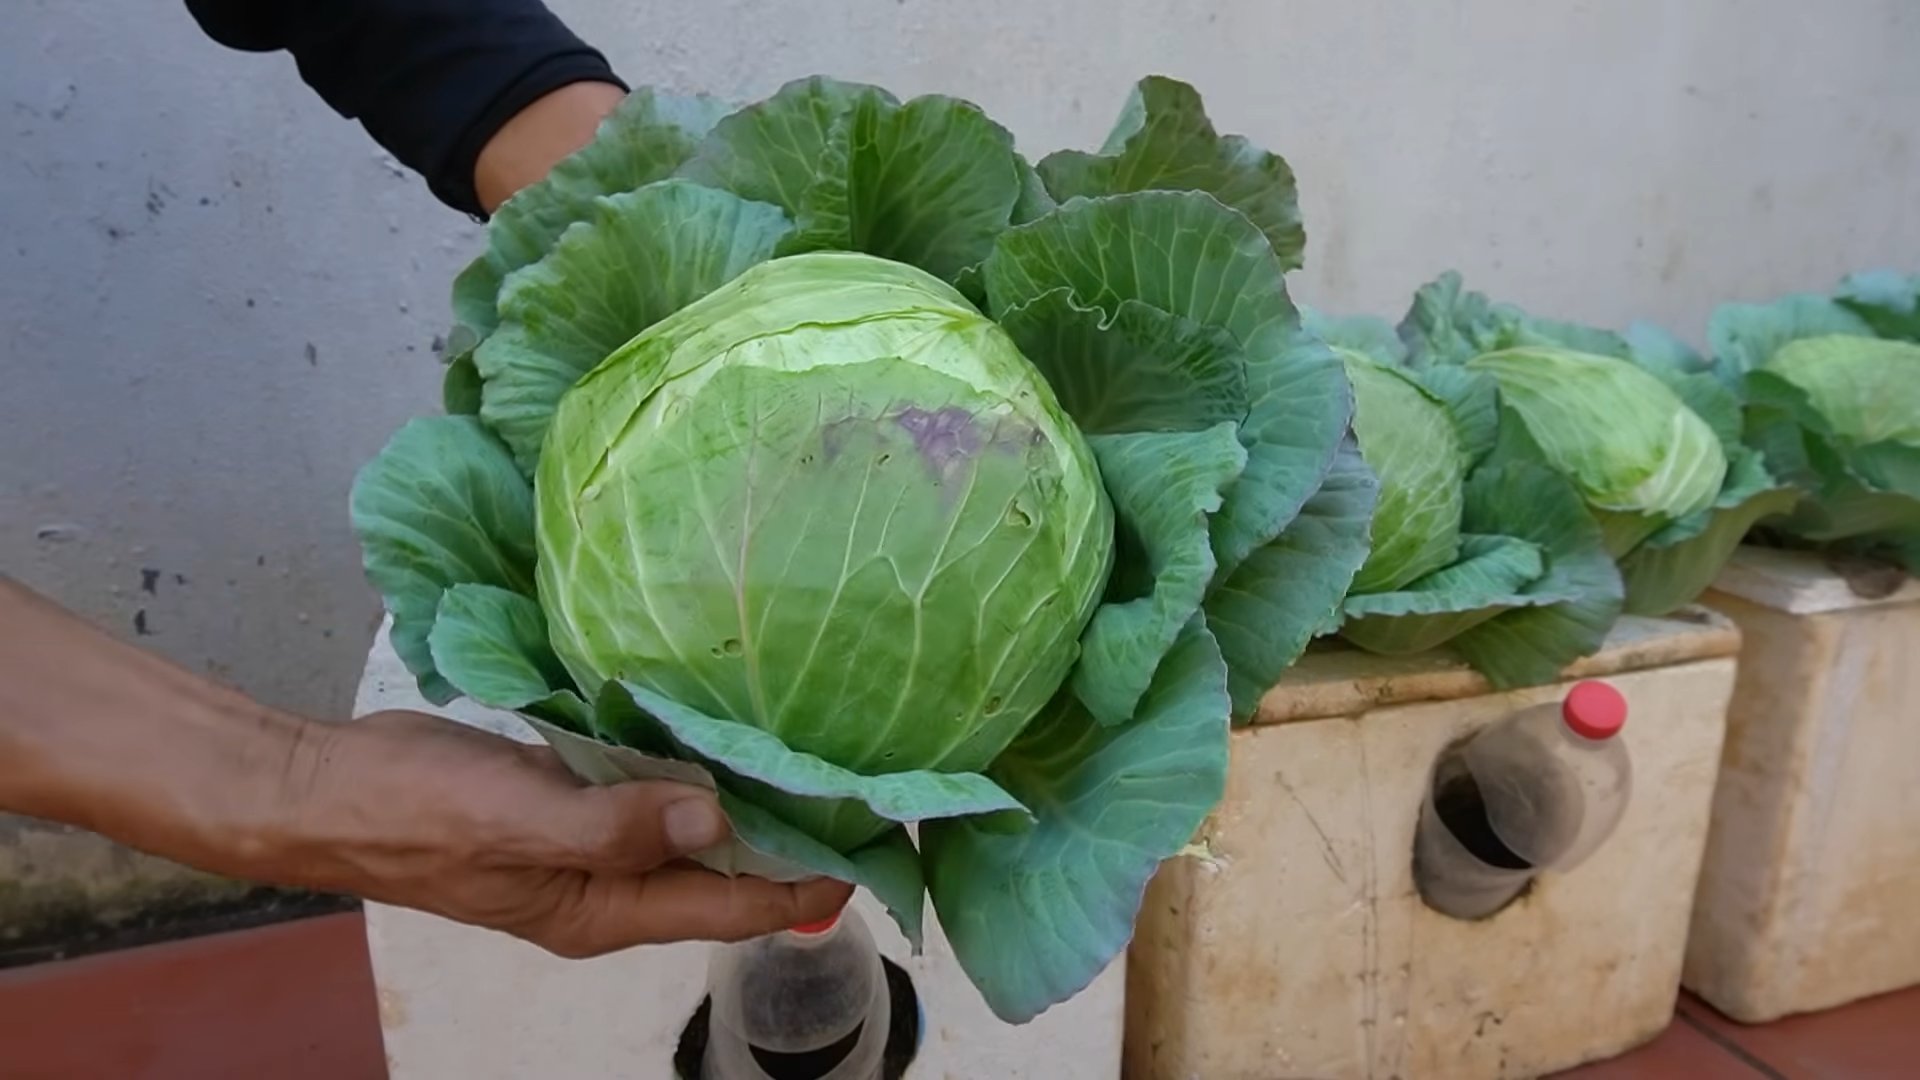
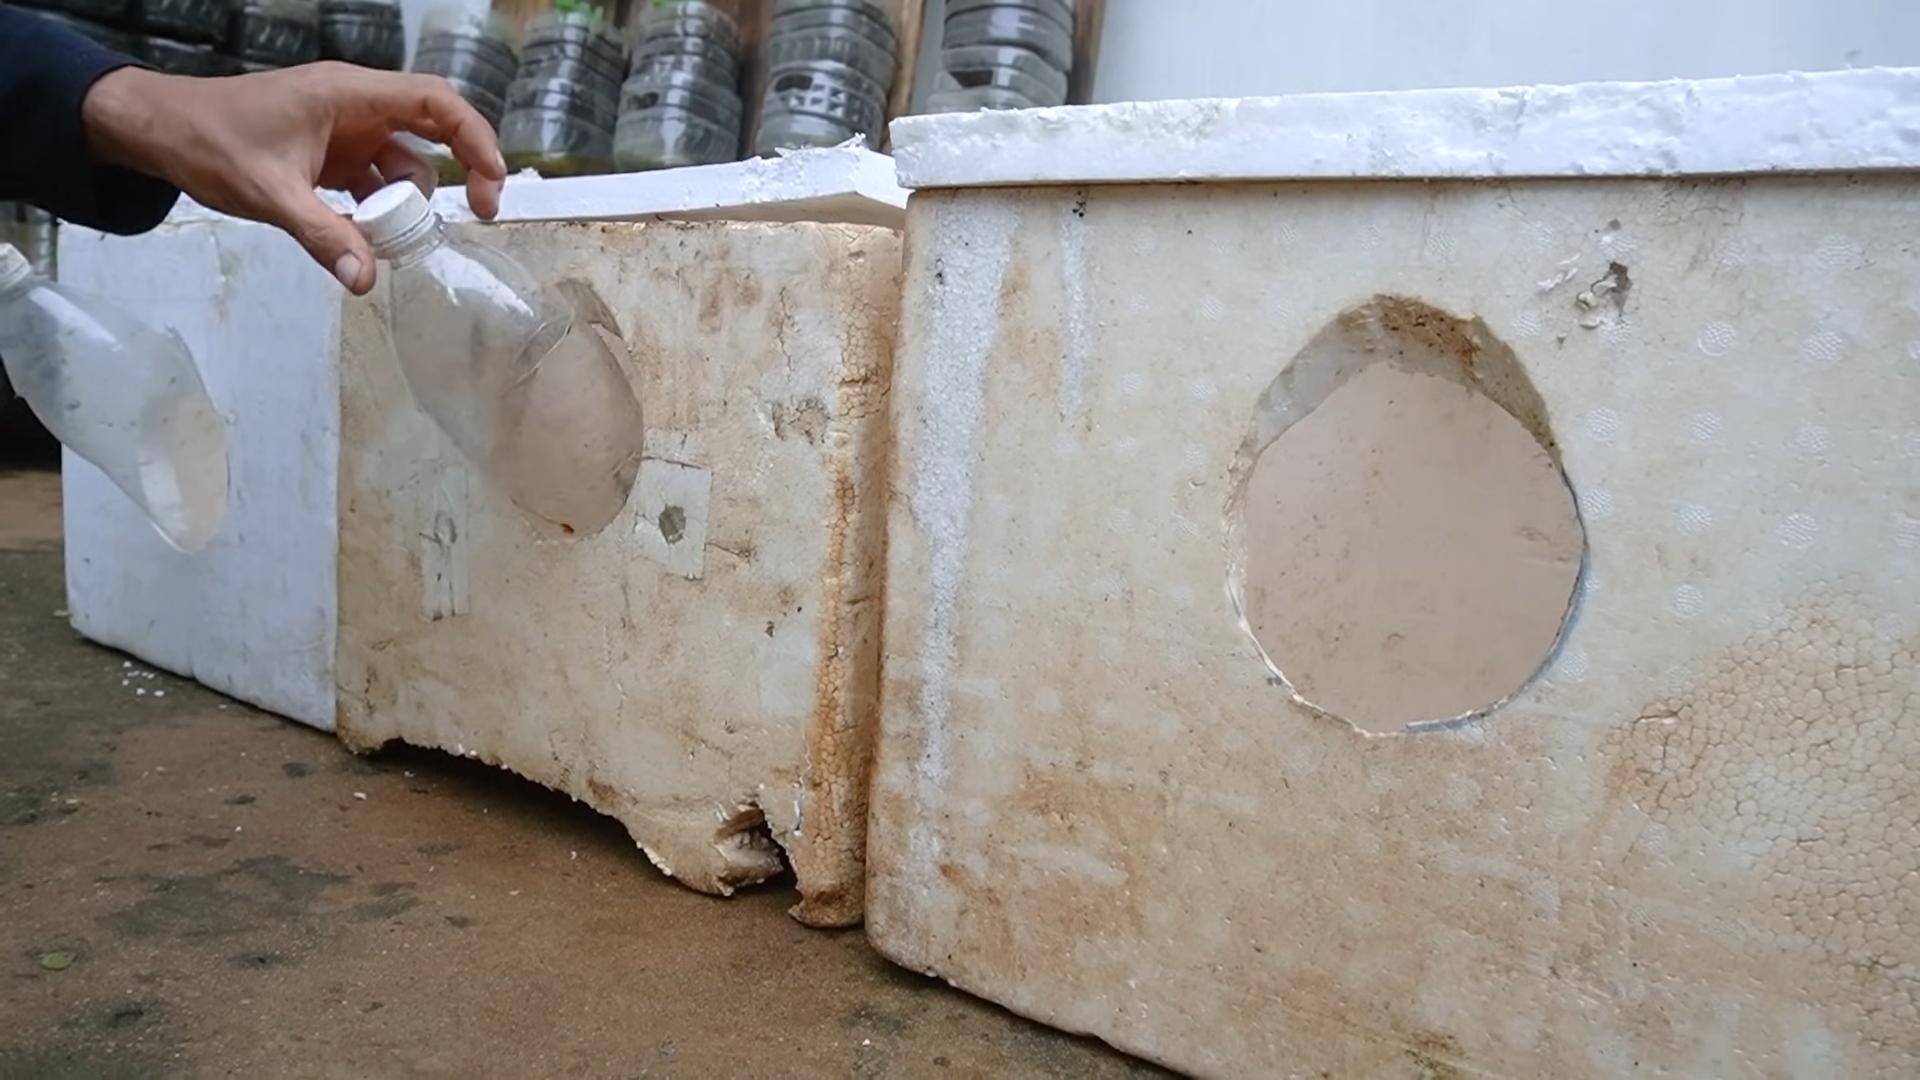
What if I don’t have a backyard? Can I still grow cabbage?
Absolutely! Cabbage can be successfully grown in containers. Choose a large container with good drainage and fill it with a high-quality potting mix. Make sure the container receives at least 6 hours of sunlight per day. Water regularly and fertilize as needed. Container-grown cabbage may not get as large as cabbage grown in the ground, but you can still enjoy a delicious harvest.
Leave a Comment