
Malabar Spinach Propagation: Ever dreamt of having a lush, vibrant green climbing vine adorning your garden, providing you with delicious, nutritious leaves for your meals? Imagine never having to buy spinach again! Well, you can make that dream a reality, and it’s easier than you think! This DIY guide will unlock the secrets to effortlessly propagating Malabar Spinach, a beautiful and versatile plant that’s surprisingly simple to grow.
Malabar Spinach, also known as Ceylon Spinach or vine spinach, isn’t actually a true spinach, but its leaves offer a similar flavor and texture. Originating from tropical Asia, it has been cultivated for centuries and is a staple in many Asian cuisines. It’s not just a tasty addition to your diet; it’s also packed with vitamins and minerals, making it a healthy choice for you and your family.
Why should you learn Malabar Spinach Propagation? Because it’s a cost-effective and sustainable way to enjoy fresh greens right in your backyard! Instead of relying on store-bought spinach, which can be expensive and may contain pesticides, you can easily grow your own organic supply. Plus, propagating Malabar Spinach is a rewarding experience that connects you with nature and allows you to witness the miracle of plant growth firsthand. I’m excited to share these simple tricks and hacks that will have you harvesting your own Malabar Spinach in no time!
Propagating Malabar Spinach: A Beginner’s Guide
Hey there, fellow gardening enthusiasts! Today, I’m super excited to share my experience with propagating Malabar spinach, also known as Basella alba. This climbing vine is not only beautiful but also produces delicious, nutritious leaves that are perfect for salads, stir-fries, and soups. Plus, it’s incredibly easy to propagate, making it a rewarding project for gardeners of all levels. Let’s dive in!
Understanding Malabar Spinach Propagation
Before we get our hands dirty, let’s quickly understand the basics. Malabar spinach can be propagated in a couple of ways: by seed or by stem cuttings. While seeds are an option, I personally prefer stem cuttings because they’re faster and more reliable. You’re essentially cloning the parent plant, ensuring you get the same desirable traits.
Here’s a quick overview of what we’ll cover:
* Choosing the Right Stem Cutting: Selecting a healthy and vigorous stem is crucial for successful propagation.
* Preparing the Cutting: Getting the cutting ready for rooting.
* Rooting Methods: Exploring water propagation and direct soil planting.
* Planting and Caring for Your New Plant: Ensuring your new Malabar spinach thrives.
Choosing the Right Stem Cutting
This is arguably the most important step. A healthy cutting is the foundation for a thriving new plant.
1. Inspect the Parent Plant: Start by examining your existing Malabar spinach plant. Look for healthy, vigorous vines with plenty of leaves. Avoid stems that are yellowing, damaged, or showing signs of disease.
2. Select a Mature Stem: Choose a stem that’s at least 6-8 inches long. It should be relatively mature, meaning it’s not too young and tender, but also not woody and old. A good stem will be firm and flexible.
3. Identify Nodes: Nodes are the points on the stem where leaves emerge. These are where the roots will develop, so make sure your cutting has at least 2-3 nodes.
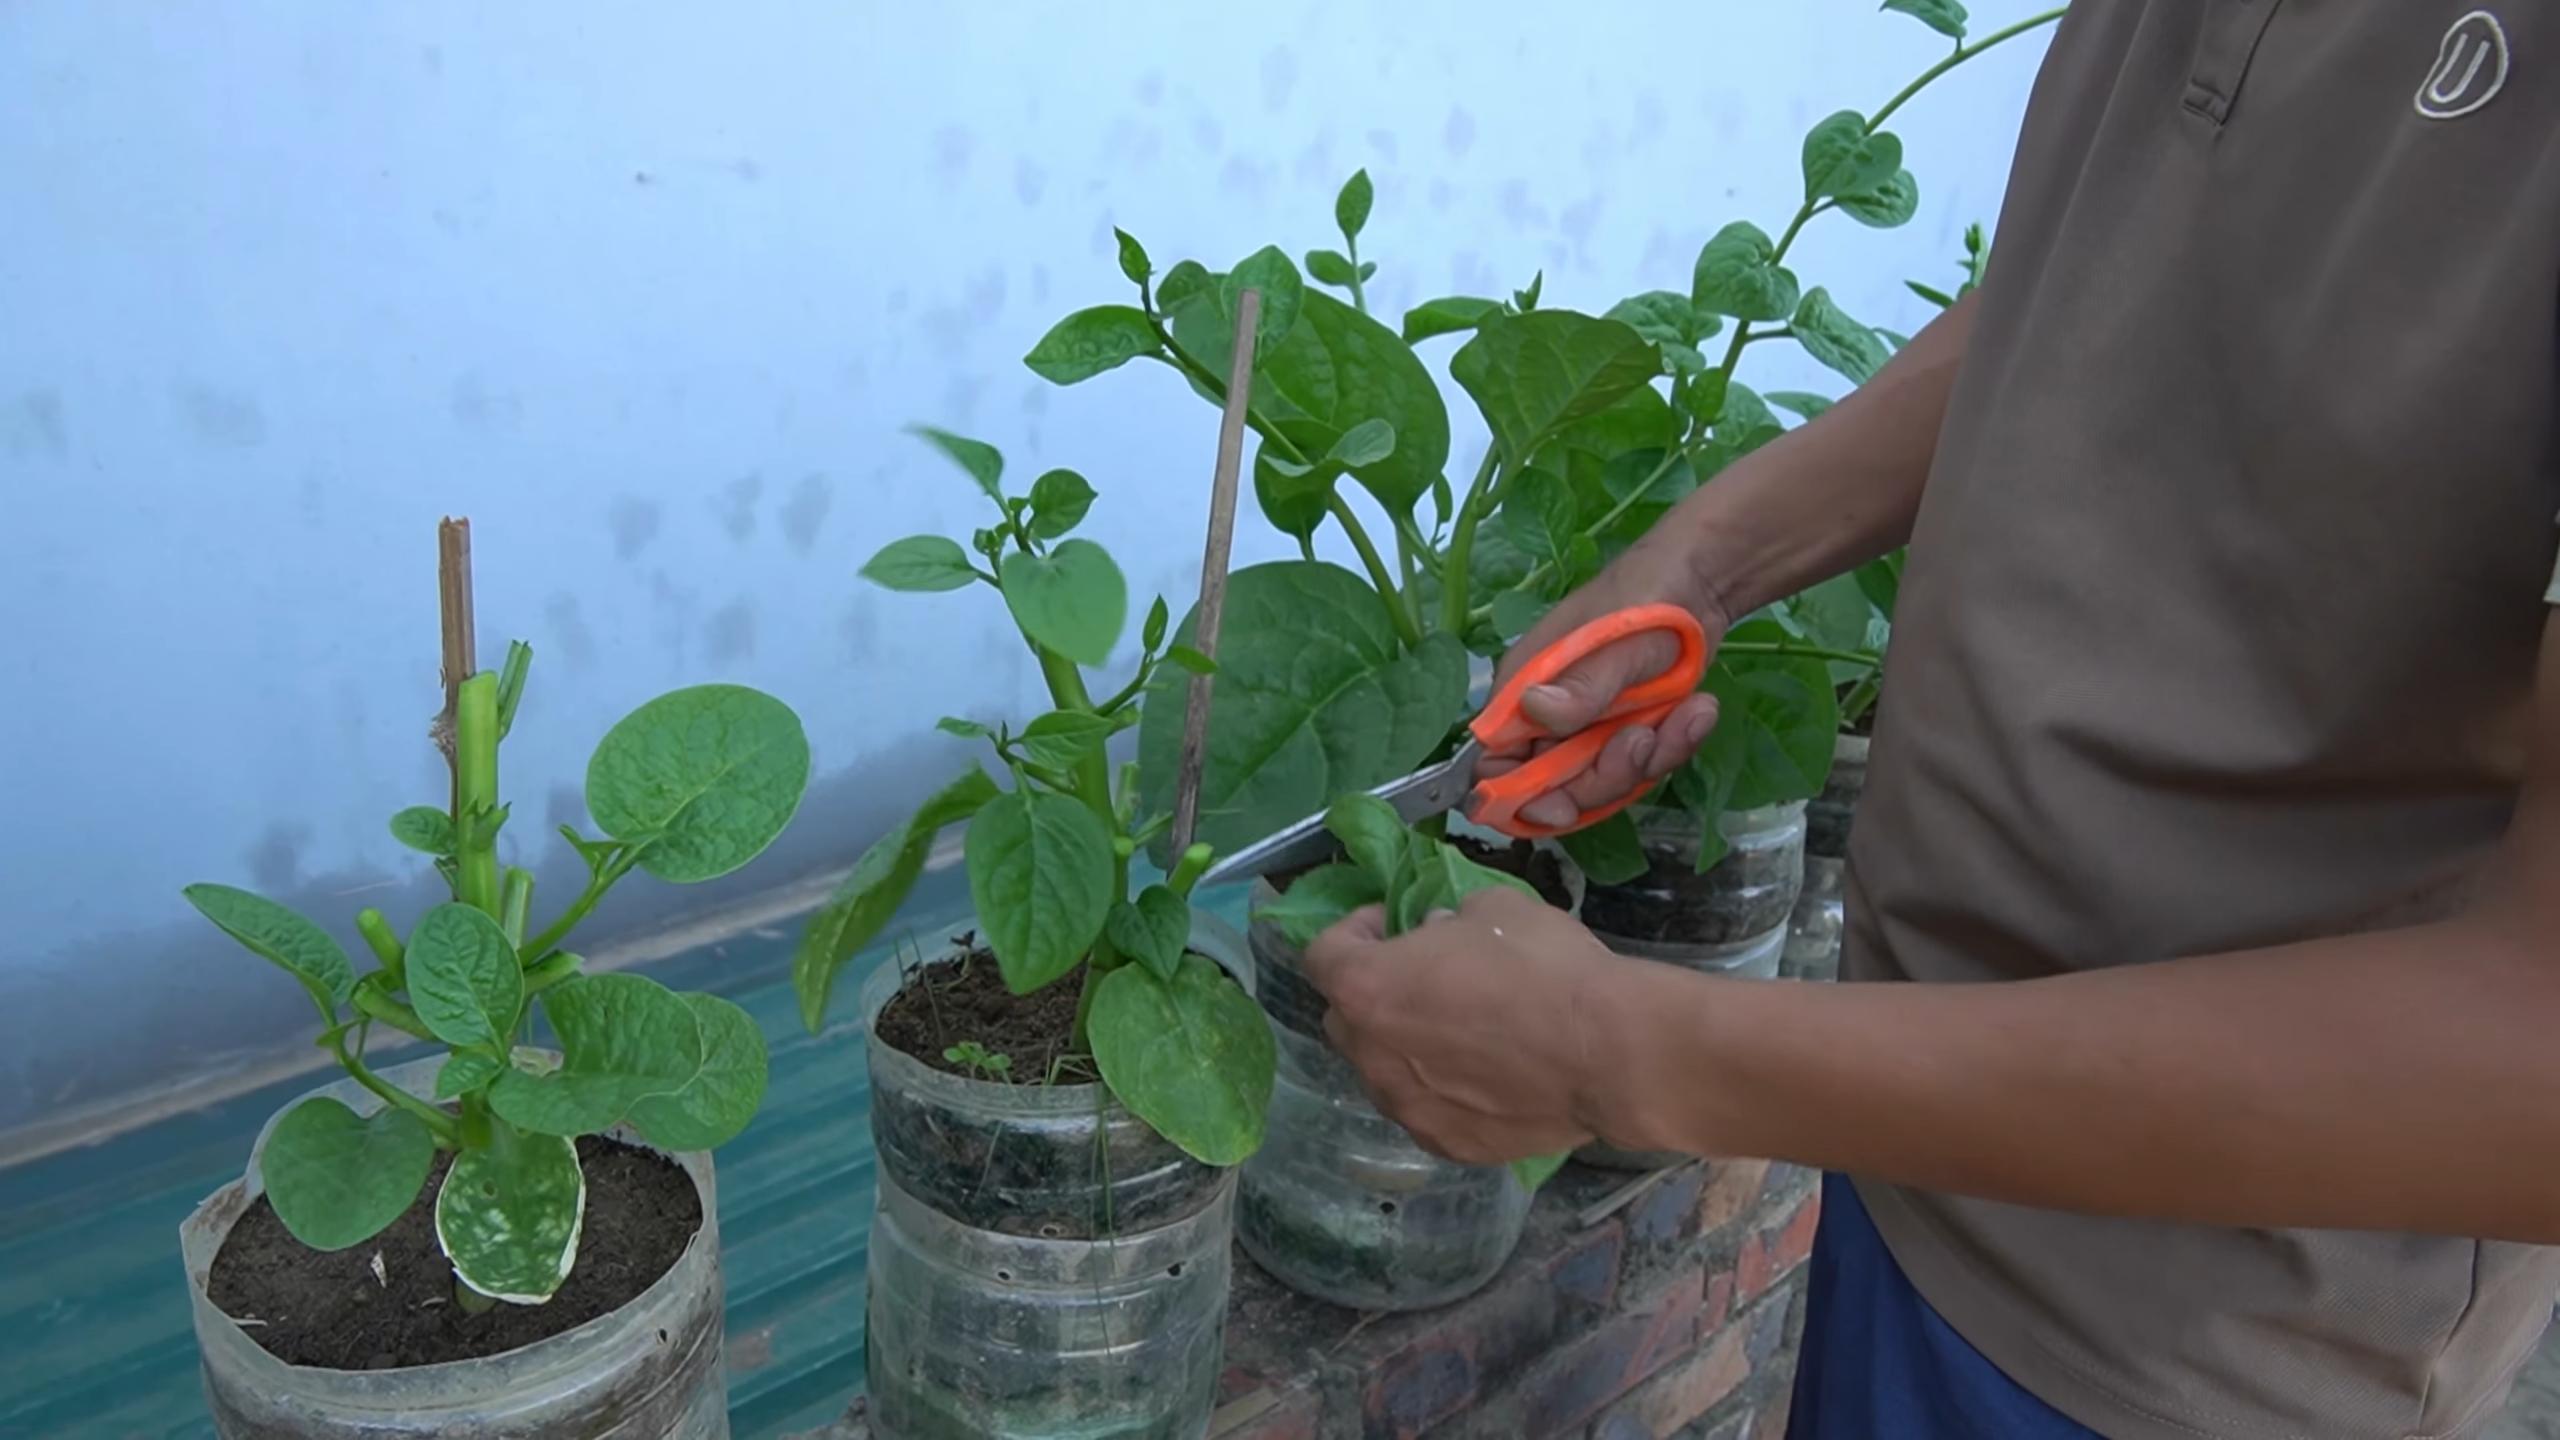
4. Make the Cut: Using clean, sharp pruning shears or a knife, make a clean cut just below a node. A clean cut minimizes the risk of infection and encourages faster rooting. I always sterilize my tools with rubbing alcohol before and after taking cuttings.
Preparing the Cutting
Now that you have your cutting, it’s time to prepare it for rooting.
1. Remove Lower Leaves: Carefully remove the leaves from the bottom 2-3 inches of the stem. This prevents the leaves from rotting when submerged in water or buried in soil, which can contaminate the cutting and hinder root development.
2. Optional: Rooting Hormone: While not strictly necessary, using a rooting hormone can significantly increase your success rate. Dip the cut end of the stem into the rooting hormone powder or liquid, following the instructions on the product label. I’ve found that rooting hormone helps speed up the rooting process and encourages stronger root growth, especially in cooler temperatures.
3. Let the Cut End Callous (Optional): Some gardeners prefer to let the cut end of the stem callous over for a day or two before rooting. This helps prevent rot. Simply place the cutting in a dry, shaded area and allow the cut end to dry out slightly. I’ve had success both with and without callousing, so it’s really a matter of personal preference.
Rooting Methods: Water Propagation vs. Direct Soil Planting
There are two main methods for rooting Malabar spinach cuttings: water propagation and direct soil planting. I’ve tried both, and each has its pros and cons.
Water Propagation
This is my preferred method because it allows you to visually monitor root development. It’s also a great way to get a head start on the growing season.
1. Choose a Container: Select a clean glass or jar. I like to use clear containers so I can easily see the roots growing.
2. Fill with Water: Fill the container with fresh, clean water. Avoid using tap water that’s heavily chlorinated. If your tap water is heavily chlorinated, let it sit out for 24 hours to allow the chlorine to dissipate, or use filtered water.
3. Place the Cutting: Place the cutting in the water, ensuring that the bottom nodes are submerged but the leaves are above the water line.
4. Provide Light: Place the container in a bright, indirect light location. Avoid direct sunlight, which can scorch the leaves.
5. Change the Water Regularly: Change the water every 2-3 days to prevent algae growth and keep the water fresh.
6. Wait for Roots: Within a week or two, you should start to see roots emerging from the nodes. Be patient! It can sometimes take longer depending on the temperature and humidity.
7. Plant When Ready: Once the roots are about 1-2 inches long, it’s time to plant your new Malabar spinach in soil.
Direct Soil Planting
This method is simpler and eliminates the need for transplanting, but you can’t see the roots developing.
1. Prepare the Soil: Fill a small pot with well-draining potting mix. I like to use a mix of peat moss, perlite, and vermiculite.
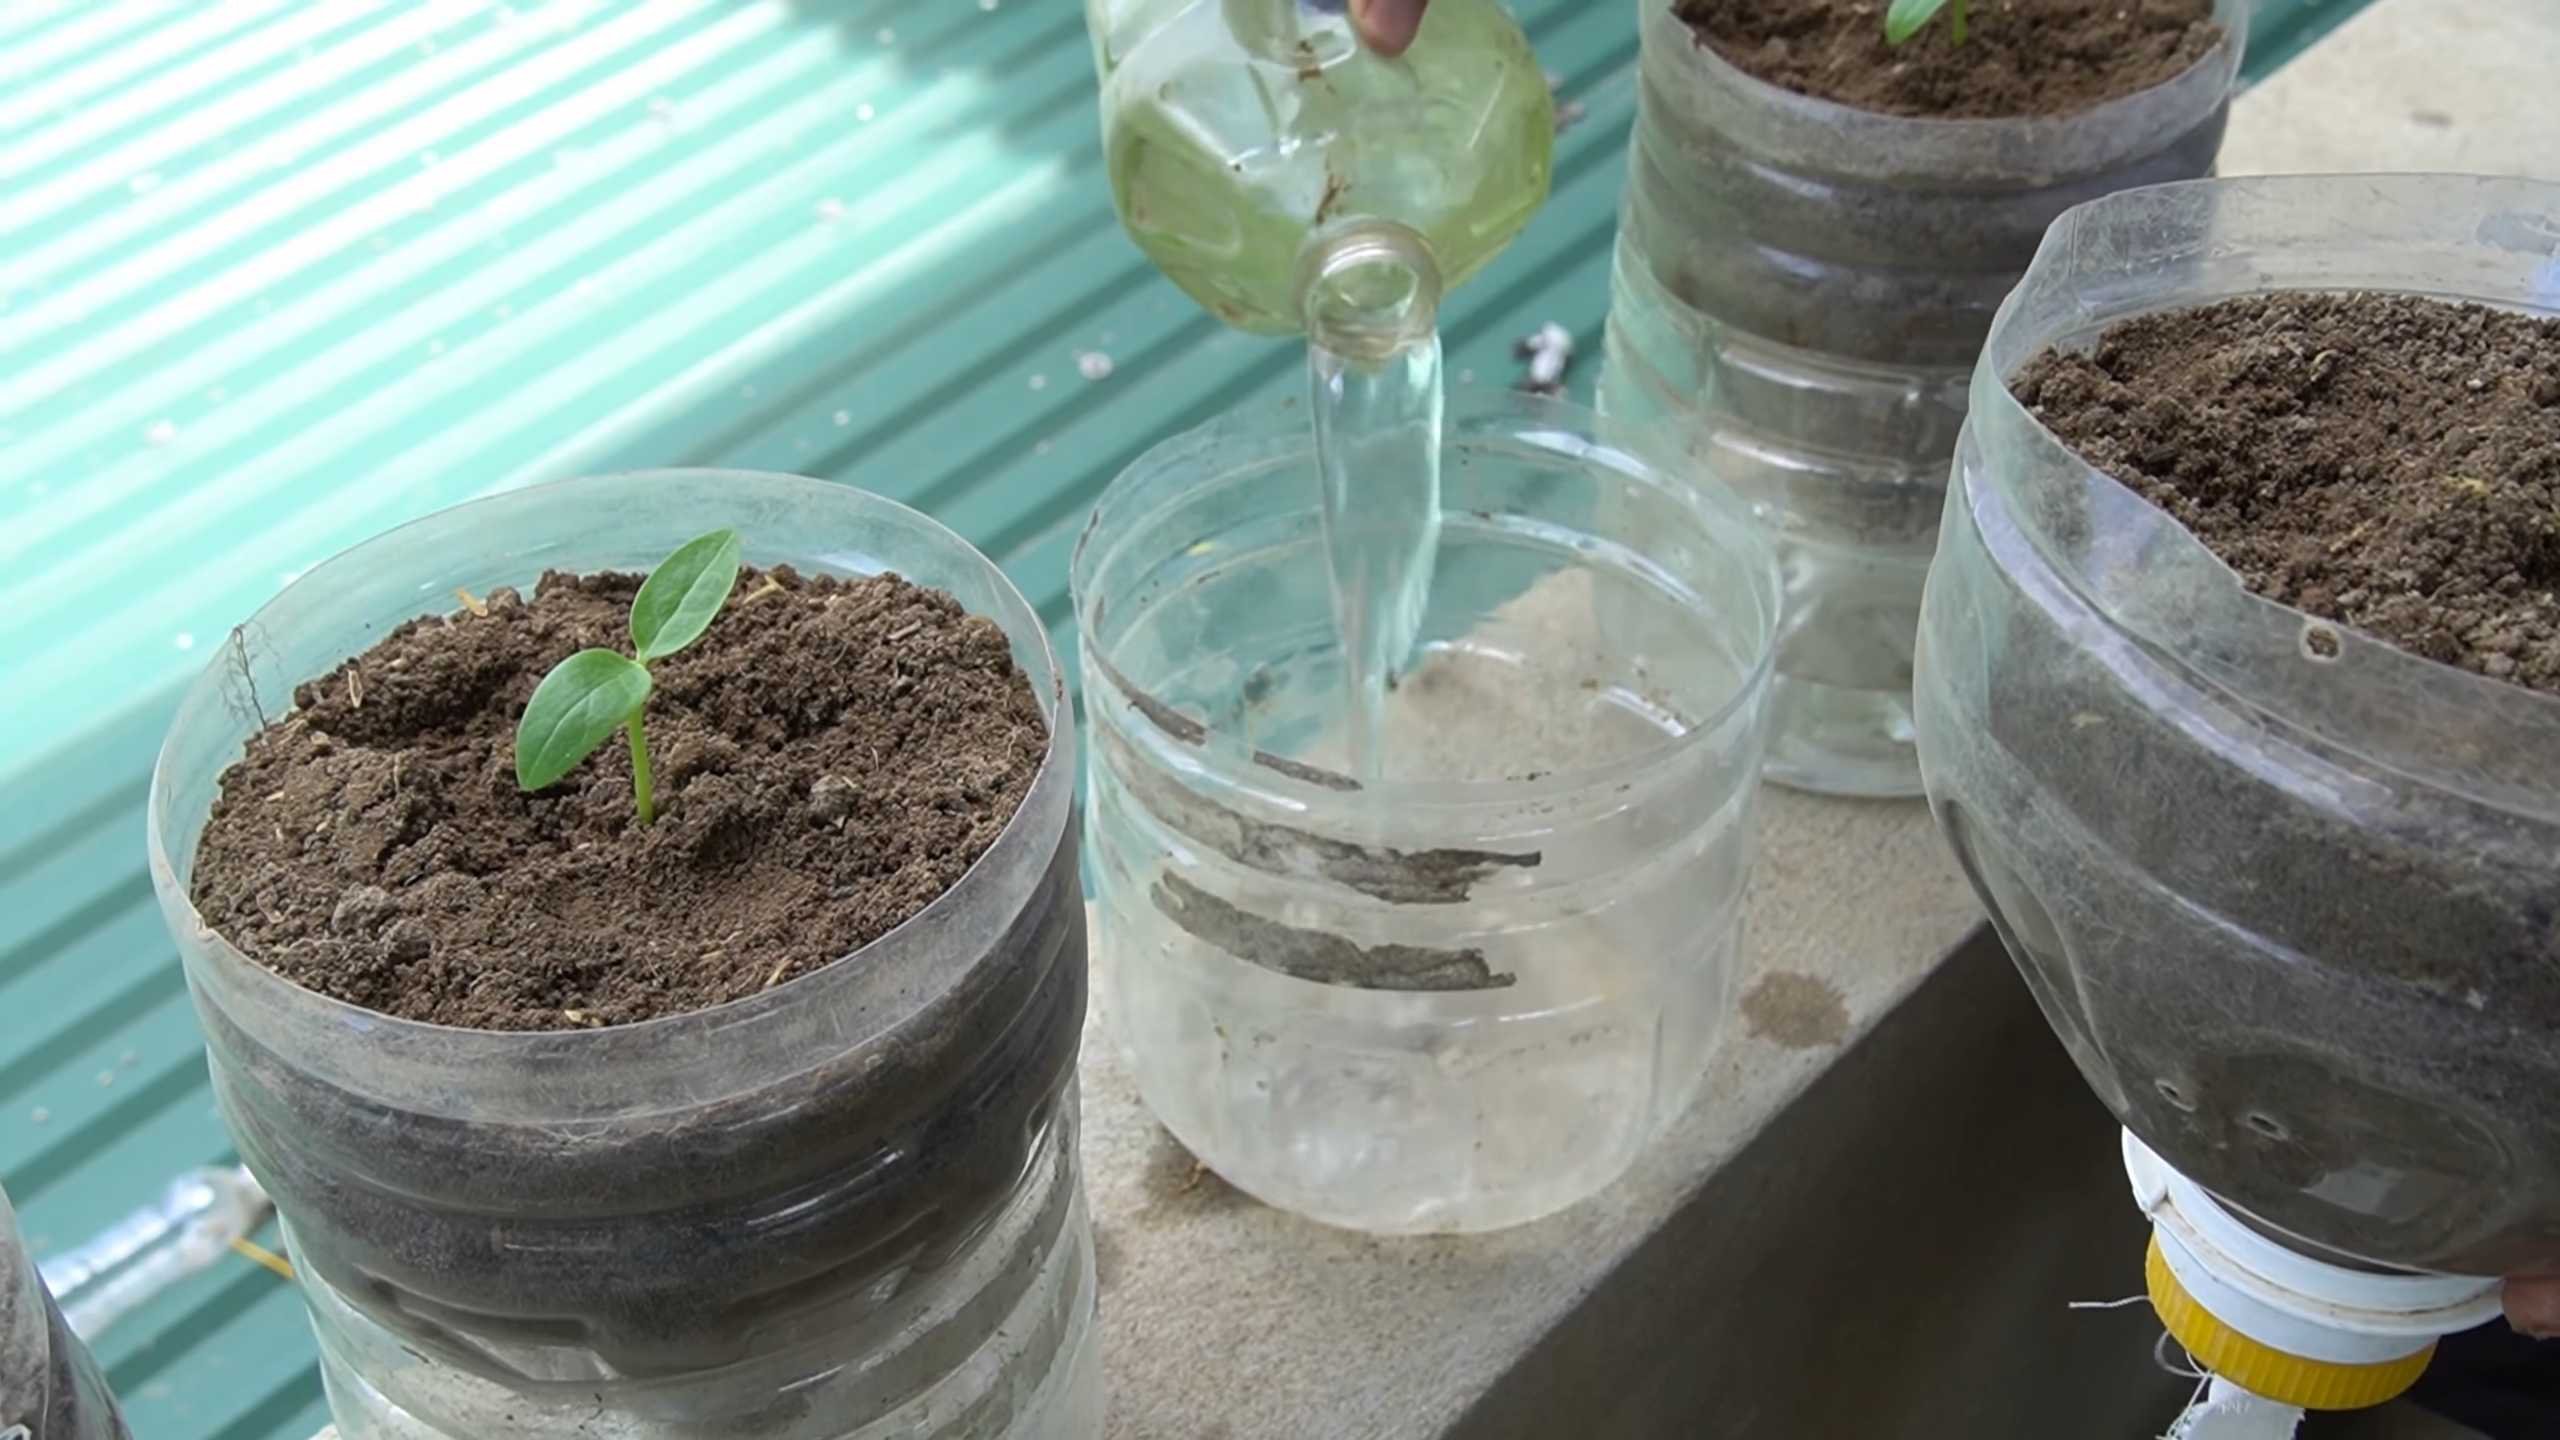
2. Moisten the Soil: Water the soil thoroughly until it’s evenly moist but not soggy.
3. Make a Hole: Use a pencil or your finger to create a small hole in the center of the pot.
4. Insert the Cutting: Gently insert the cut end of the stem into the hole, making sure the bottom nodes are buried in the soil.
5. Gently Firm the Soil: Gently firm the soil around the base of the cutting to provide support.
6. Provide Humidity: To create a humid environment, cover the pot with a clear plastic bag or a humidity dome. This helps prevent the cutting from drying out before it can develop roots.
7. Provide Light: Place the pot in a bright, indirect light location.
8. Monitor Moisture: Keep the soil consistently moist but not soggy. Check the moisture level daily and water as needed.
9. Wait for Roots: After a few weeks, gently tug on the cutting. If it resists, it means roots have developed.
Planting and Caring for Your New Plant
Whether you rooted your cutting in water or directly in soil, the next step is to plant it in a larger pot or directly in the garden.
1. Choose a Location: Malabar spinach thrives in full sun to partial shade. Choose a location that receives at least 6 hours of sunlight per day.
2. Prepare the Soil: Malabar spinach prefers well-draining soil that’s rich in organic matter. Amend the soil with compost or well-rotted manure before planting.
3. Planting: Gently remove the rooted cutting from its container and plant it in the prepared soil. Space plants about 12-18 inches apart.
4. Watering: Water thoroughly after planting. Keep the soil consistently moist, especially during hot, dry weather.
5. Fertilizing: Fertilize your Malabar spinach every few weeks with a balanced fertilizer.
6. Support: Malabar spinach is a climbing vine, so it needs a trellis or other support to grow on. Provide a trellis, fence, or other structure for the vine to climb.
7. Pruning: Prune your Malabar spinach regularly to encourage bushier growth and prevent it from becoming too leggy. You can also harvest the leaves as needed for cooking.
8. Pest and Disease Control: Malabar spinach is generally pest and disease resistant, but it can be susceptible to aphids and spider mites. Inspect your plants regularly and treat any infestations promptly.
Troubleshooting
Sometimes, things don’t go as planned. Here are a few common problems you might encounter and how to fix them:
* Cuttings Rotting: This is usually caused by overwatering or poor drainage. Make sure your soil is well-draining and avoid overwatering. If you’re using water propagation, change the water regularly.
* Cuttings Not Rooting: This could be due to a number of factors, including poor quality cuttings, insufficient light, or low humidity. Make sure you’re using healthy cuttings, providing adequate light, and maintaining a humid environment.
* Yellowing Leaves: This could be a sign of overwatering, underwatering, or nutrient deficiency. Check the soil moisture and adjust your watering accordingly. Fertilize your plants regularly with a balanced fertilizer.
And that’s it! With a little patience and care, you can easily propagate Malabar spinach and enjoy a bountiful harvest of delicious, nutritious leaves. Happy gardening!
Conclusion
So, there you have it! Mastering Malabar spinach propagation is not only achievable but also incredibly rewarding. Forget relying solely on nurseries or seed packets; with a little patience and this simple DIY trick, you can cultivate a thriving supply of this nutritious and delicious leafy green right in your own backyard.
Why is this a must-try? Because it empowers you to become self-sufficient in your gardening endeavors. You’re no longer dependent on external sources for your Malabar spinach. You control the quality, the quantity, and the entire growing process. Plus, it’s a fantastic way to connect with nature and witness the miracle of plant growth firsthand. Imagine the satisfaction of harvesting vibrant, healthy leaves that you propagated yourself!
But the benefits don’t stop there. This method is cost-effective. Instead of repeatedly purchasing seeds or seedlings, you can simply take cuttings from your existing plants and multiply your yield exponentially. It’s also environmentally friendly, reducing your carbon footprint by minimizing the need for transportation and packaging associated with store-bought plants.
Now, let’s talk variations. While stem cuttings are the most common and reliable method, you can also experiment with propagating Malabar spinach from seeds, although germination rates can be somewhat unpredictable. If you’re feeling adventurous, try rooting cuttings directly in water before transplanting them to soil. This allows you to observe root development and ensure a higher success rate. Another variation involves using different rooting mediums. While we recommend a well-draining potting mix, you can also try perlite, vermiculite, or even a combination of these materials. Each medium offers unique benefits in terms of aeration and moisture retention.
Consider experimenting with different types of containers for your cuttings. Small pots, seedling trays, or even repurposed plastic containers can all work well. Just make sure the container has adequate drainage holes to prevent waterlogging. You can also try using a rooting hormone to further enhance root development, although it’s not strictly necessary.
Don’t be afraid to experiment and adapt the technique to suit your specific growing conditions and preferences. Gardening is all about learning and discovering what works best for you.
We wholeheartedly encourage you to try this DIY Malabar spinach propagation trick. It’s a simple, effective, and rewarding way to expand your garden and enjoy a continuous supply of this versatile vegetable. Once you’ve given it a try, we’d love to hear about your experience! Share your successes, your challenges, and any tips or tricks you’ve discovered along the way in the comments section below. Your feedback will not only help other readers but also contribute to a collective knowledge base on Malabar spinach propagation. Let’s grow together!
Frequently Asked Questions (FAQ)
What is the best time of year to propagate Malabar spinach?
The ideal time to propagate Malabar spinach is during the warm growing season, typically from late spring to early fall. This is when the plant is actively growing and will root most readily. Avoid propagating during the colder months when growth is slow or dormant. The warmer temperatures and longer daylight hours provide the optimal conditions for successful root development. You’ll notice the cuttings take root much faster during these months.
How long does it take for Malabar spinach cuttings to root?
Rooting time can vary depending on environmental factors such as temperature, humidity, and light. Generally, you can expect to see roots developing within 1 to 2 weeks. Keep the cuttings consistently moist and provide them with bright, indirect light to encourage faster rooting. You can gently check for root development by carefully tugging on the cutting. If you feel resistance, it indicates that roots have formed.
What kind of soil is best for rooting Malabar spinach cuttings?
A well-draining potting mix is ideal for rooting Malabar spinach cuttings. This type of mix provides adequate aeration and prevents waterlogging, which can lead to root rot. You can also amend your potting mix with perlite or vermiculite to further improve drainage. Avoid using heavy garden soil, as it can compact and suffocate the roots. A light and airy mix will promote healthy root growth.
How often should I water the cuttings?
Keep the rooting medium consistently moist, but not waterlogged. Water the cuttings whenever the top inch of soil feels dry to the touch. Avoid letting the soil dry out completely, as this can stress the cuttings and hinder root development. Similarly, avoid overwatering, as this can lead to root rot. A good rule of thumb is to check the moisture level daily and water as needed.
What kind of light do Malabar spinach cuttings need?
Malabar spinach cuttings need bright, indirect light to root successfully. Avoid placing them in direct sunlight, as this can scorch the leaves and dry out the cuttings too quickly. A location near a window with filtered sunlight is ideal. If you don’t have access to natural light, you can use a grow light to provide supplemental illumination.
Can I propagate Malabar spinach from seeds?
Yes, you can propagate Malabar spinach from seeds, but the germination rate can be somewhat unpredictable. To improve germination, soak the seeds in water for 24 hours before planting. Sow the seeds in a well-draining potting mix and keep them consistently moist. Germination typically occurs within 1 to 3 weeks.
What are some common problems when propagating Malabar spinach and how can I fix them?
Some common problems include root rot, leaf yellowing, and failure to root. Root rot is usually caused by overwatering. To prevent it, ensure your potting mix is well-draining and avoid letting the cuttings sit in standing water. Leaf yellowing can be caused by nutrient deficiencies or insufficient light. Provide the cuttings with adequate light and consider using a diluted liquid fertilizer. If the cuttings fail to root, check the moisture level and ensure they are receiving adequate light. You can also try using a rooting hormone to stimulate root development.
How do I know when the cuttings are ready to be transplanted?
The cuttings are ready to be transplanted when they have developed a healthy root system, typically after 2 to 3 weeks. The roots should be at least an inch long and well-branched. Gently remove the cuttings from the rooting medium and transplant them into individual pots or directly into your garden.
Can I grow Malabar spinach in containers?
Yes, Malabar spinach grows well in containers. Choose a large container with good drainage holes. Fill the container with a well-draining potting mix and plant the seedlings or rooted cuttings. Provide the plants with adequate sunlight, water, and fertilizer. Malabar spinach is a vining plant, so you may need to provide a trellis or other support for it to climb.
Is Malabar spinach edible?
Yes, Malabar spinach is edible. Both the leaves and stems can be eaten raw or cooked. The leaves have a mild, slightly peppery flavor and are a good source of vitamins and minerals. Malabar spinach can be used in salads, soups, stir-fries, and other dishes. It’s a versatile and nutritious addition to any garden.

Leave a Comment