
CIF Cleaner Hacks: Unlock the Sparkling Secrets to a Spotless Home!
Have you ever stared at a stubborn stain, wishing you had a magic wand to make it disappear? Well, maybe a magic wand is a bit much, but I’m here to tell you about something just as effective: CIF Cleaner Hacks! For generations, CIF has been a trusted name in cleaning, but did you know its uses extend far beyond what’s on the label? Think of it as the Swiss Army knife of your cleaning supplies!
Cleaning, in its essence, is an age-old practice. From ancient civilizations using natural remedies to the modern-day obsession with spotless homes, the desire for cleanliness is deeply ingrained in our culture. But let’s face it, nobody wants to spend hours scrubbing! That’s where these clever CIF Cleaner Hacks come in. I’m going to share some of my favorite tips and tricks that will save you time, money, and a whole lot of elbow grease.
In this article, I’ll reveal how to use CIF in unexpected ways to tackle everything from scuffed shoes to grimy grout. These aren’t just cleaning tips; they’re game-changers that will transform your cleaning routine. Get ready to discover the hidden potential of your CIF cleaner and say goodbye to those frustrating cleaning challenges!
Growing Brussels Sprouts in Containers: A Comprehensive DIY Guide
Hey there, fellow gardening enthusiasts! I’m so excited to share my experience with growing Brussels sprouts in containers. It’s totally doable, even if you don’t have a sprawling backyard. I’ve learned a few tricks along the way, and I’m here to guide you through the entire process, from choosing the right container to harvesting those delicious little sprouts. Let’s get started!
Choosing the Right Container and Soil
First things first, you need to pick the perfect home for your Brussels sprouts. Size matters! And so does the soil.
* Container Size: Brussels sprouts need room to grow, both above and below the soil. I recommend a container that’s at least 18 inches in diameter and 18 inches deep. A 5-gallon bucket can work in a pinch, but bigger is definitely better. Think about it – these plants get pretty tall!
* Material: Plastic, terracotta, or even fabric pots will work. Just make sure your chosen container has good drainage holes. Soggy roots are a Brussels sprout’s worst enemy.
* Soil: Don’t skimp on the soil! Brussels sprouts are heavy feeders, meaning they need a nutrient-rich environment. I always use a high-quality potting mix specifically formulated for vegetables. Avoid using garden soil directly in your containers, as it can compact and not drain well. I like to amend my potting mix with compost for an extra boost of nutrients.
Planting Your Brussels Sprouts
Now for the fun part – getting those little plants into their new home! You can start from seeds or buy seedlings from a local nursery. I’ve done both, and honestly, seedlings are a bit easier for beginners.
* Starting from Seeds: If you’re starting from seeds, sow them indoors about 6-8 weeks before the last expected frost. Plant the seeds about ½ inch deep in seed-starting trays or small pots. Keep the soil moist and warm (around 70-75°F). Once the seedlings have a few sets of true leaves, you can transplant them into larger containers.
* Transplanting Seedlings: Whether you started from seeds or bought seedlings, the transplanting process is the same.
1. Prepare the Container: Fill your chosen container with the potting mix, leaving a few inches of space at the top.
2. Dig a Hole: Dig a hole in the center of the container that’s large enough to accommodate the root ball of the seedling.
3. Gently Remove the Seedling: Carefully remove the seedling from its original container, being careful not to damage the roots. Gently loosen the roots if they’re tightly packed.
4. Place the Seedling: Place the seedling in the hole, making sure the top of the root ball is level with the soil surface.
5. Fill and Water: Fill in the hole with potting mix and gently pat it down. Water thoroughly until the water drains out of the bottom of the container.
* Spacing: If you’re planting multiple Brussels sprouts in a large container, space them at least 18 inches apart. This gives them enough room to grow and prevents overcrowding.
Caring for Your Brussels Sprouts
This is where the real work begins, but trust me, it’s worth it! Brussels sprouts need consistent care to thrive.
* Sunlight: Brussels sprouts need at least 6 hours of sunlight per day. Place your containers in a sunny spot in your yard or on your patio. If you don’t have a spot that gets enough sunlight, you might consider using grow lights.
* Watering: Water your Brussels sprouts regularly, especially during hot, dry weather. The soil should be consistently moist, but not soggy. Check the soil moisture by sticking your finger about an inch into the soil. If it feels dry, it’s time to water. I usually water deeply every few days, depending on the weather.
* Fertilizing: As I mentioned earlier, Brussels sprouts are heavy feeders. Fertilize them every 2-3 weeks with a balanced liquid fertilizer. Follow the instructions on the fertilizer package. I also like to add a layer of compost to the top of the soil every few weeks to provide a slow-release source of nutrients.
* Pest Control: Keep an eye out for pests like aphids, cabbage worms, and flea beetles. These little critters can wreak havoc on your Brussels sprouts.
* Aphids: These tiny insects suck the sap from the leaves, causing them to curl and yellow. You can control aphids by spraying them with a strong stream of water or by using insecticidal soap.
* Cabbage Worms: These green caterpillars munch on the leaves, leaving behind holes. You can handpick them off the plants or use Bacillus thuringiensis (Bt), a natural insecticide that’s safe for humans and pets.
* Flea Beetles: These tiny beetles jump around when disturbed and leave small holes in the leaves. You can control flea beetles by using row covers or by spraying them with insecticidal soap.
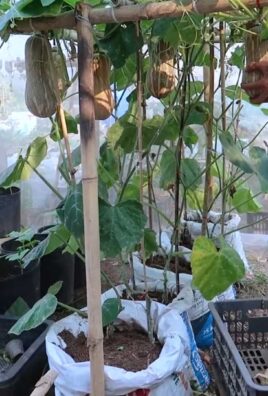
* Supporting the Plants: As your Brussels sprouts grow taller, they may need some support to prevent them from toppling over. You can use stakes or tomato cages to provide support. I usually use bamboo stakes and tie the plants to the stakes with twine.
Harvesting Your Brussels Sprouts
The moment you’ve been waiting for! Harvesting Brussels sprouts is so rewarding.
* When to Harvest: Brussels sprouts are typically ready to harvest in the fall or early winter, after they’ve been exposed to a few frosts. The sprouts should be firm, green, and about 1-2 inches in diameter.
* How to Harvest: Start harvesting from the bottom of the plant and work your way up. Twist the sprouts off the stem, leaving the leaves attached. The plant will continue to produce sprouts as you harvest them.
* Storage: Brussels sprouts can be stored in the refrigerator for up to a week. I like to store them in a plastic bag or container to keep them fresh.
Troubleshooting
Even with the best care, you might encounter some problems along the way. Here are a few common issues and how to fix them:
* Yellowing Leaves: This could be a sign of overwatering, underwatering, or nutrient deficiency. Check the soil moisture and adjust your watering accordingly. Fertilize the plants with a balanced fertilizer.
* Sprouts Not Forming: This could be due to lack of sunlight, poor soil, or warm weather. Make sure the plants are getting enough sunlight and fertilize them regularly. Brussels sprouts prefer cool weather, so if it’s too warm, they may not form sprouts.
* Pest Infestation: As mentioned earlier, pests can be a problem. Regularly inspect your plants for pests and take action as soon as you see them.
Extra Tips and Tricks
Here are a few extra tips that I’ve learned over the years:
* Pinch Off the Top: About a month before you want to harvest, pinch off the top of the plant. This will encourage the sprouts to mature more quickly.
* Rotate Your Crops: Don’t plant Brussels sprouts in the same container year after year. Rotate your crops to prevent soilborne diseases.
* Succession Planting: Plant Brussels sprouts every few weeks to extend your harvest season.
* Enjoy the Leaves: Don’t throw away the leaves! They’re edible and can be cooked like kale or collard greens.
Growing Brussels sprouts in containers is a fun and rewarding experience. With a little bit of care and attention, you can enjoy fresh, homegrown Brussels sprouts all season long. Happy gardening!
Conclusion
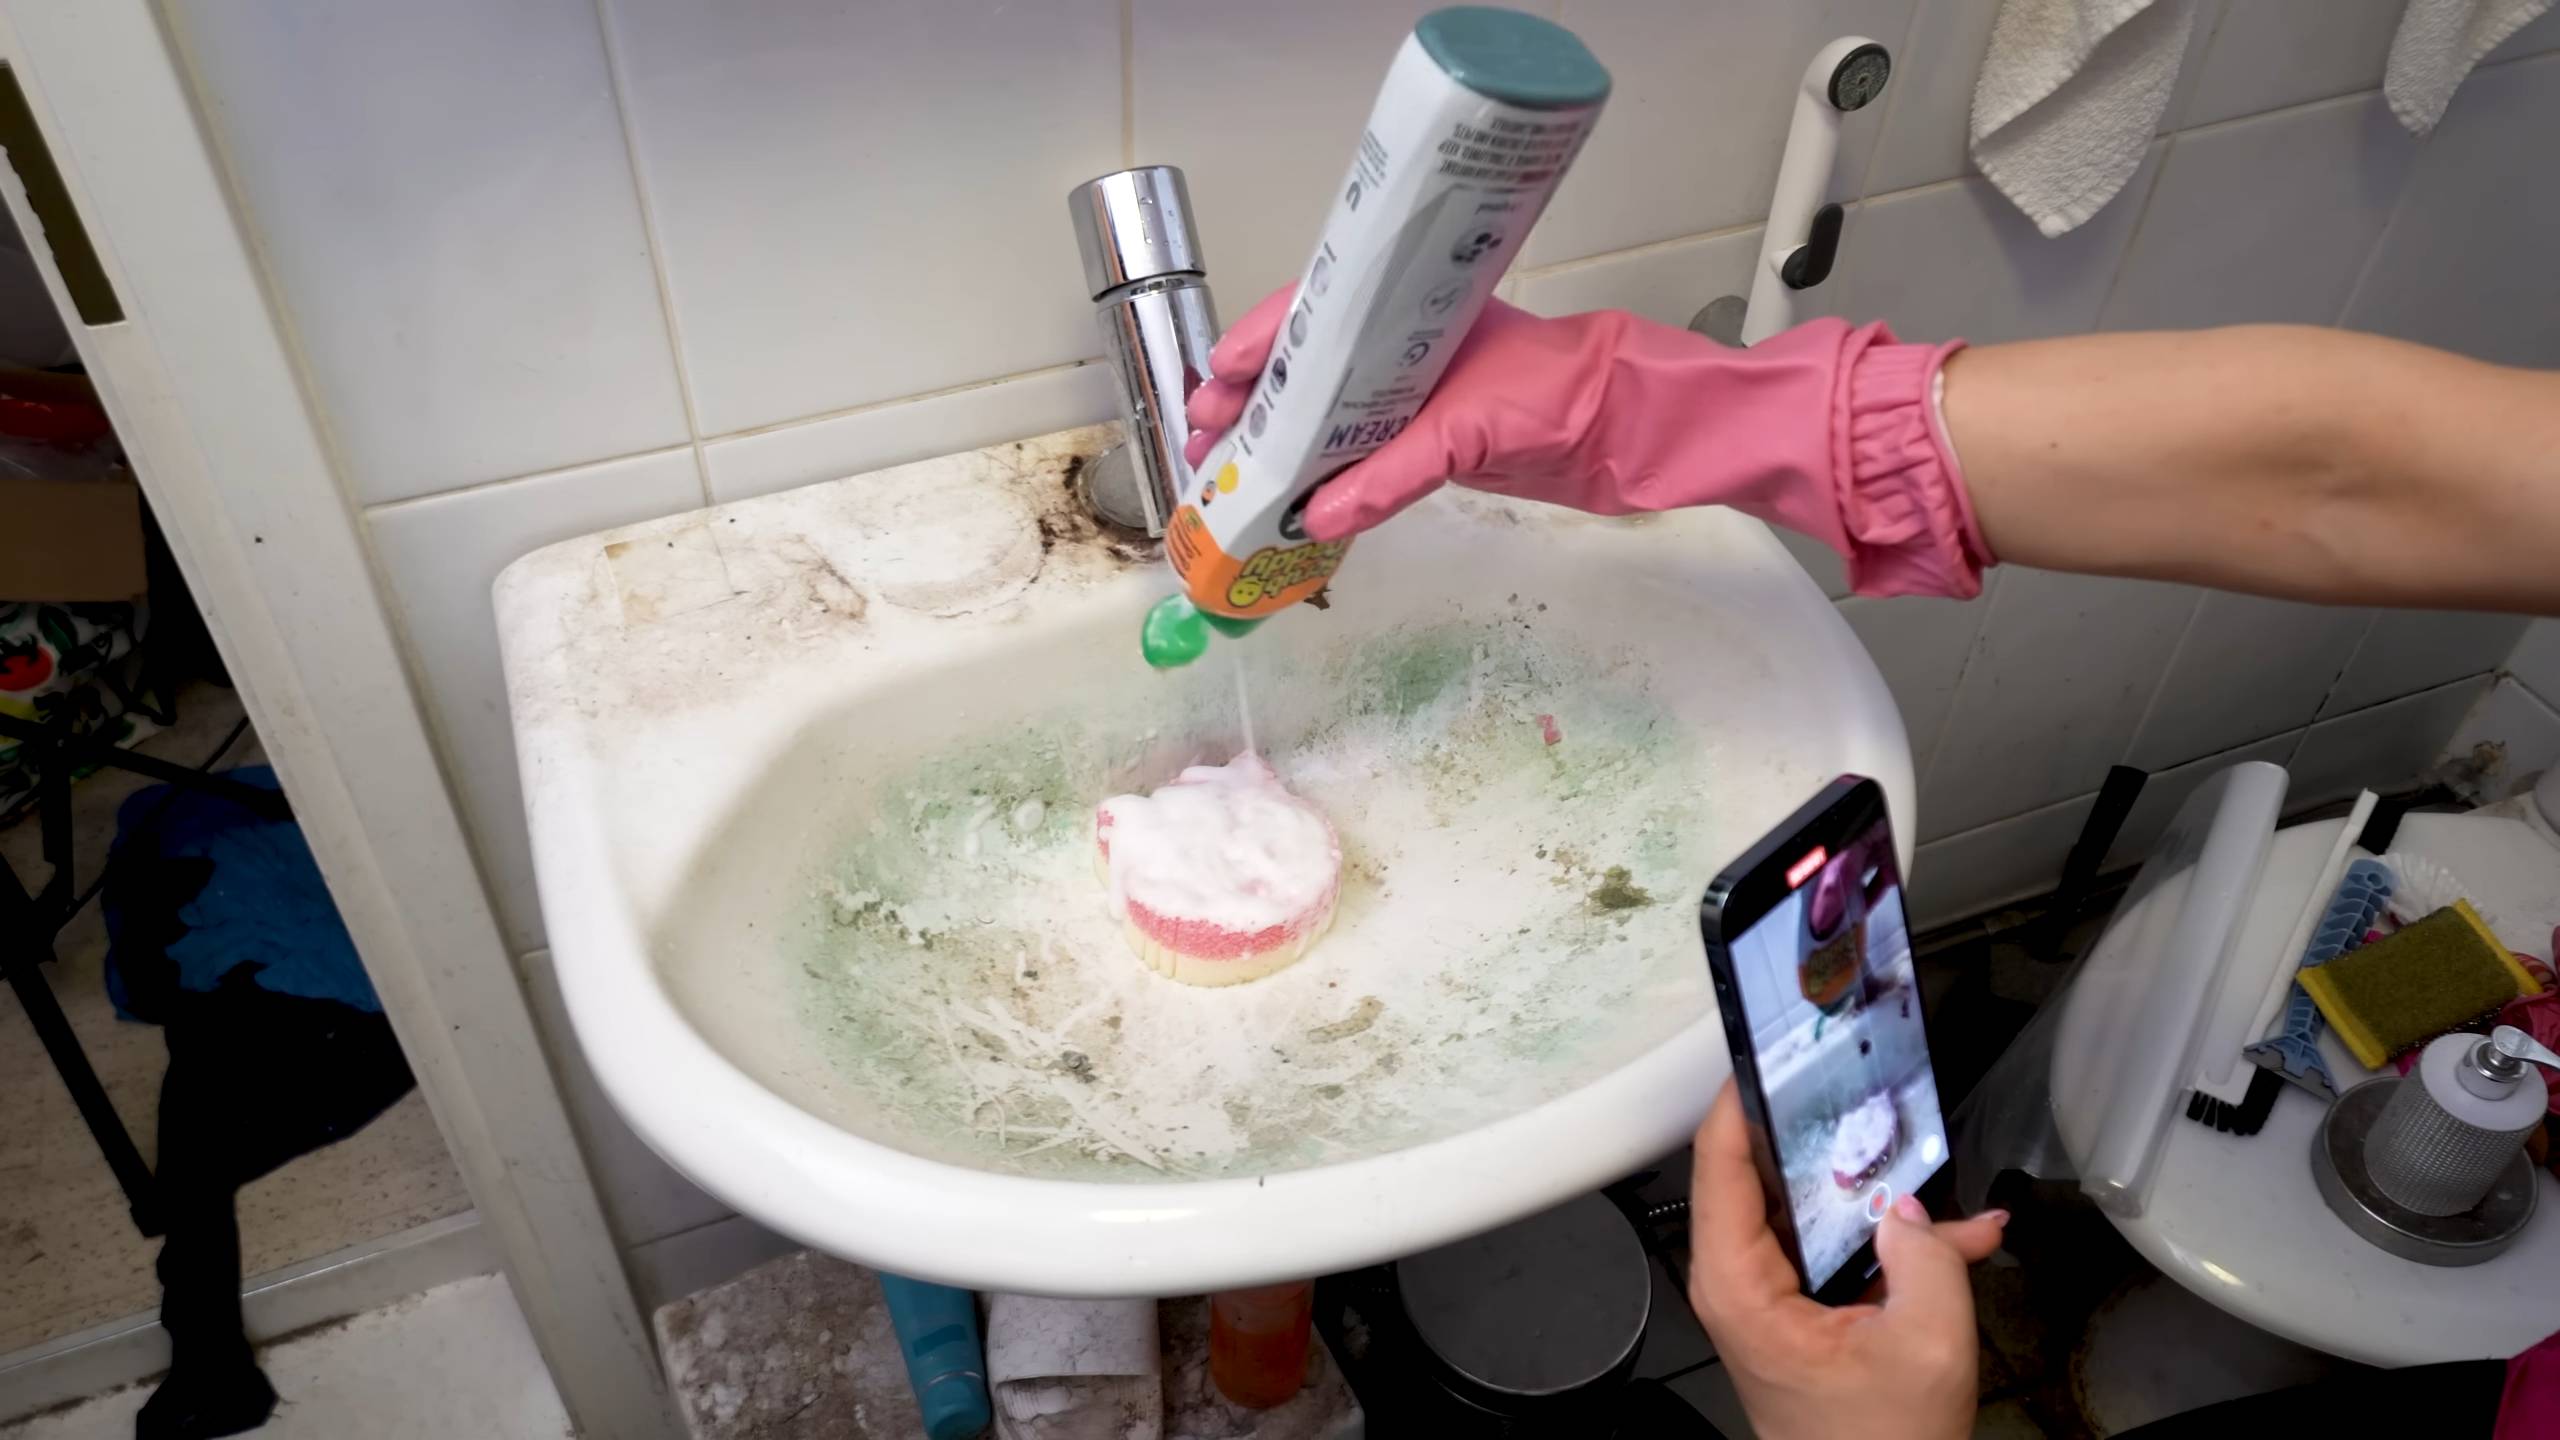
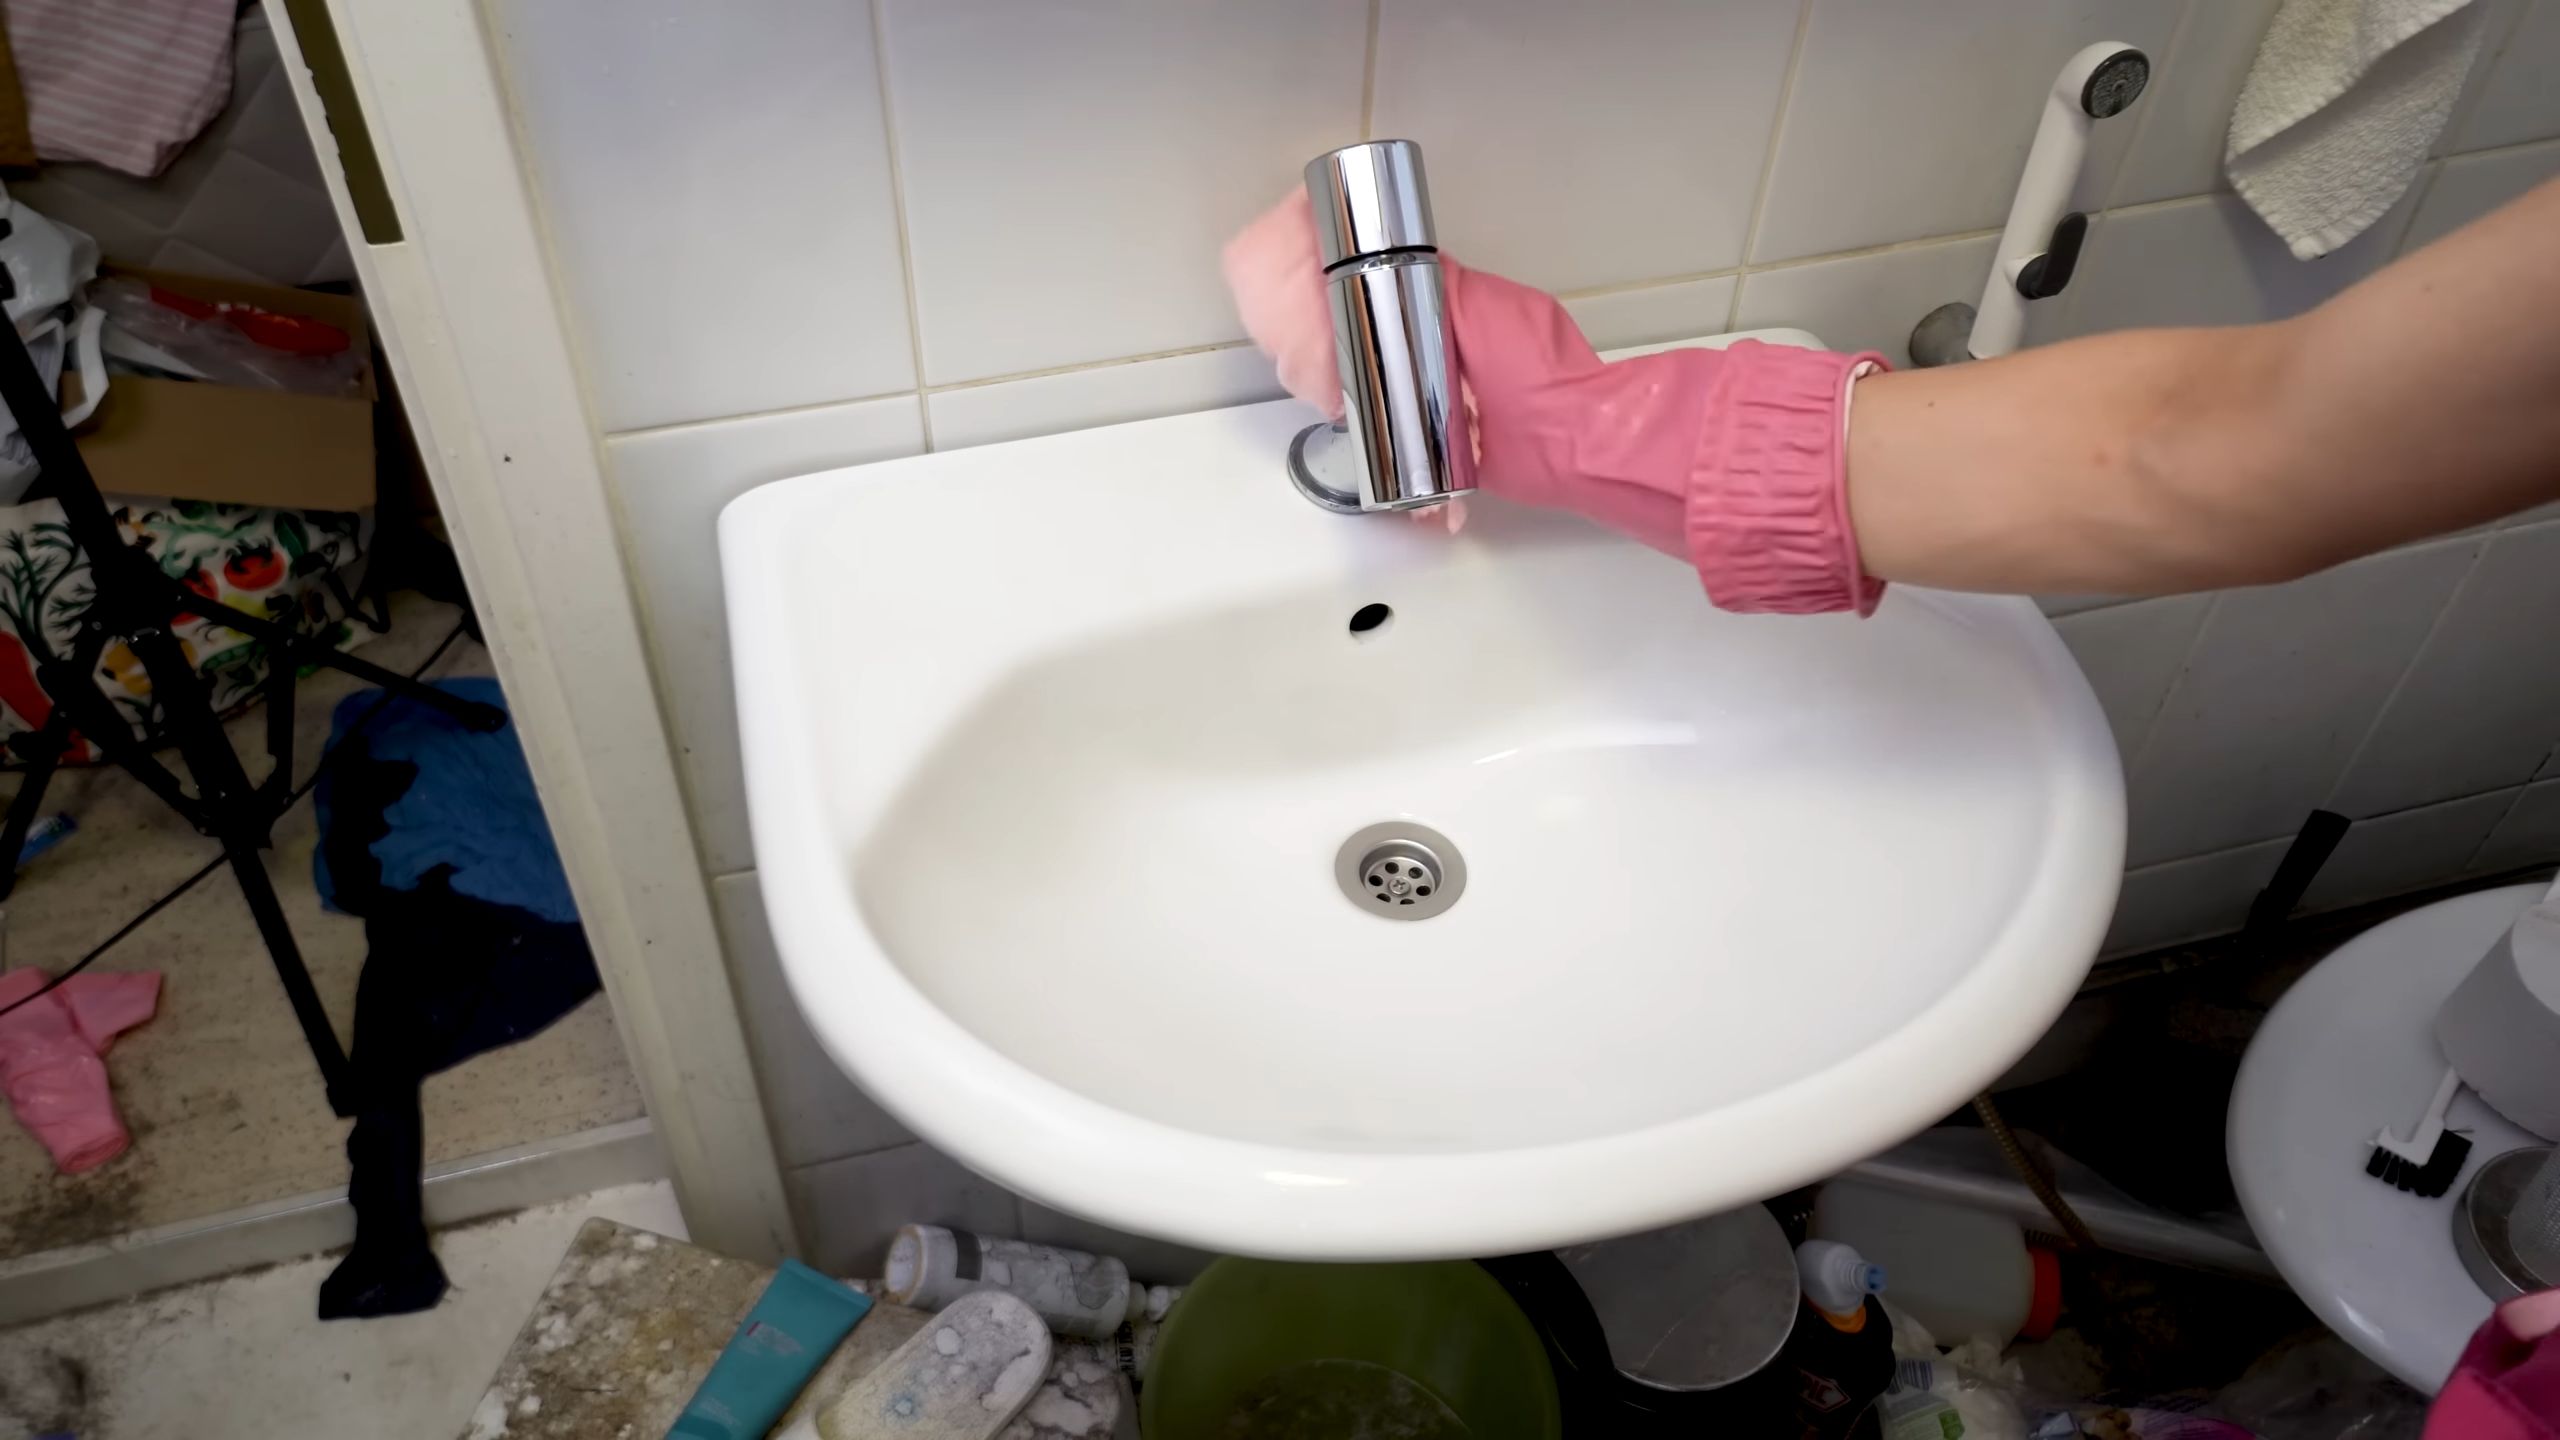
So, there you have it! This simple yet incredibly effective DIY CIF cleaner hack is a game-changer for anyone looking to achieve a sparkling clean home without breaking the bank or relying on harsh chemicals. We’ve shown you how to create a powerful cleaning solution using readily available ingredients, offering a cost-effective and environmentally friendly alternative to store-bought CIF cleaner.
Why is this a must-try? Because it works! It tackles grime, grease, and stubborn stains with ease, leaving surfaces gleaming and fresh. Plus, you have complete control over the ingredients, ensuring a safer and healthier cleaning experience for you and your family. No more worrying about harsh fumes or potentially harmful chemicals lingering in your home.
But the beauty of this DIY CIF cleaner hack lies in its versatility. Feel free to experiment with different essential oils to customize the scent and add extra cleaning power. For example, a few drops of tea tree oil can provide antibacterial benefits, while lemon oil can boost degreasing properties. You can also adjust the ratio of ingredients to suit your specific cleaning needs. If you’re dealing with particularly stubborn stains, try increasing the amount of baking soda or adding a splash of white vinegar.
Don’t be afraid to get creative and tailor this recipe to your preferences!
Consider these variations:
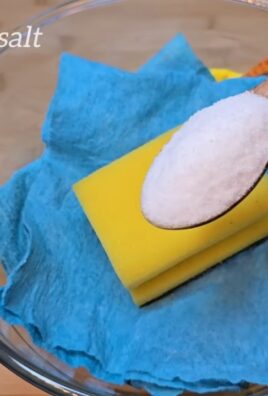
* For a more abrasive scrub: Add a tablespoon of fine salt or sugar to the mixture. This is perfect for tackling tough grime on stovetops or in bathtubs.
* For a citrus boost: Infuse your vinegar with citrus peels (lemon, orange, or grapefruit) for a few weeks before using it in the recipe. This will add a refreshing scent and enhance the cleaning power.
* For a creamier consistency: Use a hand mixer or immersion blender to whip the ingredients together until smooth and creamy. This will make it easier to apply to vertical surfaces.
* For a specific surface: Research which essential oils are best for cleaning specific surfaces, such as lavender for wood or eucalyptus for stainless steel.
We are confident that once you try this DIY CIF cleaner hack, you’ll be amazed by the results. It’s a simple, effective, and affordable way to keep your home clean and healthy.
Now, it’s your turn! We encourage you to give this DIY CIF cleaner hack a try and see the difference for yourself. We’re eager to hear about your experiences, so please share your results, tips, and variations in the comments below. Let’s build a community of DIY cleaning enthusiasts and help each other create sparkling clean homes!
Remember to always test any cleaning solution in an inconspicuous area first to ensure it doesn’t damage the surface. Happy cleaning!
Frequently Asked Questions (FAQ)
What exactly is CIF cleaner, and why should I make my own?
CIF cleaner is a popular brand of household cleaning products known for its effectiveness in removing tough stains and grime from various surfaces. However, store-bought CIF cleaners often contain harsh chemicals, artificial fragrances, and other ingredients that can be harmful to your health and the environment. Making your own DIY CIF cleaner allows you to control the ingredients, avoid potentially harmful substances, and save money. Plus, it’s a fun and rewarding way to create a customized cleaning solution that meets your specific needs.
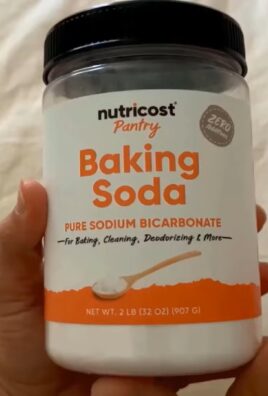
What are the key ingredients in this DIY CIF cleaner hack, and why are they effective?
The key ingredients typically include baking soda, liquid dish soap, and white vinegar. Baking soda is a mild abrasive that helps to scrub away dirt and grime without scratching surfaces. It also has deodorizing properties. Liquid dish soap acts as a surfactant, helping to lift dirt and grease from surfaces. White vinegar is a natural disinfectant and degreaser that can help to remove stubborn stains and mineral deposits. Essential oils are often added for fragrance and additional cleaning benefits.
Can I use this DIY CIF cleaner on all surfaces in my home?
While this DIY CIF cleaner is generally safe for most surfaces, it’s always a good idea to test it in an inconspicuous area first, especially on delicate or sensitive materials like marble, granite, or painted surfaces. Avoid using it on unsealed wood, as the vinegar can damage the finish. For surfaces that are prone to scratching, use a soft cloth or sponge and avoid excessive scrubbing.
How long will this DIY CIF cleaner last, and how should I store it?
This DIY CIF cleaner doesn’t contain any preservatives, so it’s best to use it within a few weeks for optimal effectiveness. Store it in a clean, airtight container in a cool, dark place. Avoid storing it in direct sunlight or extreme temperatures, as this can affect its quality and shelf life. You can use a spray bottle for easy application or a jar for dipping a cloth or sponge.
Can I add essential oils to this DIY CIF cleaner, and which ones are best?
Yes, adding essential oils is a great way to customize the scent and add extra cleaning power to your DIY CIF cleaner. Some popular choices include lemon, tea tree, lavender, eucalyptus, and peppermint. Lemon oil has degreasing properties, tea tree oil is antibacterial, lavender oil is calming and antiseptic, eucalyptus oil is disinfectant and refreshing, and peppermint oil is invigorating and antimicrobial. Use a few drops of your favorite essential oil or a blend of several oils to create a unique and effective cleaning solution.
What if I don’t have all the ingredients listed in the recipe? Can I substitute anything?
While the recommended ingredients are ideal for optimal results, you can make some substitutions if necessary. For example, you can use washing soda instead of baking soda for a stronger cleaning effect. If you don’t have white vinegar, you can use lemon juice as a substitute, although it may not be as effective at removing mineral deposits. If you don’t have liquid dish soap, you can use a small amount of castile soap. However, avoid using harsh detergents or bleach, as these can be harmful and may react with other ingredients.
Is this DIY CIF cleaner safe for children and pets?
While this DIY CIF cleaner is generally safer than store-bought cleaners, it’s still important to keep it out of reach of children and pets. The ingredients are not meant for consumption and can cause irritation if ingested. When cleaning, ensure that the area is well-ventilated and that children and pets are kept away until the surfaces are dry. If you’re concerned about potential allergies or sensitivities, consider using hypoallergenic dish soap and avoiding essential oils.
How do I dispose of this DIY CIF cleaner safely?
Since this DIY CIF cleaner is made with natural ingredients, it’s generally safe to dispose of down the drain. However, avoid pouring large amounts of undiluted cleaner down the drain, as this can potentially clog pipes. Instead, dilute the cleaner with water before disposing of it. If you’re concerned about the environmental impact, you can also compost the used cleaning cloths or sponges.
What if I experience any skin irritation or allergic reactions while using this DIY CIF cleaner?
If you experience any skin irritation or allergic reactions while using this DIY CIF cleaner, discontinue use immediately and wash the affected area with soap and water. If the irritation persists, consult a doctor or dermatologist. To prevent skin irritation, wear gloves while cleaning and avoid prolonged contact with the cleaner. If you have sensitive skin, consider using hypoallergenic dish soap and avoiding essential oils.
Leave a Comment