
DIY Home Repair Projects: Ever feel that twinge of frustration when something breaks around the house? That leaky faucet, the squeaky door, or the chipped paint that just screams for attention? I know I have! Instead of immediately reaching for the phone to call a professional (and emptying your wallet!), what if you could tackle those small repairs yourself?
For generations, the ability to fix things around the home has been a source of pride and self-sufficiency. Think back to your grandparents or great-grandparents – they often had to rely on their own ingenuity and skills to maintain their homes. This tradition of hands-on home care is not only practical but also deeply satisfying. There’s a unique sense of accomplishment that comes from knowing you’ve solved a problem with your own two hands.
In today’s fast-paced world, it’s easy to forget those skills. But with a little guidance and the right tools, anyone can learn to handle basic DIY Home Repair Projects. This article is your starting point! We’ll explore simple yet effective DIY tricks and hacks that will save you money, boost your confidence, and empower you to take control of your living space. From patching drywall to unclogging drains, we’ll cover essential skills that every homeowner (or renter!) should know. So, grab your toolbox, and let’s get started on your journey to becoming a DIY home repair pro!
DIY Cleaning Powerhouse: Unleashing the Magic of Cif Cream
Hey there, fellow cleaning enthusiasts! I’m so excited to share my favorite DIY cleaning hack with you – how to supercharge your Cif Cream and make it even more effective for tackling those stubborn stains and grime around your home. Cif Cream is already a fantastic product, but with a few simple additions, you can create a cleaning powerhouse that will leave your surfaces sparkling.
Understanding the Power of Cif Cream
Before we dive into the DIY magic, let’s quickly recap why Cif Cream is so great in the first place. It’s a mild abrasive cleaner, meaning it contains tiny particles that gently scrub away dirt without scratching most surfaces. This makes it perfect for:
* Cooktops: Removing burnt-on food and grease.
* Sinks: Eliminating water stains and soap scum.
* Bathroom Tiles: Getting rid of mildew and grime.
* Shoes: Cleaning white trainers.
* Garden Furniture: Removing dirt and algae.
However, sometimes Cif Cream needs a little boost, especially when dealing with really tough stains. That’s where our DIY additions come in!
The DIY Hack: Supercharging Your Cif Cream
This hack involves adding a few common household ingredients to your Cif Cream to enhance its cleaning power. We’ll be focusing on two main additions:
* Baking Soda: A natural deodorizer and mild abrasive that complements Cif Cream’s scrubbing action.
* White Vinegar: A powerful disinfectant and degreaser that helps break down stubborn stains.
Important Safety Note: Always test your DIY cleaner on an inconspicuous area first to ensure it doesn’t damage the surface. And never mix bleach with vinegar, as this creates toxic fumes.
Materials You’ll Need
* Cif Cream (any scent will work)
* Baking Soda
* White Vinegar
* A clean, empty spray bottle (optional, for diluted solutions)
* A small mixing bowl
* A spoon or spatula
* Microfiber cloths or sponges
* Gloves (recommended, especially if you have sensitive skin)
Step-by-Step Instructions: Creating Your Supercharged Cif Cream
Okay, let’s get started! I’ll walk you through each step to create your own cleaning powerhouse.
Section 1: The Basic Boost – Cif Cream and Baking Soda
This is the simplest version of the hack and is great for general cleaning and deodorizing.
1. Gather Your Supplies: Make sure you have your Cif Cream, baking soda, mixing bowl, spoon, and gloves ready.
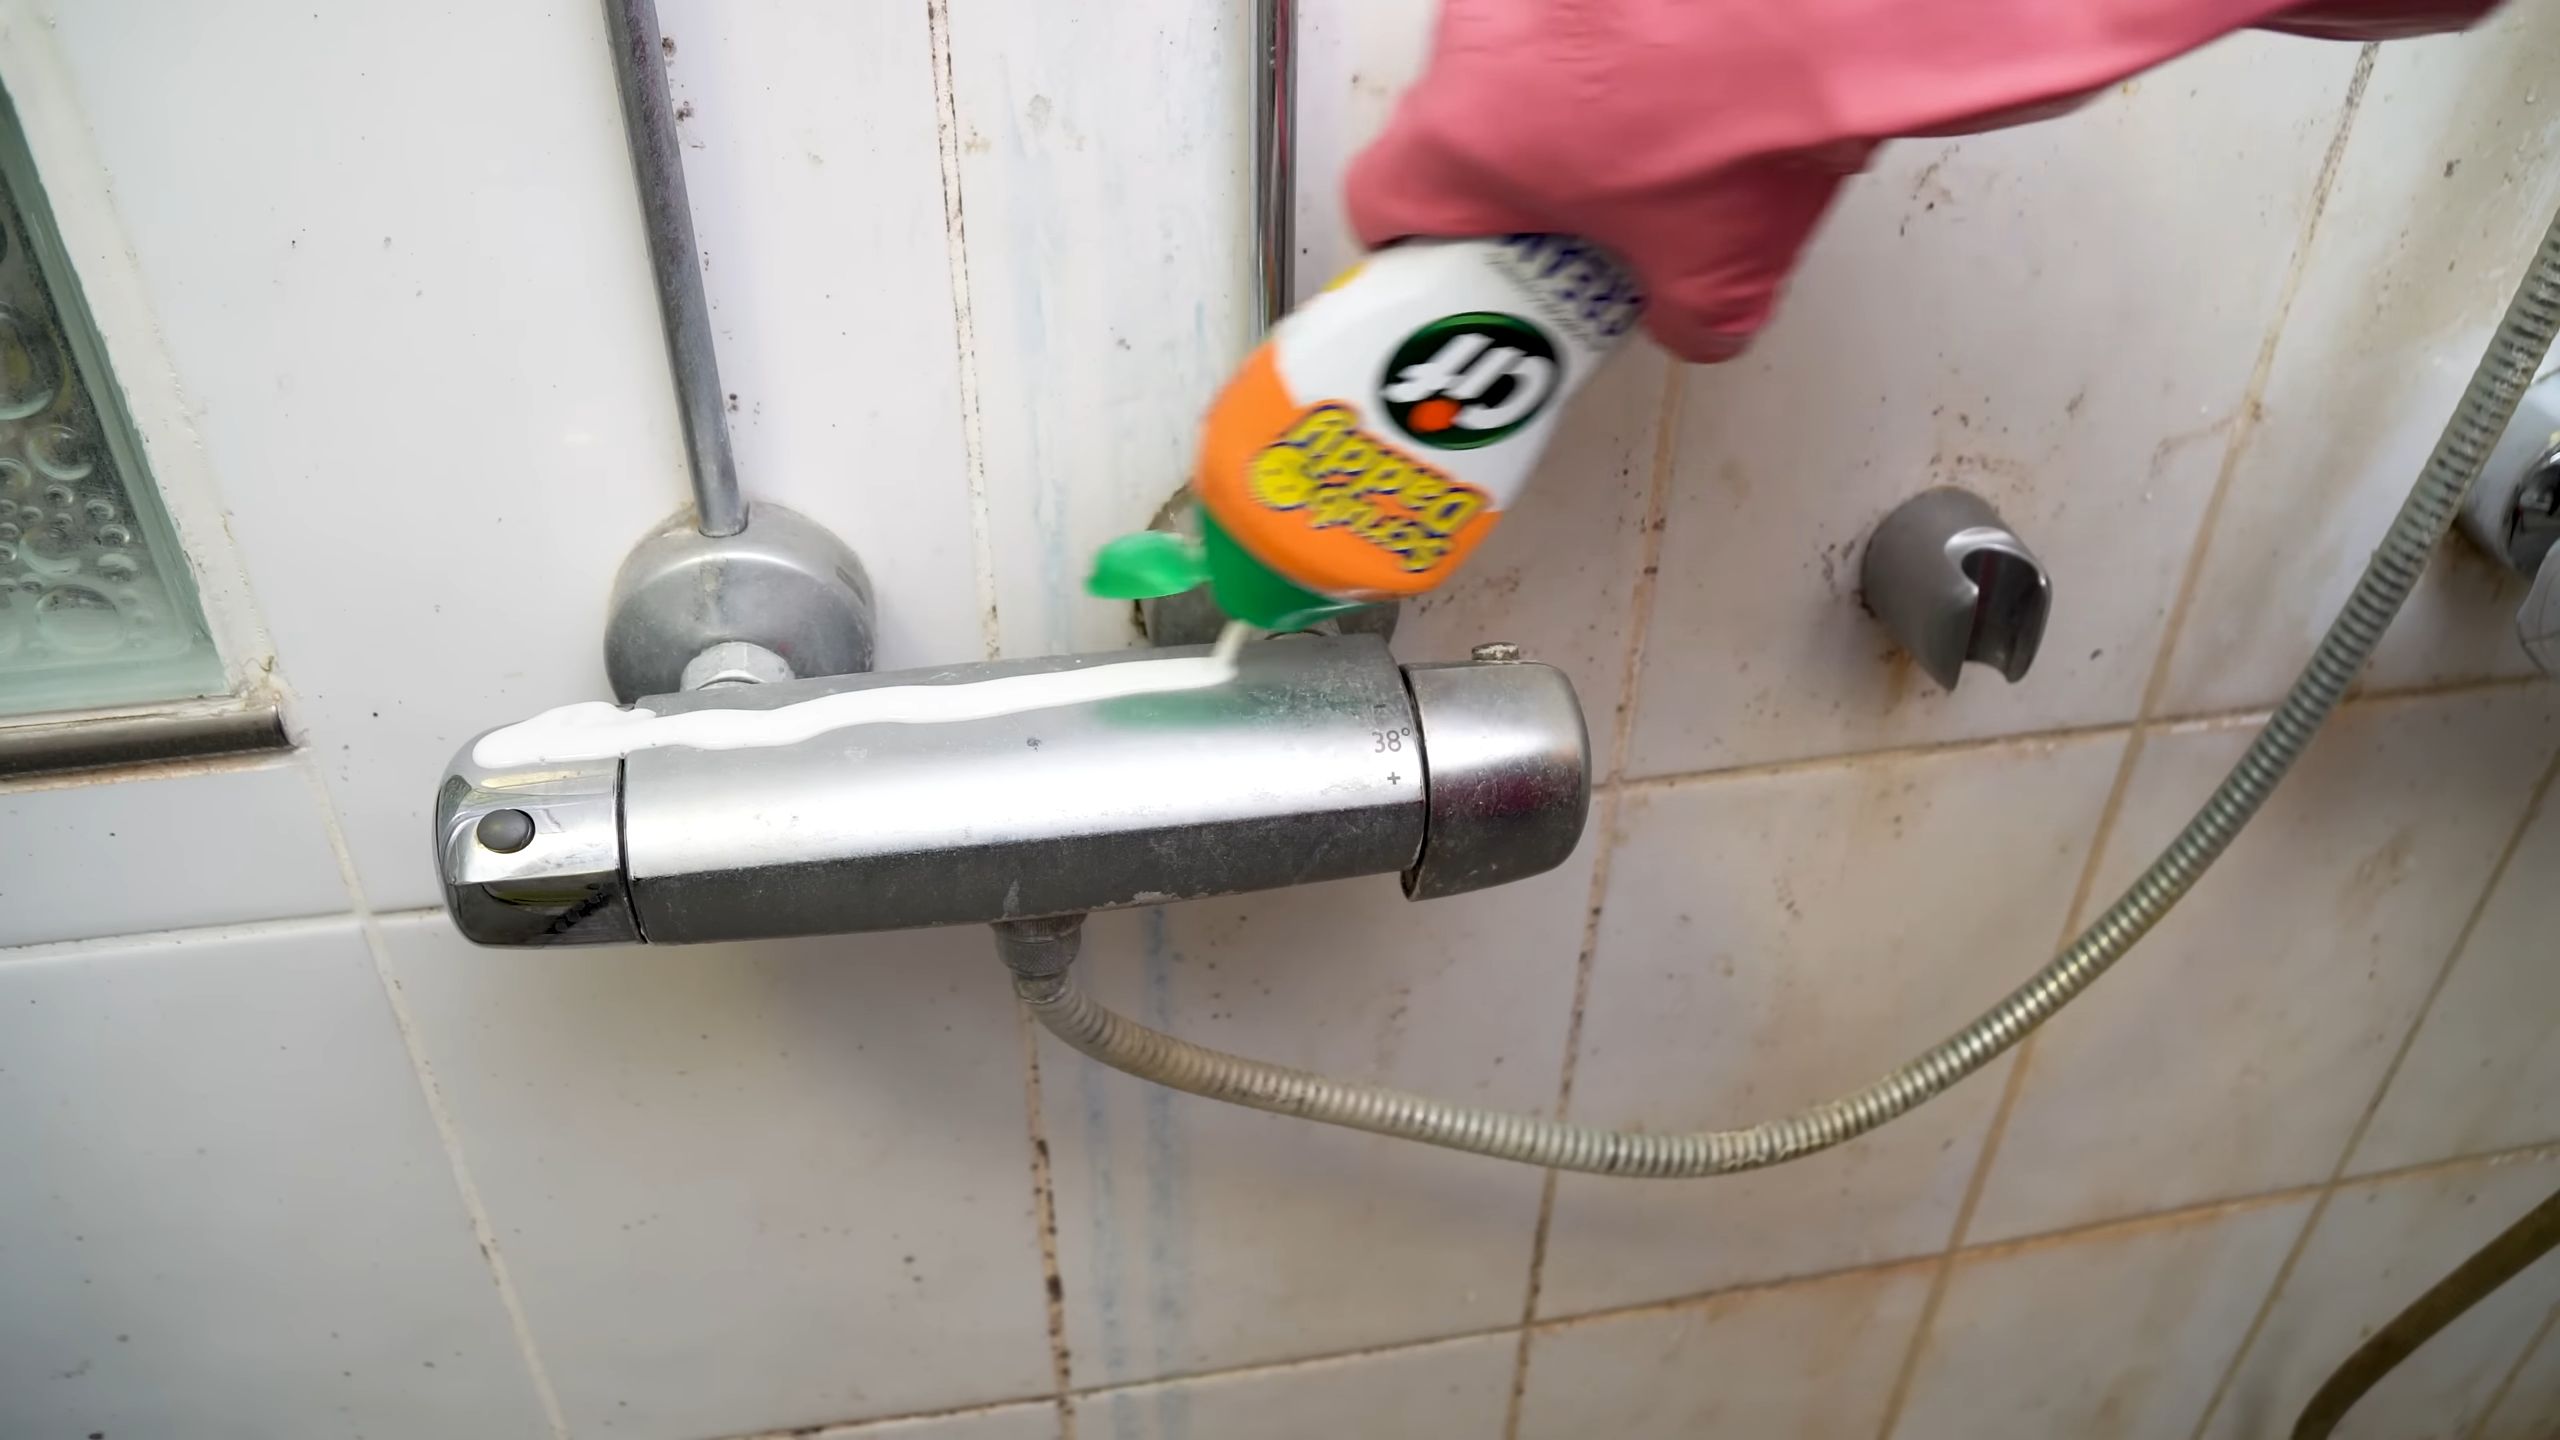
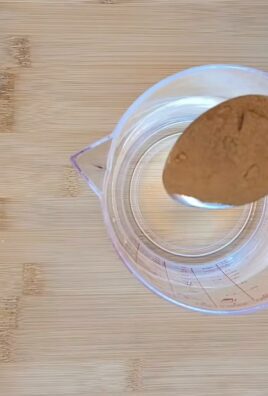
2. Measure the Cif Cream: Scoop about 1/2 cup of Cif Cream into your mixing bowl. You can adjust the amount depending on how much cleaner you want to make.
3. Add the Baking Soda: Add 2 tablespoons of baking soda to the Cif Cream.
4. Mix Thoroughly: Use your spoon or spatula to mix the baking soda and Cif Cream until they are fully combined and form a smooth paste. There shouldn’t be any clumps of baking soda.
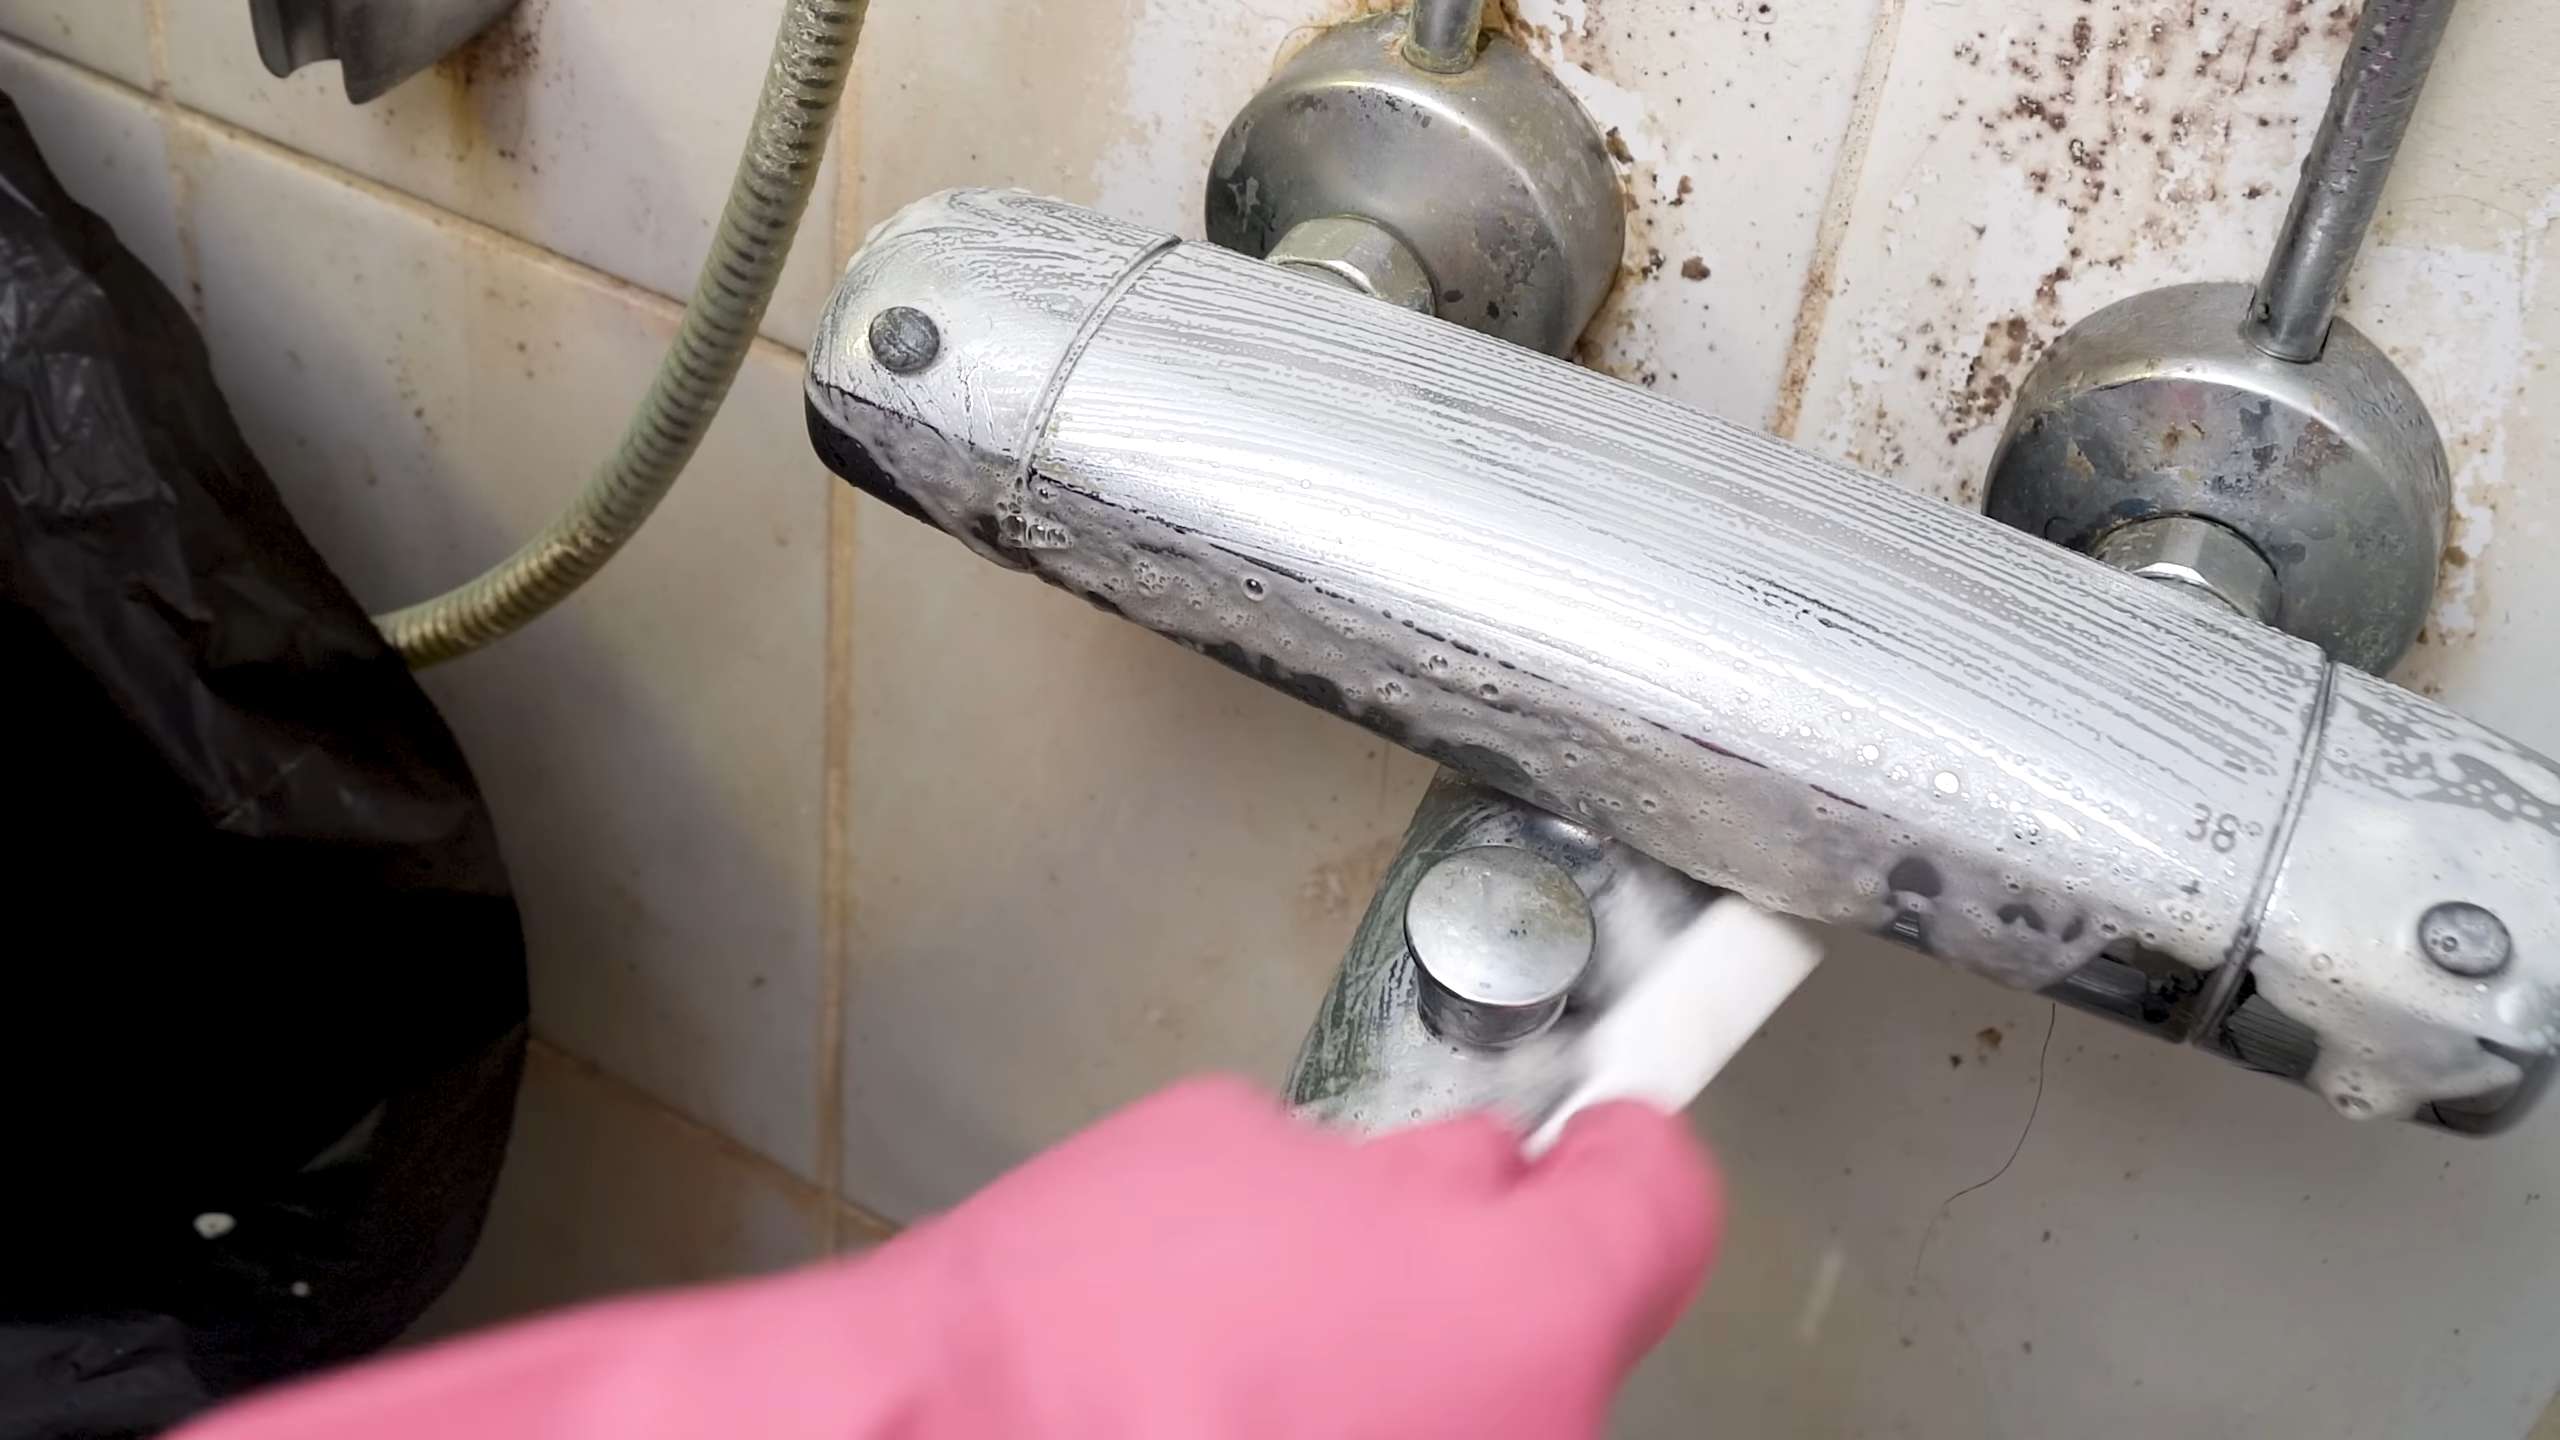
5. Apply and Scrub: Apply the mixture to the surface you want to clean. Use a microfiber cloth or sponge to gently scrub the area.
6. Rinse and Wipe: Rinse the surface thoroughly with water to remove any residue. Wipe dry with a clean microfiber cloth.
Section 2: The Stain Buster – Cif Cream, Baking Soda, and White Vinegar
This version is for tackling tougher stains and grime. The vinegar adds extra cleaning power, but be careful when using it on delicate surfaces.
1. Gather Your Supplies: Make sure you have your Cif Cream, baking soda, white vinegar, mixing bowl, spoon, and gloves ready.
2. Measure the Cif Cream: Scoop about 1/2 cup of Cif Cream into your mixing bowl.
3. Add the Baking Soda: Add 2 tablespoons of baking soda to the Cif Cream.
4. Mix the Dry Ingredients: Use your spoon or spatula to mix the baking soda and Cif Cream until they are fully combined.
5. Slowly Add the White Vinegar: This is important! Slowly pour in 1-2 tablespoons of white vinegar. The mixture will fizz a bit, which is normal.
6. Mix Gently: Gently stir the mixture until it forms a smooth paste. Don’t overmix, as this can cause the vinegar to lose its effectiveness.
7. Apply and Scrub: Apply the mixture to the stained area. Let it sit for a few minutes (5-10 minutes for tough stains) to allow the vinegar to work its magic. Then, use a microfiber cloth or sponge to gently scrub the area.
8. Rinse and Wipe: Rinse the surface thoroughly with water to remove any residue. Wipe dry with a clean microfiber cloth.
Section 3: Creating a Cif Cream Cleaning Spray (Optional)
If you prefer a spray cleaner, you can easily dilute your supercharged Cif Cream.
1. Prepare Your Mixture: Follow the steps in either Section 1 or Section 2 to create your supercharged Cif Cream.
2. Dilute with Water: Add about 1/2 cup of warm water to the mixture and stir until it’s well combined.
3. Pour into Spray Bottle: Carefully pour the diluted mixture into your clean, empty spray bottle.
4. Shake Well: Shake the spray bottle well before each use to ensure the ingredients are properly mixed.
5. Spray and Wipe: Spray the cleaner onto the surface you want to clean. Let it sit for a minute or two, then wipe clean with a microfiber cloth.
Tips and Tricks for Using Your Supercharged Cif Cream
Here are a few extra tips to help you get the most out of your DIY cleaner:
* For Burnt-On Food: Apply the Cif Cream mixture to the burnt area and let it sit for 15-20 minutes before scrubbing. This will help loosen the burnt food and make it easier to remove.
* For Soap Scum: The vinegar in the Stain Buster version is particularly effective at removing soap scum. Apply the mixture to the affected area, let it sit for a few minutes, and then scrub.
* For Mildew: For mildew, you can add a few drops of tea tree oil to your Cif Cream mixture. Tea tree oil is a natural antifungal agent that can help kill mildew.
* Always Test First: I can’t stress this enough! Always test your cleaner on an inconspicuous area before applying it to the entire surface. This is especially important for delicate surfaces like marble or granite.
* Wear Gloves: While Cif Cream is generally gentle, it’s always a good idea to wear gloves when cleaning, especially if you have sensitive skin.
* Storage: Store any leftover Cif Cream mixture in an airtight container. It should last for several weeks. If you’ve made the spray version, shake it well before each use.
* Adjust the Ratios: Feel free to experiment with the ratios of Cif Cream, baking soda, and vinegar to find what works best for you and your cleaning needs.
* Don’t Use on Certain Surfaces: Avoid using this mixture on delicate surfaces like polished wood, aluminum, or painted surfaces without testing first. The abrasive nature of Cif Cream and baking soda could potentially damage these materials.
* Rinse Thoroughly: Make sure to rinse the cleaned surface thoroughly with water to remove any residue from the Cif Cream mixture. Leftover residue can attract dirt and grime.
* Use a Soft Cloth: When wiping down surfaces, use a soft microfiber cloth to avoid scratching.
* Ventilation: When using the vinegar-based mixture, make sure the area is well-ventilated.
Troubleshooting
* If the mixture is too thick: Add a little more water or vinegar to thin it out.
* If the mixture is not cleaning effectively: Add a little more baking soda or vinegar to increase its cleaning power.
* If the mixture is leaving a residue: Make sure you are rinsing the surface thoroughly with water.
Why This DIY Hack Works
The beauty of this hack lies in the synergistic effect of the ingredients. Cif Cream provides the gentle abrasion, baking soda deodorizes and adds extra scrubbing power, and white vinegar cuts through grease and disinfects. Together, they create a cleaning solution that’s more effective than Cif Cream alone.
I hope you found this DIY cleaning hack helpful! Give it a try and let me know what you think. Happy cleaning!
Conclusion
So, there you have it! Mastering these simple DIY home repair projects can truly transform your living space and save you a significant amount of money in the long run. We’ve covered some essential techniques that empower you to tackle common household issues with confidence. From patching up drywall to silencing squeaky floors, these skills are invaluable for any homeowner or renter.
But why is this DIY approach a must-try? It’s about more than just saving money. It’s about taking control of your environment, understanding how things work, and experiencing the satisfaction of fixing something yourself. It’s about fostering a sense of self-reliance and resourcefulness that extends beyond just home repair. Plus, it’s a fantastic way to personalize your space and add your own unique touch.
Don’t be afraid to experiment and adapt these techniques to suit your specific needs and preferences. For example, when patching drywall, consider using different textures to match the existing wall. You could even add a decorative element to the patch for a more personalized touch. When dealing with squeaky floors, try using different types of lubricants or shims to find the solution that works best for your situation. Remember, every home is different, and what works for one person might not work for another.
Variations and Adaptations:
* **Drywall Patching:** Instead of using a standard patch kit, you can create your own patch using scrap drywall and joint compound. This is a great option if you have a larger hole to repair or if you want to save money. You can also experiment with different textures and finishes to create a unique look.
* **Squeaky Floor Repair:** If you can’t access the floor joists from below, try using a squeak-reducing screw kit. These kits allow you to drive screws through the carpet and into the subfloor, effectively silencing the squeak. You can also try using talcum powder or graphite powder to lubricate the floorboards.
* **Caulking:** Explore different types of caulk for various applications. Silicone caulk is ideal for wet areas like bathrooms and kitchens, while acrylic caulk is better for painting and general-purpose use. Experiment with different colors and finishes to match your décor.
We strongly encourage you to give these DIY home repair projects a try. Start with a small, manageable project and gradually work your way up to more complex tasks. Remember to take your time, follow the instructions carefully, and don’t be afraid to ask for help if you need it. The sense of accomplishment you’ll feel after successfully completing a DIY project is truly rewarding.
Most importantly, we want to hear about your experiences! Share your successes, your challenges, and any tips or tricks you’ve learned along the way. Your feedback will help us improve our guides and inspire others to embrace the world of DIY home repair. Post your photos and stories on our social media channels using #DIYHomeRepair or leave a comment on our website. Let’s build a community of DIY enthusiasts who are passionate about taking care of their homes. So, grab your tools, roll up your sleeves, and get ready to transform your living space with these essential DIY home repair projects!
FAQ
What tools do I absolutely need to get started with basic DIY home repair projects?
A well-stocked toolbox is essential for any DIY enthusiast. At a minimum, you’ll need a hammer, screwdrivers (both Phillips head and flathead), a measuring tape, a level, a utility knife, pliers, an adjustable wrench, safety glasses, and work gloves. As you tackle more complex projects, you may need to add specialized tools like a drill, a saw, and a stud finder. Investing in quality tools will not only make your projects easier but also ensure your safety.
I’m a complete beginner. Where should I start with DIY home repair?
Start with small, manageable projects that don’t require a lot of skill or experience. Patching a small hole in drywall, caulking around a bathtub, or replacing a light switch are all great starting points. These projects will help you build confidence and familiarize yourself with basic tools and techniques. Watch online tutorials and read step-by-step guides before you begin, and don’t be afraid to ask for help from a friend or family member who has experience with DIY.
How can I avoid making costly mistakes when doing DIY home repair?
Careful planning and preparation are key to avoiding costly mistakes. Before you start any project, take the time to thoroughly research the steps involved and gather all the necessary materials and tools. Read instructions carefully and watch online tutorials to get a clear understanding of the process. If you’re unsure about anything, don’t hesitate to ask for help from a professional. It’s always better to be safe than sorry. Also, always turn off the power at the breaker before working on any electrical project.
What are some common safety precautions I should take when doing DIY home repair?
Safety should always be your top priority when doing DIY home repair. Wear safety glasses to protect your eyes from flying debris, and wear work gloves to protect your hands from cuts and abrasions. Use a dust mask when working with drywall or other materials that can create dust. Be careful when using power tools, and always follow the manufacturer’s instructions. If you’re working on a ladder, make sure it’s stable and properly positioned. And never work on electrical projects without turning off the power at the breaker.
How do I know when a DIY home repair project is beyond my capabilities and I should call a professional?
It’s important to know your limits and when to call in a professional. If a project involves complex electrical work, plumbing, or structural repairs, it’s best to leave it to the experts. These types of projects can be dangerous and require specialized knowledge and skills. If you’re unsure about anything, it’s always better to err on the side of caution and hire a qualified contractor. Trying to tackle a project that’s beyond your capabilities can not only be dangerous but also end up costing you more money in the long run.
What are some resources for finding reliable information and tutorials on DIY home repair?
There are many great resources available for finding reliable information and tutorials on DIY home repair. Websites like This Old House, Family Handyman, and DIY Network offer a wealth of information on a wide range of home repair topics. YouTube is also a great resource for finding video tutorials. Look for channels that are hosted by experienced professionals and that provide clear, step-by-step instructions. You can also find helpful information at your local hardware store or home improvement center.
How can I save money on DIY home repair projects?
There are several ways to save money on DIY home repair projects. First, shop around for the best prices on materials and tools. Compare prices at different stores and online retailers. Second, consider using reclaimed or recycled materials whenever possible. Third, take advantage of sales and discounts. Many hardware stores and home improvement centers offer regular sales on tools and materials. Fourth, learn to do as much of the work yourself as possible. The more you can do yourself, the less you’ll have to pay a contractor. Finally, don’t be afraid to ask for help from friends or family members who have experience with DIY.
What are some eco-friendly options for DIY home repair materials?
When choosing materials for your DIY home repair projects, consider eco-friendly options that are sustainable and environmentally responsible. Look for paints and finishes that are low-VOC (volatile organic compounds), which are harmful to both your health and the environment. Use recycled or reclaimed wood whenever possible. Choose insulation materials that are made from recycled content, such as recycled denim or cellulose. And consider using natural cleaning products instead of harsh chemicals. By making eco-friendly choices, you can reduce your environmental impact and create a healthier home.
Leave a Comment