
Clove vinegar uses and benefits are something I’ve been experimenting with in my own home garden for a while now, and let me tell you, the results are amazing! Are you tired of battling pests and diseases in your precious garden, only to resort to harsh chemicals? What if I told you there’s a natural, effective, and delightfully fragrant solution hiding in your spice rack?
Vinegar, in general, has a long and fascinating history as a household staple, dating back to ancient civilizations who used it for everything from preserving food to cleaning. The addition of cloves, with their rich history as a valuable spice traded across continents, elevates vinegar to a whole new level of garden magic. Cloves have been used for centuries in traditional medicine and as a natural preservative, and their potent properties translate beautifully to the garden.
But why should you, my fellow gardening enthusiast, bother with making your own clove vinegar? Well, for starters, it’s incredibly easy and cost-effective! More importantly, it’s a fantastic alternative to synthetic pesticides and herbicides. Many of us are increasingly concerned about the impact of chemicals on our health, our soil, and the environment. Learning about clove vinegar uses and benefits empowers you to create a healthier, more sustainable garden, naturally repelling pests, fighting fungal diseases, and even boosting plant growth. So, let’s dive in and unlock the secrets of this amazing DIY garden hack!
Growing Fiery Friends: My Guide to Planting Chili Peppers Like a Pro
Okay, chili pepper enthusiasts, gather ’round! I’m about to spill all my secrets for growing the most vibrant, flavorful, and yes, spicy, chili peppers you’ve ever seen. Forget those bland store-bought peppers – we’re talking about homegrown heat that will elevate your cooking to a whole new level. This isn’t just about throwing some seeds in the ground; it’s about creating the perfect environment for your chili babies to thrive. So, let’s get started!
Choosing Your Chili Pepper Varieties
Before we even think about soil, we need to decide what kind of fire we want to bring to our gardens. There are literally hundreds of chili pepper varieties, ranging from mild and sweet to face-meltingly hot. Here are a few of my personal favorites, categorized by heat level:
* Mild (Scoville Heat Units – SHU: 0-5,000):
* Poblano: Great for stuffing, roasting, and making chili rellenos. They have a rich, slightly smoky flavor.
* Anaheim: Another mild option, perfect for adding a touch of heat to salsas and sauces.
* Jalapeño: A classic for a reason! Versatile and with a manageable level of spice.
* Medium (SHU: 5,000-50,000):
* Serrano: A step up from jalapeños, with a brighter, sharper heat.
* Cayenne: The go-to for making chili powder and hot sauces.
* Tabasco: Famous for Tabasco sauce, these peppers pack a punch!
* Hot (SHU: 50,000+):
* Thai Chili: Small but mighty! Adds intense heat to Asian dishes.
* Habanero: Fruity and floral, but don’t let that fool you – these are seriously hot.
* Scotch Bonnet: Similar to habaneros, with a slightly sweeter flavor.
* Extreme (SHU: 1,000,000+):
* Ghost Pepper (Bhut Jolokia): Handle with extreme caution! These are not for the faint of heart.
* Carolina Reaper: The current world record holder for the hottest pepper. Only for the truly brave (or crazy!).
Important Tip: When handling hot peppers, always wear gloves! The oils can irritate your skin and eyes. Trust me, you don’t want to learn that lesson the hard way.
Starting Your Chili Peppers from Seed
Starting from seed gives you the most control over your chili pepper journey. It also allows you to grow varieties that might not be available as seedlings at your local garden center.
1. Gather Your Supplies:
* Chili pepper seeds (obviously!)
* Seed starting trays or small pots
* Seed starting mix (a light, well-draining mix is essential)
* Spray bottle
* Heat mat (optional, but highly recommended)
* Grow light (also optional, but helps prevent leggy seedlings)
* Clear plastic dome or plastic wrap (to create a humid environment)
2. Sow the Seeds:
* Moisten the seed starting mix with the spray bottle. It should be damp, but not soggy.
* Fill the seed starting trays or pots with the moistened mix.
* Plant the seeds about ¼ inch deep. I usually plant 2-3 seeds per cell or pot, just in case some don’t germinate.
* Gently cover the seeds with more seed starting mix.
* Mist the surface with the spray bottle.
* Cover the trays or pots with the clear plastic dome or plastic wrap to create a humid environment.
3. Provide Warmth and Light:
* Place the trays or pots on a heat mat set to around 80-85°F (27-29°C). Chili peppers need warmth to germinate.
* If you’re using a grow light, position it a few inches above the trays or pots.
* If you don’t have a grow light, place the trays or pots in a warm, sunny location.
4. Maintain Moisture:
* Check the moisture level of the seed starting mix daily. Mist with the spray bottle as needed to keep it consistently moist.
* Don’t let the mix dry out completely, but also avoid overwatering, which can lead to damping off (a fungal disease that kills seedlings).
5. Germination:
* Chili pepper seeds can take anywhere from 7 to 21 days to germinate, depending on the variety and temperature. Be patient!
* Once the seedlings emerge, remove the plastic dome or plastic wrap.
6. Thinning:
* If you planted multiple seeds per cell or pot, thin them out to one seedling per cell or pot once they have a few sets of true leaves (the leaves that look like miniature versions of the adult plant’s leaves).
* Choose the strongest, healthiest-looking seedling and snip off the others at the soil line with scissors. Don’t pull them out, as this can disturb the roots of the seedling you want to keep.
Transplanting Your Chili Pepper Seedlings
Once your seedlings have grown a few inches tall and have several sets of true leaves, it’s time to transplant them into larger pots or into the garden.
1. Harden Off the Seedlings:
* Before transplanting your seedlings outdoors, you need to “harden them off.” This process gradually acclimates them to the outdoor environment, preventing transplant shock.
* Start by placing the seedlings outdoors in a sheltered location for an hour or two each day, gradually increasing the amount of time they spend outside over the course of a week or two.
* Protect them from direct sunlight and strong winds during this process.
2. Prepare the Soil:
* Chili peppers need well-draining soil that is rich in organic matter.
* If you’re planting in pots, use a high-quality potting mix.
* If you’re planting in the garden, amend the soil with compost or other organic matter.
* The ideal soil pH for chili peppers is between 6.0 and 6.8.
3. Transplant the Seedlings:
* Choose a sunny location that receives at least 6-8 hours of direct sunlight per day.
* Dig a hole that is slightly larger than the root ball of the seedling.
* Gently remove the seedling from its pot or tray.
* Loosen the roots slightly.
* Place the seedling in the hole and backfill with soil.
* Water thoroughly.
4. Spacing:
* Space your chili pepper plants about 18-24 inches apart, depending on the variety. Larger varieties will need more space.
Caring for Your Chili Pepper Plants
Now that your chili pepper plants are in the ground, it’s time to give them the care they need to thrive.
1. Watering:
* Water your chili pepper plants regularly, especially during hot, dry weather.
* Allow the soil to dry out slightly between waterings.
* Avoid overwatering, which can lead to root rot.
2. Fertilizing:
* Feed your chili pepper plants with a balanced fertilizer every 2-3 weeks.
* Look for a fertilizer that is high in phosphorus, which promotes flowering and fruiting.
* I like to use a liquid fertilizer diluted to half strength.
3. Mulching:
* Mulch around your chili pepper plants with straw, wood chips, or other organic material.
* Mulch helps to retain moisture, suppress weeds, and regulate soil temperature.
4. Pruning:
* Pruning is not essential for chili peppers, but it can help to improve air circulation and encourage bushier growth.
* Remove any yellowing or dead leaves.
* You can also pinch off the tips of the branches to encourage branching.
5. Pest and Disease Control:
* Chili peppers can be susceptible to pests such as aphids, spider mites, and whiteflies.
* Inspect your plants regularly for signs of pests.
* If you find pests, treat them with insecticidal soap or neem oil.
* Chili peppers can also be susceptible to diseases such as blossom end rot and fungal infections.
* To prevent blossom end rot, make sure your plants are getting enough calcium. You can add calcium to the soil by mixing in bone meal or crushed eggshells.
*
Conclusion
So, there you have it! Crafting your own clove vinegar is not just a fun DIY project; it’s a gateway to a world of natural cleaning, wellness, and culinary possibilities. We’ve explored the incredible benefits of this potent infusion, from its powerful antimicrobial properties that make it a fantastic all-purpose cleaner to its potential to soothe aches and pains and even add a unique depth of flavor to your favorite dishes.
Why is this DIY trick a must-try? Because it empowers you to take control of the ingredients you use in your home and on your body. In a world saturated with harsh chemicals and synthetic fragrances, clove vinegar offers a refreshing alternative – a natural, effective, and surprisingly versatile solution. You’re not just making vinegar; you’re creating a concentrated elixir of goodness, harnessing the power of nature’s own pharmacy.
But the beauty of this DIY project lies in its adaptability. Feel free to experiment with different types of vinegar. While white vinegar is a great starting point due to its neutral scent and strong acidity, you could also try apple cider vinegar for a slightly sweeter and more complex aroma. Consider adding other complementary herbs and spices to your infusion. A few sprigs of rosemary or thyme can enhance the cleaning power and add a delightful fragrance. A cinnamon stick can amplify the warm, spicy notes of the cloves. You can even add citrus peels for a zesty twist.
Don’t be afraid to personalize your clove vinegar to suit your specific needs and preferences.
Beyond cleaning and wellness, explore the culinary applications of your homemade clove vinegar. A splash in marinades can tenderize meat and add a subtle, exotic flavor. A few drops in salad dressings can create a unique and memorable taste experience. Use it to pickle vegetables for a tangy and aromatic treat. The possibilities are truly endless.
We’ve armed you with the knowledge and inspiration to embark on this exciting DIY adventure. Now, it’s your turn to put it into practice. Gather your ingredients, follow our simple instructions, and prepare to be amazed by the transformative power of clove vinegar.
We are confident that you will find this DIY project rewarding and beneficial. But the real magic happens when you share your experiences with others. We encourage you to try this DIY trick and share your results, variations, and creative uses in the comments below. Let’s build a community of clove vinegar enthusiasts and unlock even more of its hidden potential. What unique combinations did you try? How did you use your clove vinegar in your home or kitchen? Your insights could inspire others to discover the wonders of this natural remedy.
So, go ahead, give it a try! You might just discover your new favorite all-purpose cleaner, wellness booster, and culinary secret weapon. Embrace the power of DIY and experience the incredible benefits of homemade clove vinegar.
Frequently Asked Questions (FAQ)
What type of cloves should I use?
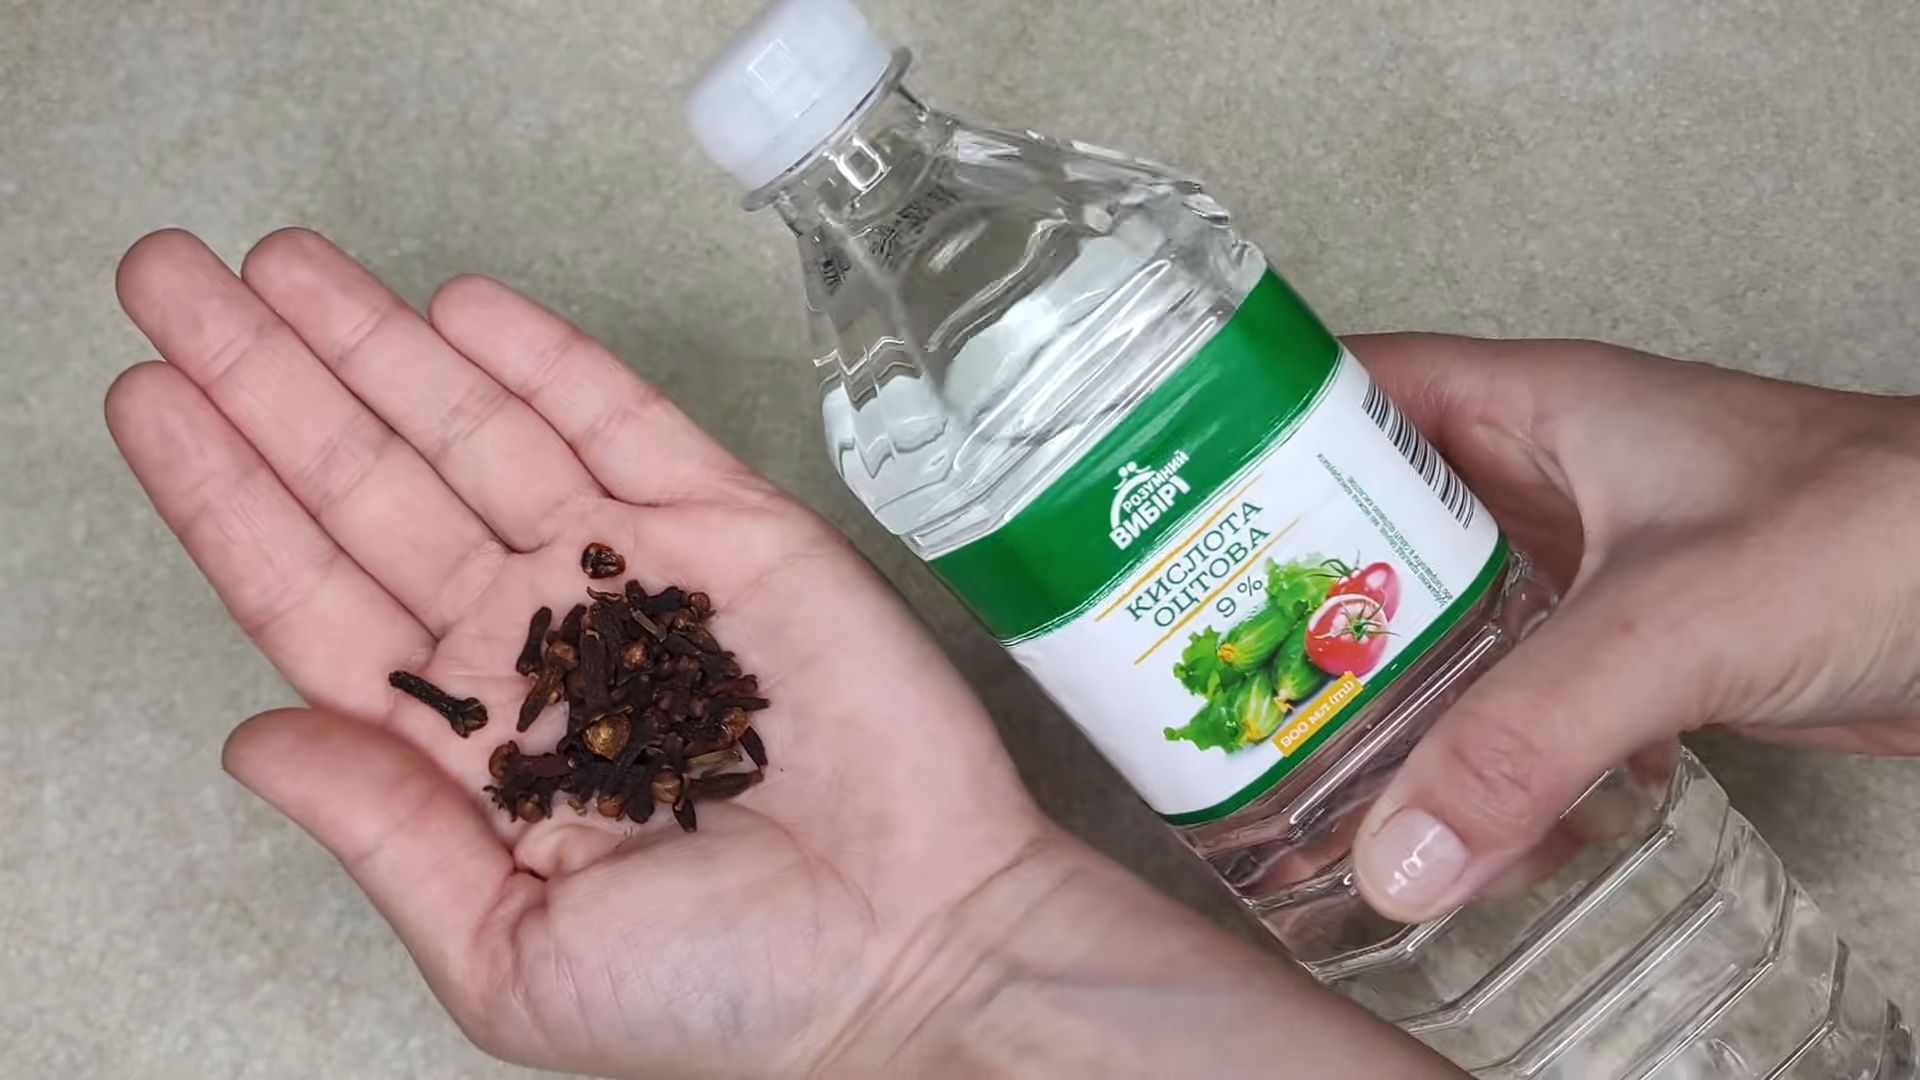
Whole cloves are generally recommended for making clove vinegar. They contain a higher concentration of essential oils compared to ground cloves, resulting in a more potent and flavorful infusion. You can use either dried or fresh whole cloves, although dried cloves are more readily available and have a longer shelf life. Ensure that the cloves you use are of good quality and have a strong, aromatic scent. Avoid using cloves that are old, brittle, or have lost their fragrance, as they may not provide the desired results.
Can I use a different type of vinegar?
Yes, you can experiment with different types of vinegar to create your clove vinegar. White vinegar is a popular choice due to its neutral scent and strong acidity, which effectively extracts the beneficial compounds from the cloves. Apple cider vinegar is another excellent option, offering a slightly sweeter and more complex flavor profile. It also contains additional beneficial enzymes and probiotics. Other vinegars, such as red wine vinegar or balsamic vinegar, can also be used, but they will impart their own distinct flavors to the final product. Consider the intended use of your clove vinegar when choosing the type of vinegar. For cleaning purposes, white vinegar is often preferred, while apple cider vinegar or other flavored vinegars may be more suitable for culinary applications.
How long does it take for the clove vinegar to be ready?
The infusion process typically takes between 2 to 4 weeks. During this time, the vinegar will gradually extract the essential oils and beneficial compounds from the cloves. The longer the cloves steep, the stronger and more potent the vinegar will become. It’s recommended to shake the jar or bottle every few days to ensure even extraction. After the infusion period, strain the vinegar through a cheesecloth or fine-mesh sieve to remove the cloves. Store the finished clove vinegar in a clean, airtight container in a cool, dark place.
How should I store the clove vinegar?
Proper storage is essential to maintain the quality and potency of your clove vinegar. Store it in a clean, airtight container, such as a glass jar or bottle, in a cool, dark place away from direct sunlight and heat. This will help prevent the vinegar from oxidizing and losing its flavor and aroma. Properly stored clove vinegar can last for several months or even years. Check for any signs of spoilage, such as cloudiness or an off odor, before using.
What are the cleaning uses for clove vinegar?
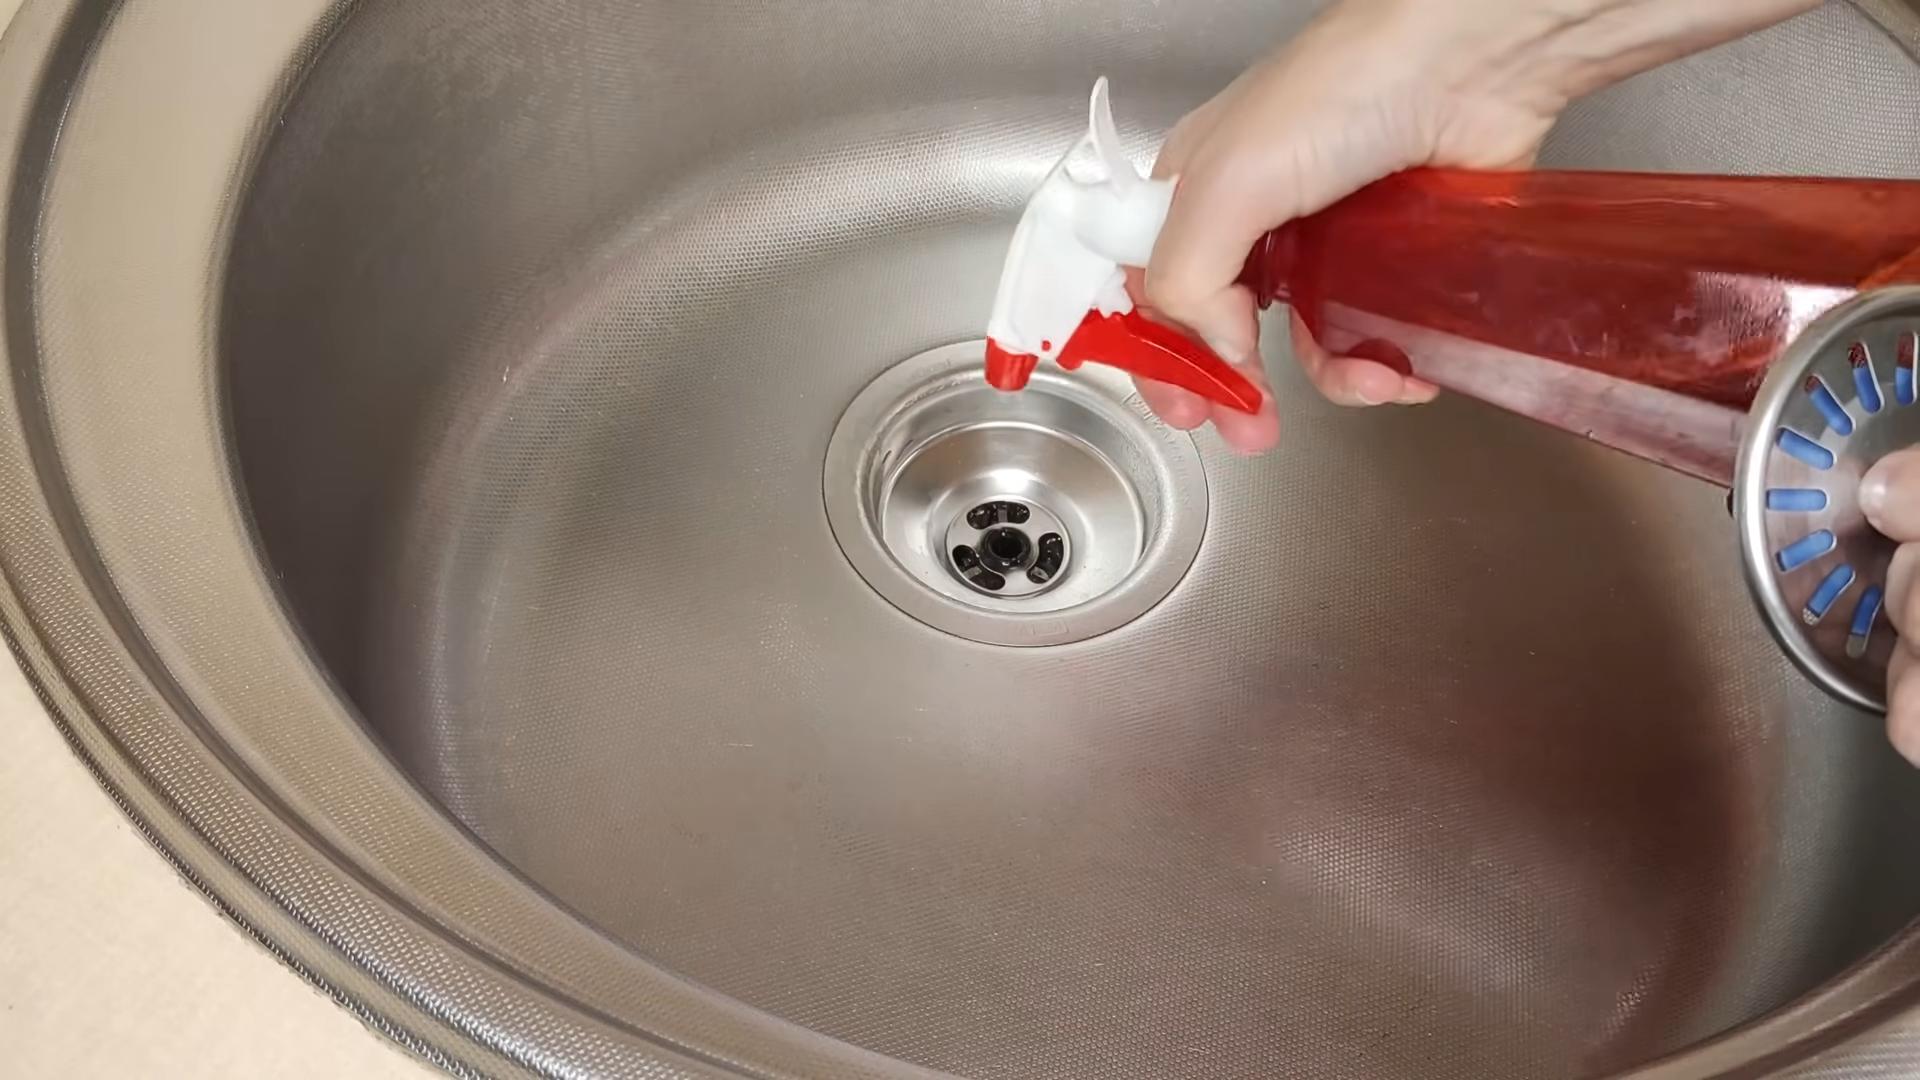
Clove vinegar is a versatile natural cleaner with powerful antimicrobial properties. It can be used to clean a variety of surfaces, including countertops, floors, bathrooms, and kitchens. Dilute the clove vinegar with water in a spray bottle for general cleaning purposes. For tougher stains or grime, you can use it undiluted. Clove vinegar is particularly effective at disinfecting surfaces, removing mold and mildew, and eliminating odors. It can also be used to clean cutting boards, sanitize sponges, and freshen up laundry. However, avoid using clove vinegar on delicate surfaces such as marble or granite, as the acidity may damage them.
Are there any safety precautions I should take?
While clove vinegar is generally safe to use, it’s important to take certain precautions. Avoid direct contact with eyes and skin, as it may cause irritation. If contact occurs, rinse thoroughly with water. When using clove vinegar for cleaning, test it on a small, inconspicuous area first to ensure it doesn’t damage the surface. Do not ingest clove vinegar undiluted, as it can be harmful. If you have any allergies to cloves or vinegar, avoid using clove vinegar. Keep clove vinegar out of reach of children and pets.
Can I use clove vinegar for skin or hair?
Clove vinegar can be used for certain skin and hair applications, but it’s important to dilute it properly and use it with caution. Diluted clove vinegar can be used as a toner to help balance the skin’s pH and reduce acne. It can also be used as a hair rinse to add shine and remove buildup. However, clove vinegar can be irritating to sensitive skin, so it’s important to test it on a small area first and dilute it with water before applying it to the face or scalp. Avoid using clove vinegar on open wounds or broken skin. If you experience any irritation or discomfort, discontinue use.
What are some creative variations I can try?
The possibilities for customizing your clove vinegar are endless. You can add other herbs and spices to enhance its flavor and properties. Cinnamon sticks, rosemary sprigs, thyme, and citrus peels are all excellent additions. You can also experiment with different types of vinegar, such as apple cider vinegar or red wine vinegar. For a sweeter flavor, you can add a small amount of honey or maple syrup to the infusion. You can also create a clove vinegar cleaning spray by adding essential oils, such as lemon, lavender, or tea tree oil. Get creative and experiment with different combinations to find your perfect clove vinegar blend.


Leave a Comment