
Grow Melons at Home, you say? Absolutely! Imagine biting into a juicy, sun-ripened melon you nurtured from a tiny seed, right in your own backyard. Forget those bland, store-bought melons – we’re talking about flavor explosions that will make your taste buds sing! For centuries, cultivating melons has been a symbol of abundance and prosperity, with evidence suggesting their cultivation dates back to ancient Egypt. Think of pharaohs enjoying sweet melons in their royal gardens – now, you can bring that same regal experience to your own home.
But let’s be honest, the thought of growing melons can be a little intimidating. They seem like they need vast fields and expert care, right? That’s where these DIY tricks and hacks come in! I’m here to show you that you don’t need acres of land or a green thumb of steel to grow melons at home successfully. Whether you have a sprawling garden or just a sunny balcony, I’ll share simple, effective techniques to maximize your yield and enjoy delicious, homegrown melons all season long.
Why do you need these DIY tricks? Because everyone deserves the joy of fresh, flavorful produce, and because knowing exactly where your food comes from is incredibly empowering. Plus, these tips will save you money, reduce your reliance on grocery stores, and impress your friends and family with your gardening prowess. So, let’s dive in and unlock the secrets to growing the best melons you’ve ever tasted!
Growing Melons at Home: A Sweet DIY Project
Okay, melon lovers, let’s get down to business! Growing your own melons at home might seem intimidating, but trust me, it’s totally doable and incredibly rewarding. Imagine biting into a juicy, homegrown watermelon or cantaloupe – the flavor is just unmatched. I’m going to walk you through everything you need to know, from choosing the right variety to harvesting your delicious bounty.
Choosing Your Melon Variety
Before we even think about planting, we need to decide what kind of melon we want to grow. Different varieties have different needs and thrive in different climates. Here’s a quick rundown:
* Watermelons: These are the kings of summer! Look for varieties like ‘Sugar Baby’ (compact and early maturing), “Crimson Sweet” (classic flavor), or “Jubilee” (large and oblong). If you have limited space, consider bush varieties.
* Cantaloupes: These sweet and fragrant melons are a classic choice. ‘Hales Best Jumbo’ is a reliable and popular option. ‘Athena’ is another good choice, known for its disease resistance.
* Honeydew: These smooth, pale green melons are incredibly refreshing. ‘Honey Globe’ is a popular variety.
* Other Melons: Don’t be afraid to experiment! There are many other interesting melon varieties, like Galia melons, Casaba melons, and Crenshaw melons. Do some research to see what grows well in your area.
Important Tip: Check your local climate and growing season before choosing a variety. Some melons need a longer growing season than others. Seed packets will usually provide this information.
Preparing Your Melon Patch
Melons are sun-loving, hungry plants. They need plenty of sunshine, well-drained soil, and lots of nutrients. Here’s how to get your garden ready:
* Sunlight: Melons need at least 6-8 hours of direct sunlight per day. Choose a location in your garden that gets plenty of sun.
* Soil: Melons prefer well-drained, sandy loam soil. If your soil is heavy clay, you’ll need to amend it with organic matter like compost or well-rotted manure. This will improve drainage and aeration.
* Soil pH: Melons prefer a slightly acidic soil pH of around 6.0 to 6.8. You can test your soil pH with a soil testing kit. If your soil is too alkaline, you can amend it with sulfur.
* Fertilizing: Melons are heavy feeders, so you’ll need to fertilize them regularly. Before planting, work a generous amount of compost or well-rotted manure into the soil. You can also add a balanced fertilizer, such as 10-10-10, according to the package directions.
Starting Your Melon Seeds
You can either start your melon seeds indoors or direct sow them in the garden. Starting seeds indoors gives you a head start on the growing season, especially in cooler climates.
Starting Seeds Indoors:
1. Timing: Start your seeds indoors about 4-6 weeks before the last expected frost.
2. Containers: Use seed starting trays or small pots filled with seed starting mix.
3. Sowing: Sow the seeds about 1/2 inch deep.
4. Watering: Keep the soil moist but not soggy.
5. Warmth: Melons need warm temperatures to germinate. Use a heat mat to keep the soil temperature around 80-85°F (27-29°C).
6. Light: Once the seeds germinate, provide them with plenty of light. Use grow lights or place them in a sunny window.
7. Hardening Off: Before transplanting your seedlings outdoors, you’ll need to harden them off. This means gradually exposing them to outdoor conditions over a period of about a week. Start by placing them in a sheltered location for a few hours each day, gradually increasing the amount of time they spend outdoors.
Direct Sowing Seeds:
1. Timing: Direct sow your seeds after the last expected frost, when the soil has warmed up to at least 70°F (21°C).
2. Planting: Sow the seeds about 1 inch deep, spacing them according to the variety.
3. Watering: Keep the soil moist until the seeds germinate.
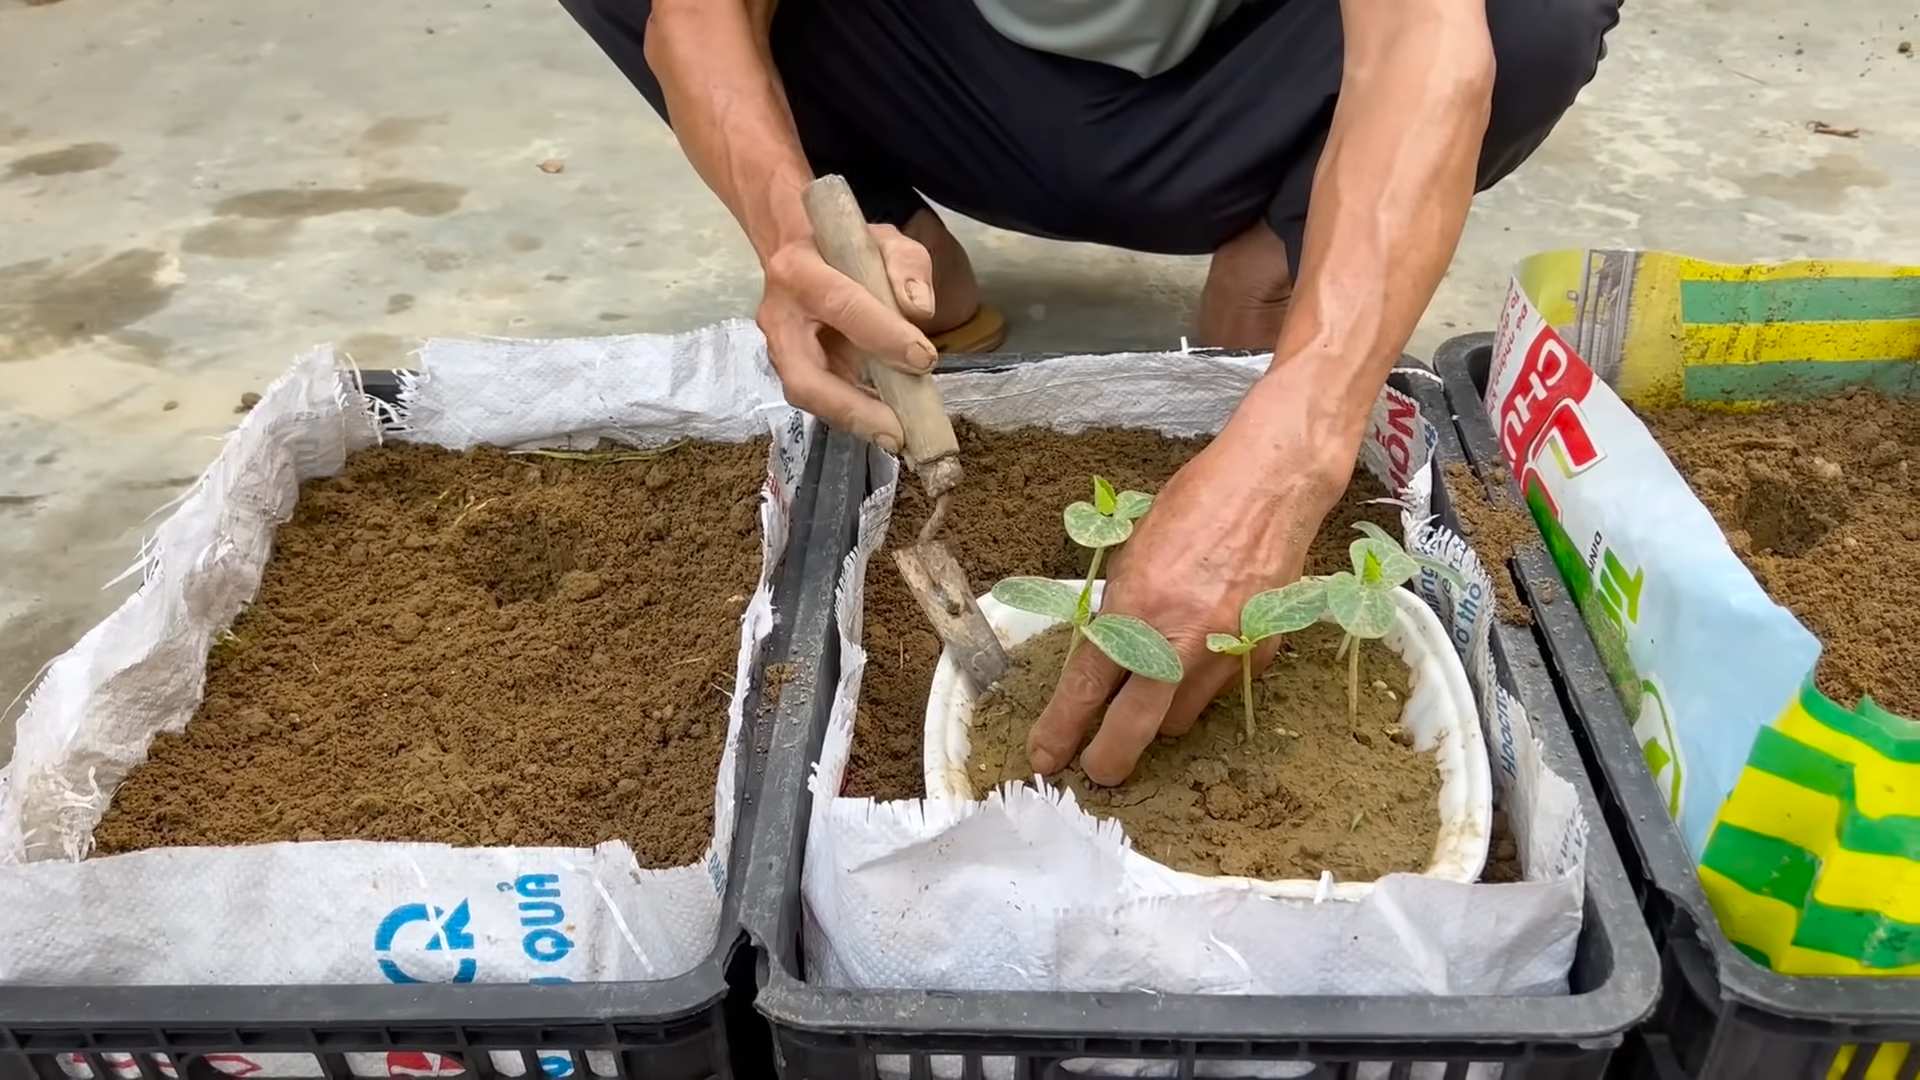
Transplanting Your Melon Seedlings
Once your seedlings have developed a few sets of true leaves and the weather has warmed up, it’s time to transplant them into the garden.
1. Prepare the Planting Holes: Dig holes that are slightly larger than the root balls of your seedlings. Space the holes according to the variety. Watermelons typically need more space than cantaloupes.
2. Transplant Carefully: Gently remove the seedlings from their containers and place them in the planting holes. Be careful not to damage the roots.
3. Backfill and Water: Backfill the holes with soil and gently firm the soil around the seedlings. Water thoroughly.
4. Mulch: Apply a layer of mulch around the plants to help retain moisture, suppress weeds, and keep the soil warm. Straw, hay, or black plastic mulch are all good options.
Caring for Your Melon Plants
Once your melon plants are in the ground, they’ll need regular care to thrive.
* Watering: Melons need consistent moisture, especially during fruit development. Water deeply and regularly, especially during dry spells. Avoid overhead watering, as this can promote fungal diseases. Drip irrigation is a great option for melons.
* Fertilizing: Side-dress your melon plants with a balanced fertilizer every few weeks. You can also use a liquid fertilizer, such as fish emulsion or seaweed extract.
* Weeding: Keep the area around your melon plants free of weeds. Weeds compete with melons for water and nutrients.
* Pest Control: Melons can be susceptible to pests like aphids, squash bugs, and cucumber beetles. Inspect your plants regularly and take action if you see any pests. You can use insecticidal soap, neem oil, or other organic pest control methods.
* Disease Control: Melons can also be susceptible to diseases like powdery mildew and fusarium wilt. Choose disease-resistant varieties and practice good sanitation to prevent diseases. Avoid overhead watering and provide good air circulation. If you see any signs of disease, treat your plants with a fungicide.
* Pollination: Melons need to be pollinated to produce fruit. Bees are the primary pollinators of melons. If you don’t have enough bees in your garden, you can hand-pollinate your melon flowers. To hand-pollinate, use a small paintbrush to transfer pollen from the male flowers to the female flowers. Female flowers have a small fruit at the base of the flower.
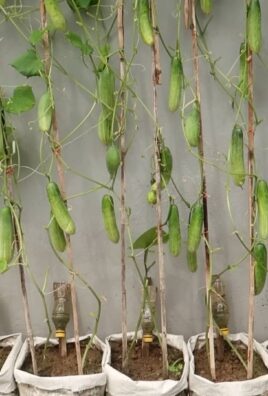
Training Your Melon Vines
Melon vines can get quite long and sprawling. You can train them to grow in a specific direction or up a trellis to save space.
* Ground Training: If you’re growing your melons on the ground, you can train the vines to grow in a specific direction by gently guiding them.
* Trellising: Trellising melons can save space and improve air circulation. Use a sturdy trellis that can support the weight of the melons. You may need to support the melons with slings or netting as they grow.
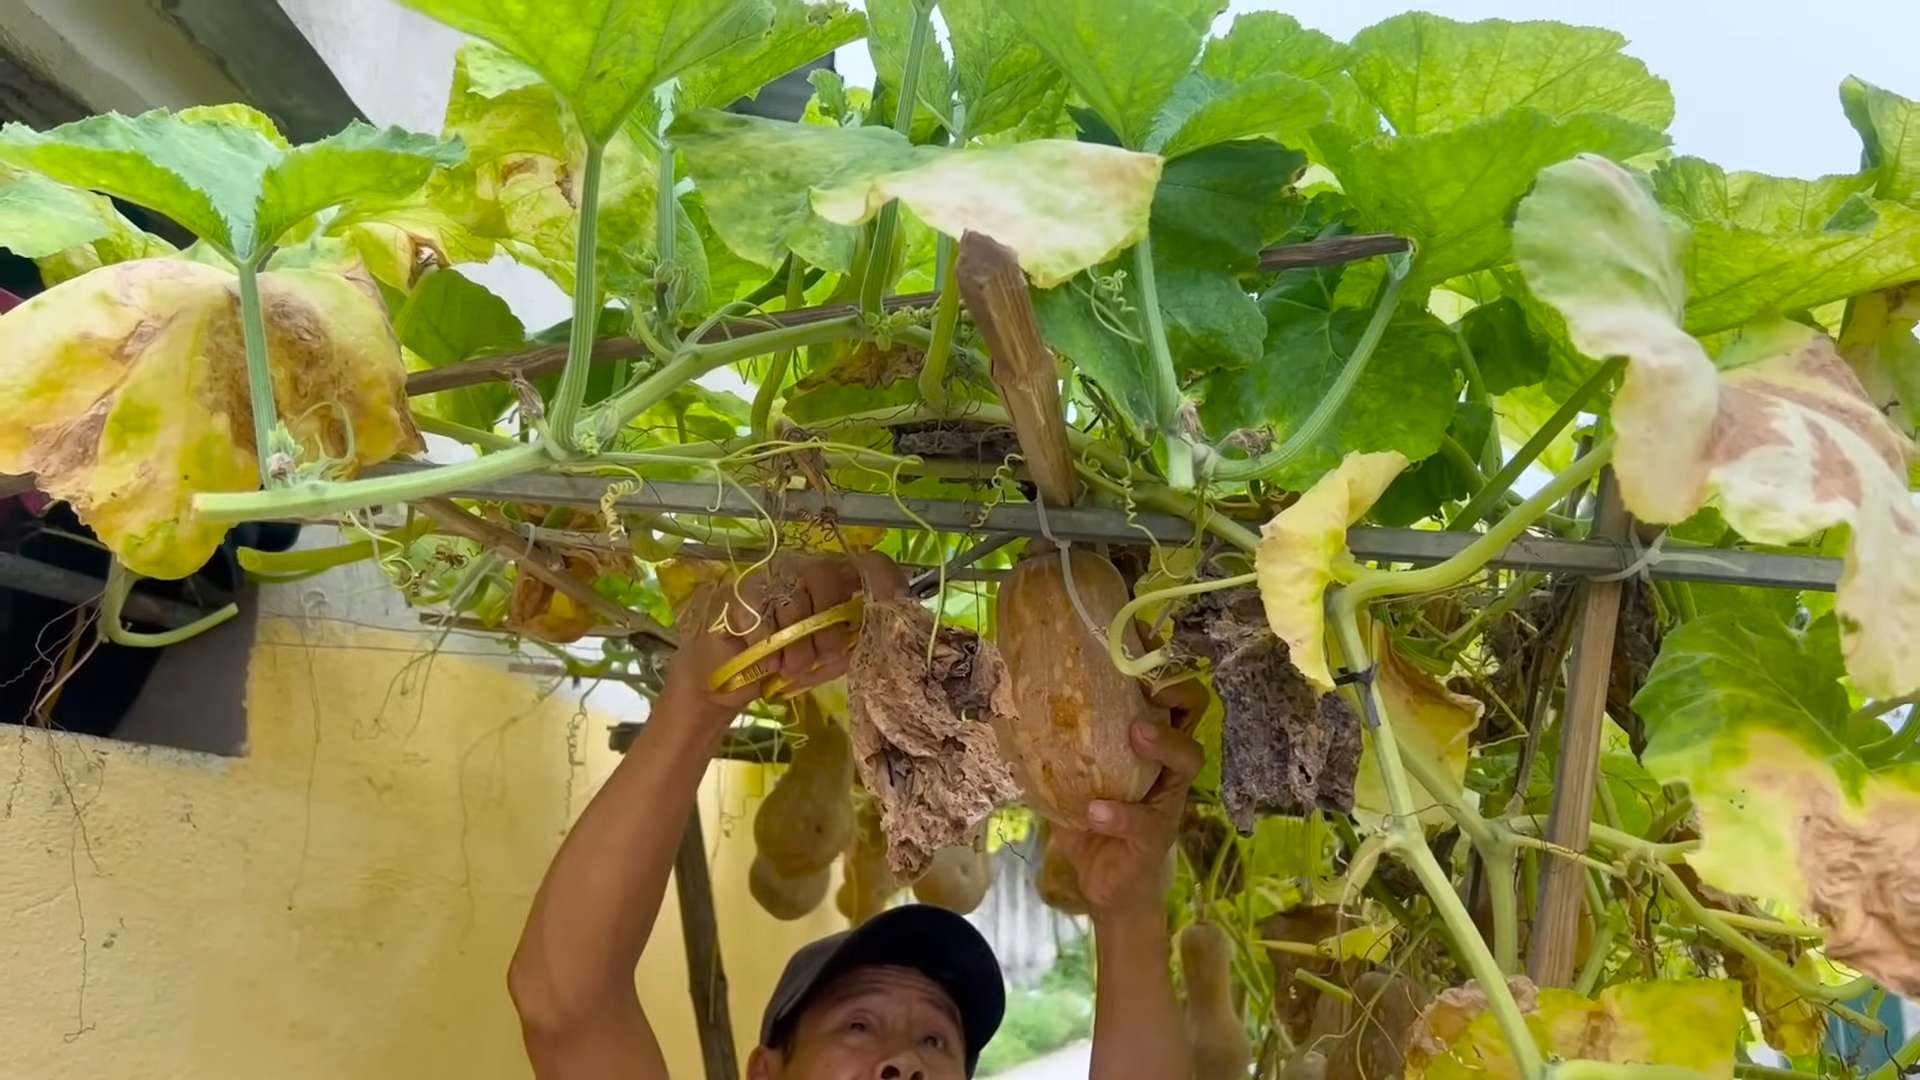
Harvesting Your Melons
Knowing when to harvest your melons is key to getting the best flavor. Here are some tips for harvesting different types of melons:
* Watermelons: Look for a dry tendril near the stem, a dull sound when you thump the melon, and a yellow spot on the underside where the melon rested on the ground.
* Cantaloupes: Cantaloupes are ready to harvest when they slip easily from the vine. They should also have a fragrant aroma.
* Honeydew: Honeydews are ready to harvest when they turn a creamy yellow color and have a slightly waxy feel.
Important Note: Don’t pick your melons too early! They won’t ripen properly off the vine.
Enjoying Your Homegrown Melons
Congratulations! You’ve successfully grown your own melons at home. Now it’s time to enjoy the fruits (or rather, melons) of your labor.
* Storage: Store your melons in a cool, dry place. Watermelons can be stored for several weeks, while cantaloupes and honeydews should be eaten within a few days.
* Serving: Melons are delicious on their own, but they can also be used in salads, smoothies, and desserts.
Troubleshooting Common Melon Problems
Even with the best care, you might encounter some problems while growing melons. Here are some common issues and how to address them:
* Poor Fruit Set: This can be caused by lack of pollination, cool temperatures, or nutrient deficiencies. Hand-pollinate your flowers, provide adequate warmth, and fertilize your
Conclusion
So, there you have it! Growing melons at home, while it might seem daunting at first, is absolutely achievable with a little planning, patience, and this simple DIY trick. We’ve walked you through the process, highlighting how this method can significantly improve your chances of a bountiful harvest. Think about it: fresh, juicy, homegrown melons, bursting with flavor, right from your own backyard. No more bland, store-bought disappointments!
This isn’t just about saving money; it’s about experiencing the joy of nurturing something from seed to table. It’s about connecting with nature and understanding the process of how our food is grown. And let’s be honest, there’s a certain bragging right that comes with serving a melon you cultivated yourself!
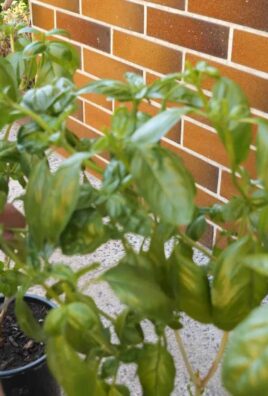
But the best part? This DIY trick is adaptable! Feel free to experiment with different melon varieties. Watermelons, cantaloupes, honeydews – the possibilities are endless. Consider using different types of organic fertilizers or adjusting the watering schedule based on your local climate. You could even try companion planting to deter pests naturally. For example, marigolds are known to repel nematodes, which can damage melon roots. Basil is another great option, as it can improve the flavor of your melons and deter insects.
Don’t be afraid to get creative and personalize the process to suit your specific needs and preferences. Maybe you want to try growing your melons vertically on a trellis to save space. Or perhaps you want to experiment with different soil amendments to improve drainage. The key is to observe your plants, learn from your mistakes, and have fun along the way.
Growing melons at home is a rewarding experience that offers a delicious payoff. This DIY trick is your secret weapon to success. It’s a game-changer that can transform your gardening efforts and bring you closer to enjoying the sweetest, most flavorful melons you’ve ever tasted.
We truly believe that anyone can grow melons successfully with this method. It’s simple, effective, and incredibly satisfying. So, what are you waiting for? Grab your seeds, gather your supplies, and get ready to embark on your melon-growing adventure!
We’re confident that you’ll be amazed by the results. And we can’t wait to hear about your experiences! Share your photos, tips, and stories with us in the comments below. Let’s create a community of home melon growers and inspire others to discover the joy of growing their own food. Happy gardening!
Frequently Asked Questions (FAQ)
What kind of soil is best for growing melons?
Melons thrive in well-drained, sandy loam soil that is rich in organic matter. The ideal pH level is between 6.0 and 6.8. Before planting, amend your soil with compost or well-rotted manure to improve drainage and fertility. If your soil is heavy clay, consider adding sand or perlite to improve drainage. A soil test can help you determine the specific nutrient needs of your soil.
How much sunlight do melons need?
Melons require at least 6-8 hours of direct sunlight per day to produce a good harvest. Choose a planting location that receives full sun throughout the growing season. If you live in a particularly hot climate, some afternoon shade may be beneficial to prevent the plants from overheating.
How often should I water my melon plants?
Melons need consistent moisture, especially during fruit development. Water deeply and regularly, aiming for about 1-2 inches of water per week. Avoid overhead watering, as this can promote fungal diseases. Use a soaker hose or drip irrigation to deliver water directly to the roots. Reduce watering as the melons ripen to concentrate their sugars and improve their flavor.
What are some common pests and diseases that affect melons?
Common pests that affect melons include aphids, squash bugs, cucumber beetles, and vine borers. Diseases include powdery mildew, fusarium wilt, and anthracnose. Regularly inspect your plants for signs of pests or diseases. Use organic pest control methods, such as insecticidal soap or neem oil, to control pests. Ensure good air circulation around your plants to prevent fungal diseases. Crop rotation can also help to reduce the risk of soilborne diseases.
When is the best time to harvest my melons?
The best time to harvest melons depends on the variety. Watermelons are typically ready to harvest when the tendril closest to the fruit turns brown and dry, and the underside of the melon turns yellow. Cantaloupes are ready when they slip easily from the vine with a gentle tug. Honeydews are ready when they turn a creamy yellow color and have a slightly waxy feel. Always check the specific recommendations for your melon variety.
Can I grow melons in containers?
Yes, you can grow melons in containers, but you’ll need to choose a large container (at least 20 gallons) and a compact melon variety. Ensure the container has good drainage and use a high-quality potting mix. Container-grown melons will require more frequent watering and fertilization than those grown in the ground. Consider using a trellis to support the vines.
What kind of fertilizer should I use for melons?
Melons benefit from regular fertilization throughout the growing season. Use a balanced fertilizer (e.g., 10-10-10) at planting time, and then switch to a fertilizer that is higher in phosphorus and potassium during fruit development. Organic options include bone meal and wood ash. Avoid over-fertilizing, as this can lead to excessive foliage growth and reduced fruit production.
How can I improve pollination for my melon plants?
Melons rely on pollinators, such as bees, to produce fruit. Attract pollinators to your garden by planting flowers that provide nectar and pollen. If you’re not seeing enough pollinator activity, you can hand-pollinate your melon flowers. Use a small paintbrush to transfer pollen from the male flowers to the female flowers. Female flowers have a small fruit developing behind the flower, while male flowers do not.
What are some good companion plants for melons?
Good companion plants for melons include marigolds, basil, nasturtiums, and radishes. Marigolds repel nematodes, basil improves flavor and deters insects, nasturtiums attract aphids away from melon plants, and radishes deter cucumber beetles. Avoid planting melons near potatoes or other members of the nightshade family, as they can compete for nutrients.
How do I store my harvested melons?
Store harvested melons in a cool, dry place. Whole melons can be stored at room temperature for a few days or in the refrigerator for up to two weeks. Cut melons should be stored in the refrigerator in an airtight container.

Leave a Comment