
DIY Home Repair: Ever feel that twinge of frustration when something breaks around the house? That leaky faucet, a wobbly shelf, or a chipped tile staring back at you, silently demanding attention? I know I have! For centuries, humans have relied on their ingenuity and resourcefulness to maintain their homes. From ancient civilizations using mud and straw to build shelters to modern-day homeowners tackling complex renovations, the spirit of DIY home repair has always been alive.
But let’s be honest, calling a professional for every little fix can quickly drain your wallet. That’s where the magic of DIY Home Repair comes in! This article is your ultimate guide to simple yet effective tricks and hacks that will empower you to tackle common household issues with confidence. We’ll explore easy-to-follow techniques, budget-friendly solutions, and essential tools that will transform you from a frustrated homeowner into a DIY pro. Get ready to save money, learn new skills, and take pride in maintaining your own space. Let’s get started!
DIY Miracle Cream: Erase Scratches and Restore Shine with Vinegar and Vaseline!
Hey everyone! I’m so excited to share this incredible DIY hack with you. I stumbled upon this trick while trying to find a budget-friendly way to restore some old furniture, and I was absolutely blown away by the results. It’s a simple combination of vinegar and Vaseline, and it works wonders on everything from scratched wood to dull leather. Seriously, prepare to be amazed!
What Can You Use This Miracle Cream On?
Before we dive into the how-to, let’s talk about what you can use this DIY cream on. I’ve personally tested it on:
* Scratched Wood Furniture: Tables, chairs, dressers – you name it! It helps minimize the appearance of scratches and restores the wood’s natural shine.
* Leather Goods: Shoes, bags, even leather furniture can benefit from this treatment. It conditions the leather and helps to buff out minor scuffs.
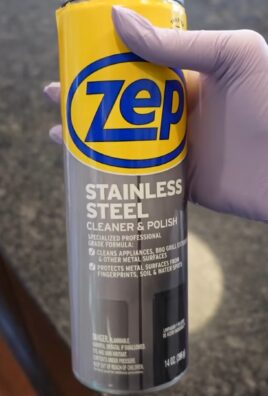
* Stainless Steel Appliances: Fingerprints and water spots? Gone! This cream leaves stainless steel looking sparkling clean.
* Painted Surfaces: Light scratches on painted walls or furniture can often be minimized with a gentle application.
* Car Dashboard: This is a great way to clean and protect your car’s dashboard from sun damage.
Important Note: Always test a small, inconspicuous area first to ensure the cream doesn’t damage or discolor the surface. This is especially important for delicate materials or antique furniture.
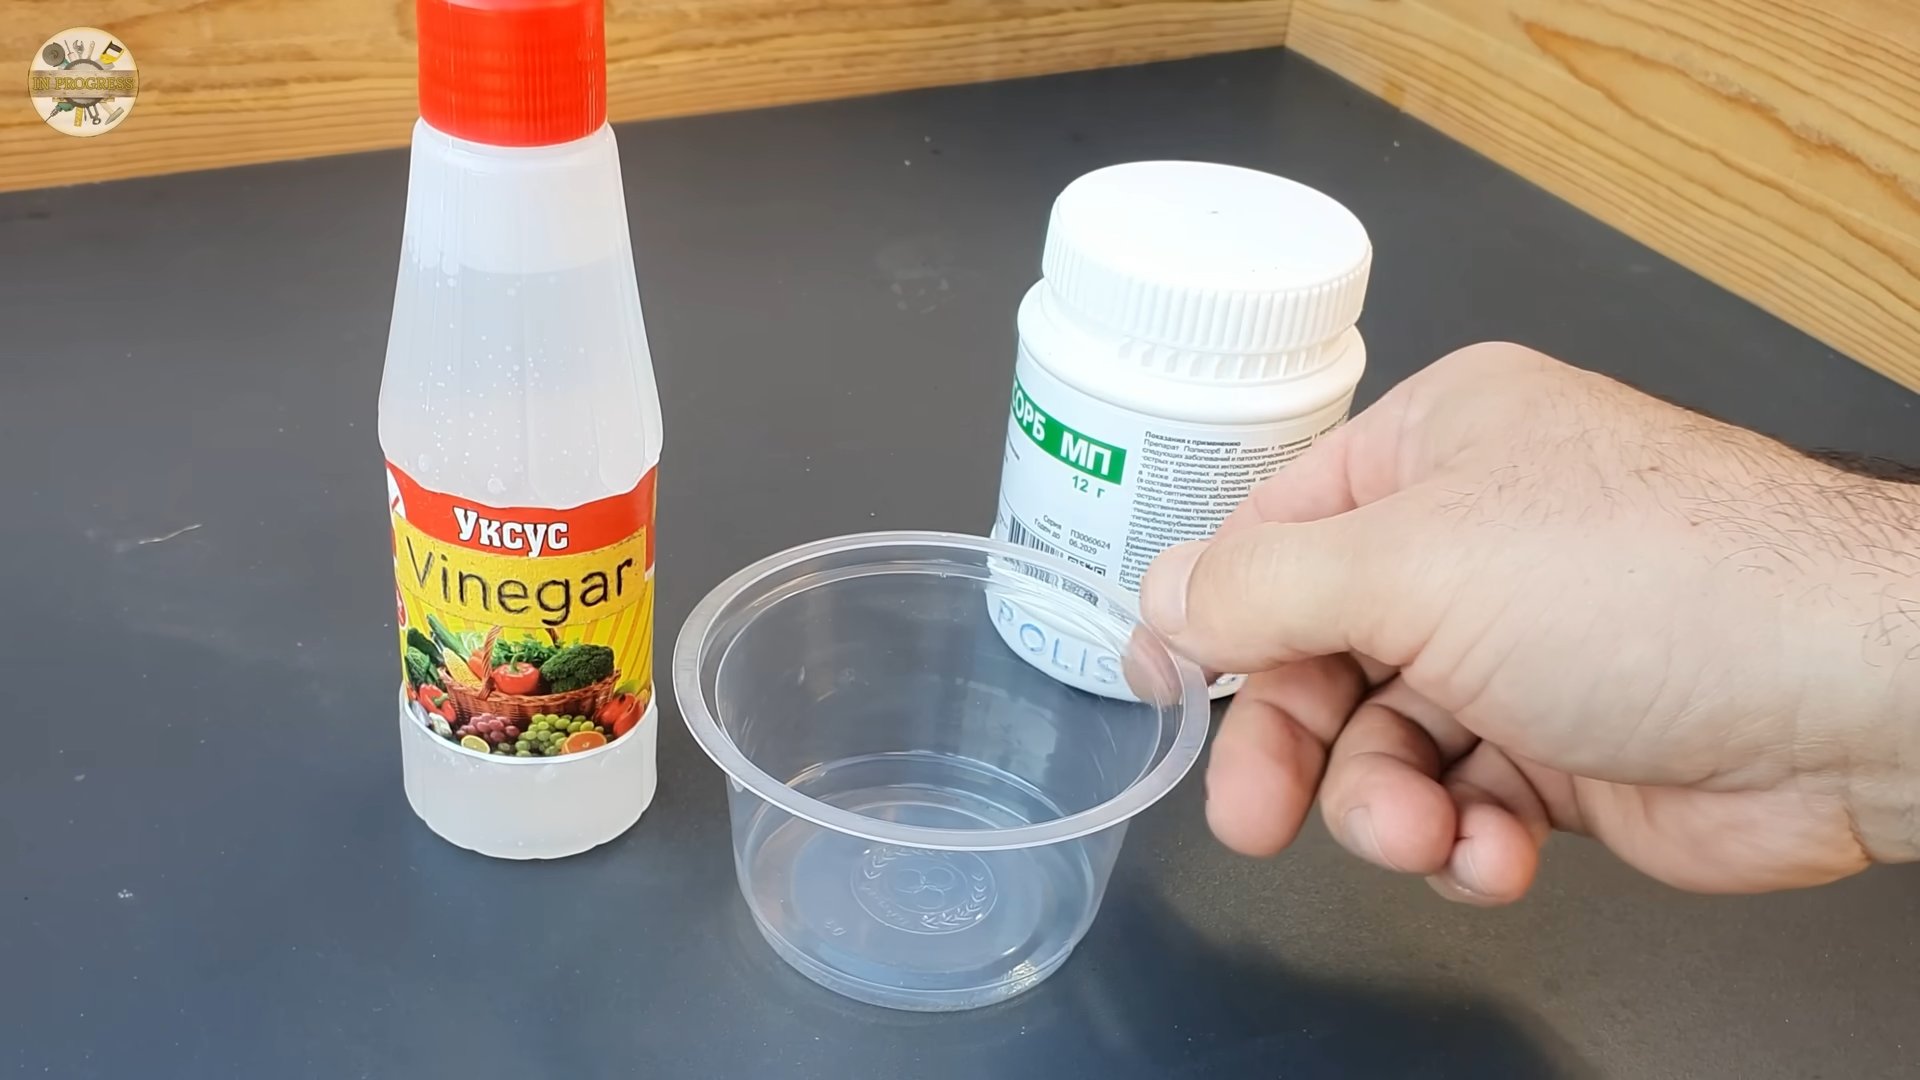
What You’ll Need:
Okay, let’s gather our supplies. The beauty of this hack is that you probably already have everything you need!
* White Vinegar: The star of the show! White vinegar acts as a mild abrasive and helps to clean and dissolve grime.
* Vaseline (Petroleum Jelly): This provides a protective layer and helps to fill in scratches, creating a smooth surface.
* Clean, Soft Cloths: Microfiber cloths are ideal, but any soft, lint-free cloth will work. You’ll need at least two – one for application and one for buffing.
* Small Bowl or Container: To mix the vinegar and Vaseline.
* Optional: Gloves: If you have sensitive skin, you might want to wear gloves to protect your hands.
Mixing the Miracle Cream:
This is the easiest part! The ratio is key, so pay attention.
1. Measure the Vaseline: Scoop out about one tablespoon of Vaseline and place it in your small bowl.
2. Add the Vinegar: Pour in one teaspoon of white vinegar. That’s a 10:1 ratio of Vaseline to vinegar.
3. Mix Thoroughly: Use a spoon or your finger (if you’re wearing gloves!) to mix the Vaseline and vinegar together until they are completely combined and form a smooth, creamy paste. It might take a minute or two, but keep stirring until there are no streaks of vinegar visible.
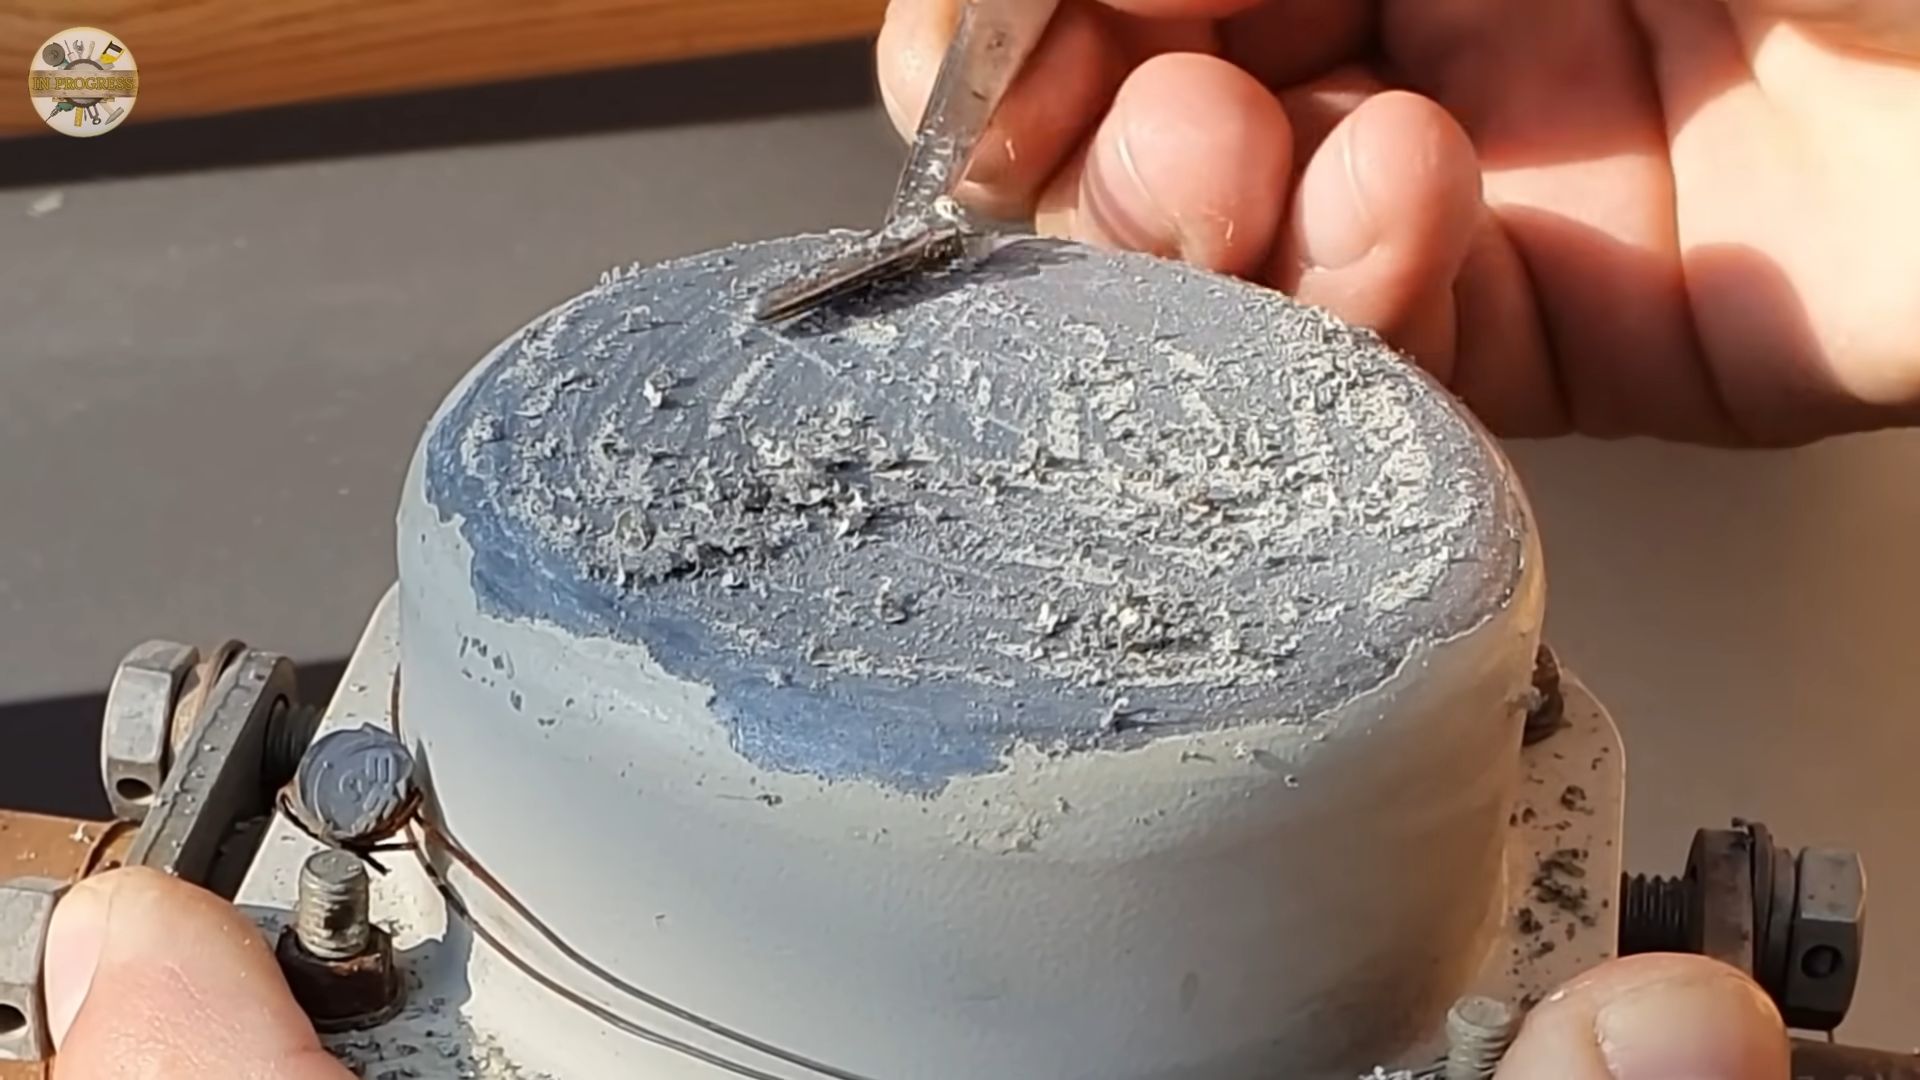
Applying the Miracle Cream:
Now for the fun part! Remember to test in an inconspicuous area first!
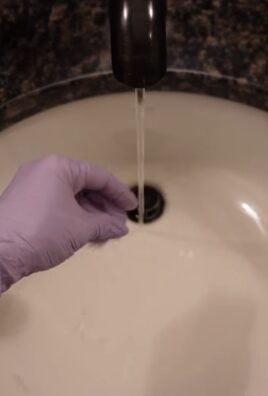
1. Prepare the Surface: Make sure the surface you’re treating is clean and dry. Wipe away any dust or debris with a clean, dry cloth.
2. Apply a Small Amount: Dip your clean cloth into the vinegar and Vaseline mixture. You only need a very small amount! Less is more in this case.
3. Gently Rub into the Surface: Using circular motions, gently rub the cream into the scratched or dull area. Apply light pressure and work the cream into the surface for a minute or two. The goal is to fill in the scratches and condition the material.
4. Let it Sit (Optional): For deeper scratches or more stubborn stains, you can let the cream sit on the surface for 5-10 minutes. This allows the vinegar to work its magic and loosen any grime.
5. Wipe Away Excess: After letting it sit (or immediately after applying), use a clean section of your cloth to wipe away any excess cream. Make sure you remove all traces of the mixture.
6. Buff to a Shine: Now, grab your second clean, dry cloth and buff the treated area in circular motions. This will remove any remaining residue and bring out the shine. Buffing is key to achieving that “like new” look!
Specific Applications and Tips:
Let’s break down how to use this miracle cream on different surfaces for optimal results.
On Wood Furniture:
* Focus on Scratches: When applying to wood furniture, concentrate on the scratched areas. Don’t apply the cream to the entire surface unless it’s generally dull.
* Wood Grain: When rubbing the cream into the wood, try to follow the direction of the wood grain. This will help to blend the cream in and minimize the appearance of scratches.
* Multiple Applications: For deeper scratches, you may need to repeat the application process several times. Allow the cream to dry completely between applications.
* Consider a Wood Polish: After using the vinegar and Vaseline cream, you can apply a wood polish to further enhance the shine and protect the wood.
On Leather Goods:
* Conditioning: This cream is great for conditioning leather and preventing it from drying out and cracking.
* Gentle Application: Be extra gentle when applying to leather, as it can be easily damaged. Use light pressure and avoid rubbing too vigorously.
* Leather Cleaner: Before applying the cream, you can use a leather cleaner to remove any dirt or grime.
* Leather Conditioner: After buffing, you can apply a leather conditioner to further moisturize and protect the leather.
On Stainless Steel Appliances:
* Follow the Grain: When applying to stainless steel, always rub in the direction of the grain to avoid scratching.
* Light Pressure: Use very light pressure when applying and buffing.
* Streak-Free Shine: Buff thoroughly to achieve a streak-free shine.
* Avoid Abrasive Cleaners: Never use abrasive cleaners on stainless steel, as they can scratch the surface.
On Painted Surfaces:
* Test First: This is especially important for painted surfaces! Test in an inconspicuous area to make sure the cream doesn’t damage the paint.
* Very Light Pressure: Use extremely light pressure when applying and buffing.
* Avoid Glossy Paints: This cream is best suited for matte or satin paints. It may dull the shine of glossy paints.
* Consider Touch-Up Paint: For deeper scratches, touch-up paint may be a better option.
On Car Dashboard:
* Dust First: Make sure to dust your dashboard thoroughly before applying the cream.
* UV Protection: The Vaseline helps to protect your dashboard from UV damage.
* Avoid Steering Wheel and Pedals: Do not apply the cream to your steering wheel or pedals, as it can make them slippery.
* Ventilation: Open your car windows to ventilate the interior after applying the cream.
Troubleshooting:
Sometimes things don’t go exactly as planned. Here are some common issues and how to fix them:
* Streaky Finish: If you’re left with a streaky finish, it means you haven’t buffed enough. Keep buffing with a clean, dry cloth until the streaks disappear.
* Dullness: If the surface looks dull after applying the cream, it could be that you’ve used too much vinegar. Try reducing the amount of vinegar in your mixture next time.
* Discoloration: If you notice any discoloration, stop using the cream immediately. This means the cream is not suitable for that particular surface.
* Sticky Residue: If you’re left with a sticky residue, it means you haven’t removed all of the excess cream. Use a clean, damp cloth to wipe away the residue, then buff with a dry cloth.
Safety Precautions:
While this DIY cream is generally safe, it’s always a good idea to take some precautions:
* Ventilation: Work in a well-ventilated area, especially when using vinegar.
* Gloves: Wear gloves if you have sensitive skin.
* Eye Contact: Avoid getting the cream in your eyes. If contact occurs, rinse thoroughly with water.
* Keep Out of Reach of Children: Store the cream in a safe place, out of reach of children and pets.
Why This Hack Works: The Science Behind It
So, what makes this simple combination of vinegar and Vaseline so effective? It’s all about the properties of each ingredient:
* Vinegar: Vinegar is a mild acid that helps to dissolve dirt, grime, and mineral deposits. It also acts as a mild abrasive, helping to smooth out scratches.
* Vaseline: Vaseline is a petroleum jelly that provides a protective barrier and helps to fill in scratches.
Conclusion
So, there you have it! This simple yet incredibly effective DIY home repair trick is a game-changer for anyone looking to save money, time, and the headache of calling a professional for minor fixes. We’ve walked you through the process, highlighting its ease and accessibility, and hopefully, dispelled any doubts you might have had about tackling this project yourself.
But why is this DIY home repair a must-try? Because it empowers you. It gives you the confidence to address common household issues without relying on external help. Think about it: no more waiting days for a handyman to become available, no more hefty bills for a 15-minute job, and no more feeling helpless when faced with a dripping faucet or a wobbly shelf. This trick puts the power back in your hands, allowing you to maintain your home efficiently and affordably.
Beyond the immediate benefits, mastering this DIY technique opens the door to a world of possibilities. You can adapt it to various situations, experiment with different materials, and even develop your own unique solutions to common household problems.
Variations and Suggestions:
* Material Swaps: While we’ve focused on readily available materials, don’t be afraid to experiment. For example, if you’re dealing with a specific type of plastic, research adhesives specifically designed for that material. Similarly, consider using different types of fillers for larger gaps or cracks, such as epoxy putty for added strength and durability.
* Color Matching: For a seamless repair, take the time to match the color of your repair material to the surrounding surface. You can often find color-matching kits at your local hardware store or even mix your own using acrylic paints.
* Preventative Measures: Once you’ve successfully completed the repair, consider taking preventative measures to avoid future issues. This might involve applying a sealant to prevent water damage, reinforcing weak points with additional supports, or simply being more mindful of how you use the affected area.
* Expanding Your Skills: This DIY trick is a great starting point for expanding your home repair skills. Once you’re comfortable with this technique, consider tackling other simple projects, such as patching drywall, replacing a light fixture, or unclogging a drain.
We genuinely believe that this DIY home repair trick is something everyone should have in their arsenal. It’s a practical skill that can save you money, time, and stress in the long run. So, gather your materials, follow the steps outlined above, and prepare to be amazed at how easy it is to fix things around your house.
We are confident that you will be able to do it.
Now, we want to hear from you! Give this DIY home repair trick a try and share your experience with us. Did it work for you? Did you encounter any challenges? Do you have any tips or variations to share? Let us know in the comments below! Your feedback will not only help us improve this guide but also inspire others to take on their own DIY projects. Together, we can create a community of empowered homeowners who are confident in their ability to tackle common household repairs.
Frequently Asked Questions (FAQ)
What if I don’t have all the materials listed?
Don’t worry! The beauty of this DIY home repair trick is its adaptability. While having all the recommended materials is ideal, you can often substitute them with similar items you already have on hand. For example, if you don’t have a specific type of adhesive, you can try using a strong multi-purpose glue. If you don’t have sandpaper, you can use a scouring pad or even a nail file in a pinch. The key is to be creative and resourceful. However, always prioritize safety and ensure that any substitute materials are compatible with the surfaces you’re working with. If you are unsure, it is best to purchase the recommended materials.
Is this DIY trick suitable for all types of repairs?
While this DIY home repair trick is versatile, it’s not a one-size-fits-all solution. It’s best suited for minor repairs, such as filling small cracks, patching holes, or reattaching loose pieces. For more complex or structural repairs, it’s always best to consult with a qualified professional. Attempting to fix something beyond your skill level can be dangerous and could potentially cause further damage. When in doubt, err on the side of caution and seek professional help.
How long will the repair last?
The longevity of the repair will depend on several factors, including the type of materials used, the severity of the damage, and the amount of stress the repaired area is subjected to. In general, a well-executed repair using quality materials should last for a significant amount of time. However, it’s important to monitor the repaired area regularly and address any signs of wear or tear promptly. Applying a sealant or protective coating can also help extend the lifespan of the repair.
What if I mess up the repair?
Everyone makes mistakes, especially when trying something new. If you mess up the repair, don’t panic! The good news is that most mistakes can be easily corrected. If you’ve applied too much adhesive or filler, you can usually remove it with a solvent or scraper. If you’ve sanded too much, you can apply more filler to build up the surface. The key is to be patient and persistent. If you’re truly stuck, you can always seek advice from a professional or consult online resources for troubleshooting tips.
Is this repair waterproof?
Whether or not the repair is waterproof depends on the materials you use. If you’re repairing something that will be exposed to water, such as a leaky pipe or a cracked tile in the bathroom, it’s crucial to use waterproof adhesives and sealants. Look for products that are specifically labeled as waterproof or water-resistant. Additionally, ensure that the repaired area is properly sealed to prevent water from seeping in.
Can I use this trick on different materials, like wood or metal?
Yes, this DIY home repair trick can be adapted for use on various materials, including wood and metal. However, you’ll need to adjust the materials and techniques accordingly. For wood repairs, you’ll want to use wood fillers and adhesives specifically designed for wood. For metal repairs, you’ll need to use metal fillers and adhesives that are compatible with the type of metal you’re working with. Additionally, you may need to use different tools, such as a metal file or a welding torch, depending on the nature of the repair.
How can I make the repair look more professional?
To achieve a more professional-looking repair, pay attention to the details. Take the time to properly prepare the surface by cleaning it thoroughly and removing any loose debris. Use high-quality materials and apply them carefully and evenly. Sand the repaired area smooth and blend it seamlessly with the surrounding surface. Finally, consider applying a coat of paint or finish to match the existing color and texture.
Where can I find more information about DIY home repair?
There are countless resources available online and in libraries that can provide you with more information about DIY home repair. Websites like YouTube, Home Depot, and Lowe’s offer a wealth of tutorials and guides on various home repair topics. You can also find helpful books and magazines at your local library or bookstore. Additionally, consider taking a home repair class at a community college or vocational school.
Leave a Comment