
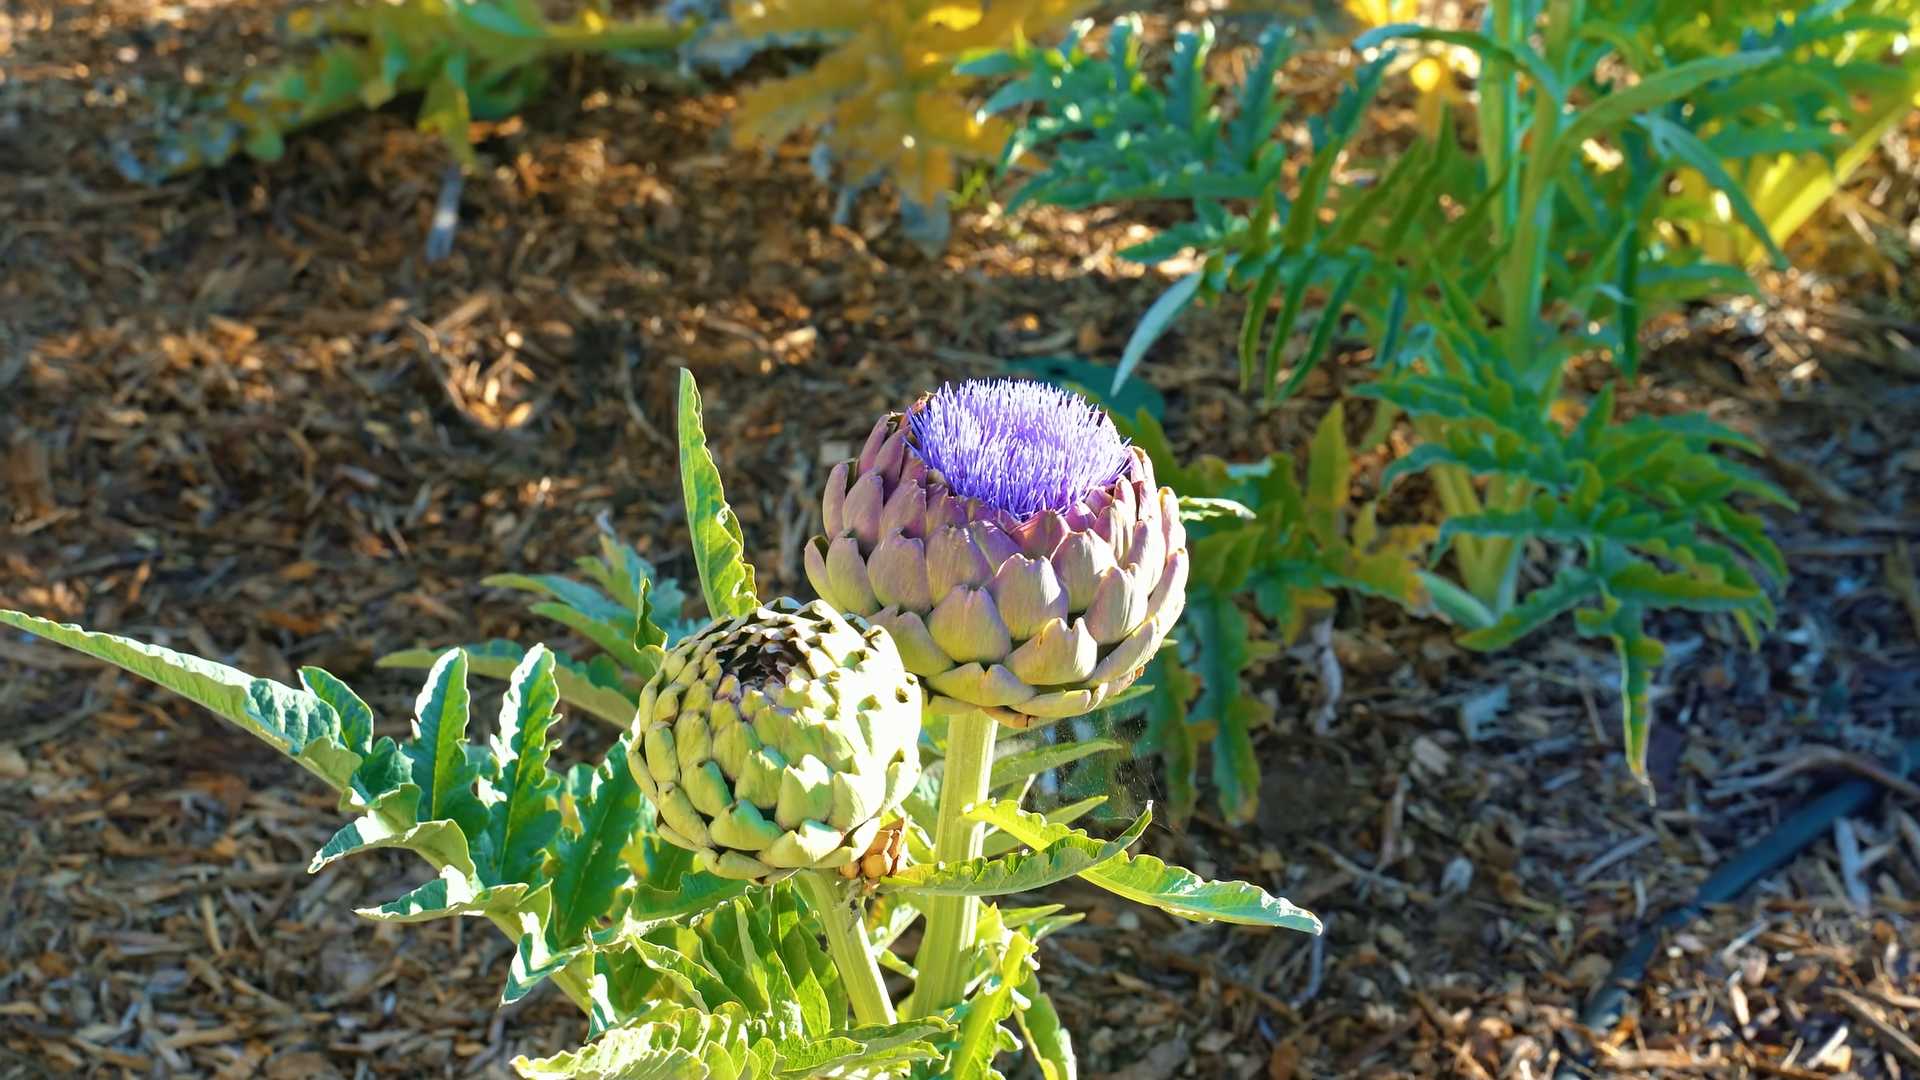
Grow Artichokes at Home? Absolutely! Imagine strolling through your garden and harvesting your very own spiky, delicious artichokes. It sounds like a gourmet dream, right? Well, it’s more attainable than you think! For centuries, artichokes have been prized for their unique flavor and nutritional benefits, gracing tables from ancient Rome to modern-day California. They’re not just food; they’re a symbol of culinary sophistication.
But let’s be honest, the thought of growing them can be a little intimidating. That’s where this DIY guide comes in. I’m here to demystify the process and show you some simple, effective tricks to successfully grow artichokes at home, even if you don’t have a sprawling estate. We’ll cover everything from choosing the right variety to protecting your plants from pests.
Why do you need these DIY tricks? Because store-bought artichokes can be expensive and sometimes lack that fresh, vibrant flavor. Plus, there’s nothing quite like the satisfaction of nurturing a plant from seedling to harvest, knowing you grew it yourself. So, grab your gardening gloves, and let’s get started on this exciting journey to homegrown artichoke goodness!
Housekeeping Hacks That Work: My Tried-and-True Tips for a Sparkling Home
Okay, friends, let’s be honest. Housekeeping isn’t exactly anyone’s favorite pastime. But a clean and organized home? That’s something we can all get behind! Over the years, I’ve stumbled upon (and sometimes invented!) some pretty nifty housekeeping hacks that have seriously streamlined my cleaning routine. I’m excited to share them with you! Get ready to ditch the drudgery and embrace a cleaner, happier home.
Hack 1: The Microwave Miracle Cleaner
Burnt-on food splatters in the microwave? We’ve all been there. Instead of scrubbing for ages, try this simple steam cleaning trick. It’s seriously a game-changer.
What you’ll need:
* 1 cup water
* 1 tablespoon white vinegar (or lemon juice)
* Microwave-safe bowl
Step-by-step instructions:
1. Mix it up: In your microwave-safe bowl, combine the water and vinegar (or lemon juice). The vinegar helps loosen the grime, and the lemon juice adds a fresh scent.
2. Microwave magic: Place the bowl in the microwave and heat on high for 5-7 minutes. You want the mixture to boil and create steam.
3. Steam soak: Once the timer goes off, don’t open the microwave door immediately! Let the steam work its magic for another 5-10 minutes. This allows the steam to penetrate and loosen all the stubborn food particles.
4. Wipe it clean: Carefully remove the bowl (it will be hot!). Use a damp cloth or sponge to easily wipe away the loosened grime. You’ll be amazed at how effortlessly it comes off! For any particularly stubborn spots, you might need a little extra elbow grease, but it will be significantly easier than scrubbing from the start.
5. Final touches: Wipe down the turntable and the inside of the door. Your microwave should now be sparkling clean and smelling fresh!
Hack 2: Sparkling Shower Head in Minutes
Hard water stains and mineral buildup can really gunk up your shower head, reducing water pressure and making it look gross. Here’s how to restore it to its former glory without even removing it!
What you’ll need:
* White vinegar
* Plastic bag (a sandwich bag works well)
* Rubber band or twist tie
Step-by-step instructions:
1. Vinegar bath: Fill the plastic bag with enough white vinegar to completely submerge the shower head.
2. Secure the bag: Carefully position the bag over the shower head, ensuring the shower head is fully immersed in the vinegar. Use a rubber band or twist tie to secure the bag tightly around the shower head’s neck.
3. Soak overnight: Let the shower head soak in the vinegar overnight (or for at least a few hours). The vinegar will dissolve the mineral deposits and grime.
4. Remove and rinse: Remove the bag and discard the vinegar. Turn on the shower and let the water run for a few minutes to flush out any remaining vinegar and loosened debris.
5. Shine on: If there are any stubborn spots, use an old toothbrush to gently scrub them away. Your shower head should now be sparkling clean and delivering a much better shower experience!
Hack 3: The Ultimate Grout Cleaner
Dirty grout can make even the cleanest tiles look dingy. This homemade grout cleaner is powerful, effective, and uses ingredients you probably already have.
What you’ll need:
* Baking soda
* White vinegar
* Old toothbrush or grout brush
* Spray bottle (optional)
Step-by-step instructions:
1. Baking soda paste: Mix baking soda with a little water to form a thick paste.
2. Apply the paste: Apply the baking soda paste to the grout lines. You can use your fingers, a spoon, or even a small spatula to spread it evenly.
3. Vinegar power: Pour or spray white vinegar onto the baking soda paste. It will fizz – that’s the chemical reaction that’s breaking down the dirt and grime!
4. Let it sit: Let the mixture sit for 5-10 minutes to allow the vinegar to work its magic.
5. Scrub-a-dub-dub: Use an old toothbrush or grout brush to scrub the grout lines. You’ll see the dirt and grime lifting away.
6. Rinse and repeat: Rinse the area thoroughly with water. If the grout is particularly dirty, you may need to repeat the process.
7. Dry it off: Wipe the tiles and grout dry with a clean cloth. Your grout should now be significantly brighter and cleaner!
Hack 4: Dust-Busting Furniture Polish
Commercial furniture polishes can be expensive and often contain harsh chemicals. This homemade version is natural, effective, and leaves your furniture looking beautiful.
What you’ll need:
* 1/4 cup olive oil
* 1/2 cup white vinegar (or lemon juice)
* Spray bottle
* Soft cloth
Step-by-step instructions:
1. Mix it up: In a spray bottle, combine the olive oil and vinegar (or lemon juice).
2. Shake well: Shake the bottle vigorously to ensure the ingredients are well mixed.
3. Spray lightly: Lightly spray the furniture with the polish. Don’t over-saturate it!
4. Buff it in: Use a soft cloth to buff the polish into the furniture. This will remove dust, dirt, and fingerprints, and leave a beautiful shine.
5. Admire your work: Enjoy your beautifully polished furniture! This polish also helps to protect the wood and prevent it from drying out.
Hack 5: Freshen Up Your Mattress
Our mattresses can harbor dust mites, dead skin cells, and other unpleasant things. This simple trick will freshen up your mattress and help you sleep better.
What you’ll need:
* Baking soda
* Essential oil (optional, like lavender or eucalyptus)
* Vacuum cleaner with upholstery attachment
* Sieve or strainer (optional)
Step-by-step instructions:
1. Prepare the baking soda: In a bowl, mix baking soda with a few drops of your favorite essential oil (if using). The essential oil will add a pleasant scent. If you want to ensure even distribution, you can sift the baking soda through a sieve or strainer after adding the oil.
2. Sprinkle it on: Sprinkle a generous layer of the baking soda mixture over the entire surface of your mattress.
3. Let it sit: Let the baking soda sit for at least 30 minutes, or even better, a few hours. The baking soda will absorb odors, moisture, and dust mites.
4. Vacuum thoroughly: Use the upholstery attachment of your vacuum cleaner to thoroughly vacuum the entire mattress, removing all traces of the baking soda.
5. Flip and repeat: Flip the mattress over and repeat the process on the other side.
6. Enjoy a fresh bed: Your mattress should now be fresher, cleaner, and more inviting!
Hack 6: Unclog a Drain Naturally
Chemical drain cleaners can be harsh and damaging to your pipes. This natural method is safer, more environmentally friendly, and often just as effective.
What you’ll need:
* 1 cup baking soda
* 2 cups boiling water
* 1 cup white vinegar
Step-by-step instructions:
1. Pour in the baking soda: Pour one cup of baking soda down the drain.
2. Follow with boiling water: Slowly pour two cups of boiling water down the drain.
3. Vinegar power: Pour one cup of white vinegar down the drain.
4. Let it fizz: Let the mixture fizz and sit for 30 minutes to an hour. The baking soda and vinegar will react to break down the clog.
5. Flush with hot water: After the waiting period, flush the drain with hot water for several minutes.
6. Repeat if necessary: If the drain is still clogged, repeat the process. For stubborn clogs, you may need to use a plunger after the baking soda and vinegar treatment.
Hack 7: Speed Cleaning with a Caddy
This isn’t a cleaning *product* hack, but a cleaning *organization* hack! Having all your cleaning supplies in one place makes cleaning so much faster and more efficient.
What you’ll need:
* A sturdy caddy or bucket
* Your favorite cleaning supplies (sprays, cloths, sponges, etc.)
Step-by-step instructions:
1. Gather your supplies: Collect all the cleaning supplies you use most often.
2. Organize the
Conclusion
So, there you have it! Growing artichokes at home might seem daunting at first, but with a little patience and the right approach, you can enjoy these delectable thistles fresh from your own garden. This DIY trick, focusing on understanding the artichoke’s needs and providing the optimal environment, is a must-try for any gardener looking to expand their repertoire and savor the unique flavor of homegrown produce.
Why is this method so compelling? Because it puts you in control. You’re not relying on store-bought artichokes, which can be expensive and may not always be the freshest. You’re nurturing your own plants, ensuring they receive the best possible care, and ultimately, reaping the rewards of your labor. The satisfaction of harvesting your own artichokes is truly unparalleled.
But the journey doesn’t end with this basic guide. Feel free to experiment! Consider different varieties of artichokes to find your favorite flavor profile. ‘Green Globe’ is a classic choice, but ‘Violetta’ offers a beautiful purple hue and a slightly sweeter taste. You can also explore different companion planting strategies. Planting basil or marigolds near your artichokes can help deter pests and attract beneficial insects.
Another variation to consider is container gardening. If you have limited space, growing artichokes in large pots is a viable option. Just be sure to choose a pot that’s at least 24 inches in diameter and provides excellent drainage. You’ll also need to water more frequently, as container plants tend to dry out faster.
Don’t be afraid to get your hands dirty and embrace the learning process. Growing artichokes at home is a rewarding experience that connects you with nature and provides you with a delicious and healthy food source.
We wholeheartedly encourage you to try this DIY trick. Start small, be patient, and don’t be discouraged by initial setbacks. Every gardener faces challenges, but the key is to learn from your mistakes and keep experimenting.
And most importantly, share your experience! We’d love to hear about your successes, your challenges, and any variations you’ve tried. Post photos of your artichoke plants, share your harvesting tips, and let us know what you’re cooking up with your homegrown bounty. Together, we can create a community of passionate artichoke growers and inspire others to embark on this rewarding journey. Happy gardening!
Frequently Asked Questions (FAQs)
What is the best time of year to plant artichokes?
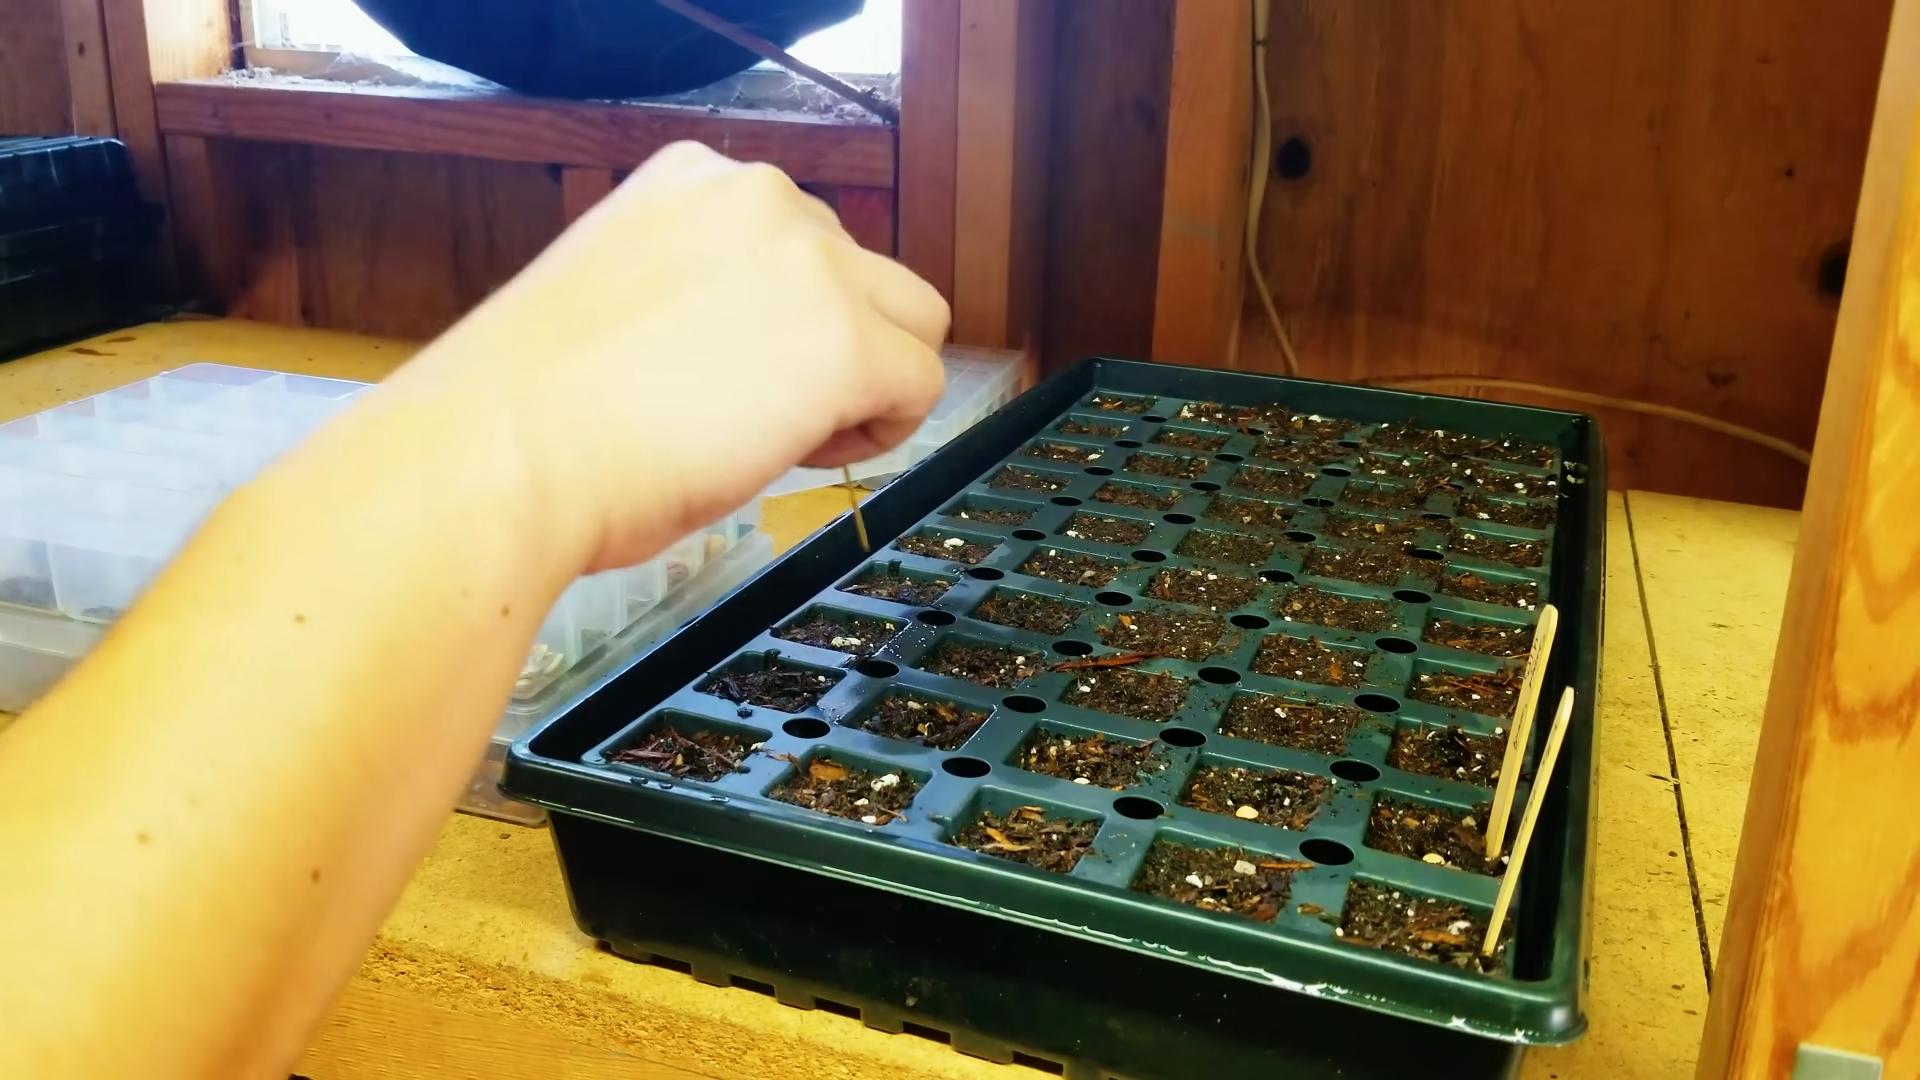
The ideal time to plant artichokes depends on your climate. In regions with mild winters (zones 7-10), you can plant artichokes in the fall for a spring harvest. In colder climates (zones 6 and below), it’s best to start artichokes indoors in late winter or early spring and transplant them outdoors after the last frost. Starting them indoors gives them a head start and allows them to establish themselves before the heat of summer. Remember to harden off your seedlings gradually before transplanting them to acclimate them to outdoor conditions.
How much sunlight do artichokes need?
Artichokes are sun-loving plants and require at least six to eight hours of direct sunlight per day. Insufficient sunlight can lead to weak growth, reduced yields, and smaller artichokes. Choose a planting location that receives ample sunlight throughout the day. If you’re growing artichokes in containers, make sure to position them in a sunny spot. If you live in a particularly hot climate, providing some afternoon shade can help prevent the plants from getting scorched.
What kind of soil is best for growing artichokes?
Artichokes thrive in well-drained, fertile soil that is rich in organic matter. The ideal soil pH is between 6.0 and 7.0. Before planting, amend your soil with compost, aged manure, or other organic materials to improve its drainage and fertility. Avoid planting artichokes in heavy clay soil, as this can lead to root rot. If you have clay soil, consider growing artichokes in raised beds or containers. Regular soil testing can help you determine if your soil needs any amendments.
How often should I water artichokes?
Artichokes need consistent moisture, especially during hot, dry weather. Water deeply and regularly, ensuring that the soil remains consistently moist but not waterlogged. Overwatering can lead to root rot, so it’s important to allow the soil to dry slightly between waterings. The frequency of watering will depend on your climate, soil type, and the size of your plants. Check the soil moisture regularly by sticking your finger into the soil a few inches deep. If the soil feels dry, it’s time to water.
How do I fertilize artichokes?
Artichokes are heavy feeders and benefit from regular fertilization. Apply a balanced fertilizer (e.g., 10-10-10) every few weeks during the growing season. You can also side-dress your plants with compost or aged manure. Avoid over-fertilizing, as this can lead to excessive foliage growth at the expense of artichoke production. Follow the instructions on the fertilizer label carefully.
How do I protect artichokes from pests and diseases?
Artichokes can be susceptible to various pests and diseases, including aphids, snails, slugs, and powdery mildew. Regularly inspect your plants for signs of infestation or disease. Handpick pests whenever possible. Use organic pest control methods, such as insecticidal soap or neem oil, to control aphids and other insects. Apply copper-based fungicides to prevent or treat powdery mildew. Good air circulation can also help prevent fungal diseases.
When are artichokes ready to harvest?
Artichokes are typically ready to harvest in the spring or early summer, depending on your climate and the variety you’re growing. The artichokes are ready to harvest when the bracts (the outer leaves) are still tightly closed and the artichoke feels firm. The size of the artichoke will also depend on the variety. Use a sharp knife to cut the artichoke from the plant, leaving a few inches of stem attached. Harvest artichokes before the bracts begin to open, as this indicates that the artichoke is starting to mature and the choke (the fuzzy center) is developing.
Can I grow artichokes in containers?
Yes, artichokes can be successfully grown in containers, especially if you have limited garden space. Choose a large container that is at least 24 inches in diameter and provides excellent drainage. Use a high-quality potting mix that is rich in organic matter. Water regularly and fertilize every few weeks. Container-grown artichokes may need to be moved to a sheltered location during the winter in colder climates.
How do I overwinter artichokes in cold climates?
In regions with cold winters, artichokes need to be protected from freezing temperatures. After the first frost, cut back the foliage to a few inches above the ground. Cover the plants with a thick layer of mulch, such as straw or leaves, to insulate the roots. You can also dig up the plants and store them in a cool, dark, and dry place until spring. Replant them outdoors after the last frost.
My artichoke plant is not producing artichokes. What could be the problem?
There are several reasons why your artichoke plant might not be producing artichokes. It could be due to insufficient sunlight, poor soil, inadequate watering, or lack of fertilization. Make sure your plant is receiving at least six to eight hours of direct sunlight per day, and that the soil is well-drained and fertile. Water regularly and fertilize every few weeks. It’s also possible that your plant is still too young to produce artichokes. Artichokes typically take one to two years to mature and produce a significant harvest. Finally, some varieties of artichokes require vernalization (exposure to cold temperatures) to induce flowering.


Leave a Comment