
Cupcake Liner Crafts: Who knew those humble little paper cups could be transformed into so much more than just vessels for delicious treats? I’m always amazed by the sheer ingenuity of crafters, and cupcake liners offer a surprisingly versatile medium for unleashing your creativity. From adorable decorations to surprisingly elegant embellishments, the possibilities are truly endless!
While the modern cupcake liner is a relatively recent invention, the idea of using edible or disposable containers for baking dates back centuries. Think of ancient civilizations using leaves or natural molds to bake their goods. Today, we’ve got a rainbow of colors and patterns at our fingertips, making cupcake liner crafts not just practical, but also incredibly fun and visually appealing.
Why should you dive into the world of cupcake liner crafts? Well, for starters, it’s a fantastic way to repurpose leftover supplies and reduce waste. But more importantly, it’s a budget-friendly and engaging activity for all ages. Whether you’re looking for a fun project to do with the kids, a unique way to decorate for a party, or simply a relaxing creative outlet, these DIY tricks and hacks will inspire you to see those little paper cups in a whole new light. Get ready to transform your crafting game with these simple, yet stunning, cupcake liner creations!
Transforming Ordinary Cupcake Liners into Extraordinary Crafts
Cupcake liners! Who knew these humble baking essentials could be so versatile? I’ve always loved finding new uses for everyday items, and cupcake liners are a treasure trove of crafting possibilities. Forget just lining muffin tins; we’re about to embark on a creative journey, transforming these paper cups into stunning decorations, adorable critters, and so much more. Get ready to unleash your inner artist!
Gathering Your Supplies
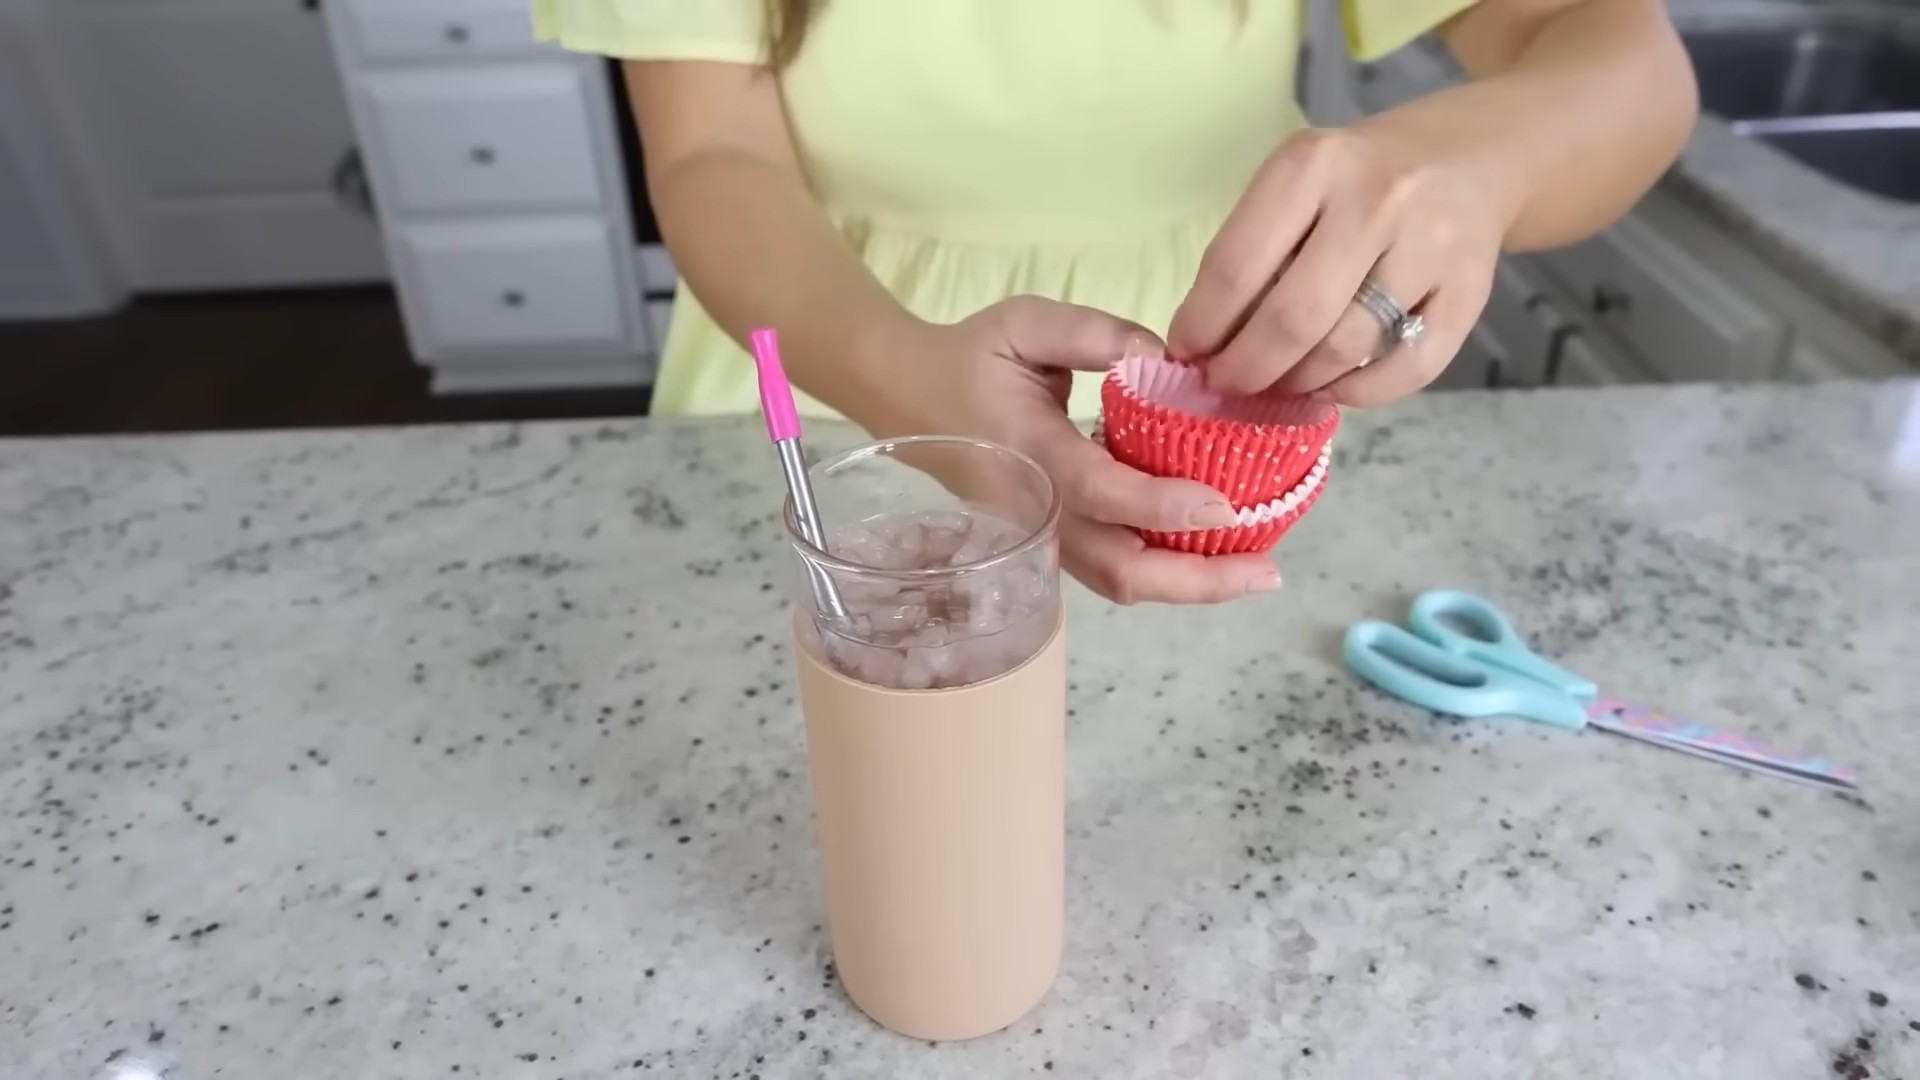
Before we dive into the fun, let’s make sure we have everything we need. This will save you time and frustration later. Here’s a list of essentials:
* **Cupcake Liners:** Of course! I recommend having a variety of colors, patterns, and sizes on hand. The more, the merrier!
* **Scissors:** A good pair of scissors is crucial for precise cutting.
* **Glue:** I prefer using a glue stick for most projects, but a hot glue gun (with adult supervision, of course!) can be helpful for more complex creations. White school glue also works well, but it takes longer to dry.
* **Markers or Colored Pencils:** For adding details and bringing your creations to life.
* **Googly Eyes:** Because everything is cuter with googly eyes!
* **Pipe Cleaners:** Great for adding stems, legs, or other structural elements.
* **Pom-poms:** Another fun embellishment for adding texture and dimension.
* **String or Yarn:** For hanging decorations or creating garlands.
* **Optional:** Glitter, sequins, beads, buttons – anything that sparks your creativity!
Crafting a Cupcake Liner Flower Bouquet
One of my favorite cupcake liner crafts is creating a beautiful flower bouquet. It’s surprisingly easy and makes a wonderful gift or a cheerful decoration for your home.
Step 1: Preparing the Petals
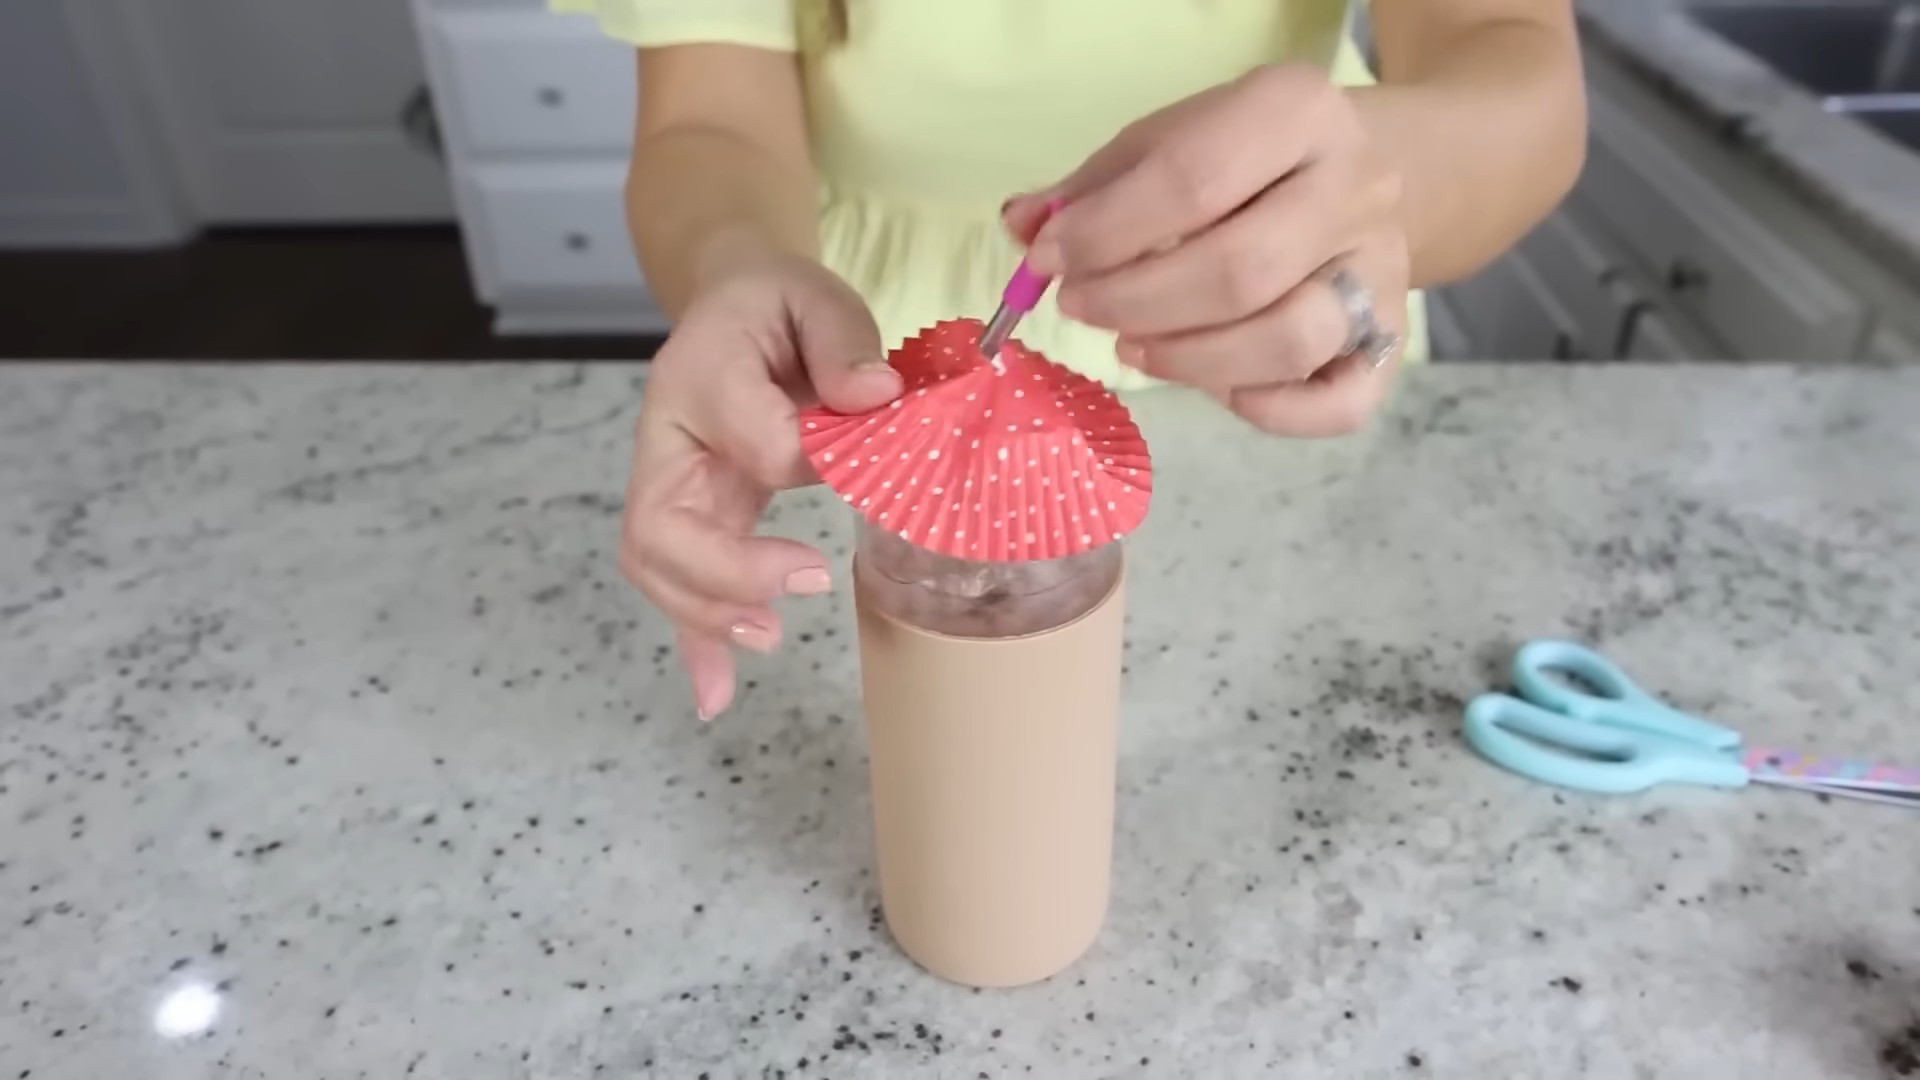
1. **Flatten the Liners:** Gently flatten each cupcake liner. You can use your fingers or a rolling pin for this.
2. **Fold in Half:** Fold the flattened liner in half.
3. **Fold Again:** Fold it in half again, creating a quarter circle shape.
4. **Cut the Petal Shape:** Now comes the fun part! Use your scissors to cut a petal shape along the open edge of the folded liner. You can experiment with different shapes – rounded, pointed, scalloped – to create a variety of flower petals.
5. **Unfold:** Carefully unfold the liner to reveal your petal shape.
Step 2: Assembling the Flowers
1. **Layer the Petals:** Take several petal shapes (I usually use 3-5 per flower) and layer them on top of each other, slightly offsetting them to create a fuller flower.
2. **Glue the Layers Together:** Apply a small amount of glue to the center of each petal shape and press them together.
3. **Add a Center:** Once the glue has dried, add a decorative center to your flower. You can use a pom-pom, a button, a sequin, or even just a dot of glitter.
4. **Create a Stem (Optional):** If you want to create a bouquet, you’ll need to add stems to your flowers. You can use pipe cleaners, wooden skewers, or even twigs from your backyard. Attach the stem to the back of the flower with glue or tape.
Step 3: Arranging Your Bouquet
1. **Gather Your Flowers:** Once you’ve created a collection of flowers, it’s time to arrange them into a bouquet.
2. **Arrange and Secure:** Hold the stems together and arrange the flowers to your liking. You can use floral tape or ribbon to secure the stems together.
3. **Add Finishing Touches:** Add some greenery to your bouquet by tucking in some leaves or ferns. You can also add a ribbon or bow to complete the look.
Making Adorable Cupcake Liner Animals
Another fun and easy cupcake liner craft is creating adorable animals. These are perfect for kids’ parties, classroom decorations, or just a fun afternoon activity.
Creating a Cupcake Liner Butterfly
1. **Flatten and Fold:** Flatten two cupcake liners and fold each in half.
2. **Cut Wing Shapes:** Cut a wing shape from each folded liner. You can make them symmetrical or asymmetrical, depending on the look you want.
3. **Decorate the Wings:** Use markers, colored pencils, glitter, or sequins to decorate the wings. Get creative!
4. **Create the Body:** Use a pipe cleaner to create the butterfly’s body. Fold it in half and twist it together, leaving a small loop at the top for the head.
5. **Attach the Wings:** Glue the wings to the back of the pipe cleaner body.
6. **Add Antennae:** Add two small pieces of pipe cleaner to the head to create antennae.
7. **Add Googly Eyes:** Glue googly eyes to the head to complete your butterfly.
Crafting a Cupcake Liner Fish
1. **Flatten and Fold:** Flatten a cupcake liner and fold it in half.
2. **Cut the Tail:** Cut a tail shape from the open end of the folded liner.
3. **Decorate the Fish:** Use markers, colored pencils, glitter, or sequins to decorate the fish. Add scales, fins, and other details.
4. **Add an Eye:** Glue a googly eye to the fish.
5. **Add Lips (Optional):** You can add lips to your fish by cutting a small piece of red paper and gluing it to the front of the fish.
Building a Cupcake Liner Turtle
1. **The Shell:** Flatten a cupcake liner. This will be the turtle’s shell. Decorate it with markers or paint. You can draw patterns or glue on small beads or sequins.
2. **The Head and Legs:** Cut out a small head and four legs from green construction paper.
3. **Assembling the Turtle:** Glue the head and legs to the underside of the cupcake liner shell.
4. **Add Eyes:** Glue googly eyes to the turtle’s head.
Creating Festive Cupcake Liner Decorations
Cupcake liners can also be used to create festive decorations for holidays and special occasions.
Making a Cupcake Liner Garland
1. **Flatten and Fold (Optional):** You can either flatten the cupcake liners or leave them in their original shape. Flattening them will create a more streamlined garland, while leaving them in their original shape will add more dimension.
2. **String the Liners:** Use a needle and thread or a piece of string to string the cupcake liners together. You can string them through the center of the liners or through the edges.
3. **Space the Liners:** Space the liners evenly along the string to create a garland.
4. **Add Embellishments (Optional):** Add embellishments such as beads, sequins, or ribbons to your garland.
Crafting Cupcake Liner Christmas Ornaments
1. **Create a Base:** You can use a small styrofoam ball or a piece of cardboard as a base for your ornament.
2. **Layer the Liners:** Flatten and fold cupcake liners into various shapes and sizes. Glue them to the base, layering them to create a textured and dimensional ornament.
3. **Add Embellishments:** Add embellishments such as glitter, sequins, beads, or ribbons to your ornament.
4. **Add a Hanger:** Attach a loop of string or ribbon to the top of the ornament so you can hang it on your Christmas tree.
Making a Cupcake Liner Wreath
1. **Prepare a Wreath Form:** You can use a foam wreath form or create your own from cardboard.
2. **Fold and Glue Liners:** Fold cupcake liners in half or quarters. Glue the folded liners around the wreath form, overlapping them to create a full and textured wreath.
3. **Add Embellishments:** Add embellishments such as ribbons, bows, or small ornaments to your wreath.
Tips and Tricks for Cupcake Liner Crafts
* Experiment with different sizes and colors: Don’t be afraid to mix and match different sizes and colors of cupcake liners to create unique and interesting effects.
* Use different folding techniques: Experiment with different folding techniques to create a variety of shapes and textures.
* Add embellishments: Embellishments such as glitter, sequins, beads, and ribbons can add a touch of sparkle and personality to your crafts.
* Don’t be afraid to get messy: Crafting is all about having fun, so don’t be afraid to get messy!
* Let your imagination run wild: The possibilities are endless when it comes to cupcake liner crafts, so let your imagination run wild and see what you can create!
* Recycle and Reuse: If you have leftover cupcake liners, don’t throw them away! Save them for future crafting projects.
* Store Your Supplies: Keep your cupcake liners and other crafting supplies organized in a container or drawer. This will make it easier to find what you need when you’re ready to craft.
I hope these ideas
Conclusion
So, there you have it! Transforming simple cupcake liners into stunning and versatile crafts is not just a fun activity; it’s a game-changer for your creative projects. This DIY trick is a must-try because it unlocks a world of possibilities with an incredibly inexpensive and readily available material. Forget expensive craft supplies – with a stack of cupcake liners and a little imagination, you can create everything from delicate paper flowers and whimsical garlands to unique embellishments for cards and scrapbooks.
The beauty of these cupcake liner crafts lies in their adaptability. Feel free to experiment with different sizes, colors, and patterns of liners to achieve your desired aesthetic. For a rustic touch, try using brown kraft paper liners. For a touch of elegance, opt for metallic or patterned liners. You can even dye plain white liners with food coloring or watercolors to create custom shades.
Beyond the basic techniques, consider these variations to elevate your cupcake liner creations:
* **Layering:** Combine multiple liners of different sizes and colors to create depth and dimension in your flowers or other designs.
* **Embellishments:** Add beads, glitter, sequins, or buttons to the center of your cupcake liner flowers for extra sparkle and visual interest.
* **Mixed Media:** Incorporate cupcake liner elements into mixed media art projects, combining them with paint, fabric scraps, and other materials.
* **Themed Crafts:** Tailor your cupcake liner crafts to specific holidays or events. Create festive ornaments for Christmas, spooky decorations for Halloween, or colorful banners for birthday parties.
* **Upcycling:** Use leftover or slightly damaged cupcake liners instead of throwing them away. This is a great way to reduce waste and give new life to old materials.
The possibilities are truly endless! This DIY trick is not only budget-friendly and versatile, but it’s also incredibly satisfying to see how something so simple can be transformed into something so beautiful. It’s a fantastic activity for crafters of all ages and skill levels, and it’s a great way to unleash your inner artist.
We wholeheartedly encourage you to give these cupcake liner crafts a try. Gather your supplies, get creative, and see what amazing things you can create. Don’t be afraid to experiment and put your own unique spin on these projects.
And most importantly, we want to hear about your experience! Share your creations with us on social media using [Your Hashtag Here] or leave a comment below to let us know what you made and what tips you discovered along the way. We can’t wait to see what you come up with! Let’s spread the joy of crafting and inspire others to discover the magic of cupcake liner crafts.
Frequently Asked Questions (FAQ)
What kind of cupcake liners work best for crafting?
The best cupcake liners for crafting depend on the project you have in mind. For delicate flowers and intricate designs, thinner paper liners are ideal as they are easier to manipulate and shape. For sturdier projects like garlands or embellishments, thicker foil or parchment liners may be a better choice. Experiment with different types to see what works best for you. Consider the color and pattern as well – plain white liners are versatile and can be easily dyed, while patterned liners add instant visual interest.
How do I prevent the cupcake liners from tearing when I’m shaping them?
Tearing can be a common issue, especially with thinner paper liners. To minimize tearing, handle the liners gently and avoid excessive force when folding or shaping them. If you’re working with delicate liners, consider lightly misting them with water before shaping them. This will make them more pliable and less likely to tear. Also, ensure your hands are clean and dry to prevent the liners from sticking to your fingers.
What’s the best adhesive to use for cupcake liner crafts?
The best adhesive depends on the specific project and the materials you’re attaching the cupcake liners to. For most paper-to-paper applications, a simple glue stick or craft glue will work well. For attaching liners to heavier materials like cardboard or wood, a stronger adhesive like hot glue or a multi-purpose adhesive may be necessary. When using hot glue, be careful not to burn yourself and avoid using it on delicate liners as the heat can damage them.
Can I dye cupcake liners to create custom colors?
Absolutely! Dyeing cupcake liners is a great way to create custom colors and add a personal touch to your crafts. You can use food coloring, watercolors, or even diluted acrylic paints to dye the liners. Simply mix the dye with a small amount of water and dip the liners into the solution. Be sure to spread them out to dry completely before using them in your projects. Experiment with different dye concentrations to achieve your desired shade.
Are cupcake liner crafts suitable for children?
Yes, cupcake liner crafts are a fantastic activity for children of all ages. However, adult supervision is recommended, especially when using sharp tools like scissors or hot glue. Younger children can enjoy simple projects like making cupcake liner flowers or creating collages. Older children can tackle more complex projects like making garlands or embellishing cards. Cupcake liner crafts are a great way to encourage creativity and develop fine motor skills in children.
How do I store my finished cupcake liner crafts?
The best way to store your finished cupcake liner crafts depends on the type of project. Delicate items like paper flowers should be stored in a box or container to protect them from dust and damage. Garlands can be hung up or stored in a bag. Embellishments can be stored in small containers or organizers. Avoid storing your crafts in direct sunlight or humid environments, as this can cause them to fade or warp.
What other materials can I combine with cupcake liners in my crafts?
The possibilities are endless! Cupcake liners can be combined with a wide variety of materials to create unique and interesting crafts. Consider incorporating beads, glitter, sequins, buttons, ribbon, yarn, fabric scraps, paint, markers, and even natural elements like leaves and twigs. Experiment with different combinations to see what works best for your style and project.
Where can I find inspiration for cupcake liner crafts?
There are many sources of inspiration for cupcake liner crafts. Browse online platforms like Pinterest, Instagram, and YouTube for tutorials, ideas, and inspiration. Check out craft blogs and websites for detailed instructions and project ideas. Visit your local library or bookstore for books on paper crafts and DIY projects. And don’t be afraid to experiment and come up with your own unique designs!
Leave a Comment