
Garlic cooking tips and tricks are the secret weapon every home cook needs in their arsenal! Have you ever wondered how chefs achieve that perfect, aromatic garlic flavor without burning it or leaving a lingering, unpleasant aftertaste? I know I have! For centuries, garlic has been revered not only for its pungent flavor but also for its medicinal properties, dating back to ancient Egypt where it was even used as currency.
But let’s be honest, mastering garlic in the kitchen can be tricky. One wrong move and you’re left with bitter, acrid notes that overpower your entire dish. That’s where these DIY garlic hacks come in. I’m going to share my favorite, tried-and-true garlic cooking tips and tricks that will transform the way you use this incredible ingredient. From preventing burning to maximizing flavor, these simple techniques will elevate your cooking and impress your family and friends. So, ditch the guesswork and get ready to unlock the full potential of garlic in your kitchen!
DIY: Supercharge Your Melon Patch for a Bountiful Harvest!
Okay, melon lovers, gather ’round! I’m about to share my secret weapon for getting those juicy, sweet melons to ripen faster than you ever thought possible. We’re talking cantaloupe, watermelon, honeydew – the whole delicious gang! This isn’t just about planting and hoping for the best; it’s about actively giving your melons a boost. Get ready to be amazed!
Choosing the Right Melon Variety
Before we dive into the nitty-gritty, let’s talk varieties. Some melons are naturally faster growers than others. While you can use these techniques on any melon, you’ll see the best results with varieties known for their shorter growing seasons.
* Cantaloupe: Look for varieties like ‘Athena’, ‘Ambrosia’, or ‘Galia’. These tend to mature quicker.
* Watermelon: ‘Sugar Baby’ is a classic early-maturing watermelon. ‘Bush Sugar Baby’ is even better if you’re short on space! ‘Golden Midget’ is another good option.
* Honeydew: ‘Early Dew’ is a reliable choice for a faster honeydew harvest.
Section 1: Getting a Head Start – Seed Starting Indoors
This is where the magic begins! Starting your melon seeds indoors gives them a significant head start, especially in regions with shorter summers.
1. Gather Your Supplies: You’ll need seed starting trays or small pots (I prefer peat pots because they’re biodegradable and reduce transplant shock), seed starting mix (don’t use regular garden soil!), melon seeds, a spray bottle, and a warm, sunny location or a grow light.
2. Sow the Seeds: Moisten the seed starting mix thoroughly. Then, plant 2-3 melon seeds per pot, about ½ inch deep. Gently cover the seeds with the mix.
3. Water Carefully: Use a spray bottle to mist the soil surface. You want to keep the soil consistently moist but not soggy. Overwatering can lead to damping off, a fungal disease that kills seedlings.
4. Provide Warmth: Melon seeds need warmth to germinate. The ideal soil temperature is between 70-85°F (21-29°C). You can use a heat mat under the seed starting trays to maintain this temperature.
5. Provide Light: Once the seedlings emerge (usually within 5-10 days), they need plenty of light. Place them in a sunny south-facing window or under a grow light. If using a grow light, keep it a few inches above the seedlings and provide 14-16 hours of light per day.
6. Thin the Seedlings: Once the seedlings have their first true leaves (the second set of leaves that appear after the initial seed leaves), thin them to one strong seedling per pot. Snip off the weaker seedlings at the soil line with scissors. Don’t pull them out, as this can disturb the roots of the remaining seedling.
7. Harden Off the Seedlings: About a week before you plan to transplant the seedlings outdoors, you need to harden them off. This process gradually acclimates them to outdoor conditions. Start by placing the seedlings outdoors in a sheltered location for a few hours each day, gradually increasing the amount of time they spend outside. Protect them from direct sunlight and strong winds at first.
Section 2: Preparing the Garden Bed – The Foundation for Success
Melons are heavy feeders, so preparing the garden bed properly is crucial for a fast and abundant harvest.
1. Choose a Sunny Location: Melons need at least 6-8 hours of direct sunlight per day. Choose a location in your garden that receives plenty of sun.
2. Improve the Soil: Melons prefer well-drained soil that is rich in organic matter. Amend the soil with plenty of compost or well-rotted manure. This will improve drainage, fertility, and water retention.
3. Check the Soil pH: Melons prefer a slightly acidic to neutral soil pH of 6.0-6.8. You can test your soil pH with a soil testing kit. If the soil is too acidic, add lime to raise the pH. If it’s too alkaline, add sulfur to lower the pH.
4. Create Raised Beds or Hills: Melons grow best in raised beds or hills. This improves drainage and warms the soil more quickly. To create a raised bed, simply mound up the soil to a height of 6-12 inches. To create hills, space them about 2-3 feet apart.
5. Add Fertilizer: Before planting, incorporate a slow-release fertilizer into the soil. Choose a fertilizer that is high in phosphorus and potassium, which are essential for fruit development. I like to use bone meal and wood ash.
Section 3: Transplanting and Initial Care – Setting the Stage
Now it’s time to get those seedlings into the ground!
1. Choose the Right Time: Transplant the melon seedlings outdoors after the last frost and when the soil has warmed to at least 60°F (15°C).
2. Transplant Carefully: Gently remove the seedlings from their pots. If you used peat pots, you can plant the entire pot directly into the ground. Otherwise, carefully loosen the roots and plant the seedlings at the same depth they were growing in the pots.
3. Space the Plants Properly: Space cantaloupe and honeydew plants about 2-3 feet apart. Watermelon plants need more space, about 3-4 feet apart.
4. Water Thoroughly: After transplanting, water the seedlings thoroughly.
5. Mulch the Plants: Apply a layer of mulch around the plants to help retain moisture, suppress weeds, and warm the soil. Black plastic mulch is particularly effective for warming the soil and promoting faster growth. Straw, wood chips, or shredded leaves are also good options.
6. Protect from Pests: Young melon plants are susceptible to pests like squash bugs, cucumber beetles, and aphids. Monitor the plants regularly and take action if you see any signs of infestation. Insecticidal soap or neem oil can be effective for controlling these pests.
Section 4: The Secret Sauce – Techniques for Accelerated Growth
This is where we really crank up the speed! These techniques will give your melons that extra push they need to ripen faster.
* Pruning: Pruning melon vines can help to direct the plant’s energy into fruit production. Remove any suckers (small shoots that grow from the base of the plant) and any yellowing or diseased leaves. You can also prune the tips of the vines to encourage branching and more fruit set.
* Hand Pollination: If you’re not seeing a lot of bees in your garden, you may need to hand-pollinate your melon flowers. Melon plants have separate male and female flowers. The male flowers produce pollen, and the female flowers have a small fruit at the base. To hand-pollinate, use a small paintbrush to transfer pollen from the male flower to the female flower. Do this in the morning, when the pollen is most viable.
* Fertilizing: Continue to fertilize your melon plants throughout the growing season. Use a fertilizer that is high in potassium, which is essential for fruit ripening. I like to use compost tea or fish emulsion. Avoid fertilizers that are high in nitrogen, as this can promote leafy growth at the expense of fruit production.
* Watering: Water your melon plants deeply and regularly, especially during hot, dry weather. Avoid overhead watering, as this can promote fungal diseases. Drip irrigation is the best way to water melon plants.
* Sun Protection: While melons need plenty of sun, the fruits themselves can get sunburned in very hot weather. If you live in a hot climate, you may need to provide some shade for the melons during the hottest part of the day. You can use shade cloth or simply drape a piece of burlap over the fruits.
* Elevate the Melons: As the melons grow, place them on a piece of wood, cardboard, or even a bed of straw. This will prevent them from sitting directly on the soil, which can lead to rot. It also helps to reflect sunlight onto the underside of the melons, promoting even ripening.
* Foliar Feeding: Foliar feeding involves spraying the leaves of the plants with a diluted fertilizer solution. This allows the plants to absorb nutrients directly through their leaves, which can be a quick and effective way to boost growth and fruit production. Use a fertilizer that is specifically designed for foliar feeding and follow the instructions on the label.
* Epsom Salts: Epsom salts (magnesium sulfate) can help to improve fruit set and ripening. Dissolve 1 tablespoon of Epsom salts in 1 gallon of water and spray the plants every 2-3 weeks.
* Reflective Mulch: Using reflective mulch, like silver or aluminum foil, can significantly increase the amount of sunlight that reaches the plants, leading to faster growth and ripening. The reflective surface also helps to deter pests.
Section 5: Monitoring and
Conclusion
So, there you have it! Mastering these garlic cooking tips and tricks is more than just about avoiding burnt garlic; it’s about unlocking a whole new dimension of flavor in your cooking. From the subtle sweetness of roasted garlic to the pungent kick of freshly minced, understanding how to properly prepare and cook garlic will elevate your dishes from ordinary to extraordinary.
Why is this a must-try? Because it’s simple, effective, and makes a world of difference. No more bitter aftertastes ruining your carefully crafted meals. No more wasted garlic cloves because you accidentally scorched them. Instead, you’ll have perfectly cooked garlic that complements and enhances every ingredient it touches. Think of it as a culinary superpower, easily attainable with just a few adjustments to your technique.
Variations and Suggestions:
Don’t be afraid to experiment! Once you’ve mastered the basics, try infusing your garlic oil with herbs like rosemary or thyme for an extra layer of flavor. Roast whole heads of garlic with different types of oil – olive oil, avocado oil, even coconut oil – to see how the flavor profile changes. Consider using garlic confit (garlic cloves slowly cooked in oil) as a spread on crusty bread or as a topping for grilled meats. You can even freeze garlic cloves in oil for later use, ensuring you always have perfectly preserved garlic on hand.
For a milder garlic flavor, try blanching the cloves in boiling water for a minute or two before using them. This helps to mellow out the intensity and makes it more palatable for those who are sensitive to strong garlic flavors. Another great tip is to use garlic scapes (the curly flower stalks that grow from garlic plants) in place of cloves. They have a milder, slightly grassy flavor that’s perfect for salads, stir-fries, and pesto.
Remember, the key to great garlic flavor is to pay attention to the details. Use fresh, high-quality garlic whenever possible. Store your garlic properly in a cool, dark place to prevent it from sprouting or going bad. And most importantly, don’t be afraid to experiment and find what works best for you.
We wholeheartedly encourage you to try these garlic cooking tips and tricks in your own kitchen. We are confident that you’ll notice a significant improvement in the flavor of your dishes. Share your experiences with us! Let us know which tips worked best for you, what variations you tried, and how you’re using your newfound garlic mastery to create delicious meals. Your feedback is invaluable and helps us to continue providing helpful and informative content. So, go ahead, unleash the power of perfectly cooked garlic and transform your cooking today!
Frequently Asked Questions (FAQ)
Q: How do I store garlic properly to keep it fresh?
A: Proper storage is crucial for maintaining the quality and flavor of your garlic. The best way to store garlic is in a cool, dry, and dark place with good ventilation. A pantry, cellar, or even a paper bag in a cupboard works well. Avoid storing garlic in the refrigerator, as the cold temperature can cause it to sprout or become soft and mushy. Also, avoid storing garlic in plastic bags, as this can trap moisture and lead to mold growth. Whole heads of garlic can typically last for several months when stored properly. Once you break apart a head of garlic, the individual cloves will last for about a week or two.
Q: What’s the best way to peel garlic quickly and easily?
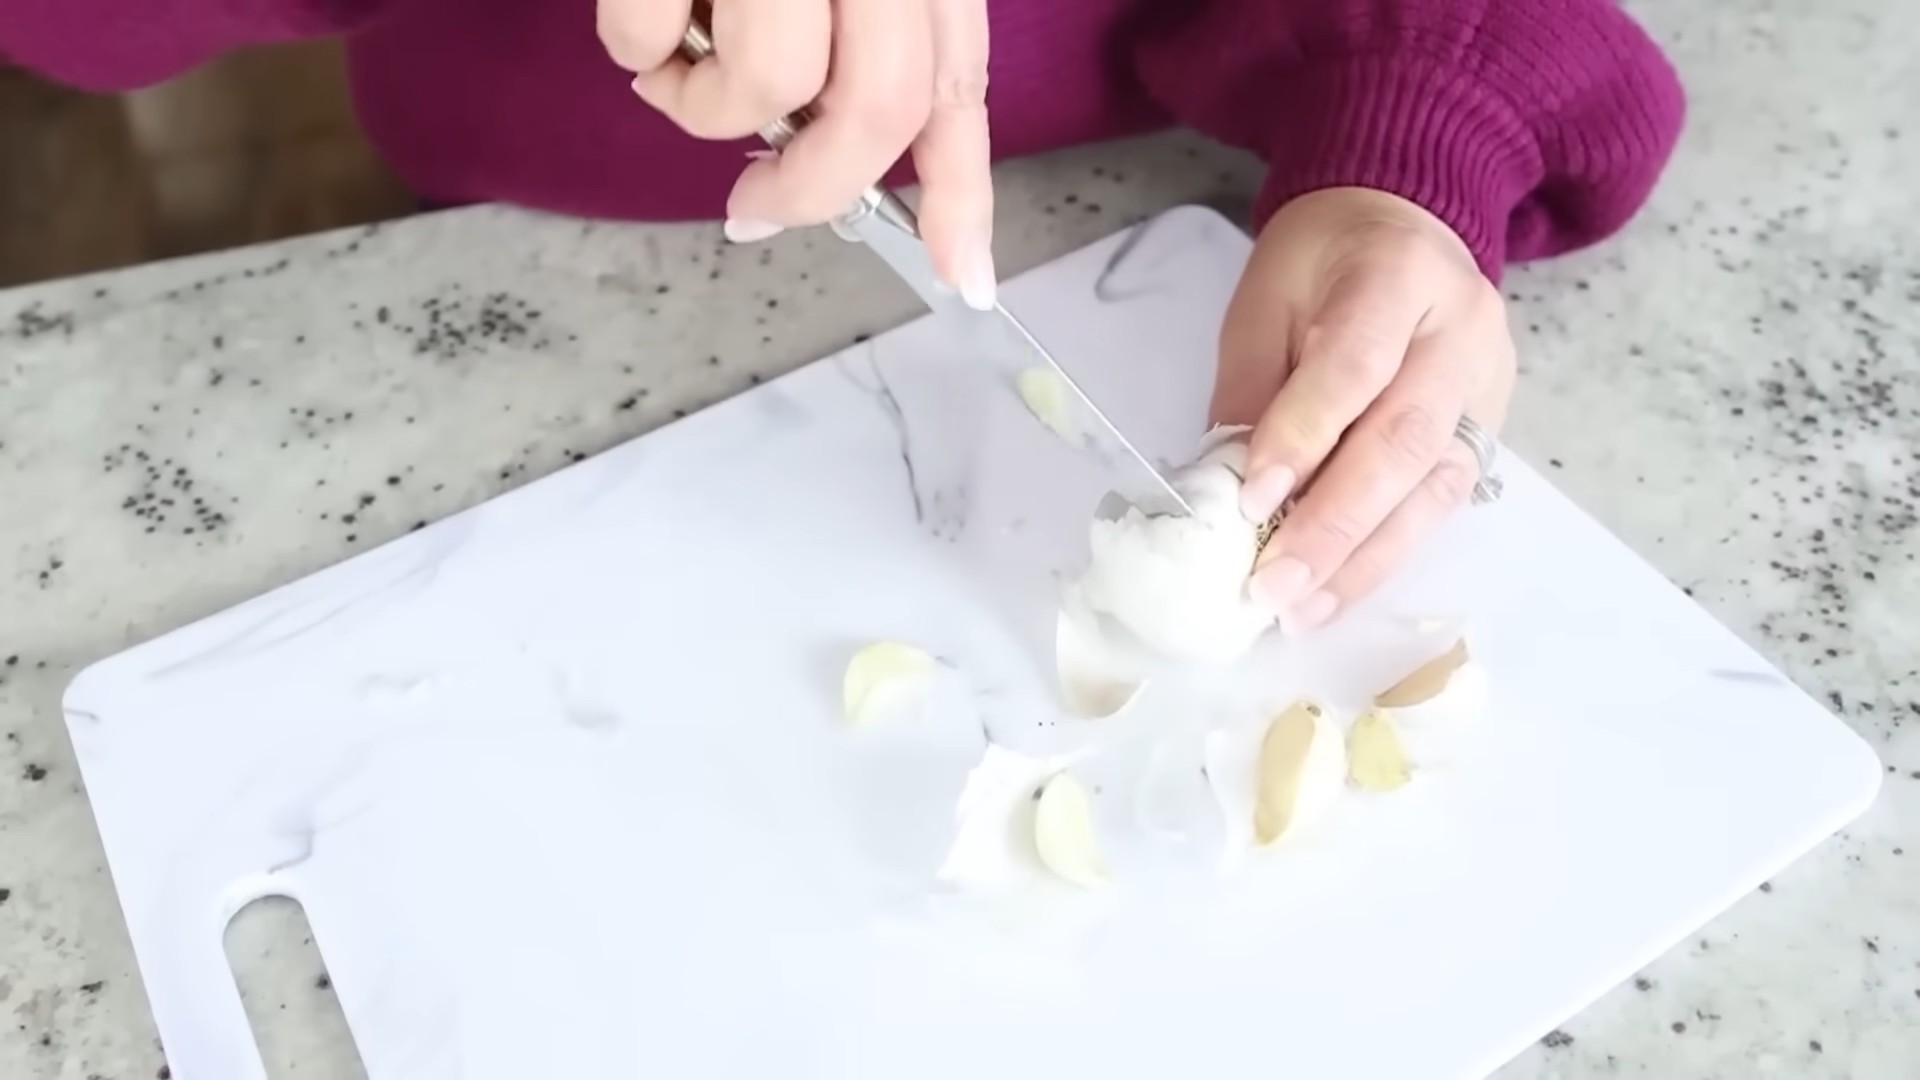
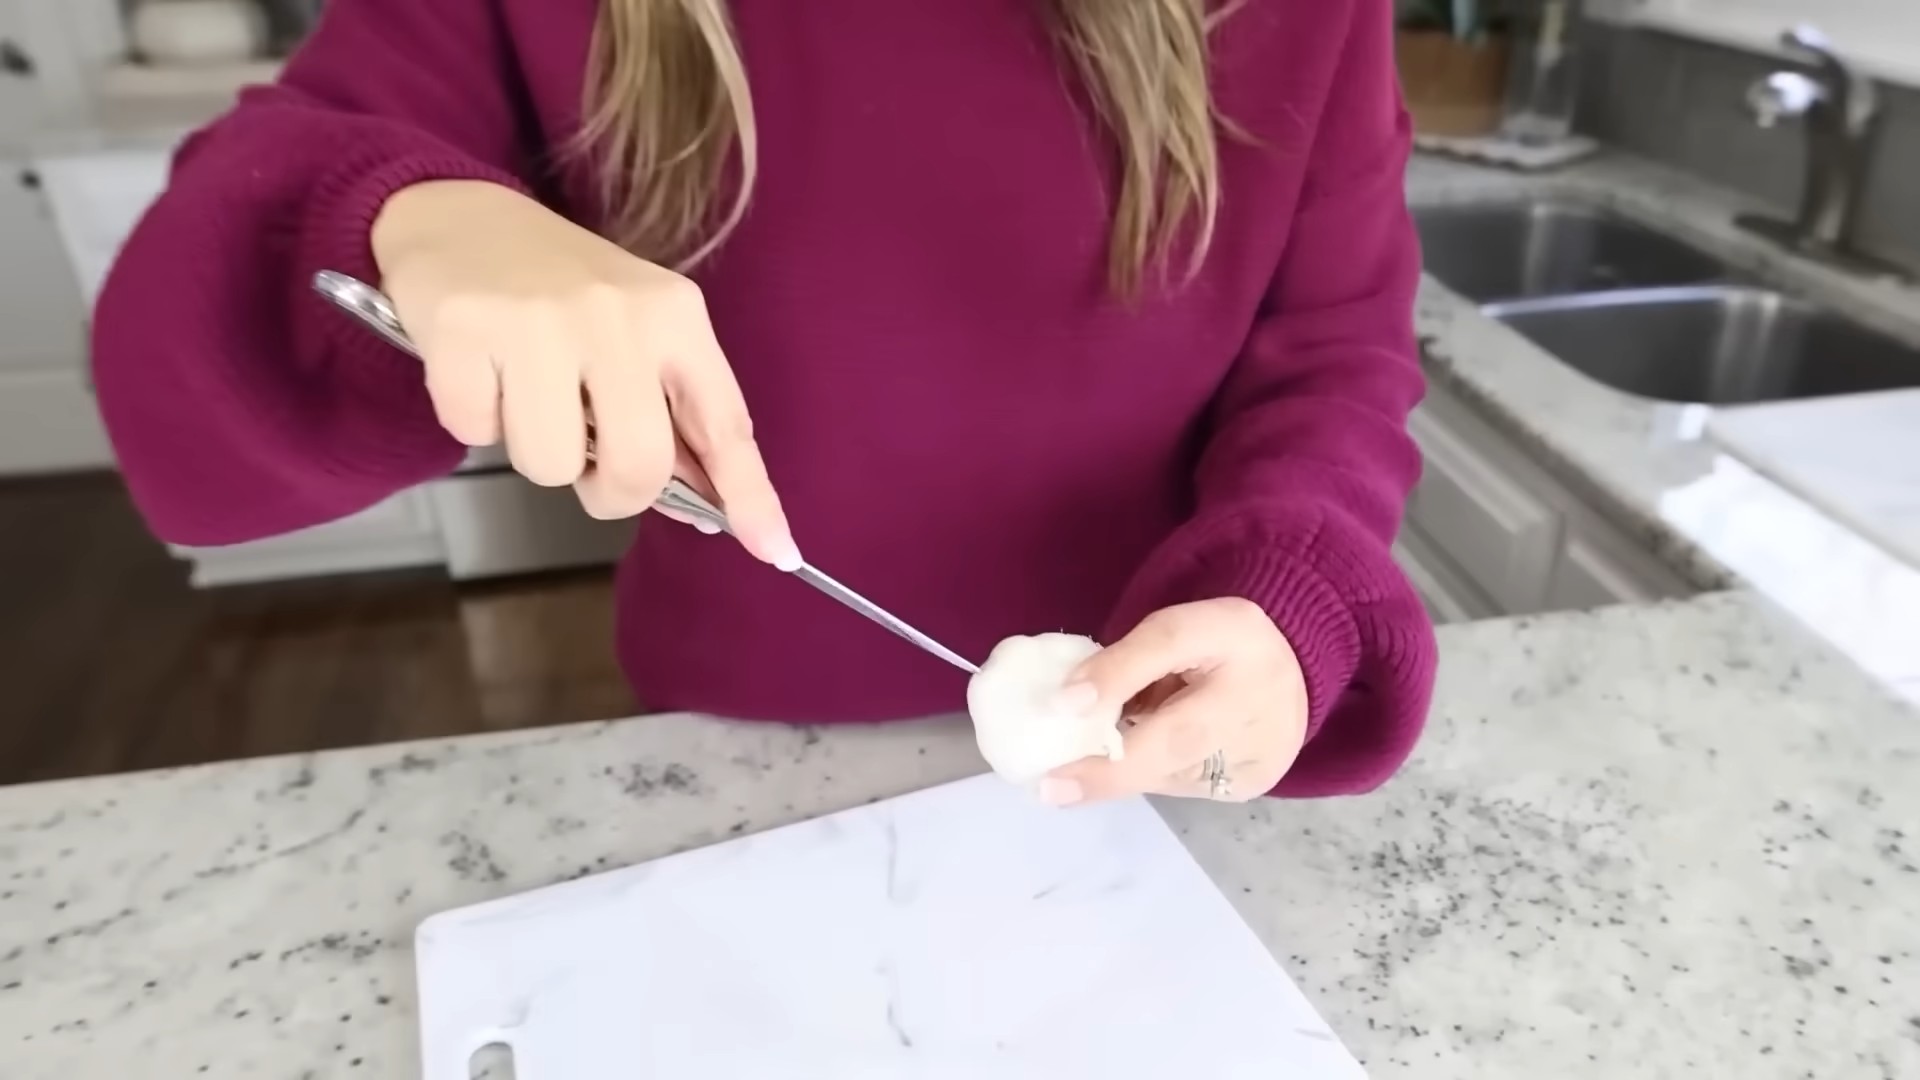
A: Peeling garlic can be a bit tedious, but there are several tricks to make it easier. One popular method is to place the garlic cloves in a bowl and cover them with another bowl, creating a sealed container. Shake the bowls vigorously for about 30 seconds. The cloves should come out mostly peeled. Another method is to smash the garlic cloves with the flat side of a knife. This loosens the skin, making it easier to peel off. You can also soak the garlic cloves in warm water for a few minutes before peeling, which will soften the skin and make it easier to remove.
Q: How can I prevent garlic from burning when I’m cooking?
A: Burning garlic is a common problem, but it’s easily avoidable with a few simple techniques. The key is to add the garlic to the pan at the right time and cook it over medium-low heat. Garlic burns quickly, so it’s best to add it towards the end of the cooking process, after other ingredients have had a chance to cook. Avoid using high heat, as this will cause the garlic to burn before it has a chance to release its flavor. If you’re using minced garlic, be especially careful, as it burns more easily than sliced or whole cloves. Stir the garlic frequently to prevent it from sticking to the pan and burning.
Q: What’s the difference between using minced garlic, sliced garlic, and whole garlic cloves?
A: The form of garlic you use can significantly impact the flavor of your dish. Minced garlic has the strongest flavor, as it releases more of its compounds when it’s finely chopped. It’s best used when you want a bold garlic flavor that permeates the entire dish. Sliced garlic has a milder flavor than minced garlic, and it’s a good option when you want a more subtle garlic flavor. Whole garlic cloves have the mildest flavor, and they’re often used to infuse oil or broth with a delicate garlic aroma. The cooking time also varies depending on the form of garlic. Minced garlic cooks the fastest, while whole garlic cloves take the longest to cook.
Q: Can I freeze garlic for later use?
A: Yes, you can freeze garlic for later use, but the texture may change slightly. The best way to freeze garlic is to mince it or puree it with a little bit of oil. This will help to preserve its flavor and prevent it from drying out. You can then freeze the garlic in ice cube trays or small containers. When you’re ready to use the frozen garlic, simply thaw it in the refrigerator or add it directly to your cooking. Another option is to freeze whole garlic cloves, but they may become slightly mushy when thawed.
Q: What are garlic scapes, and how can I use them?
A: Garlic scapes are the curly flower stalks that grow from garlic plants. They have a milder, slightly grassy flavor than garlic cloves, and they’re a delicious and versatile ingredient. You can use garlic scapes in salads, stir-fries, pesto, and other dishes. They can be grilled, sautéed, or roasted, and they add a unique flavor to any meal. To prepare garlic scapes, simply trim off the tough ends and chop them into smaller pieces.
Q: How can I get rid of garlic breath?
A: Garlic breath is a common side effect of enjoying delicious garlic-flavored food. Several remedies can help to neutralize the odor. Chewing on fresh parsley, mint, or basil can help to mask the smell. Drinking milk, especially whole milk, can also help to reduce the odor. Eating an apple or other fruit can also help to neutralize the compounds that cause garlic breath. Brushing your teeth and using mouthwash after eating garlic can also help to freshen your breath.
Q: What are the health benefits of garlic?
A: Garlic is a nutritional powerhouse with a wide range of health benefits. It contains compounds that have been shown to boost the immune system, lower blood pressure, and reduce the risk of heart disease. Garlic also has antioxidant and anti-inflammatory properties, and it may help to protect against certain types of cancer. Adding garlic to your diet is a simple and delicious way to improve your overall health.
Q: Can I use garlic powder instead of fresh garlic?
A: While garlic powder can be a convenient substitute for fresh garlic, it doesn’t offer the same depth of flavor. Garlic powder is made from dehydrated garlic, and it has a more concentrated and slightly different flavor profile than fresh garlic. If you’re using garlic powder in place of fresh garlic, use about 1/2 teaspoon of garlic powder for every clove of fresh garlic. However, for the best flavor, we always recommend using fresh garlic whenever possible.


Leave a Comment