
Harvesting Pumpkins All Season might seem like a whimsical dream, conjured up from the pages of a fairytale, but I’m here to tell you it’s absolutely achievable with a little know-how! For centuries, pumpkins have been more than just autumnal decorations; they’ve been a vital food source, a symbol of abundance, and even a canvas for artistic expression. Think of the ancient traditions surrounding harvest festivals, where pumpkins played a central role in celebrating the bounty of the land.
But let’s be honest, who wouldn’t want to extend that pumpkin-y goodness beyond just October? Imagine fresh pumpkin pie in July, or a creamy pumpkin soup to warm you on a cool spring evening. The problem is, most of us think of pumpkin harvesting as a once-a-year event. That’s where these DIY tricks come in! I’m going to share some simple, yet effective, techniques that will allow you to enjoy the fruits (or rather, vegetables!) of your labor for much longer than you ever thought possible.
This article isn’t just about growing pumpkins; it’s about mastering the art of harvesting pumpkins all season and preserving their deliciousness. So, grab your gardening gloves, and let’s dive into these easy-to-follow DIY hacks that will transform your pumpkin patch into a year-round source of culinary delight!
DIY Concrete Countertops: A Step-by-Step Guide
Hey there, fellow DIY enthusiasts! I’m so excited to share one of my favorite home improvement projects with you: creating your very own concrete countertops. It might seem intimidating, but trust me, with a little patience and these detailed instructions, you can achieve a stunning, modern look for your kitchen or bathroom without breaking the bank. Let’s get started!
Materials You’ll Need
Before we dive in, let’s gather all the necessary materials. This will save you time and frustration later on.
* Melamine Boards: These will form the mold for your countertop. I recommend ¾ inch thick melamine for sturdiness.
* Concrete Mix: Choose a high-strength concrete mix specifically designed for countertops. I prefer a mix with fibers already added to minimize cracking.
* Reinforcement: Wire mesh or rebar will add strength and prevent cracking.
* Concrete Sealer: A good quality sealer is crucial to protect your countertop from stains and water damage. I recommend a food-safe sealer if it’s for your kitchen.
* Concrete Pigment (Optional): If you want to add color to your countertop, choose a concrete pigment that’s compatible with your mix.
* Silicone Caulk: Use this to seal the seams of your mold and prevent concrete from leaking.
* Screws: For assembling the melamine mold.
* Mixing Tools: A concrete mixer (rent one if you don’t have one), wheelbarrow, shovels, and buckets.
* Finishing Tools: Trowels, floats, sponges, sandpaper (various grits), and a concrete grinder/polisher (optional, but highly recommended for a smooth finish).
* Safety Gear: Gloves, safety glasses, and a dust mask are essential. Concrete dust can be harmful.
* Release Agent: This will help you remove the concrete countertop from the mold. I use cooking oil or a commercial release agent.
* Measuring Tape: For accurate measurements.
* Level: To ensure your countertop is perfectly level.
* Clamps: To hold the mold pieces together while the silicone caulk dries.
Phase 1: Building the Mold
This is arguably the most important step. A well-built mold will result in a beautiful, accurate countertop.
1. Measure Your Space: Accurately measure the area where your countertop will be installed. Add any desired overhang to these measurements. Remember to account for the thickness of your cabinets or any other supporting structures. I always double-check my measurements to avoid costly mistakes.
2. Cut the Melamine Boards: Cut the melamine boards according to your measurements. You’ll need pieces for the base, sides, and any backsplashes or edge details you want to include. I use a circular saw for this, but a table saw is even better for precise cuts.
3. Assemble the Mold: Screw the melamine boards together to form the mold. The base should be slightly larger than the finished countertop size to allow for easy removal. Make sure the corners are square and the sides are straight. I like to use corner clamps to ensure everything is perfectly aligned.
4. Seal the Seams: Apply a generous bead of silicone caulk to all the seams inside the mold. This will prevent the concrete from leaking out and creating imperfections. Smooth the caulk with your finger or a caulk smoothing tool for a clean finish. Let the caulk dry completely according to the manufacturer’s instructions. I usually wait at least 24 hours.
5. Reinforce the Mold: For larger countertops, I recommend adding extra support to the mold to prevent it from bowing under the weight of the concrete. You can use additional melamine boards or wood braces screwed to the outside of the mold.
6. Create Cutouts (Optional): If you need cutouts for sinks, faucets, or other fixtures, now is the time to create them. You can use foam inserts or build small boxes out of melamine to create the desired shapes. Secure them firmly to the base of the mold. I always make sure the cutouts are perfectly positioned and sealed with silicone caulk.
Phase 2: Mixing and Pouring the Concrete
Now for the fun part! Mixing and pouring the concrete requires a bit of muscle and coordination.
1. Prepare the Concrete Mix: Follow the manufacturer’s instructions for mixing the concrete. Add water gradually until you achieve a thick, but pourable consistency. Avoid adding too much water, as this can weaken the concrete. If you’re using pigment, add it to the water before mixing it with the concrete. I always mix in small batches to ensure the color is consistent.
2. Apply Release Agent: Apply a generous coat of release agent to the inside of the mold. This will prevent the concrete from sticking to the melamine. I usually use cooking oil, but a commercial release agent is even better.
3. Pour the First Layer: Pour a layer of concrete into the mold, about one-third of the total thickness. Vibrate the mold to remove any air bubbles. You can use a rubber mallet or a concrete vibrator for this. I find that tapping the sides of the mold works well for smaller projects.
4. Add Reinforcement: Place the wire mesh or rebar into the mold, ensuring it’s completely embedded in the concrete. This will add strength and prevent cracking. I usually cut the mesh to fit the mold and overlap the edges slightly.
5. Pour the Remaining Concrete: Pour the remaining concrete into the mold, filling it to the top. Again, vibrate the mold to remove any air bubbles.
6. Screed the Surface: Use a trowel or a screed board to level the surface of the concrete. Remove any excess concrete and smooth out any imperfections. I like to use a long, straight board to screed the surface, ensuring it’s perfectly level.
7. Trowel the Surface: After the concrete has set for a few hours, use a trowel to smooth the surface. This will help to create a smooth, even finish. I usually wait until the concrete is firm enough to walk on before troweling it.
Phase 3: Curing and Demolding
Curing is essential for strong, durable concrete.
1. Cure the Concrete: Cover the concrete with plastic sheeting to prevent it from drying out too quickly. Keep the concrete moist for at least 7 days. You can spray it with water periodically to keep it hydrated. I usually cure my countertops for 10 days to ensure they’re strong enough.
2. Demold the Countertop: After the concrete has cured, carefully remove the mold. Start by unscrewing the sides and gently tapping them with a hammer. Be patient and avoid forcing anything, as this could damage the countertop. I usually use a pry bar to gently separate the concrete from the melamine.
Phase 4: Finishing and Sealing
This is where your countertop really comes to life!
1. Grind and Polish (Optional): If you want a super smooth finish, you can grind and polish the concrete. Start with a coarse grit diamond polishing pad and gradually work your way up to a finer grit. This process can be time-consuming, but it’s worth it for a professional-looking finish. I highly recommend using a concrete grinder/polisher for this step.
2. Sand the Surface: If you’re not grinding and polishing, you can sand the surface with sandpaper to remove any imperfections. Start with a coarse grit sandpaper and gradually work your way up to a finer grit.
3. Clean the Surface: Thoroughly clean the surface of the countertop to remove any dust or debris. I usually use a shop vac and a damp cloth.
4. Apply Sealer: Apply a concrete sealer according to the manufacturer’s instructions. This will protect your countertop from stains and water damage. I usually apply two or three coats of sealer, allowing each coat to dry completely before applying the next.
5. Install the Countertop: Carefully install the countertop onto your cabinets or supporting structure. Use shims to ensure it’s perfectly level.
6. Caulk the Edges: Apply a bead of silicone caulk around the edges of the countertop where it meets the wall or backsplash. This will prevent water from seeping behind the countertop.
And there you have it! Your very own DIY concrete countertop. It might take some time and effort, but the results are well worth it. Enjoy your beautiful, unique countertop! Remember to always wear safety gear and follow the manufacturer’s instructions for all materials. Happy DIY-ing!
Conclusion
So, there you have it! Mastering the art of harvesting pumpkins all season long isn’t just about getting a single, perfect gourd in October. It’s about extending the joy of the harvest, enjoying fresh pumpkin in your favorite recipes for months, and minimizing waste. This DIY trick, focusing on strategic planting and successive harvesting, is a game-changer for any home gardener, regardless of experience level.
Why is this a must-try? Because it offers a continuous supply of fresh pumpkins, allowing you to savor the flavor and versatility of this autumn staple throughout the season. Imagine pumpkin pie in July, pumpkin soup in August, and roasted pumpkin seeds as a summer snack. This method makes it all possible. Plus, by staggering your planting, you’re hedging your bets against unpredictable weather or pest infestations. If one planting suffers, you have others waiting in the wings.
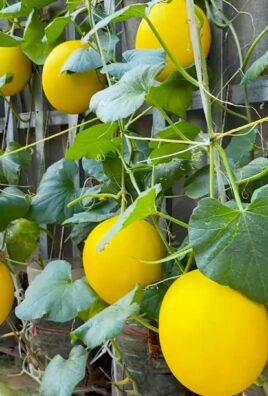
But don’t stop there! Experiment with different pumpkin varieties. Try planting smaller, faster-maturing pumpkins like ‘Baby Boo’ or ‘Sugar Pie’ alongside larger, longer-season varieties like ‘Connecticut Field’ or ‘Jarrahdale’. This will give you a range of sizes and flavors to play with. Consider companion planting to deter pests and improve soil health. Marigolds, nasturtiums, and basil are all excellent choices for planting near your pumpkins.
Another variation to consider is vertical gardening. If you’re short on space, train your pumpkin vines to grow up a trellis or fence. This not only saves space but also improves air circulation, reducing the risk of fungal diseases. Just be sure to provide adequate support for the heavy pumpkins as they develop.
We’ve covered the basics, but the real magic happens when you put this knowledge into practice. Don’t be afraid to experiment, adapt, and refine your technique to suit your specific climate and growing conditions. The key is to start small, observe carefully, and learn from your successes and failures.
We are confident that this DIY trick will transform your pumpkin-growing experience. It’s a simple, effective, and rewarding way to enjoy the fruits (or rather, vegetables) of your labor all season long. Now, it’s your turn! Get out there, plant those seeds, and start harvesting pumpkins all season long.
We’d love to hear about your experiences! Share your tips, tricks, and photos in the comments below. Let’s build a community of pumpkin-loving gardeners and learn from each other. What varieties did you try? What challenges did you face? What successes did you celebrate? Your insights will help others on their pumpkin-growing journey. Happy harvesting!
Frequently Asked Questions (FAQ)
Q: How early can I start planting pumpkins for all-season harvesting?
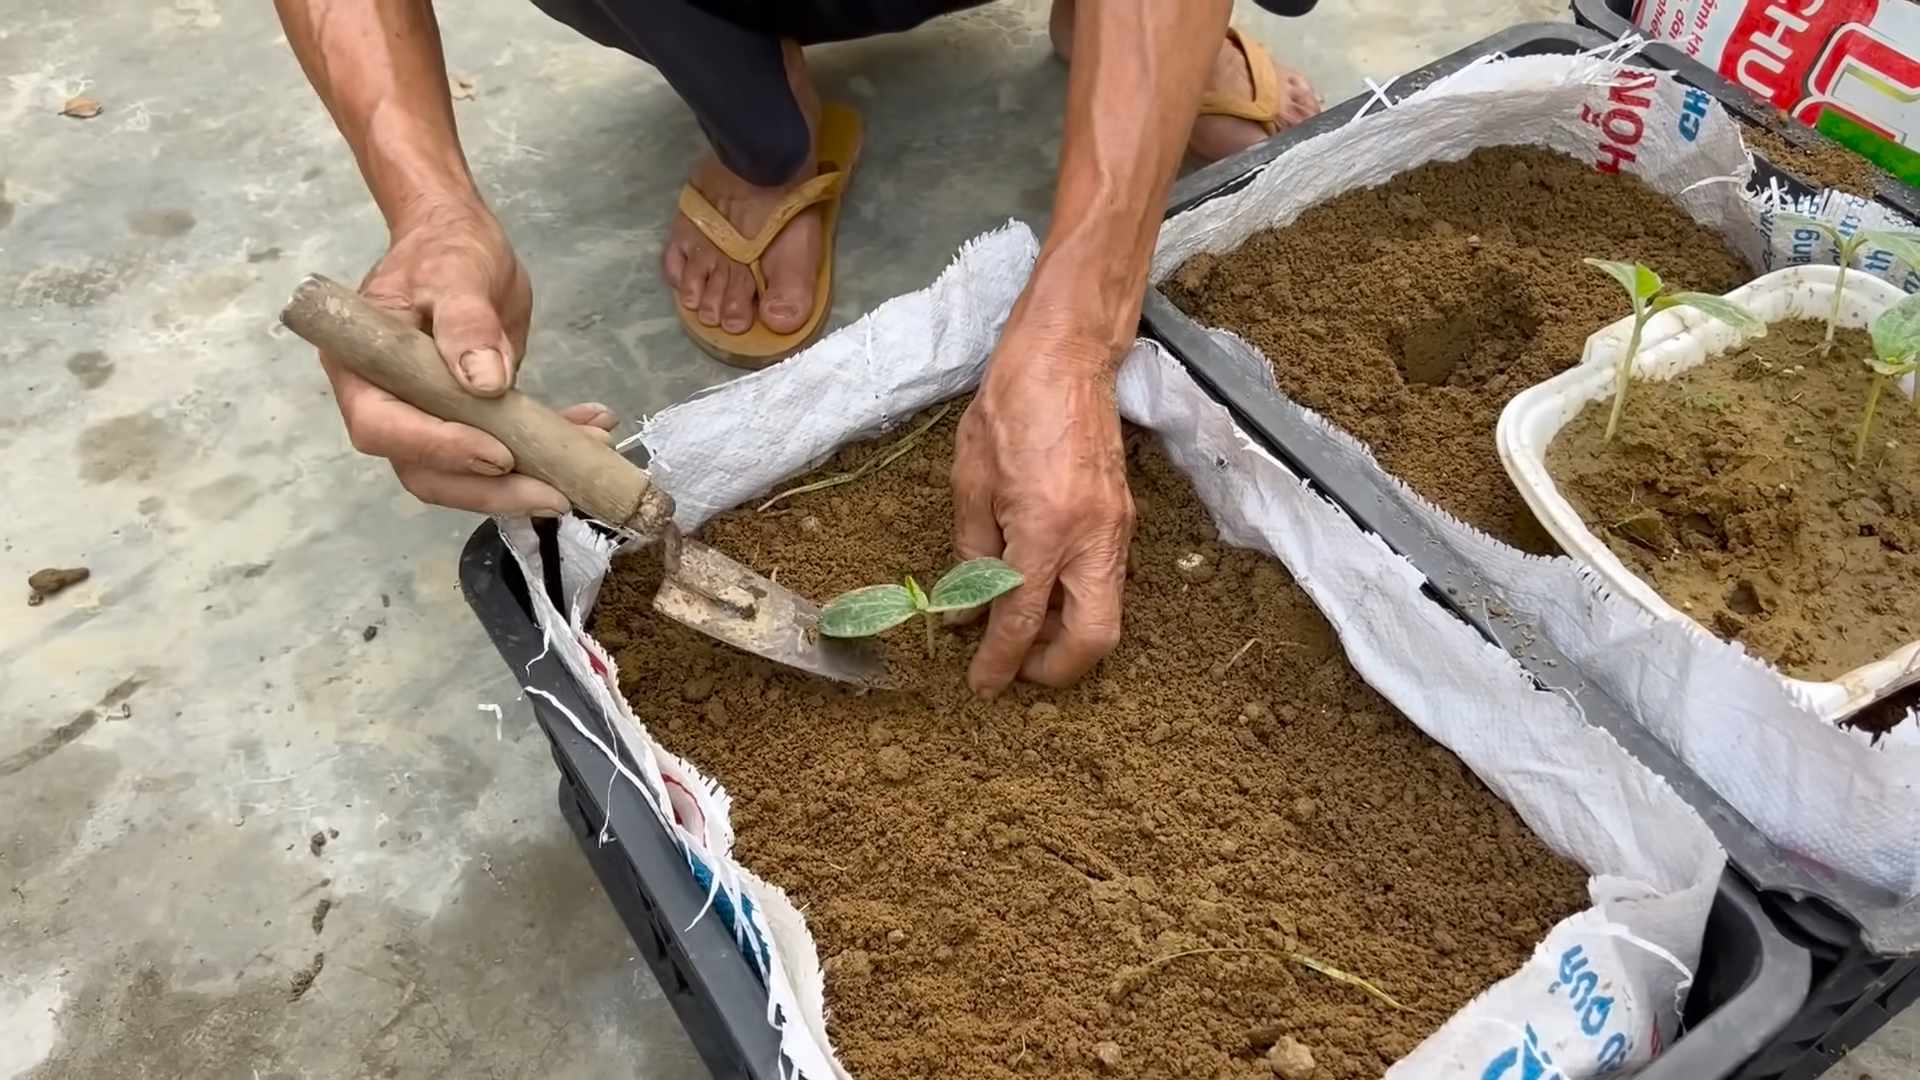
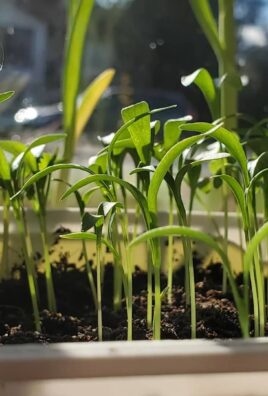
A: The timing depends on your climate and the specific pumpkin varieties you’re growing. Generally, you’ll want to start your first planting after the last frost date in your area. For successive plantings, sow seeds every 2-3 weeks throughout the growing season. Check the seed packet for the specific days to maturity for each variety and adjust your planting schedule accordingly. If you live in a warmer climate with a longer growing season, you can start planting earlier and continue planting later into the summer. In cooler climates, you may need to start your seeds indoors to get a head start.
Q: What kind of soil do pumpkins need?
A: Pumpkins thrive in well-drained, fertile soil that is rich in organic matter. Before planting, amend your soil with compost, aged manure, or other organic amendments to improve its structure and nutrient content. Pumpkins prefer a slightly acidic to neutral soil pH, ideally between 6.0 and 7.0. You can test your soil pH with a home testing kit or send a sample to your local agricultural extension office for analysis. If your soil is too acidic, you can add lime to raise the pH. If it’s too alkaline, you can add sulfur to lower the pH.
So, there you have it! Mastering the art of harvesting pumpkins all season long isn’t just about getting a single, perfect gourd in October. It’s about extending the joy of the harvest, enjoying fresh pumpkin in your favorite recipes for months, and minimizing waste. This DIY trick, focusing on strategic planting and successive harvesting, is a game-changer for any home gardener, regardless of experience level.
Why is this a must-try? Because it offers a continuous supply of fresh pumpkins, allowing you to savor the flavor and versatility of this autumn staple throughout the season. Imagine pumpkin pie in July, pumpkin soup in August, and roasted pumpkin seeds as a summer snack. This method makes it all possible. Plus, by staggering your planting, you’re hedging your bets against unpredictable weather or pest infestations. If one planting suffers, you have others waiting in the wings.
But don’t stop there! Experiment with different pumpkin varieties. Try planting smaller, faster-maturing pumpkins like ‘Baby Boo’ or ‘Sugar Pie’ alongside larger, longer-season varieties like ‘Connecticut Field’ or ‘Jarrahdale’. This will give you a range of sizes and flavors to play with. Consider companion planting to deter pests and improve soil health. Marigolds, nasturtiums, and basil are all excellent choices for planting near your pumpkins.
Another variation to consider is vertical gardening. If you’re short on space, train your pumpkin vines to grow up a trellis or fence. This not only saves space but also improves air circulation, reducing the risk of fungal diseases. Just be sure to provide adequate support for the heavy pumpkins as they develop.
We’ve covered the basics, but the real magic happens when you put this knowledge into practice. Don’t be afraid to experiment, adapt, and refine your technique to suit your specific climate and growing conditions. The key is to start small, observe carefully, and learn from your successes and failures.
We are confident that this DIY trick will transform your pumpkin-growing experience. It’s a simple, effective, and rewarding way to enjoy the fruits (or rather, vegetables) of your labor all season long. Now, it’s your turn! Get out there, plant those seeds, and start harvesting pumpkins all season long.
We’d love to hear about your experiences! Share your tips, tricks, and photos in the comments below. Let’s build a community of pumpkin-loving gardeners and learn from each other. What varieties did you try? What challenges did you face? What successes did you celebrate? Your insights will help others on their pumpkin-growing journey. Happy harvesting!
Frequently Asked Questions (FAQ)
Q: How early can I start planting pumpkins for all-season harvesting?
A: The timing depends on your climate and the specific pumpkin varieties you’re growing. Generally, you’ll want to start your first planting after the last frost date in your area. For successive plantings, sow seeds every 2-3 weeks throughout the growing season. Check the seed packet for the specific days to maturity for each variety and adjust your planting schedule accordingly. If you live in a warmer climate with a longer growing season, you can start planting earlier and continue planting later into the summer. In cooler climates, you may need to start your seeds indoors to get a head start.
Q: What kind of soil do pumpkins need?
A: Pumpkins thrive in well-drained, fertile soil that is rich in organic matter. Before planting, amend your soil with compost, aged manure, or other organic amendments to improve its structure and nutrient content. Pumpkins prefer a slightly acidic to neutral soil pH, ideally between 6.0 and 7.0. You can test your soil pH with a home testing kit or send a sample to your local agricultural extension office for analysis. If your soil is too acidic, you can add lime to raise the pH. If it’s too alkaline, you can add sulfur to lower the pH.
Q: How much sunlight do pumpkins need?
A: Pumpkins need at least 6-8 hours of direct sunlight per day to thrive. Choose a planting location that receives plenty of sunlight throughout the day. If your garden is shaded for part of the day, try to plant your pumpkins in the area that receives the most sunlight. Insufficient sunlight can lead to weak growth, poor fruit production, and increased susceptibility to diseases.
Q: How often should I water my pumpkins?
A: Pumpkins need consistent moisture, especially during fruit development. Water deeply and regularly, especially during dry spells. Aim to water at the base of the plant to avoid wetting the foliage, which can increase the risk of fungal diseases. A good rule of thumb is to water when the top inch of soil feels dry to the touch. Mulching around your pumpkin plants can help to retain moisture and suppress weeds.
Q: How do I know when my pumpkins are ripe and ready to harvest?
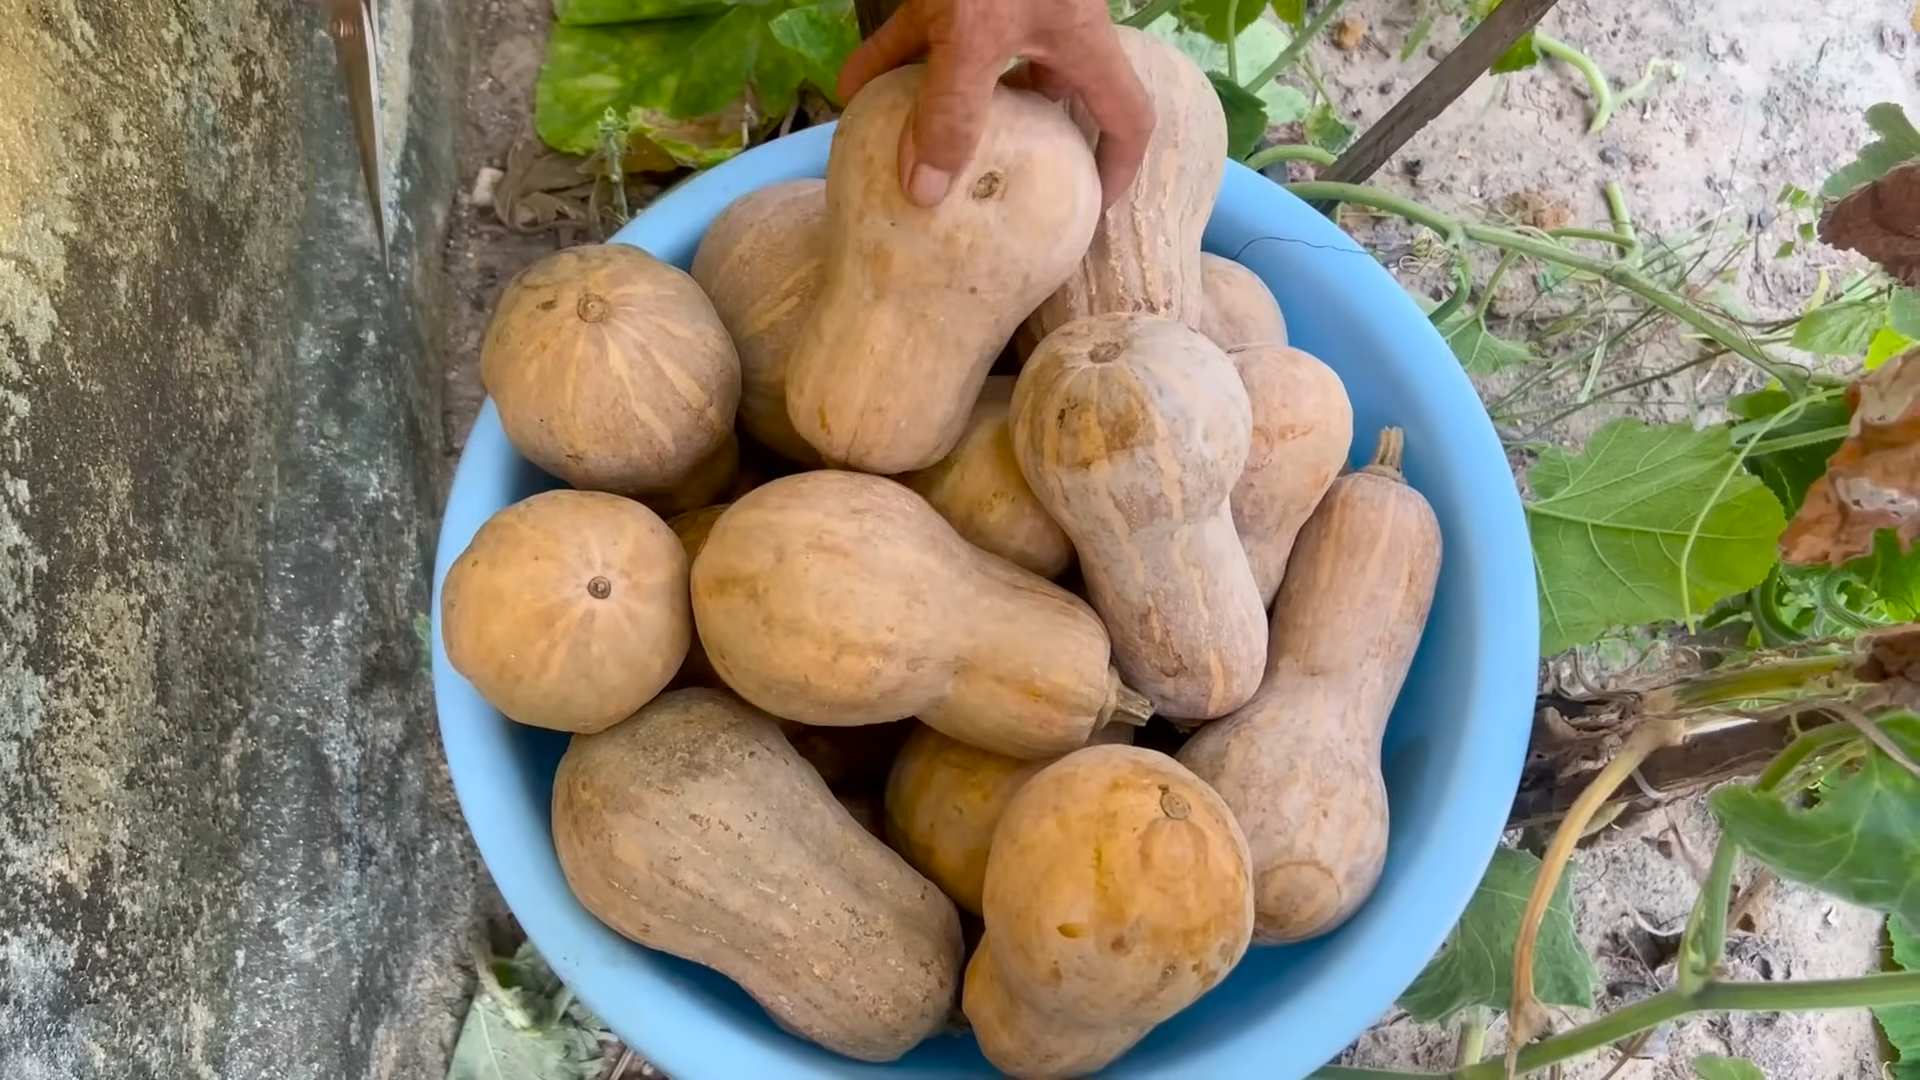
A: Several factors indicate that a pumpkin is ripe and ready to harvest. The skin should be hard and resistant to scratching. The stem should be dry and brown. The color should be deep and uniform, depending on the variety. You can also tap the pumpkin; a ripe pumpkin will sound hollow. When harvesting, use a sharp knife or pruning shears to cut the stem, leaving several inches attached to the pumpkin. Avoid lifting the pumpkin by the stem, as this can damage it and shorten its storage life.
Q: How do I store pumpkins after harvesting?
A: To maximize the storage life of your pumpkins, cure them in a warm, dry, well-ventilated place for 10-14 days. This allows the skin to harden and helps to prevent rot. After curing, store your pumpkins in a cool, dry place with good air circulation. Ideal storage temperatures are between 50°F and 60°F. Avoid storing pumpkins in damp or humid conditions, as this can promote mold growth. Check your pumpkins regularly for signs of spoilage and discard any that are soft or rotten.
Q: What are some common pumpkin pests and diseases, and how can I prevent them?
A: Common pumpkin pests include squash bugs, squash vine borers, and aphids. Common diseases include powdery mildew, downy mildew, and blossom-end rot. To prevent these problems, practice good garden hygiene, such as removing plant debris and weeds. Use row covers to protect young plants from pests. Inspect your plants regularly for signs of pests or diseases and take action promptly. Organic pest control methods, such as insecticidal soap and neem oil, can be effective for controlling many pests. Fungicides can be used to treat fungal diseases, but it’s important to choose a product that is specifically labeled for use on pumpkins. Crop rotation can also help to prevent soilborne diseases.
Q: Can I save seeds from my pumpkins to plant next year?
A: Yes, you can save seeds from your pumpkins to plant next year, but keep in mind that pumpkins are cross-pollinated, so the seeds may not produce plants that are true to type. If you want to save seeds from a specific variety, you’ll need to isolate the plants to prevent cross-pollination. To save seeds, scoop them out of the pumpkin, rinse them thoroughly, and spread them out to dry on a paper towel. Once the seeds are completely dry, store them in an airtight container in a cool, dry place.
Q: What can I do with all the pumpkins I harvest?
A: The possibilities are endless! You can use your pumpkins to make pumpkin pie, pumpkin soup, pumpkin bread, pumpkin muffins, pumpkin risotto, and many other delicious dishes. You can also roast the pumpkin seeds for a healthy snack. Pumpkins can also be used for decorative purposes, such as carving jack-o’-lanterns or creating fall displays. Don’t forget to compost any leftover pumpkin pulp or rinds to enrich your garden soil.

Leave a Comment