
Beginner vegetable garden routine can feel overwhelming, I know! You’re probably dreaming of fresh tomatoes, crisp lettuce, and flavorful herbs right outside your back door. But where do you even start? Don’t worry, you’re not alone. For centuries, humans have cultivated their own food, from ancient Roman kitchen gardens to the victory gardens of World War II. This connection to the earth is deeply ingrained in us, and the satisfaction of growing your own food is truly unparalleled.
But let’s be honest, modern life is busy. Juggling work, family, and everything else can leave little time for complicated gardening techniques. That’s where this DIY guide comes in! I’m going to share some simple, effective tricks and hacks to help you establish a thriving beginner vegetable garden routine, even if you’re short on time and space. These aren’t just random tips; they’re tried-and-true methods that will save you time, money, and frustration. Imagine harvesting your own delicious, organic vegetables, knowing exactly where they came from and how they were grown. Ready to get your hands dirty? Let’s dive in!
Creating Your Dream Beginner Vegetable Garden: A Step-by-Step Guide
Okay, so you’re ready to dive into the wonderful world of growing your own veggies! That’s fantastic! Trust me, there’s nothing quite like the taste of a tomato you’ve nurtured from a tiny seed. This guide is designed to walk you through the process, even if you’ve never touched a trowel before. We’ll cover everything from planning your garden to harvesting your delicious bounty. Let’s get started!
Phase 1: Planning and Preparation
Before you even think about seeds, a little planning goes a long way. This phase is all about setting yourself up for success.
* Choosing the Right Location: Sunlight is key! Most vegetables need at least 6-8 hours of direct sunlight per day. Observe your yard throughout the day to see where the sun shines the longest. Also, consider proximity to a water source. Lugging watering cans across the yard gets old fast!
* Soil Assessment: Healthy soil equals healthy plants. You can buy a soil testing kit at most garden centers or send a sample to your local agricultural extension office for a more detailed analysis. This will tell you the pH level and nutrient content of your soil.
* Garden Size: Start small! It’s better to have a small, well-maintained garden than a large, overgrown one. A 4×4 foot raised bed or a small plot in the ground is a great starting point.
* Choosing Your Vegetables: Pick vegetables you actually like to eat! Also, consider your climate and growing season. Some vegetables, like tomatoes and peppers, need a long, warm growing season, while others, like lettuce and spinach, prefer cooler temperatures.
* Gathering Your Supplies: You’ll need a few basic tools to get started. A trowel, hand rake, garden fork, watering can or hose, and gardening gloves are essential. You might also want to invest in some plant markers and fertilizer.
Phase 2: Preparing the Garden Bed
Now that you’ve planned your garden, it’s time to get your hands dirty! Preparing the garden bed is crucial for providing your plants with a healthy foundation.
1. Clear the Area: Remove any grass, weeds, rocks, or debris from the area where you’ll be planting. A garden fork can be helpful for loosening the soil and removing stubborn weeds.
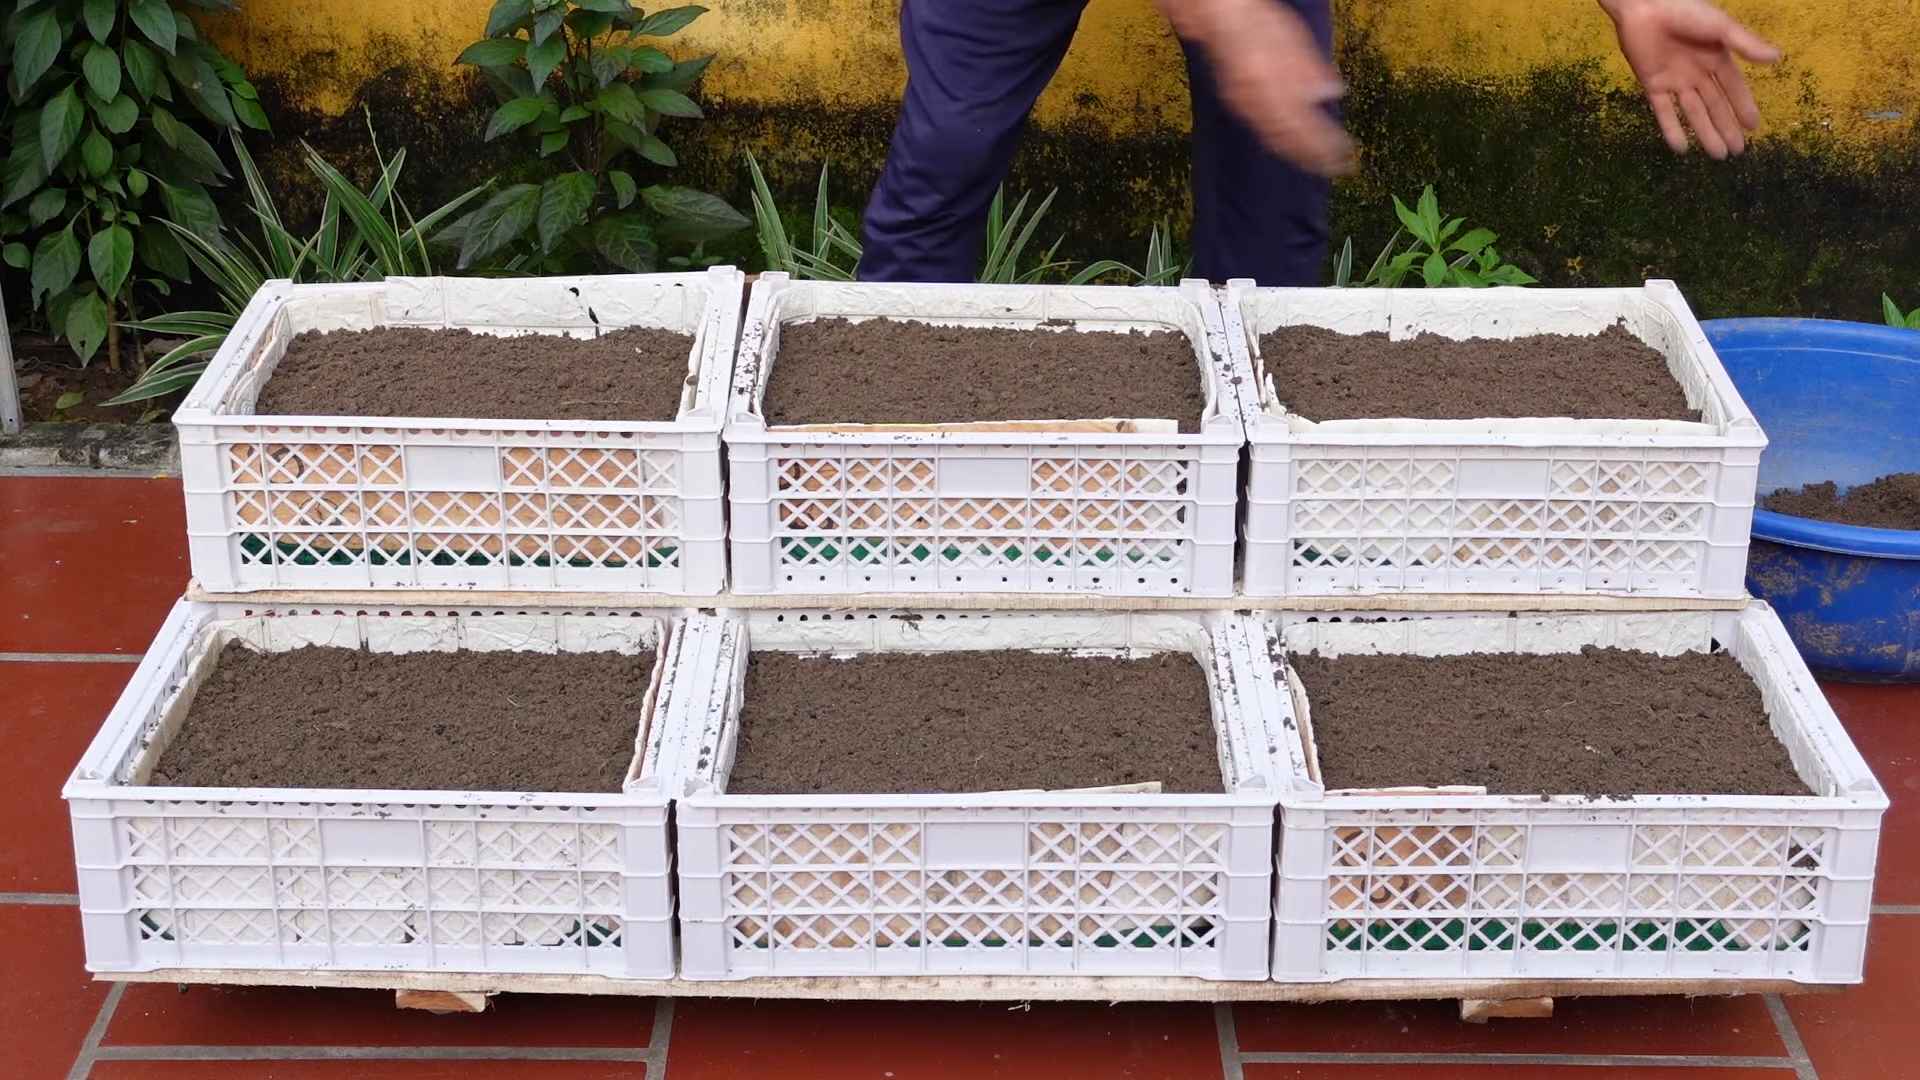
2. Improve the Soil: This is where the magic happens! If your soil is poor, amend it with compost, aged manure, or other organic matter. Spread a 2-3 inch layer of compost over the soil and work it in with a garden fork or tiller. This will improve drainage, aeration, and nutrient content.
3. Consider Raised Beds: If your soil is particularly poor or you have drainage issues, consider building a raised bed. Raised beds offer better drainage, warmer soil, and easier access for gardening. You can build a raised bed from wood, concrete blocks, or other materials.
4. Level the Soil: Once you’ve amended the soil, use a rake to level the surface. This will ensure that your plants have even access to water and nutrients.
Phase 3: Planting Your Vegetables
The fun part! Now it’s time to get those seeds and seedlings in the ground.
1. Starting from Seed vs. Seedlings: You can start vegetables from seed indoors or directly sow them into the garden. Starting seeds indoors gives you a head start on the growing season, especially for vegetables that need a long, warm growing season. Seedlings are young plants that have already been started for you, which can be a convenient option for beginners.
2. Follow Planting Instructions: Read the seed packet or plant tag carefully and follow the instructions for spacing, depth, and watering. Each vegetable has different needs, so it’s important to pay attention to the details.
3. Planting Seeds: Dig a small hole according to the seed packet instructions. Place the seed in the hole and cover it with soil. Gently water the area.
4. Planting Seedlings: Dig a hole slightly larger than the root ball of the seedling. Gently remove the seedling from its container and loosen the roots. Place the seedling in the hole and fill it with soil. Gently pat the soil around the base of the plant. Water thoroughly.
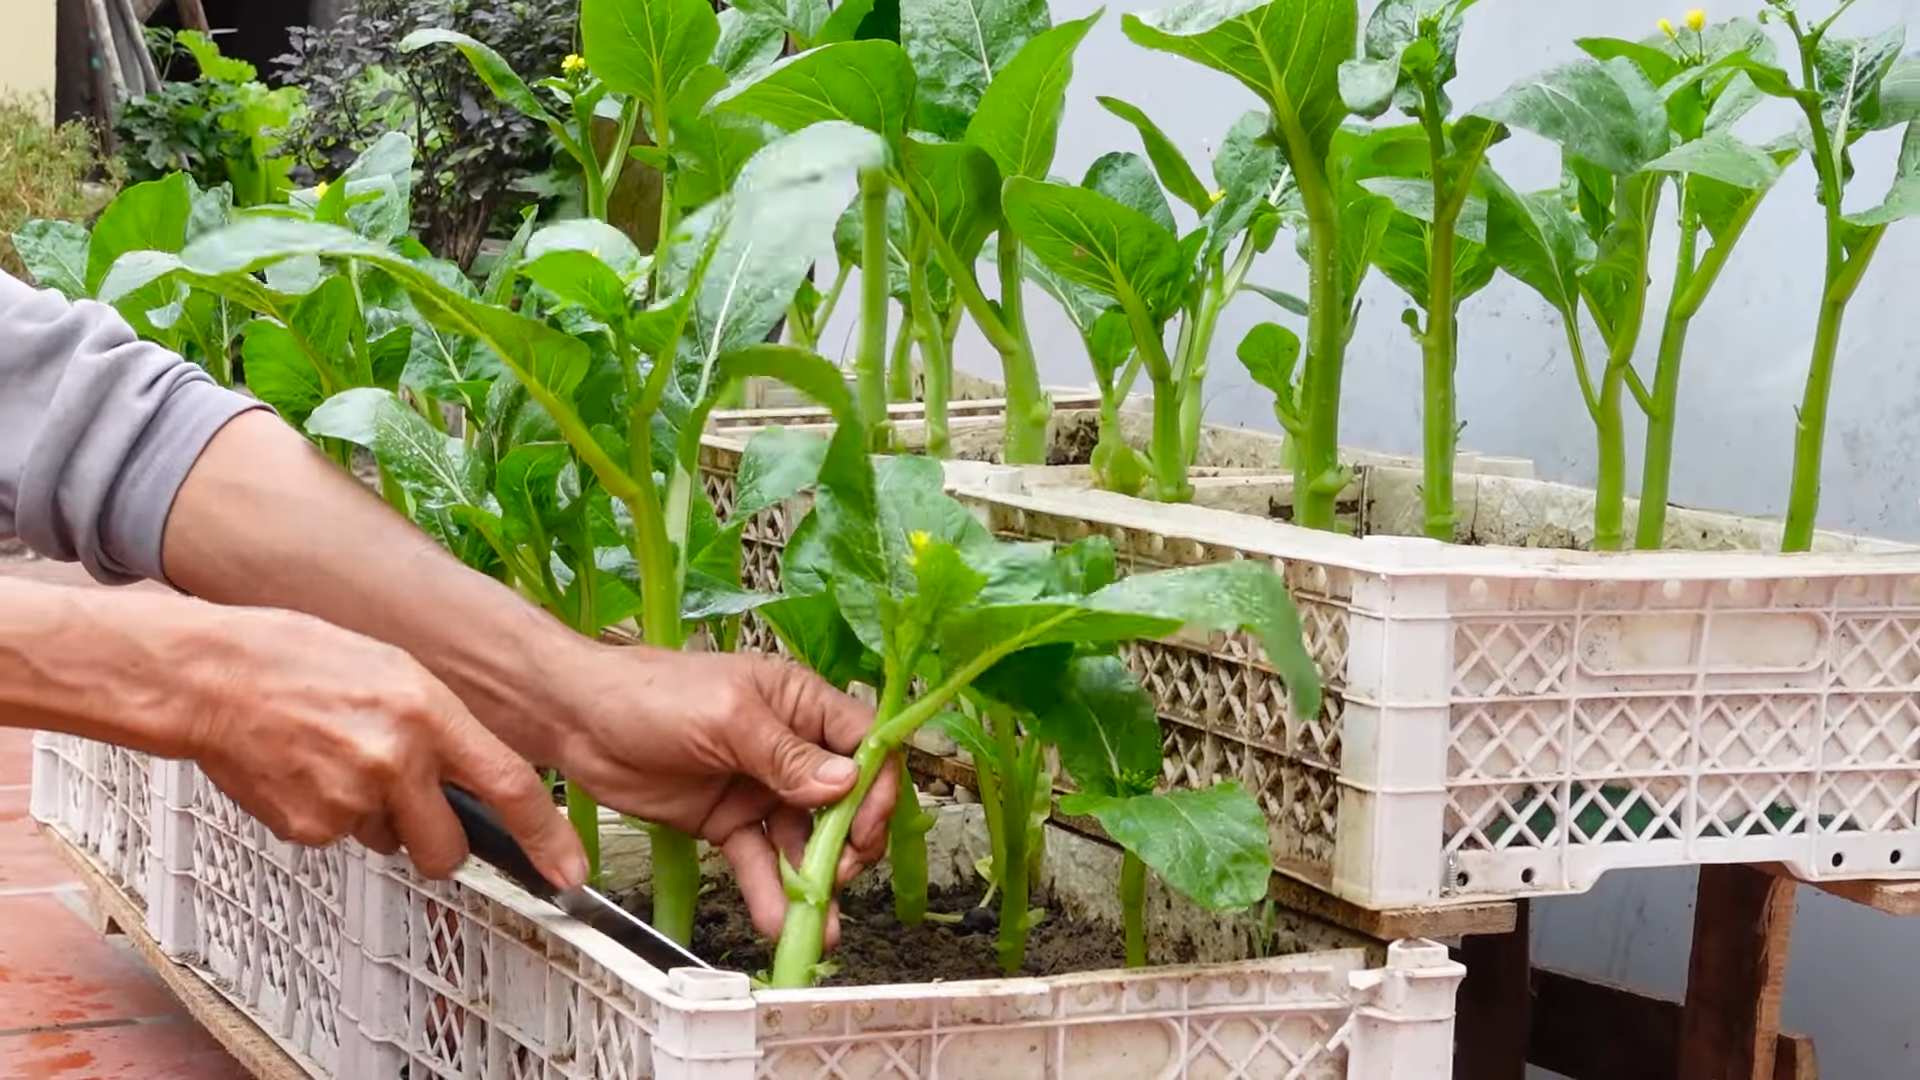
5. Spacing: Give your plants enough space to grow. Overcrowding can lead to disease and reduced yields. Refer to the seed packet or plant tag for recommended spacing.
6. Mulching: Apply a layer of mulch around your plants. Mulch helps to retain moisture, suppress weeds, and regulate soil temperature. Straw, wood chips, or shredded leaves are good options for mulch.
Phase 4: Watering and Maintenance
Consistent watering and regular maintenance are essential for a thriving vegetable garden.
1. Watering: Water deeply and regularly, especially during dry spells. Water at the base of the plants to avoid wetting the foliage, which can lead to disease. The best time to water is early in the morning.
2. Weeding: Remove weeds regularly to prevent them from competing with your vegetables for water and nutrients. Hand-pulling weeds is the most effective method, especially when they are small.
3. Fertilizing: Fertilize your vegetables regularly with a balanced fertilizer. Follow the instructions on the fertilizer label. You can also use organic fertilizers, such as compost tea or fish emulsion.
4. Pest and Disease Control: Keep an eye out for pests and diseases. If you notice any problems, take action immediately. There are many organic pest and disease control options available, such as insecticidal soap, neem oil, and copper fungicide.
5. Support: Some vegetables, like tomatoes and cucumbers, need support to grow properly. Use stakes, cages, or trellises to support these plants.
6. Pruning: Prune your vegetables as needed to remove dead or diseased leaves and to encourage growth.
Phase 5: Harvesting Your Bounty
The most rewarding part! Harvesting your vegetables at the peak of ripeness ensures the best flavor and texture.
1. Know When to Harvest: Each vegetable has a different harvesting time. Refer to the seed packet or plant tag for information on when to harvest.
2. Harvesting Techniques: Use the appropriate harvesting technique for each vegetable. For example, tomatoes should be picked when they are fully colored and slightly soft to the touch. Lettuce can be harvested by cutting off the outer leaves.
3. Enjoy Your Harvest: Eat your vegetables fresh or preserve them for later use. Canning, freezing, and drying are all good options for preserving your harvest.
Specific Vegetable Tips for Beginners
Here are a few tips for some easy-to-grow vegetables that are perfect for beginners:
* Lettuce: Lettuce is easy to grow and can be harvested multiple times. Sow seeds directly into the garden in early spring or fall. Choose a sunny location with well-drained soil.
* Radishes: Radishes are fast-growing and can be harvested in as little as 30 days. Sow seeds directly into the garden in early spring or fall. Choose a sunny location with well-drained soil.
* Spinach: Spinach is a cool-season crop that can be grown in early spring or fall. Sow seeds directly into the garden. Choose a sunny location with well-drained soil.
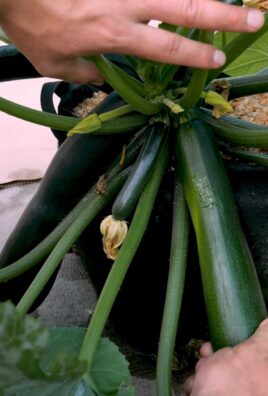
* Zucchini: Zucchini is a prolific producer and can be harvested throughout the summer. Plant seedlings in the garden after the last frost. Choose a sunny location with well-drained soil. Be prepared for a lot of zucchini!
* Tomatoes: Tomatoes are a classic garden vegetable. Start seeds indoors 6-8 weeks before the last frost or purchase seedlings from a garden center. Plant tomatoes in a sunny location with well-drained soil. Provide support with stakes or cages.
Troubleshooting Common Problems
Even with the best planning, you might encounter some problems in your vegetable garden. Here are a few common issues and how to address them:
* Pests: Aphids, cabbage worms, and tomato hornworms are common garden pests. Use insecticidal soap, neem oil, or hand-picking to control pests.
* Diseases: Powdery mildew, blight, and blossom end rot are common garden diseases. Use copper fungicide or other organic disease control methods. Ensure good air circulation and avoid overwatering.
* Poor Soil: If your plants are not growing well, your soil may be lacking nutrients. Amend the soil with compost or fertilizer.
* Lack of Sunlight: If your plants are not getting enough sunlight, they may become leggy and produce fewer vegetables. Move your plants to a sunnier location or prune nearby trees or shrubs.
* Overwatering: Overwatering can lead to root rot and other problems. Water deeply but infrequently, and make sure your soil is well-drained.
Essential Tools for Your Garden
Having the right tools can make gardening much easier and more enjoyable. Here’s a list of essential tools for your beginner vegetable garden:
* Trowel: For digging small holes and
Conclusion
So, there you have it! Transforming your kitchen scraps into nutrient-rich fertilizer is not only incredibly easy, but it’s also a game-changer for your beginner vegetable garden routine. It’s a simple, sustainable, and cost-effective way to boost your plants’ health and yield, all while reducing waste. Think about it: instead of tossing those coffee grounds, eggshells, and banana peels into the trash, you’re giving them a second life as a powerful elixir for your tomatoes, peppers, and leafy greens.
This DIY fertilizer trick is a must-try because it addresses several key needs of your vegetable garden. It provides essential nutrients like nitrogen, phosphorus, and potassium, which are crucial for healthy growth. It improves soil structure, making it easier for roots to access water and nutrients. And it promotes beneficial microbial activity in the soil, creating a thriving ecosystem for your plants. Plus, it’s completely natural and free from harmful chemicals, making it a safe and eco-friendly option for your garden.
But the beauty of this method lies in its adaptability. Feel free to experiment with different combinations of kitchen scraps to see what works best for your specific plants and soil type. For example, if you’re growing acid-loving plants like blueberries or azaleas, you can add more coffee grounds to your fertilizer mix. If you’re looking to boost potassium levels, banana peels are your best friend. You can also add other organic materials like grass clippings, leaves, and vegetable scraps to the mix. Just be sure to avoid adding meat, dairy, or oily foods, as these can attract pests and create unpleasant odors.
Consider creating different batches of fertilizer tailored to different stages of plant growth. A nitrogen-rich mix, heavy on coffee grounds and grass clippings, can be used during the early stages of growth to promote leafy green growth. A phosphorus-rich mix, with bone meal or rock phosphate added (if you’re not strictly vegan), can be used during flowering and fruiting to encourage abundant blooms and delicious produce.
Don’t be afraid to get creative and personalize your DIY fertilizer recipe. The key is to observe your plants closely and adjust your approach as needed. Are your plants looking pale and weak? They might need more nitrogen. Are they producing few flowers or fruits? They might need more phosphorus or potassium.
We are confident that incorporating this simple DIY trick into your beginner vegetable garden routine will make a noticeable difference in the health and productivity of your plants. It’s a small change that can have a big impact, both on your garden and on the environment.
So, what are you waiting for? Gather your kitchen scraps, get your hands dirty, and give this DIY fertilizer trick a try. We’re eager to hear about your experience! Share your results, tips, and variations in the comments below. Let’s learn from each other and create a community of thriving vegetable gardens, one kitchen scrap at a time. Happy gardening!
Frequently Asked Questions (FAQ)
What kind of kitchen scraps can I use for this DIY fertilizer?
You can use a wide variety of kitchen scraps, including coffee grounds, eggshells, banana peels, vegetable scraps (excluding onions and garlic), fruit peels, and tea bags. Avoid using meat, dairy, oily foods, and processed foods, as these can attract pests and create unpleasant odors. Citrus peels can be used sparingly, as they can lower the soil pH.
How do I prepare the kitchen scraps before using them as fertilizer?
The preparation depends on the type of scrap. Coffee grounds and tea bags can be used as is. Eggshells should be rinsed and crushed into small pieces. Banana peels and vegetable scraps can be chopped into smaller pieces to speed up decomposition. Some people prefer to compost the scraps first, which can help to break them down and reduce odors. However, you can also directly bury the scraps in the soil around your plants.
How often should I apply this DIY fertilizer to my vegetable garden?
The frequency of application depends on the needs of your plants and the richness of your soil. As a general guideline, you can apply the fertilizer every 2-4 weeks during the growing season. Observe your plants closely and adjust the frequency as needed. If your plants are growing rapidly and producing abundant fruits, you may need to fertilize more frequently. If your plants are growing slowly or showing signs of nutrient deficiencies, you may need to increase the amount of fertilizer you apply.
Can I use this DIY fertilizer on all types of vegetables?
Yes, you can use this DIY fertilizer on most types of vegetables. However, some vegetables have specific nutrient requirements. For example, tomatoes and peppers are heavy feeders and benefit from a fertilizer that is rich in phosphorus and potassium. Leafy greens like spinach and lettuce benefit from a fertilizer that is rich in nitrogen. Adjust the composition of your fertilizer mix to meet the specific needs of your plants.
Will this DIY fertilizer attract pests to my garden?
If you use the right types of kitchen scraps and prepare them properly, this DIY fertilizer should not attract pests. Avoid using meat, dairy, oily foods, and processed foods, as these can attract rodents, insects, and other unwanted visitors. Make sure to bury the scraps properly in the soil to prevent them from attracting pests. Composting the scraps before using them as fertilizer can also help to reduce odors and deter pests.
How do I store leftover DIY fertilizer?
If you have leftover fertilizer, you can store it in an airtight container in a cool, dry place. The fertilizer will keep for several weeks or even months. However, it’s best to use it as soon as possible to ensure that the nutrients are still fresh and potent. If you notice any signs of mold or spoilage, discard the fertilizer.
Is this DIY fertilizer safe for organic gardening?
Yes, this DIY fertilizer is safe for organic gardening, as it is made from natural and sustainable materials. It does not contain any harmful chemicals or synthetic ingredients. However, it’s important to ensure that the kitchen scraps you use are free from pesticides and other contaminants. Choose organic produce whenever possible to minimize the risk of contamination.
What if I don’t have a garden? Can I still use this DIY fertilizer?
Even if you don’t have a traditional garden, you can still use this DIY fertilizer for container gardening or indoor plants. Simply mix the fertilizer into the potting soil before planting or sprinkle it around the base of your plants. Be sure to adjust the amount of fertilizer you use to avoid over-fertilizing your plants.
Can I use this method for composting?
Yes, this method can be a great starting point for composting. By collecting your kitchen scraps and layering them with other organic materials like leaves and grass clippings, you can create a compost pile that will eventually break down into nutrient-rich compost. Composting is a more involved process than simply burying kitchen scraps, but it can produce a higher-quality fertilizer and reduce waste even further.


Leave a Comment