
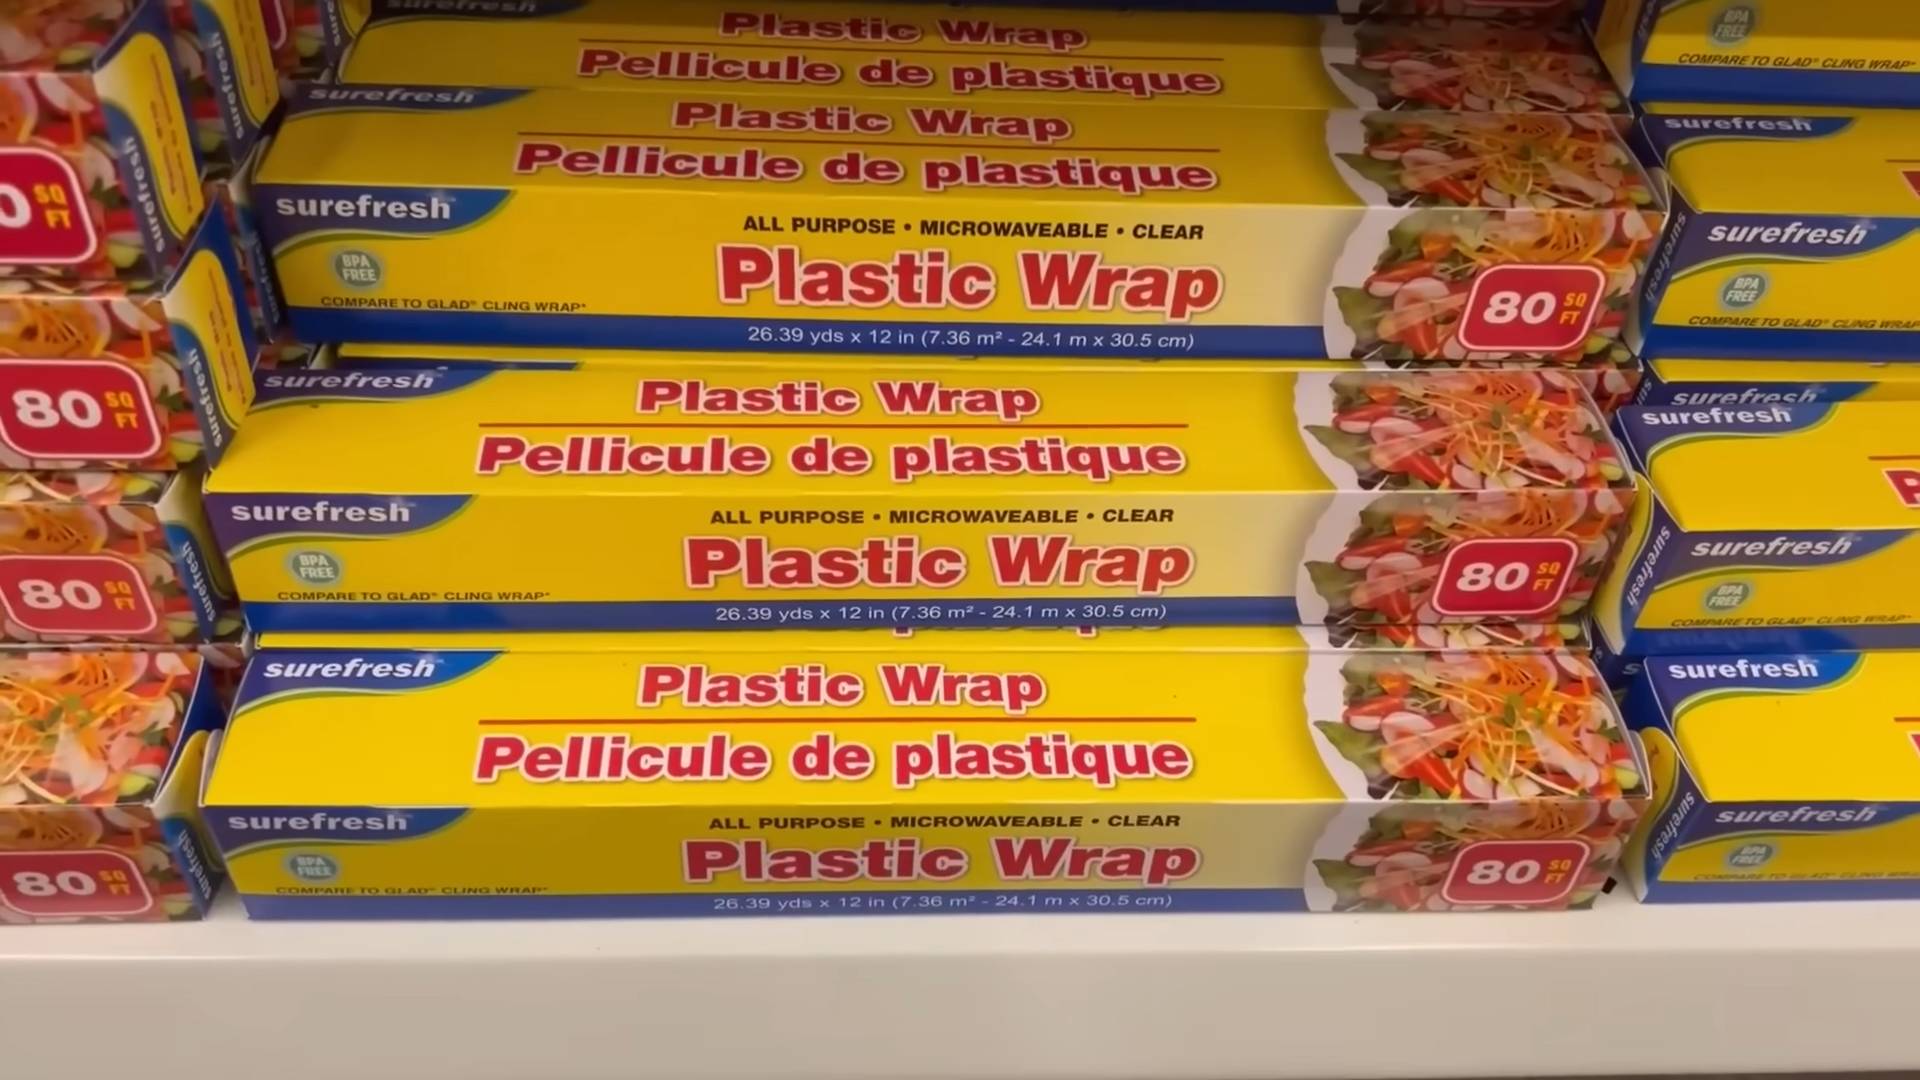
DIY Plastic Wrap Uses: Who knew that the humble roll of plastic wrap hiding in your kitchen drawer held so much potential beyond simply covering leftovers? I’m constantly amazed by the clever ways this everyday item can be repurposed, and I’m excited to share some of my favorite DIY plastic wrap uses with you!
For generations, plastic wrap has been a kitchen staple, evolving from its early cellulose-based forms to the convenient, clingy material we know today. While its primary function has always been food preservation, its versatility extends far beyond the culinary realm. Think about it – our grandparents probably used it just for keeping food fresh, but now we’re about to unlock a whole new world of possibilities!
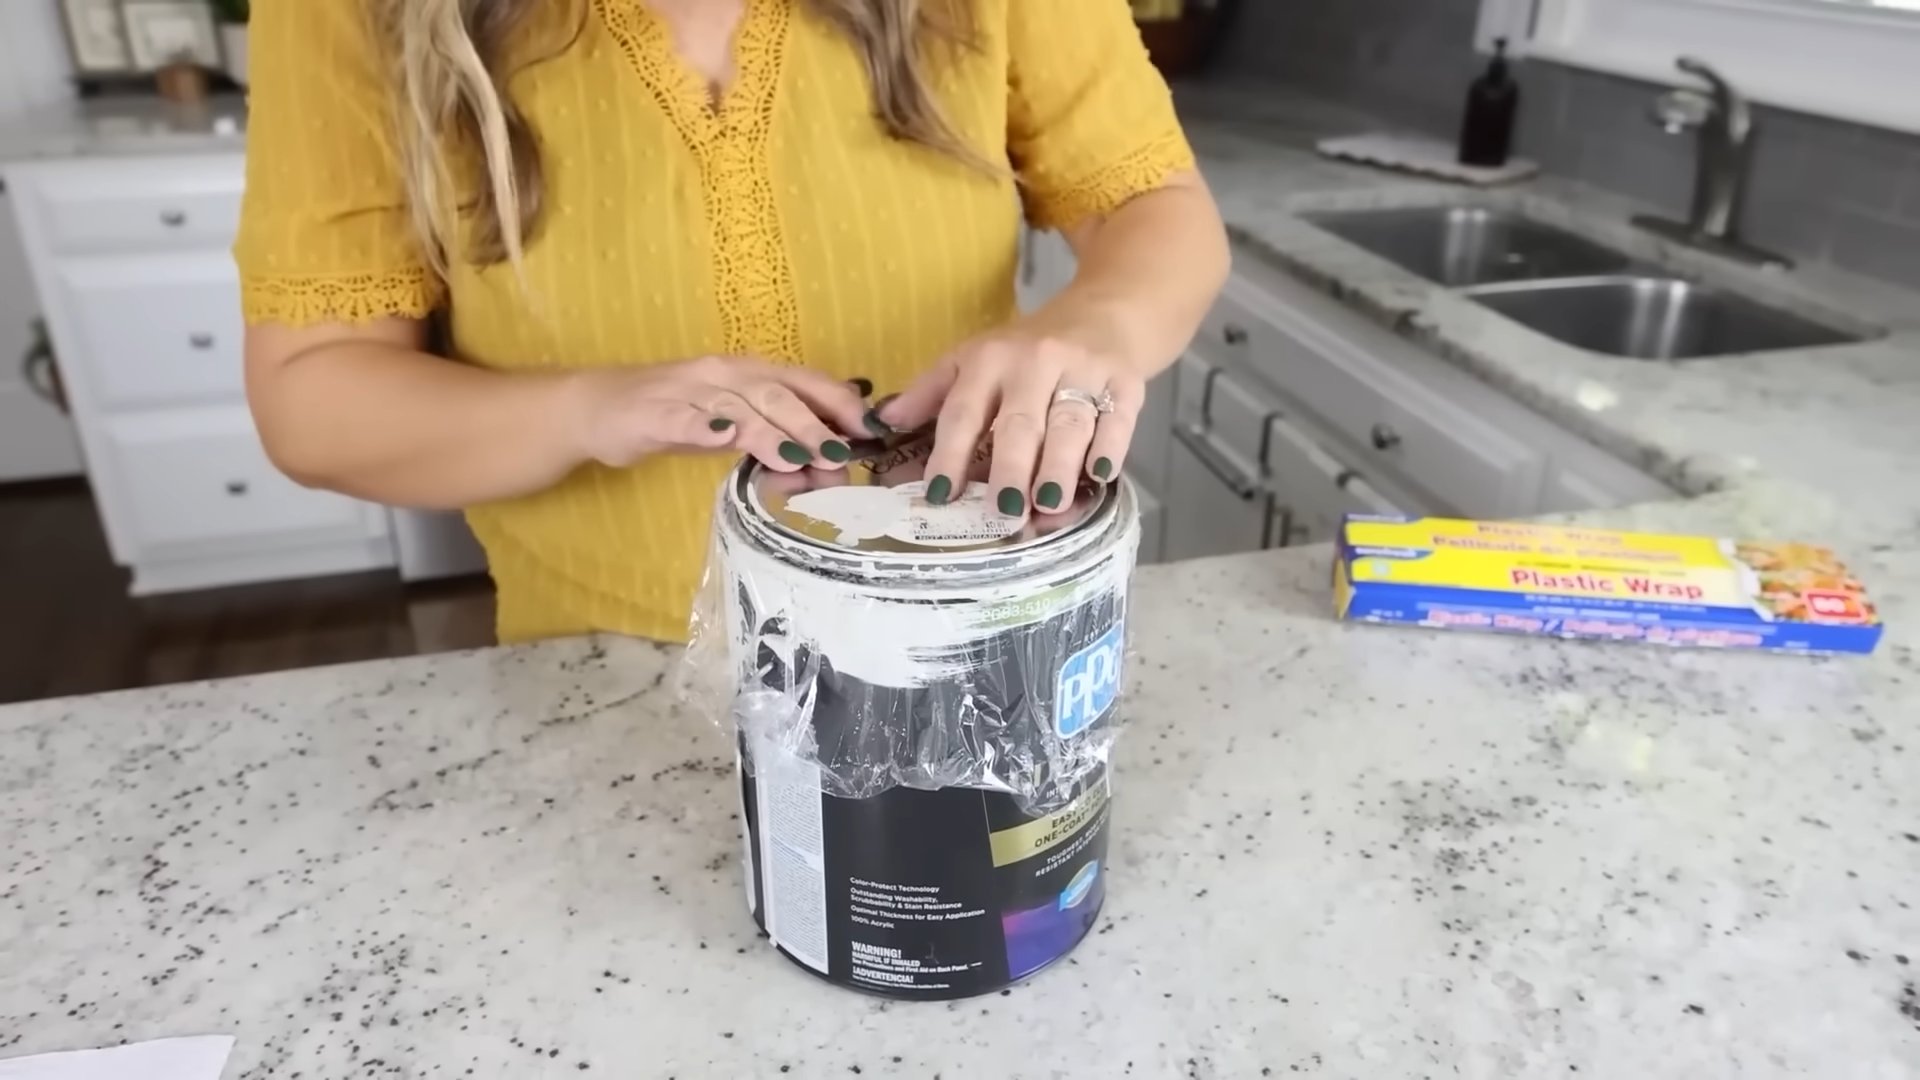
In today’s world, where sustainability and resourcefulness are more important than ever, finding new uses for existing materials is a win-win. Instead of tossing that roll of plastic wrap when you’re done with the leftovers, consider how you can use it to solve everyday problems around your home and garden. From protecting delicate plants from frost to creating a mini-greenhouse for seedlings, these DIY plastic wrap uses are not only practical but also a fantastic way to reduce waste and save money. So, let’s dive in and discover the surprising power of this unassuming kitchen essential!
Grow Your Own Spuds: A Beginner’s Guide to Potato Planting
Okay, potato lovers, gather ’round! I’m going to walk you through everything you need to know to grow your own delicious potatoes right in your backyard (or even in containers!). It’s easier than you think, and the taste of homegrown potatoes is simply unbeatable. Get ready to get your hands dirty!
Choosing Your Potatoes and Preparing Seed Potatoes
Before we even think about planting, we need to talk about seed potatoes. You can’t just grab any old potato from the grocery store and expect it to thrive. Seed potatoes are specifically grown for planting and are certified disease-free.
* Where to Get Seed Potatoes: Your best bet is to purchase seed potatoes from a reputable garden center or online supplier. They’ll have a variety of options suited to your climate and taste preferences.
* Choosing the Right Variety: Consider what you want to use your potatoes for. Do you want baking potatoes, boiling potatoes, or something all-purpose? Different varieties have different textures and flavors. Some popular choices include Yukon Gold (all-purpose), Russet (baking), and Red Pontiac (boiling).
* Sizing Up Your Seed Potatoes: Smaller seed potatoes (about the size of a chicken egg) can be planted whole. Larger potatoes should be cut into pieces, ensuring each piece has at least one or two “eyes” (those little buds that will sprout).
Now, let’s get those seed potatoes ready for planting! This process is called “chitting” or “sprouting.”
1. Chitting (Sprouting) Your Potatoes: This gives your potatoes a head start and results in earlier harvests. About 2-3 weeks before your planned planting date, place your seed potatoes in a cool, bright location (but not in direct sunlight). An egg carton or a tray works well.
2. Encouraging Sprout Growth: The eyes will start to sprout, forming short, green shoots. This is exactly what we want!
3. Cutting Large Potatoes (If Necessary): If you’re using large potatoes, cut them into pieces a day or two before planting. Make sure each piece has at least two eyes. Let the cut surfaces dry and callous over for a day or two. This helps prevent rot. I like to use a clean knife for this, and I always make sure to cut away from myself!
Preparing Your Planting Site
Potatoes need well-drained soil that’s rich in organic matter. They also need plenty of sunlight – at least 6-8 hours per day.
* Choosing the Right Location: Pick a spot in your garden that gets plenty of sun. Avoid areas that are prone to waterlogging.
* Soil Preparation: Potatoes prefer slightly acidic soil (pH 6.0-6.5). Amend your soil with compost, well-rotted manure, or other organic matter to improve drainage and fertility. I usually add a generous amount of compost to my potato patch.
* Loosening the Soil: Use a garden fork or tiller to loosen the soil to a depth of at least 12 inches. This will allow the potato roots to grow easily.
* Creating Rows or Hills: You can plant potatoes in rows or in hills. Rows are easier to manage in larger gardens, while hills are better suited for smaller spaces. For rows, create furrows that are about 6-8 inches deep and 3 feet apart. For hills, create mounds of soil that are about 1 foot high and 3 feet apart.
Planting Your Seed Potatoes
Now for the fun part – getting those potatoes in the ground!
1. Planting Depth: Place your seed potatoes (or potato pieces) in the furrows or hills, with the sprouts facing upwards. Cover them with about 4 inches of soil.
2. Spacing: Space the seed potatoes about 12 inches apart in rows or hills.
3. Watering: Water the newly planted potatoes thoroughly.
Hilling Your Potatoes
As your potato plants grow, you’ll need to “hill” them. This involves mounding soil around the base of the plants. Hilling encourages more potato production and protects the developing tubers from sunlight (which can cause them to turn green and produce solanine, a toxic compound).
1. First Hilling: When the potato plants are about 6-8 inches tall, use a hoe or shovel to pull soil from between the rows or hills and mound it around the base of the plants, leaving only the top few inches of foliage exposed.
2. Subsequent Hillings: Repeat this process every 2-3 weeks as the plants continue to grow. You can also add straw or mulch to the hills to help retain moisture and suppress weeds. I find that straw works really well and adds a nice touch to the garden.
Caring for Your Potato Plants
Potatoes need consistent moisture and nutrients to thrive.
1. Watering: Water your potato plants regularly, especially during dry periods. Aim for about 1-2 inches of water per week.
2. Fertilizing: Fertilize your potato plants with a balanced fertilizer (e.g., 10-10-10) about 4-6 weeks after planting. Follow the instructions on the fertilizer package. You can also side-dress with compost or well-rotted manure.
3. Weed Control: Keep your potato patch free of weeds. Weeds compete with the potato plants for water and nutrients. Hand-pull weeds or use a hoe to cultivate the soil. Mulching can also help suppress weeds.
4. Pest and Disease Control: Keep an eye out for common potato pests and diseases, such as potato beetles, aphids, and blight. Use organic pest control methods whenever possible. For example, you can hand-pick potato beetles or spray plants with insecticidal soap. If you suspect a disease, consult with your local garden center or agricultural extension office for advice.
Harvesting Your Potatoes
The moment we’ve all been waiting for! Knowing when to harvest your potatoes is key to getting the best flavor and texture.
1. Timing: You can harvest “new potatoes” (small, tender potatoes) about 2-3 weeks after the plants flower. For mature potatoes, wait until the foliage starts to die back and turn yellow or brown. This usually happens about 80-100 days after planting.
2. Testing for Maturity: To test for maturity, dig up a few potatoes and check their skin. If the skin is thick and doesn’t rub off easily, the potatoes are ready to harvest.
3. Harvesting Technique: Use a garden fork to carefully lift the potatoes from the soil. Be careful not to damage the tubers. I like to start digging a foot or so away from the plant to avoid accidentally spearing any potatoes.
4. Curing: After harvesting, let the potatoes dry in a cool, dark, well-ventilated place for about 1-2 weeks. This process, called curing, helps to toughen the skin and prevent rot during storage.
5. Storage: Store cured potatoes in a cool, dark, dry place (ideally around 40-50°F). A root cellar is ideal, but a cool basement or garage will also work. Avoid storing potatoes near apples or onions, as they can cause the potatoes to sprout prematurely.
Troubleshooting Common Potato Problems
Even with the best care, you might encounter some problems along the way. Here are a few common issues and how to address them:
* Green Potatoes: As mentioned earlier, potatoes that are exposed to sunlight can turn green and produce solanine. Avoid this by hilling your plants regularly and storing potatoes in a dark place. If you find green potatoes, discard them.
* Potato Scab: This is a common soilborne disease that causes rough, scabby patches on the potato skin. It’s more common in alkaline soils. To prevent scab, maintain a slightly acidic soil pH and avoid over-liming.
* Potato Beetles: These pesky beetles can defoliate your potato plants. Hand-pick them off the plants or spray with insecticidal soap.
* Blight: This fungal disease can cause leaves to develop brown spots and eventually die. To prevent blight, choose disease-resistant varieties, provide good air circulation, and avoid overhead watering. If blight occurs, remove infected foliage and spray with a fungicide.
Growing Potatoes in Containers
Don’t have a garden? No problem! You can still grow potatoes in containers.
* Choosing a Container: Select a large container (at least 10 gallons) with drainage holes. A fabric grow bag is a good option.
* Potting Mix: Use a well-draining potting mix. Avoid using garden soil, as it can become compacted in containers.
* Planting: Plant your seed potatoes in the container, following the same instructions as for planting in the ground.
* Hilling: As the plants grow, add more potting mix to the container, burying the stems and encouraging more potato production.
*
Conclusion
So, there you have it! Unveiling the surprisingly versatile world of DIY plastic wrap uses beyond simply covering leftovers. From preserving the freshness of your produce to creating stunning nail art and even aiding in skincare routines, this humble kitchen staple proves its worth time and time again. We’ve explored a range of innovative applications that not only save you money but also reduce waste by maximizing the utility of something you likely already have in your home.
The beauty of these DIY plastic wrap uses lies in their simplicity and adaptability. They require minimal effort and resources, making them accessible to everyone. Think about the money you’ll save on expensive beauty treatments by opting for a plastic wrap-enhanced moisturizing mask. Imagine the satisfaction of perfectly manicured nails achieved with a simple plastic wrap technique. And consider the environmental impact of extending the life of your fruits and vegetables, reducing food waste and the need for frequent grocery trips.
But the possibilities don’t stop here! Feel free to experiment and adapt these techniques to suit your specific needs and preferences. For example, instead of using plain plastic wrap for your nail art, try using textured plastic wrap for a more unique and intricate design. Or, if you have sensitive skin, consider using a hypoallergenic plastic wrap for your skincare treatments. You can even infuse your moisturizing masks with essential oils before applying the plastic wrap to enhance their therapeutic benefits.
This DIY plastic wrap revolution is all about creativity and resourcefulness. Don’t be afraid to think outside the box and discover new and exciting ways to utilize this everyday item. The potential applications are truly endless.
We strongly encourage you to try out these DIY plastic wrap uses and see for yourself the incredible benefits they offer. Whether you’re a seasoned DIY enthusiast or a complete beginner, you’ll find these techniques easy to master and incredibly rewarding.
And most importantly, we want to hear about your experiences! Share your successes, your failures, and your own unique adaptations in the comments below. Let’s create a community of resourceful individuals who are passionate about maximizing the potential of everyday items. Your insights and feedback will not only inspire others but also help us refine and improve these techniques for everyone. So, go ahead, grab a roll of plastic wrap, and embark on your DIY adventure today! Let’s unlock the full potential of this unassuming kitchen essential together. We are confident that you will find these DIY plastic wrap uses to be invaluable additions to your daily routines.
Frequently Asked Questions (FAQ)
What type of plastic wrap is best for these DIY uses?
The type of plastic wrap you choose will depend on the specific application. For food-related uses, such as preserving produce, it’s best to use food-grade plastic wrap that is BPA-free and safe for contact with food. Look for labels that specifically state “food-safe” or “BPA-free.” For beauty-related uses, such as nail art or skincare, you can use a standard household plastic wrap. However, if you have sensitive skin, it’s advisable to opt for a hypoallergenic plastic wrap to minimize the risk of irritation. Consider the thickness of the plastic wrap as well. Thicker plastic wrap may be more durable for certain applications, while thinner plastic wrap may be more pliable and easier to work with for others. Ultimately, experimentation is key to finding the plastic wrap that works best for your needs.
Is plastic wrap safe to use on my skin?
While plastic wrap is generally considered safe for short-term use on the skin, it’s essential to exercise caution and be mindful of potential risks. Prolonged use of plastic wrap on the skin can trap moisture and heat, creating a breeding ground for bacteria and potentially leading to skin irritation, rashes, or even infections. Therefore, it’s crucial to limit the duration of plastic wrap application and to ensure that your skin is clean and dry before applying it. If you have sensitive skin or any pre-existing skin conditions, it’s advisable to perform a patch test on a small area of skin before applying plastic wrap to a larger area. If you experience any adverse reactions, such as redness, itching, or burning, discontinue use immediately. As mentioned earlier, hypoallergenic plastic wrap is a safer option for those with sensitive skin.
How can I prevent plastic wrap from sticking to itself?
Ah, the age-old struggle with plastic wrap! Preventing it from sticking to itself can be a challenge, but there are a few tricks you can try. First, make sure your hands are dry before handling the plastic wrap. Moisture can exacerbate the sticking issue. Second, try storing your plastic wrap in the refrigerator. The cold temperature can help to reduce its stickiness. Third, when dispensing the plastic wrap, try to pull it out slowly and evenly, avoiding any sudden jerks or movements that can cause it to cling to itself. Finally, if all else fails, you can try lightly dusting the plastic wrap with cornstarch or flour before using it. This will create a barrier between the layers and prevent them from sticking together.
Can I reuse plastic wrap?
The reusability of plastic wrap depends on its condition and the purpose for which it was used. If the plastic wrap is clean and undamaged, and it was used to cover dry food items, it can potentially be reused. However, if the plastic wrap is soiled, torn, or has been in contact with raw meat or other potentially hazardous foods, it should be discarded immediately to prevent the spread of bacteria. For beauty-related uses, such as nail art or skincare, it’s generally not recommended to reuse plastic wrap, as it may harbor bacteria or residue from previous applications. When in doubt, it’s always best to err on the side of caution and discard the plastic wrap after a single use.
Are there any eco-friendly alternatives to plastic wrap?
Yes, there are several eco-friendly alternatives to plastic wrap that can help you reduce your environmental impact. Beeswax wraps are a popular option, as they are made from natural materials and can be reused multiple times. Silicone lids and food storage bags are another great alternative, as they are durable, washable, and can be used for a variety of purposes. Glass containers with airtight lids are also an excellent choice for storing food, as they are non-toxic, easy to clean, and can be used in the microwave and oven. Finally, you can also use reusable cloth bowl covers or simply place a plate over a bowl to cover food. By making small changes in your daily habits, you can significantly reduce your reliance on plastic wrap and contribute to a more sustainable lifestyle.

Leave a Comment