
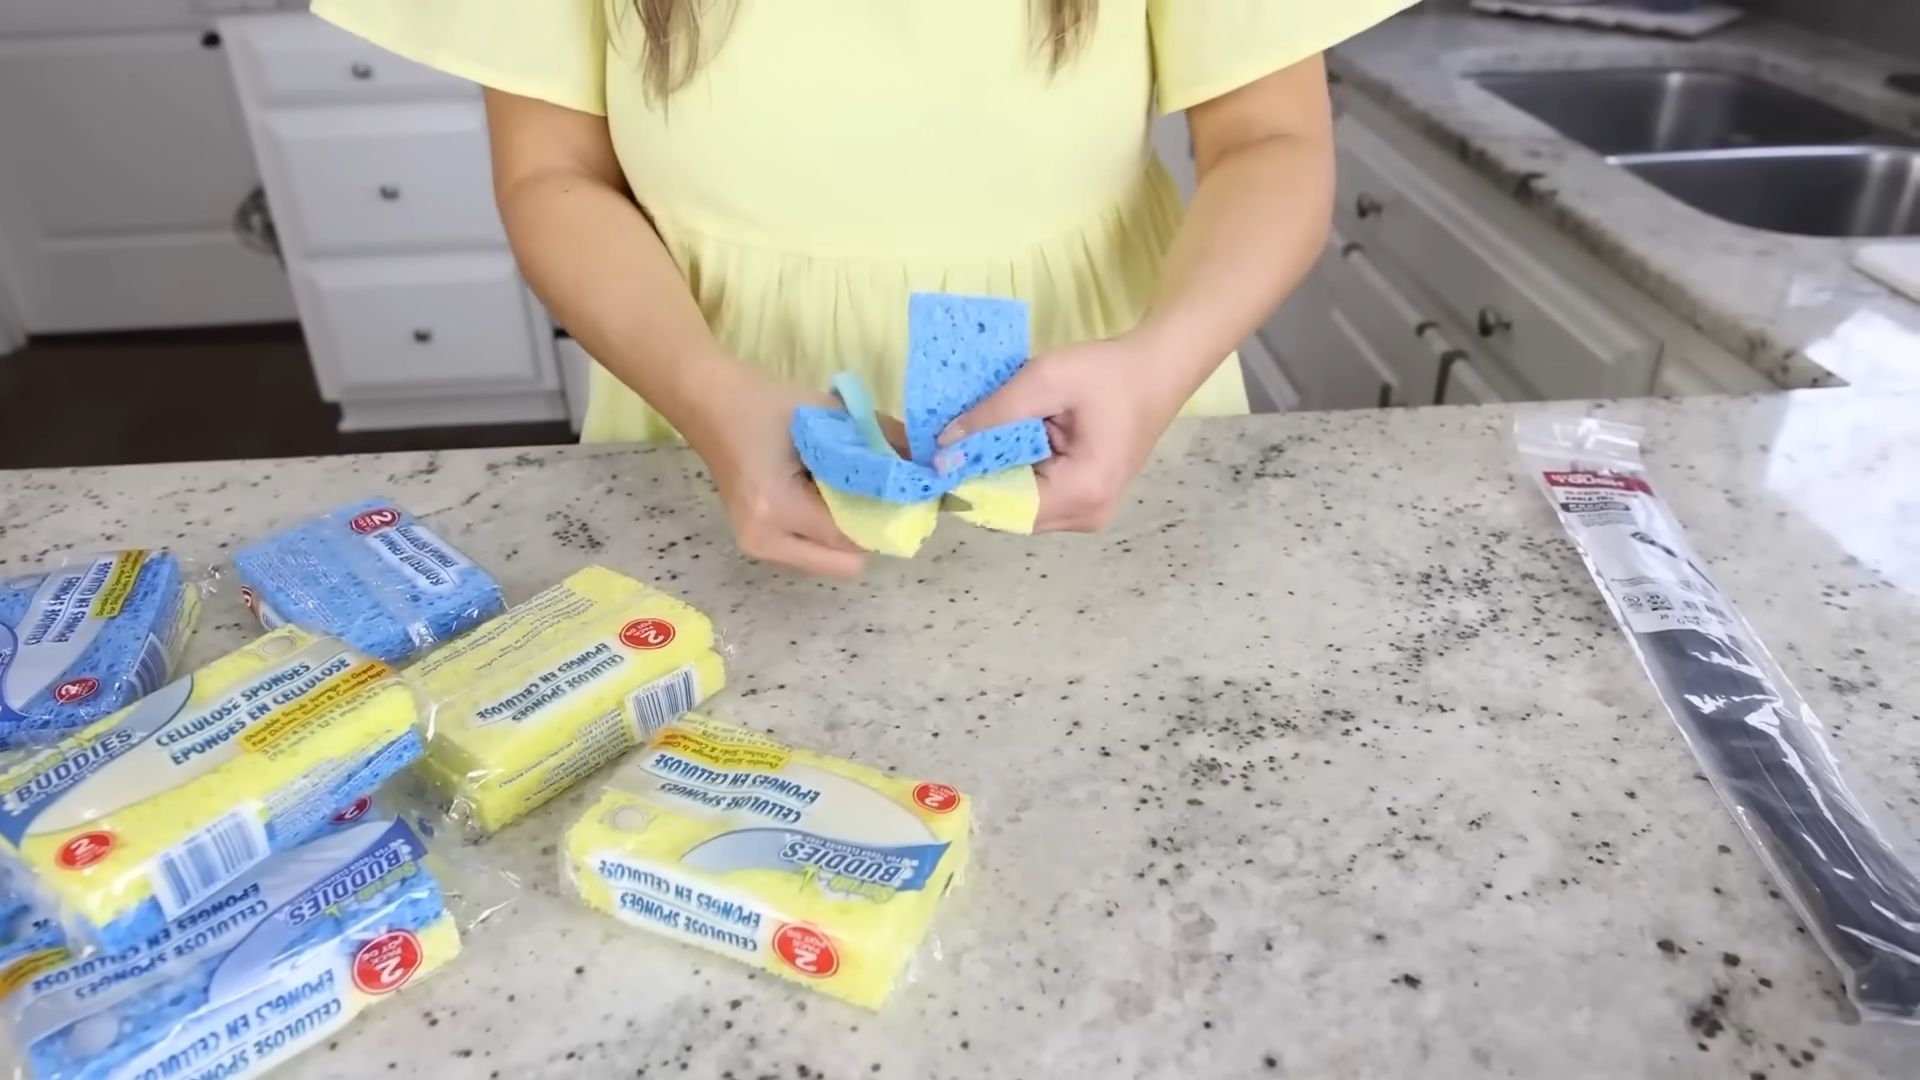
Sponge Hacks: Your Secret Weapon for a Thriving Garden
Have you ever wished there was a magical, inexpensive solution to some of your most persistent gardening woes? Well, get ready to be amazed because I’m about to share some incredible sponge hacks that will revolutionize your green thumb game! Forget expensive, complicated gadgets – the humble kitchen sponge is about to become your new best friend in the garden.
Believe it or not, the history of sponge use extends far beyond the kitchen sink. For centuries, natural sponges (and later, their synthetic counterparts) have been used for a variety of tasks, from cleaning to absorbing liquids. But their versatility in the garden is often overlooked. I’ve been experimenting with sponge hacks for years, and the results have been nothing short of spectacular. I’ve discovered clever ways to use sponges for everything from starting seeds to watering delicate plants, and I can’t wait to share these simple yet effective techniques with you.
Why do you need these DIY sponge tricks? Because they save you money, time, and often, frustration! Many of the problems gardeners face can be easily solved with a little ingenuity and a few inexpensive sponges. Whether you’re a seasoned gardener or just starting out, these sponge hacks will help you cultivate a healthier, more vibrant garden without breaking the bank or spending hours on complex tasks. Get ready to unlock the hidden potential of this everyday household item and transform your gardening experience!
Ready to get your hands dirty (in a good way)? Let’s dive in!
Building a Custom Bookshelf from Reclaimed Wood
I love the look of reclaimed wood, and I’ve always wanted a unique bookshelf. So, I decided to build my own! This project took a bit of time, but the result is a beautiful, sturdy bookshelf that perfectly fits my space and style. Here’s how I did it:
Gathering Materials and Tools
- Reclaimed wood planks (I used about 10, varying in width and length – aim for a mix of interesting textures and colors!)
- Wood glue
- Wood screws (various lengths, depending on plank thickness)
- Wood filler
- Sandpaper (various grits, starting with coarser and moving to finer)
- Wood stain (your choice of color – I went with a dark walnut)
- Wood sealant
- Measuring tape
- Level
- Drill with various drill bits
- Safety glasses
- Work gloves
- Putty knife
- Clamps (lots of them!)
- Circular saw (or hand saw, if you’re feeling ambitious!)
Preparing the Reclaimed Wood
1. Clean the wood: Before starting, I thoroughly cleaned each plank with a stiff brush to remove any dirt, debris, or loose pieces of wood. This is crucial for a smooth finish.
2. Assess and cut: I laid out my planks to visualize the overall design of my bookshelf. I wanted a slightly asymmetrical look, so I didn’t worry about making everything perfectly uniform. Using my measurements and the circular saw, I carefully cut the planks to the desired lengths for the shelves and sides. Remember to always wear safety glasses when using power tools!
3. Sanding: This is where the elbow grease comes in! I started with a coarser grit sandpaper to smooth out any rough edges and imperfections. Then, I gradually moved to finer grits to achieve a smooth, even surface. This step is essential for a professional-looking finish. I spent a good amount of time on this, and it really made a difference.
Assembling the Bookshelf
1. Applying glue and screwing: I started by assembling the sides of the bookshelf. I applied a generous amount of wood glue to the ends of the vertical planks and then carefully clamped them together. Once the glue was in place, I pre-drilled pilot holes and then screwed the planks together using wood screws. This step is critical for stability. Make sure your screws are long enough to go through both pieces of wood, but not so long that they poke through the other side.
2. Adding the shelves: Next, I added the shelves. I used the same method – applying wood glue, clamping, pre-drilling pilot holes, and screwing the shelves into the sides. I used a level to ensure that each shelf was perfectly horizontal. This took some patience, but it’s worth it to have a perfectly level bookshelf.
3. Filling gaps: Even with careful cutting and measuring, I had a few small gaps between some of the planks. I filled these gaps with wood filler, using a putty knife to smooth it out. I let the wood filler dry completely before sanding it down smooth.
Finishing Touches
1. Sanding again: After filling the gaps, I sanded the entire bookshelf again, using finer grit sandpaper to ensure a perfectly smooth surface.
2. Applying stain: I applied my chosen wood stain using a brush, following the manufacturer’s instructions. I applied two coats, allowing each coat to dry completely before applying the next. I wiped off any excess stain with a clean cloth.
3. Sealing: Finally, I applied a wood sealant to protect the bookshelf from moisture and wear. Again, I followed the manufacturer’s instructions and applied two coats, allowing each coat to dry completely before applying the next.
Tips and Considerations
- Plan your design: Before you start cutting, take the time to plan out the design of your bookshelf. Sketch it out, measure your space, and consider the size and weight of the books you’ll be storing.
- Use quality materials: The quality of your materials will directly impact the final look and durability of your bookshelf. Invest in good quality reclaimed wood, wood glue, and wood screws.
- Take your time: This project takes time and patience. Don’t rush the process. Take your time with each step, and you’ll be rewarded with a beautiful, sturdy bookshelf.
- Safety first: Always wear safety glasses and work gloves when using power tools. Be careful when handling sharp objects and power tools.
- Personalize it: Don’t be afraid to get creative! You can add your own personal touches to your bookshelf, such as adding decorative hardware or painting it a different color.
Troubleshooting
Uneven Shelves:
If your shelves are uneven, carefully check your measurements and ensure that the supports are properly aligned before screwing in the shelves. You might need to use shims to level them.
Gaps between planks:
Use wood filler to fill any gaps between planks. Sand it down smooth after it dries.
Stain issues:
If your stain is uneven, make sure you’re applying it evenly and wiping off any excess. You might need to apply additional coats.
Conclusion
So there you have it! Our comprehensive guide to incredible sponge hacks. This isn’t just about cleaning; it’s about unlocking the surprising versatility of a humble kitchen sponge. From tackling stubborn grime to crafting ingenious cleaning solutions, these sponge hacks elevate your cleaning game to a whole new level. You’ll be amazed at how much time, effort, and money you can save by embracing these simple yet effective techniques. The best part? Many of these hacks utilize materials you likely already have at home, making them both budget-friendly and environmentally conscious. By repurposing and maximizing the potential of your sponges, you’re not only simplifying your cleaning routine but also contributing to a more sustainable lifestyle. This DIY approach is a must-try for anyone looking to streamline their cleaning process and achieve sparkling results.
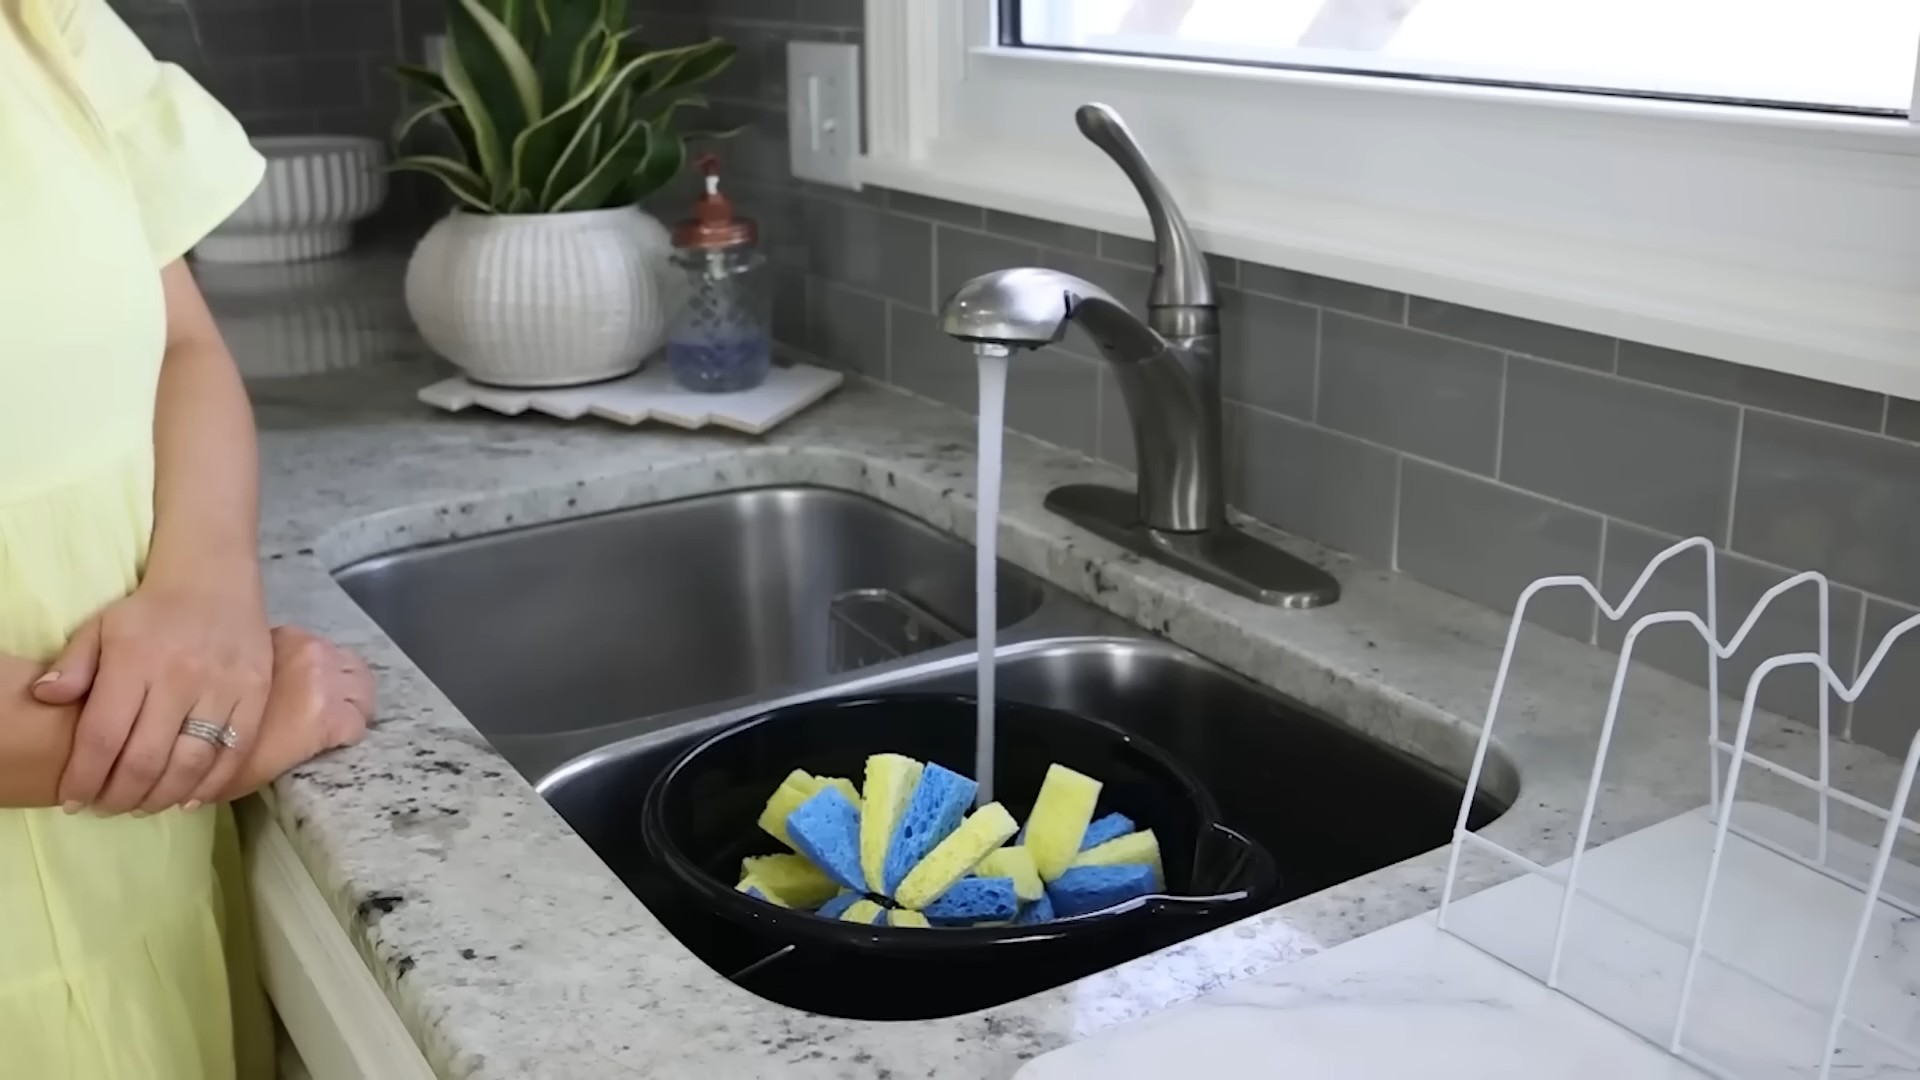
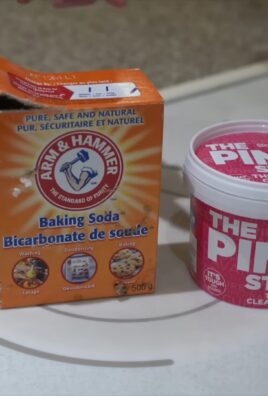
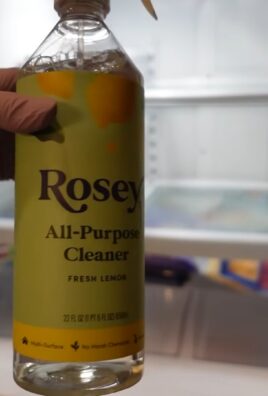
Don’t limit yourself to the hacks outlined above. Experiment! The beauty of these sponge techniques lies in their adaptability. Try using different types of sponges – natural sea sponges, cellulose sponges, or even those abrasive scrubbing sponges – to see which works best for various cleaning tasks. Feel free to adjust the cleaning solutions to suit your preferences and the specific surfaces you’re cleaning. For example, you could add a few drops of essential oils to your homemade cleaning spray for a pleasant aroma. Consider using different types of vinegar – apple cider vinegar or white vinegar – to see if one works better for your needs. The possibilities are endless!
We encourage you to get creative and personalize these sponge hacks to fit your individual cleaning style and needs. Perhaps you’ll discover your own unique twist on these techniques, leading to even more efficient and effective cleaning methods. The key is to embrace experimentation and find what works best for you and your home. Remember, the goal is to make cleaning easier, faster, and more enjoyable. These sponge hacks are designed to help you achieve just that.
We’re confident that once you try these sponge hacks, you’ll wonder how you ever cleaned without them. They’re a game-changer for anyone looking to simplify their cleaning routine and achieve professional-level results without the professional-level cost. So, grab your sponges, gather your supplies, and get ready to experience the transformative power of these simple yet effective cleaning solutions. Share your experiences and any innovative variations you discover in the comments below – we’d love to hear from you and learn from your cleaning adventures!
Don’t forget to share your results and any creative variations you come up with on social media using #SpongeHacks! Let’s build a community of cleaning enthusiasts who are passionate about making cleaning easier and more sustainable.
Frequently Asked Questions
Can I use any type of sponge for these hacks?
While many sponges will work, the best results are often achieved with specific types. For delicate surfaces, a soft cellulose sponge is ideal. For tougher scrubbing, a more abrasive sponge might be necessary. Experiment to find what works best for your needs and the surface you are cleaning. Natural sea sponges are also a great eco-friendly option, though they may require more frequent replacement.
Are these sponge hacks safe for all surfaces?
Always test any cleaning solution on an inconspicuous area first to ensure it doesn’t damage the surface. Some solutions, especially those containing vinegar or bleach, may not be suitable for all materials. Avoid using abrasive sponges on delicate surfaces like polished wood or painted furniture. Always refer to the manufacturer’s cleaning instructions for specific surfaces.
How often should I replace my sponges?
Sponges can harbor bacteria, so it’s crucial to replace them regularly. Aim to replace your sponges at least once a week, or more frequently if they become heavily soiled or start to smell. Properly cleaning your sponges after each use can extend their lifespan, but regular replacement is essential for hygiene.
What if I don’t have all the ingredients listed for a specific hack?
Many of these hacks are adaptable. If you don’t have a specific ingredient, you can often substitute it with something similar. For example, if you don’t have white vinegar, apple cider vinegar can often be used as a substitute. However, always check if the substitute is suitable for the specific cleaning task and surface.
Are these sponge hacks environmentally friendly?
Many of these hacks utilize readily available, natural ingredients, making them a more environmentally friendly alternative to harsh chemical cleaners. Using reusable sponges and avoiding single-use cleaning wipes further contributes to a more sustainable cleaning routine. Choosing biodegradable sponges also helps minimize your environmental impact.
Can I use these hacks on delicate fabrics like silk or wool?
No, these hacks are not recommended for delicate fabrics like silk or wool. The abrasive nature of some sponges and the cleaning solutions used could damage these materials. For delicate fabrics, always use a gentle cleaning method and appropriate cleaning solutions specifically designed for those materials.
What should I do if my sponge starts to smell bad?
A smelly sponge is a sign that it needs to be replaced. While you can try to disinfect it by soaking it in a bleach solution (always following safety precautions), a smelly sponge is often a breeding ground for bacteria and should be discarded. Regular cleaning and prompt replacement are key to preventing unpleasant odors.
Where can I find the best sponges for these hacks?
You can find a wide variety of sponges at most grocery stores, home improvement stores, and online retailers. Look for sponges made from natural materials like cellulose or sea sponge for a more eco-friendly option. Consider the type of sponge needed for the specific cleaning task – a soft sponge for delicate surfaces and a more abrasive sponge for tougher cleaning jobs.

Leave a Comment