
Vinegar Cleaning Hacks for Your Home Garden
Vinegar Cleaning Hacks: I’ve always loved the idea of a thriving, beautiful home garden, but let’s be honest, keeping everything clean and pest-free can feel like a never-ending battle. That’s why I’m so excited to share some amazing vinegar cleaning hacks that I’ve discovered and perfected over the years! Forget expensive, harsh chemicals – we’re going green and saving money with this surprisingly versatile household staple.
The use of vinegar for cleaning dates back centuries, with evidence suggesting its use in ancient civilizations for everything from preserving food to cleaning surfaces. Its natural acidity makes it a powerful yet gentle cleaning agent, perfect for the delicate ecosystem of your garden. And the best part? It’s readily available and incredibly affordable!
Why You Need These Vinegar Cleaning Hacks
Whether you’re battling stubborn algae on your patio pots, dealing with pesky aphids on your prized roses, or simply want a safe and effective way to clean your gardening tools, these Vinegar Cleaning Hacks are your new best friend. They’ll save you time, money, and the worry of using harsh chemicals near your plants and produce. You’ll be amazed at the results!
In this article, we’ll explore a range of practical and effective vinegar cleaning hacks specifically tailored for your home garden. From simple solutions for cleaning your tools to more advanced techniques for tackling stubborn garden grime, I’ll guide you through each step. Get ready to transform your gardening experience with these simple yet powerful Vinegar Cleaning Hacks!
Building a Custom Bookshelf from Reclaimed Wood
I love the look of reclaimed wood, and I’ve always wanted a unique bookshelf. So, I decided to build my own! This project took a bit of time, but the result is a beautiful, one-of-a-kind piece of furniture that I’m incredibly proud of. Here’s how I did it:
Gathering Your Materials
- Reclaimed wood planks – Aim for planks around 1 inch thick and varying widths for a rustic look. I used about 10-12 planks, but adjust based on your desired size.
- Wood glue – A high-quality wood glue is essential for strong joints.
- Wood screws – I used 2.5-inch screws for the main structure and 1.5-inch screws for smaller details.
- Wood filler – To fill any gaps or imperfections in the wood.
- Sandpaper – Various grits (80, 120, 220) for smoothing the wood.
- Wood stain (optional) – I chose a dark walnut stain to enhance the reclaimed wood’s character.
- Wood sealant (optional) – To protect the finished bookshelf from moisture and wear.
- Measuring tape
- Level
- Drill with drill bits
- Safety glasses
- Work gloves
- Clamps
- Putty knife
- Paintbrushes or rags (if staining)
Step-by-Step Instructions: Building the Frame
1. Plan your design: Before you start, sketch out your bookshelf’s dimensions and the placement of shelves. I wanted a simple, rectangular design with three shelves. Measure carefully and adjust the dimensions to fit your space and the wood you have.
2. Cut the wood: Using a saw (circular saw or hand saw, depending on your comfort level and the wood’s thickness), cut the planks to the lengths you determined in step 1. Remember to account for the thickness of the wood when calculating the lengths for the shelves and sides. Safety first! Always wear safety glasses and gloves when using power tools.
3. Assemble the sides: I chose to create the sides of my bookshelf by stacking two planks vertically, creating a thicker, more stable side. Apply wood glue to the edges of the planks and clamp them together tightly. Let the glue dry completely according to the manufacturer’s instructions.
4. Attach the bottom support: Once the side pieces are dry, attach a long plank to the bottom of each side piece to form the base. Pre-drill pilot holes to prevent the wood from splitting, then use wood screws to secure the bottom support. Use your level to ensure the base is perfectly level.
5. Attach the top support: Repeat step 4 for the top of the bookshelf. Ensure the top support is level and aligned with the bottom support.
6. Add the shelf supports: To support the shelves, I added smaller pieces of wood between the side pieces at the desired shelf heights. These supports should be securely attached using wood glue and screws. Again, use your level to ensure everything is perfectly aligned.
Step-by-Step Instructions: Adding the Shelves
7. Cut the shelves: Cut the planks for your shelves to the desired length. Make sure they fit snugly between the side supports.
8. Attach the shelves: Place the shelves onto the supports and secure them using wood glue and screws. Pre-drilling pilot holes is crucial here to prevent the wood from splitting. Use clamps to hold the shelves in place while the glue dries.
9. Fill any gaps: Once the glue is dry, inspect your bookshelf for any gaps or imperfections. Use wood filler to fill any gaps and let it dry completely.
10. Sand the bookshelf: Once the wood filler is dry, sand the entire bookshelf using sandpaper. Start with a coarser grit (80) to remove any imperfections, then move to finer grits (120 and 220) for a smooth finish. Sanding is crucial for a professional-looking finish. Take your time and sand thoroughly.
Step-by-Step Instructions: Finishing Touches
11. Apply stain (optional): If you’re using a stain, apply it according to the manufacturer’s instructions. I applied two coats of dark walnut stain, allowing each coat to dry completely before applying the next. Use a brush or rag for even application.
12. Apply sealant (optional): Once the stain is dry, apply a wood sealant to protect your bookshelf from moisture and wear. This step is highly recommended, especially if you plan to place the bookshelf in a humid environment. Again, follow the manufacturer’s instructions for application.
13. Final inspection: Before you declare your project complete, take a final look at your bookshelf. Are there any areas that need additional sanding or filling? Are you happy with the overall look and feel? Make any necessary adjustments before you proudly display your new creation.
Tips for Success:
- Choose high-quality materials: Using good quality wood, glue, and screws will make a big difference in the durability and longevity of your bookshelf.
- Take your time: This project requires patience and attention to detail. Don’t rush the process.
- Measure twice, cut once: Accurate measurements are essential for a well-built bookshelf.
- Use clamps: Clamps are crucial for ensuring strong joints and preventing the wood from shifting while the glue dries.
- Safety first: Always wear safety glasses and gloves when using power tools.
Troubleshooting:
- Uneven shelves: If your shelves are uneven, check to make sure the supports are level and securely attached. You may need to adjust the supports or add shims to level the shelves.
- Gaps in the joints: If you have gaps in the joints, use wood filler to fill them. Sand the filler smooth once it’s dry.
- Splitting wood: Always pre-drill pilot holes before screwing into the wood to prevent splitting.
Conclusion
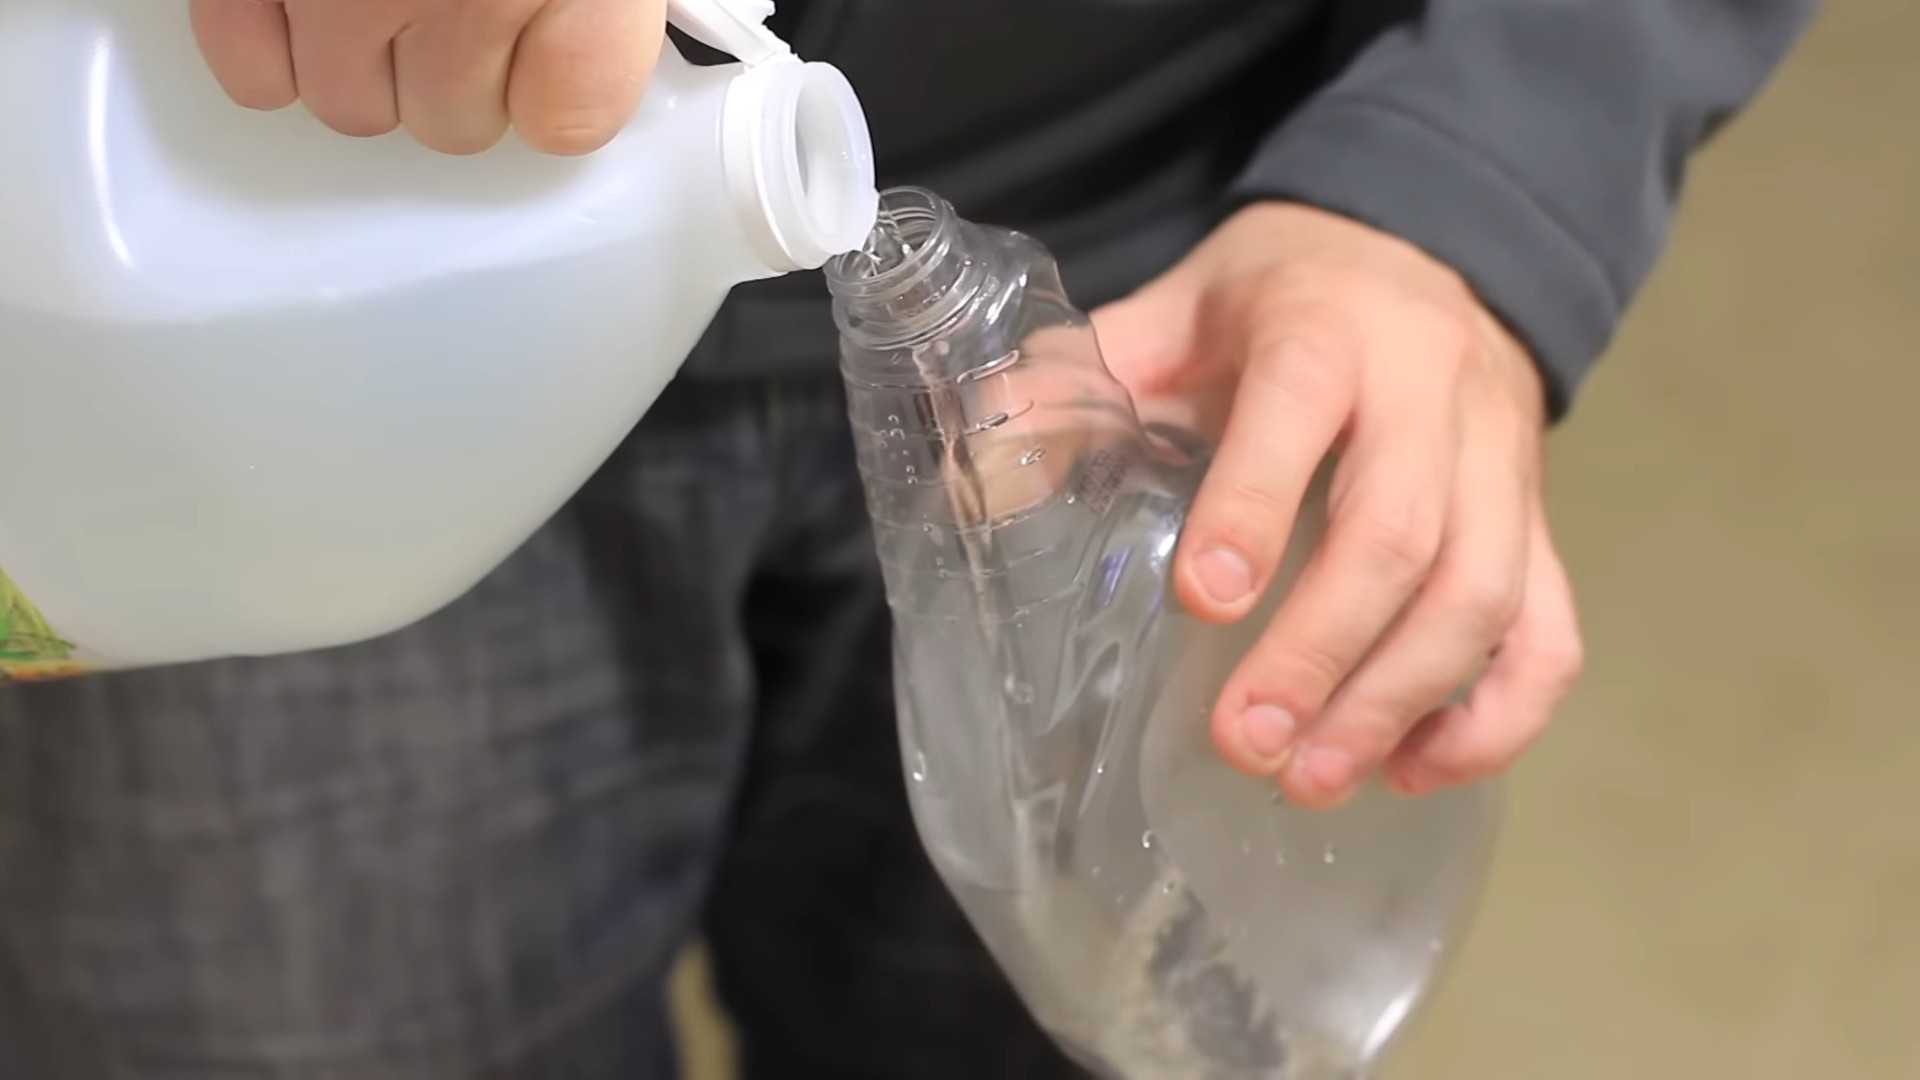
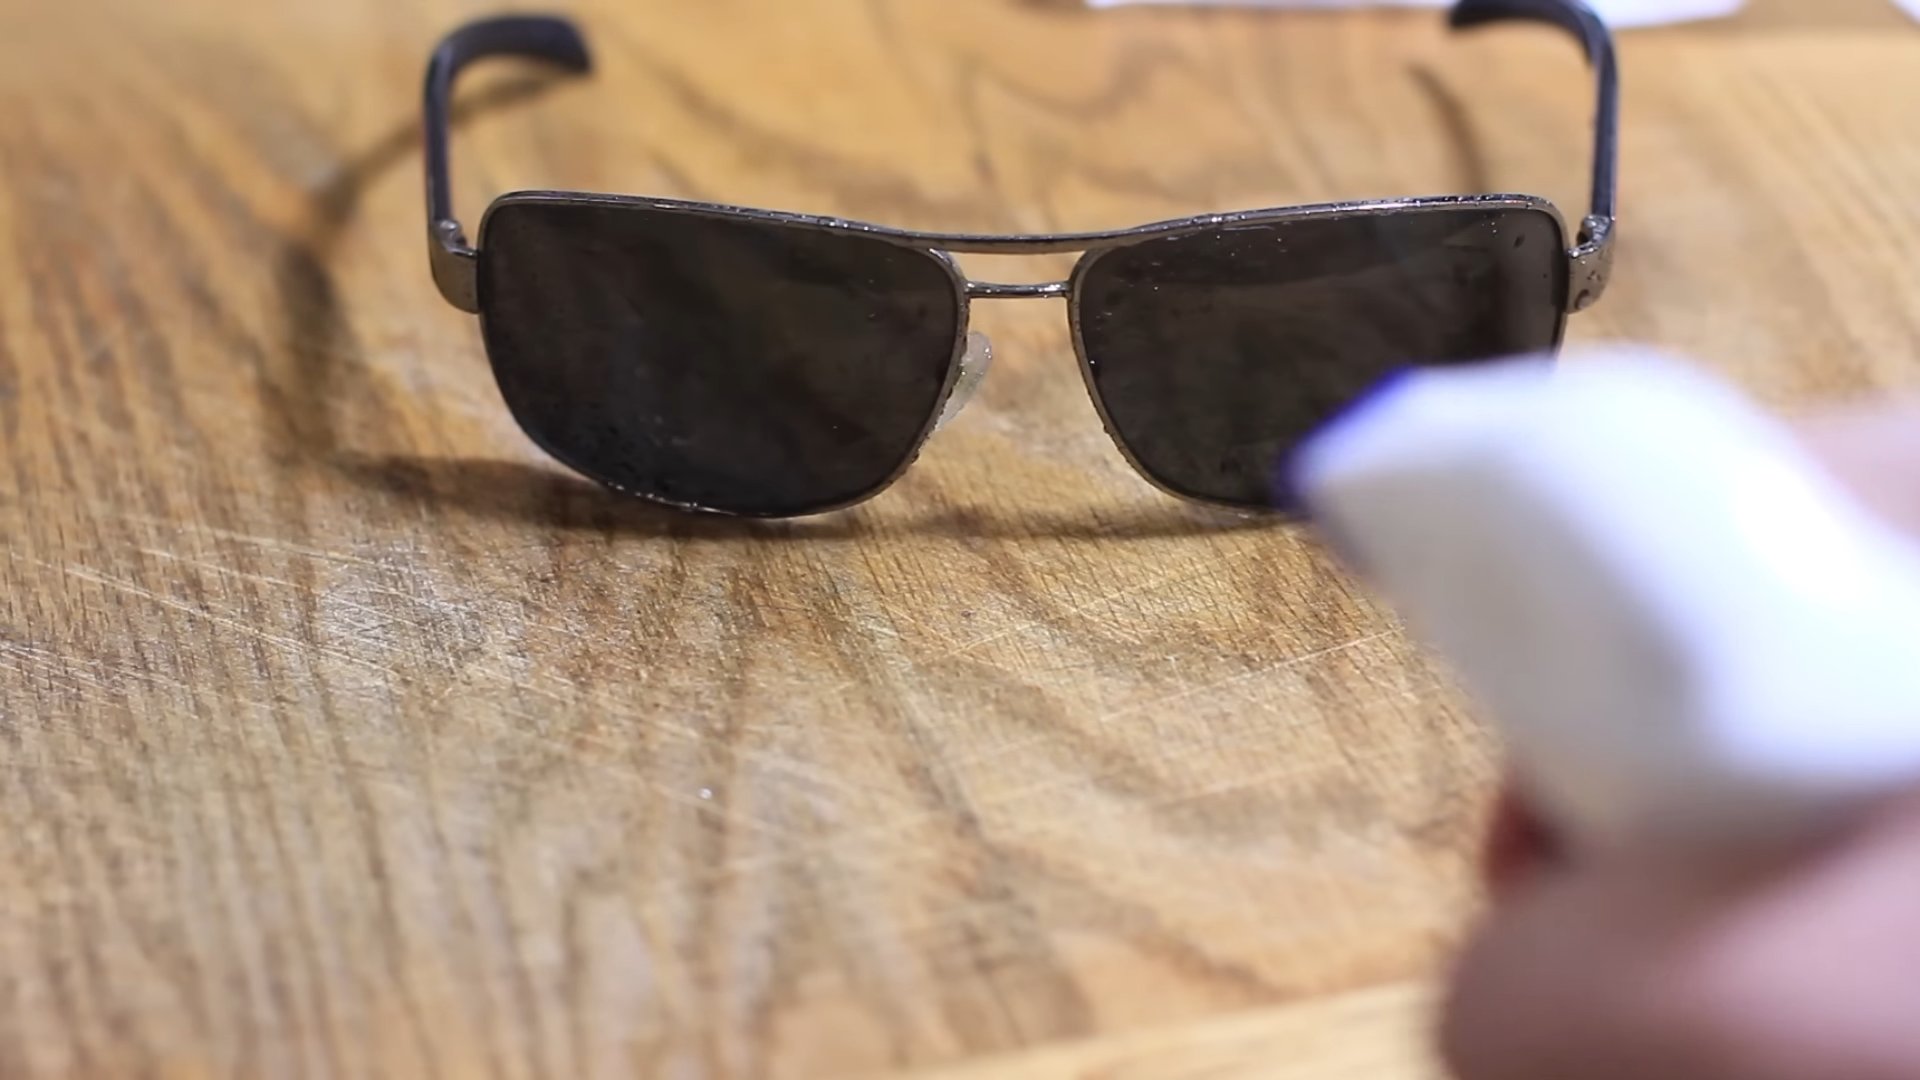
So there you have it! A comprehensive guide to unleashing the incredible cleaning power of vinegar. These vinegar cleaning hacks aren’t just about saving money; they’re about embracing a more sustainable and effective approach to household cleaning. From tackling stubborn grime on your showerhead to banishing those pesky water stains on your faucets, vinegar offers a surprisingly potent and environmentally friendly solution. Its natural acidity cuts through grease and soap scum with ease, leaving your home sparkling and fresh without the harsh chemicals found in many commercial cleaners. This DIY approach is a must-try for anyone looking to simplify their cleaning routine, reduce their environmental impact, and achieve professional-level cleaning results. The satisfaction of effortlessly removing stubborn dirt and grime with a simple, natural ingredient is truly rewarding.
Beyond the specific hacks detailed above, the possibilities are endless. Experiment with different dilutions of vinegar and water to find what works best for your specific needs and surfaces. For particularly stubborn stains or build-up, consider letting the vinegar solution soak for a longer period before scrubbing. You can also enhance the cleaning power of vinegar by adding a few drops of your favorite essential oils for a pleasant aroma. Lavender, lemon, and tea tree oil are all excellent choices. Remember to always test any new cleaning solution on an inconspicuous area first to ensure it doesn’t damage the surface.
Don’t be afraid to get creative! Vinegar’s versatility extends far beyond the examples provided. Try using it to clean your windows, polish your silverware, or even deodorize your washing machine. The possibilities are truly limitless. We encourage you to explore the many ways vinegar can transform your cleaning routine. Share your experiences and tips with us and other readers – let’s build a community of vinegar cleaning enthusiasts! Post your before-and-after photos on social media using #VinegarCleaningHacks and tag us. We can’t wait to see the amazing results you achieve! Let’s make cleaning easier, greener, and more effective together.
Frequently Asked Questions
Is vinegar safe for all surfaces?
While vinegar is generally safe for many surfaces, it’s crucial to test it on an inconspicuous area first. Avoid using vinegar on surfaces that are sensitive to acids, such as marble, granite, and unsealed wood. These materials can be etched or damaged by the acidity of vinegar. Always refer to the manufacturer’s cleaning instructions for your specific surfaces.
What type of vinegar should I use for cleaning?
White distilled vinegar is the best choice for cleaning. It’s inexpensive, readily available, and doesn’t contain any added colors or flavors that could stain or leave a residue. Avoid using flavored vinegars, as they may contain ingredients that could damage certain surfaces or leave behind unwanted scents.
How strong should my vinegar solution be?
The ideal dilution of vinegar and water depends on the cleaning task. A 50/50 solution (equal parts vinegar and water) is a good starting point for most cleaning tasks. For tougher stains or grime, you can increase the concentration of vinegar, but always test it on a small, inconspicuous area first. For delicate surfaces, a weaker solution (e.g., 1 part vinegar to 4 parts water) is recommended.
Does vinegar leave a smell?
While vinegar has a distinct odor, it typically dissipates quickly once it dries. If you’re concerned about the smell, you can add a few drops of essential oil to your vinegar solution to mask the scent. Proper ventilation also helps to eliminate any lingering vinegar odor.
Can I use vinegar in my dishwasher or washing machine?
Yes, vinegar can be a helpful addition to your dishwasher and washing machine. In your dishwasher, add a cup of vinegar to the rinse cycle to help remove hard water stains and keep your dishes sparkling. In your washing machine, add a cup of vinegar to the fabric softener dispenser to help remove soap residue and freshen your clothes. However, always check your appliance’s manual to ensure vinegar is compatible with your specific model.
What are some other uses for vinegar besides cleaning?
Vinegar’s uses extend far beyond cleaning. It can be used as a natural weed killer, a fabric softener, a deodorizer for carpets and garbage disposals, and even a hair rinse to add shine and remove product buildup. Its versatility makes it a valuable addition to any household.
Is vinegar environmentally friendly?
Yes, vinegar is a much more environmentally friendly cleaning alternative compared to many commercial cleaners. It’s biodegradable, non-toxic, and doesn’t contain harsh chemicals that can pollute waterways or harm wildlife. Choosing vinegar as your cleaning agent is a simple yet impactful way to reduce your environmental footprint.
Where can I buy vinegar for cleaning?
White distilled vinegar is widely available at most grocery stores, supermarkets, and pharmacies. It’s typically found in the condiment aisle or with other household cleaning supplies. It’s an inexpensive and readily accessible cleaning solution.
Leave a Comment