
Baking Soda Coconut Oil Mix: Sounds like a recipe for cookies, right? Well, almost! But instead of satisfying your sweet tooth, this dynamic duo is about to revolutionize your home gardening game. Forget complicated chemicals and expensive store-bought solutions. We’re diving into the world of DIY gardening hacks, and this one is a game-changer.
For generations, resourceful gardeners have relied on simple, readily available ingredients to nurture their plants. Think of your grandmother’s secret tomato-growing tips or your neighbor’s thriving rose bushes, all thanks to a little homegrown ingenuity. This tradition of resourcefulness is what inspires us today. The beauty of using a baking soda coconut oil mix lies in its simplicity and effectiveness. Coconut oil, with its moisturizing and antifungal properties, combined with baking soda, a natural pH regulator and mild abrasive, creates a powerful yet gentle solution for various gardening woes.
Why do you need this DIY trick? Because let’s face it, gardening can be tough! From pesky fungal infections to stubborn pests, our beloved plants face a constant battle. Instead of reaching for potentially harmful chemicals, this natural alternative offers a safe and effective way to protect and nourish your green companions. I’m excited to share how this simple mix can help you achieve a thriving, healthy garden without breaking the bank or harming the environment. So, grab your baking soda and coconut oil, and let’s get started!
DIY Teeth Whitening with Baking Soda and Coconut Oil: A Natural Approach
Hey everyone! I’m so excited to share this simple and effective DIY teeth whitening method using just two ingredients you probably already have in your kitchen: baking soda and coconut oil. I’ve been experimenting with natural teeth whitening solutions for a while now, and this combination has consistently given me noticeable results without the harshness of some commercial products. Plus, it’s super affordable!
This isn’t a magic bullet, and results will vary depending on your teeth and habits. But with consistent use, you should see a brighter smile. Let’s get started!
What You’ll Need:
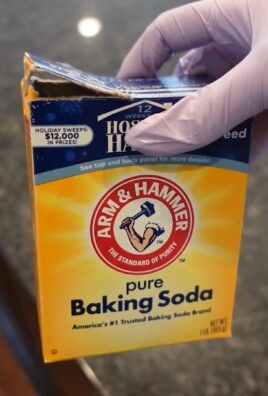
* Baking Soda: The star of the show! Baking soda is a mild abrasive that helps to gently scrub away surface stains.
* Coconut Oil: Not only does coconut oil have a pleasant taste, but it also boasts antibacterial properties that can contribute to overall oral health.
* Small Bowl or Container: For mixing our ingredients.
* Spoon or Spatula: To stir everything together.
* Toothbrush: Preferably one with soft bristles.
* Water: For rinsing.
Why This Works (A Little Science Lesson!)
Before we dive into the how-to, let’s quickly touch on why this combination is so effective. Baking soda, or sodium bicarbonate, is a mild abrasive. Think of it as a gentle scrub for your teeth. It helps to loosen and remove surface stains caused by things like coffee, tea, wine, and even certain foods.
Coconut oil, on the other hand, contains lauric acid, which has antibacterial properties. This means it can help fight off bacteria in your mouth that contribute to plaque and gingivitis. Some studies even suggest that coconut oil pulling (swishing coconut oil in your mouth) can reduce plaque and improve gum health. While we’re not doing oil pulling here, the coconut oil still provides some beneficial antibacterial action.
Mixing the Magic Potion
This is the easiest part! We’re aiming for a paste-like consistency.
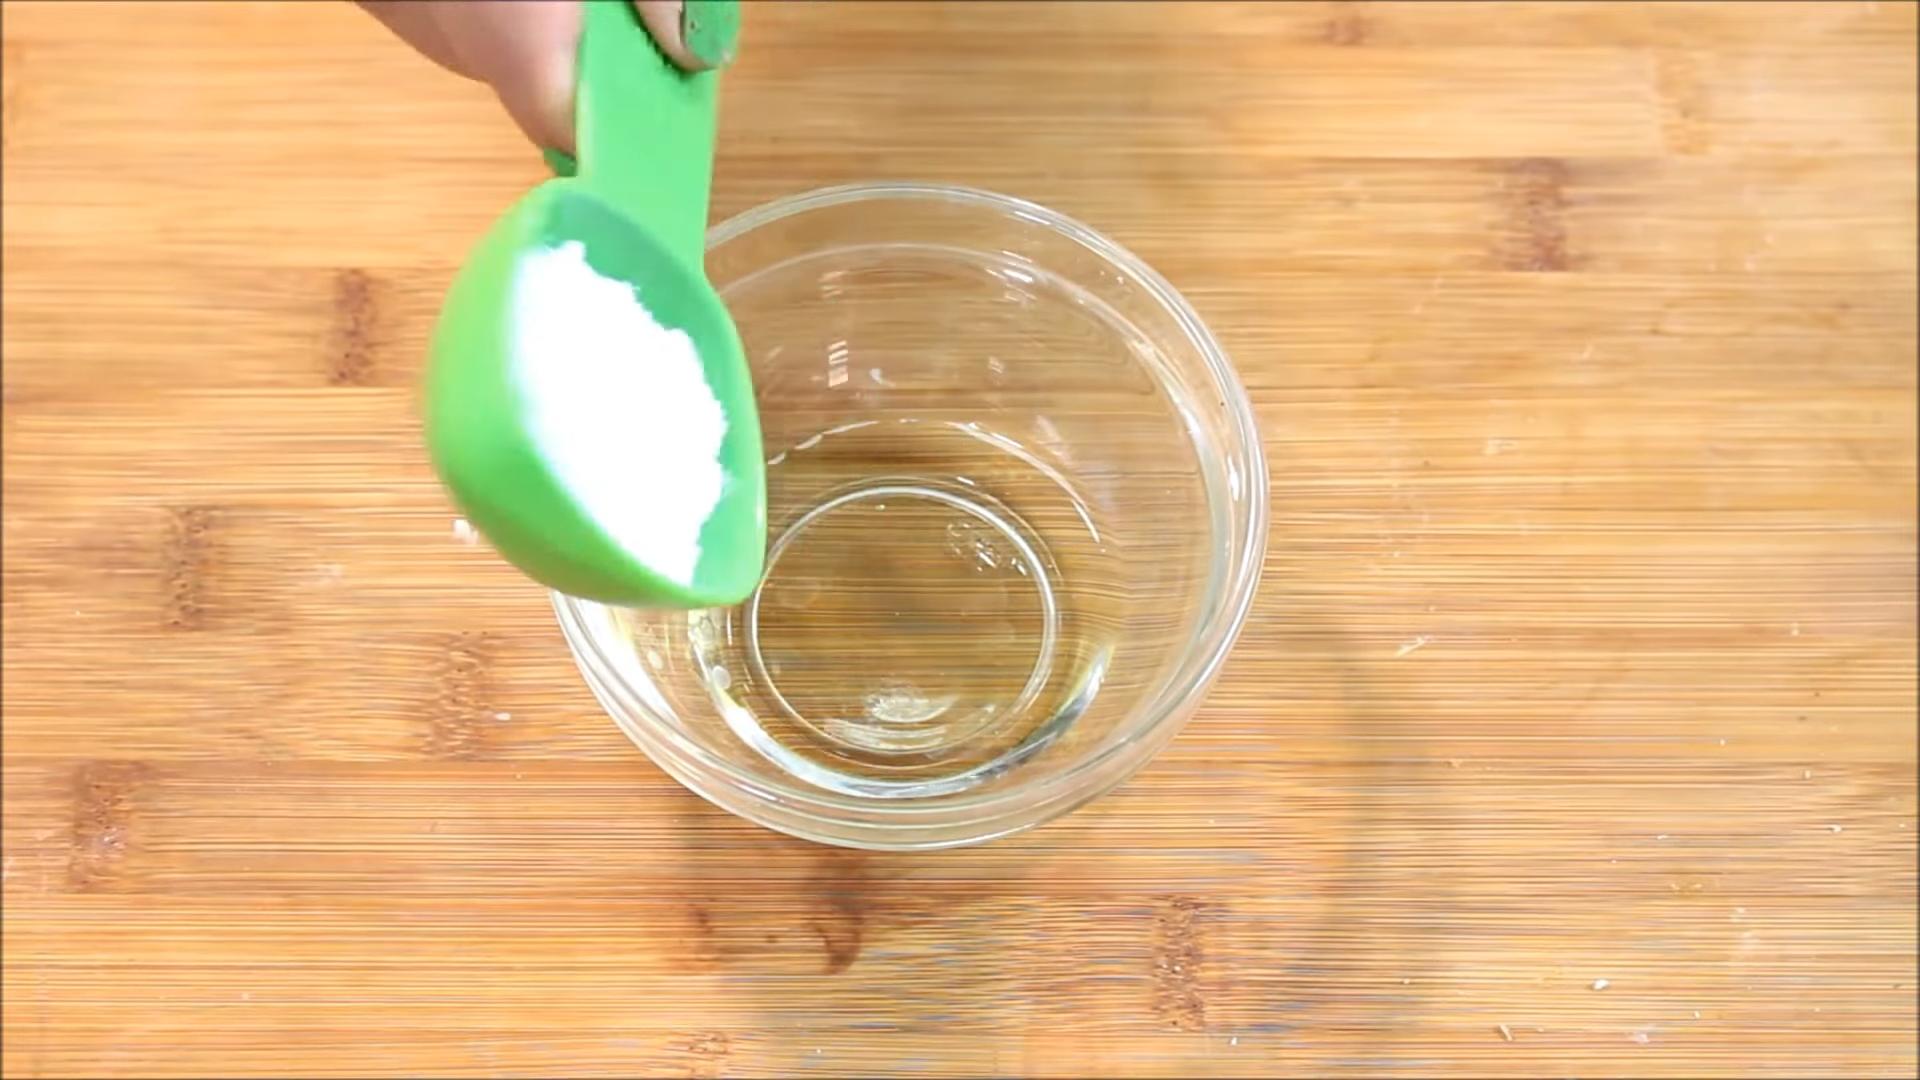
1. Measure the Baking Soda: Start with about 1-2 teaspoons of baking soda. I usually use 1 teaspoon, but if you have more stubborn stains, you can increase it slightly. Place the baking soda in your small bowl or container.
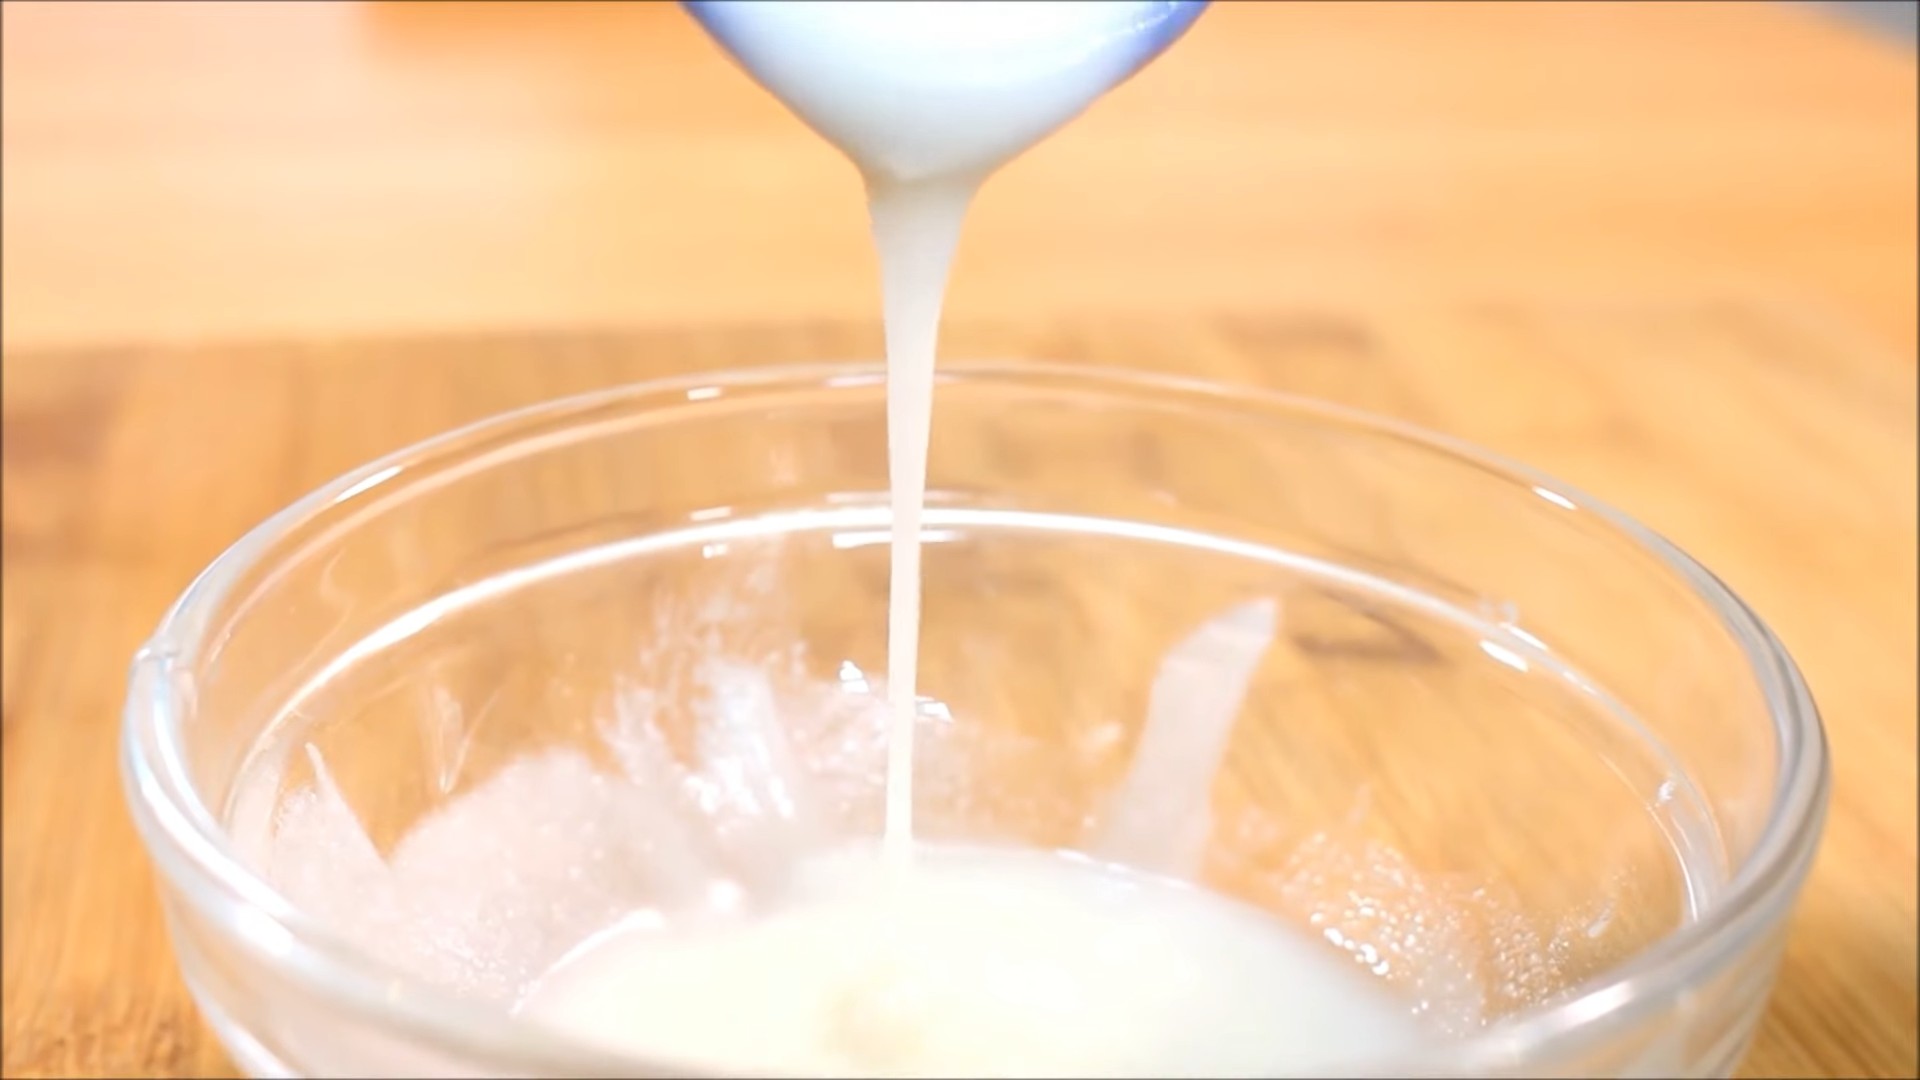
2. Add the Coconut Oil: Now, add the coconut oil. If your coconut oil is solid (which it usually is at room temperature), you can scoop out about 1-2 teaspoons. If it’s liquid, just pour it in. I find that a 1:1 ratio of baking soda to coconut oil works well, but you can adjust it based on your preference.
3. Mix Thoroughly: Use your spoon or spatula to mix the baking soda and coconut oil together until you have a smooth, consistent paste. Make sure there are no clumps of baking soda remaining. The consistency should be similar to toothpaste. If it’s too thick, add a little more coconut oil. If it’s too runny, add a little more baking soda.
Brushing for a Brighter Smile
Now for the fun part – brushing!
1. Wet Your Toothbrush: Lightly dampen your toothbrush with water. This helps the paste adhere better and makes it a little less abrasive.
2. Apply the Paste: Scoop a small amount of the baking soda and coconut oil paste onto your toothbrush. You don’t need a ton – just enough to cover the bristles.
3. Brush Gently: Brush your teeth as you normally would, using gentle, circular motions. Pay extra attention to areas where you have more staining. Be careful not to brush too hard, as baking soda can be abrasive if used aggressively. I usually brush for about 2 minutes.
4. Focus on Problem Areas: If you have specific areas with more stubborn stains, like along your gum line or between your teeth, spend a little extra time brushing those areas.
5. Rinse Thoroughly: After brushing, rinse your mouth thoroughly with water. Make sure to remove all traces of the baking soda and coconut oil paste.
6. Follow Up with Regular Toothpaste (Optional): Some people like to follow up with their regular toothpaste after using the baking soda and coconut oil mixture. This is entirely optional, but it can help to freshen your breath and provide additional fluoride protection. I sometimes do this, especially if I’m using the mixture in the morning.
Important Considerations and Tips
* Don’t Overdo It: While this is a natural method, it’s important not to overdo it. I recommend using this mixture no more than 2-3 times per week. Overuse of baking soda can erode tooth enamel, so moderation is key.
* Listen to Your Teeth: If you experience any sensitivity or discomfort while using this mixture, stop using it immediately. Everyone’s teeth are different, and some people may be more sensitive to baking soda than others.
* Be Patient: Don’t expect to see dramatic results overnight. It takes time and consistent use to see a noticeable difference in the whiteness of your teeth.
* Consistency is Key: The more consistently you use this method (within the recommended frequency), the better your results will be.
* Diet Matters: Remember that your diet plays a big role in the color of your teeth. Try to limit your consumption of staining foods and drinks like coffee, tea, red wine, and berries.
* See Your Dentist Regularly: This DIY method is not a substitute for regular dental checkups and cleanings. It’s important to see your dentist regularly to maintain good oral health.
* Flavor Enhancements (Optional): If you find the taste of the mixture a bit bland, you can add a drop or two of peppermint essential oil (make sure it’s food-grade!) for a more refreshing flavor. I sometimes add a tiny bit of stevia powder for sweetness, but that’s totally optional.
* Storage: You can store any leftover paste in an airtight container at room temperature. It should last for a few days. However, I usually prefer to make a fresh batch each time to ensure the best results.
* Coconut Oil Type: I recommend using virgin coconut oil for this DIY. It’s generally considered to be the purest and most beneficial type of coconut oil.
Troubleshooting
* Paste is Too Runny: Add more baking soda, a little at a time, until you reach the desired consistency.
* Paste is Too Thick: Add more coconut oil, a little at a time, until you reach the desired consistency.
* Experiencing Sensitivity: Reduce the amount of baking soda you use, or try using the mixture less frequently. If sensitivity persists, discontinue use.
* Not Seeing Results: Be patient! It may take several weeks of consistent use to see noticeable results. Also, make sure you’re brushing thoroughly and avoiding staining foods and drinks.
Alternative Uses for the Mixture
While this mixture is primarily for teeth whitening, you can also use it for other oral hygiene purposes:
* Tongue Scraper: You can use a small amount of the paste on your tongue scraper to help remove bacteria and freshen your breath.
* Gum Massage: Gently massage your gums with the paste to help stimulate circulation and promote gum health.
My Personal Experience
I’ve been using this baking soda and coconut oil mixture for a few months now, and I’ve definitely noticed a difference in the whiteness of my teeth. I used to have some staining from coffee and tea, but it’s significantly reduced since I started using this method. I also love that it’s a natural and affordable alternative to commercial teeth whitening products.
I hope you found this DIY guide helpful! Remember to be patient, consistent, and listen to your teeth. With a little bit of effort, you can achieve a brighter, healthier smile using just baking soda and coconut oil. Good luck, and happy brushing!
Conclusion
So, there you have it! The baking soda coconut oil mix – a simple, two-ingredient powerhouse that can revolutionize your approach to personal care and household cleaning. We’ve explored its versatility, from gentle exfoliation to tackling stubborn stains, and hopefully, you’re as excited as we are about its potential.
Why is this DIY trick a must-try? Because it’s effective, affordable, and incredibly easy to make. In a world saturated with complex and often expensive products filled with questionable chemicals, this combination offers a natural and sustainable alternative. It’s a return to basics, harnessing the power of readily available ingredients to achieve impressive results. You’re not just saving money; you’re also reducing your exposure to potentially harmful substances and minimizing your environmental impact.
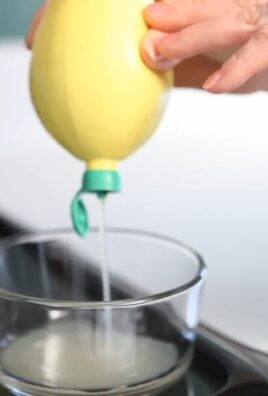
But the real magic lies in its adaptability. Feel free to experiment with variations to suit your specific needs and preferences. For a more luxurious facial scrub, consider adding a drop or two of your favorite essential oil, like lavender for relaxation or tea tree for its antibacterial properties. If you’re using it as a deodorant, a pinch of cornstarch can help absorb excess moisture. For tougher cleaning jobs, a squeeze of lemon juice can boost the stain-fighting power. The possibilities are truly endless!
Don’t be afraid to adjust the ratio of baking soda to coconut oil to achieve your desired consistency. A coarser scrub might be ideal for exfoliating rough skin, while a smoother paste is better suited for sensitive areas. Remember to always test a small area first to ensure you don’t experience any irritation.
Ultimately, the baking soda coconut oil mix is more than just a DIY project; it’s an invitation to take control of your well-being and embrace a more natural lifestyle. It’s about empowering yourself with the knowledge and tools to create effective solutions using simple, accessible ingredients.
We wholeheartedly encourage you to give this DIY trick a try. We are confident that you will be amazed by the results. Once you’ve experienced the benefits firsthand, we would love to hear about your experience! Share your tips, variations, and success stories in the comments below. Let’s build a community of DIY enthusiasts who are passionate about natural living and resourceful solutions. Your feedback will not only inspire others but also help us refine and improve this already amazing baking soda coconut oil mix. So go ahead, get mixing, and discover the incredible potential of this simple yet powerful combination!
Frequently Asked Questions (FAQ)
Is baking soda and coconut oil safe for all skin types?
While generally safe, it’s crucial to perform a patch test before applying the baking soda coconut oil mix to your entire face or body. Apply a small amount to an inconspicuous area, like the inside of your wrist, and wait 24 hours to check for any adverse reactions, such as redness, itching, or irritation. Baking soda has a relatively high pH, which can disrupt the skin’s natural pH balance in some individuals, leading to dryness or sensitivity. Coconut oil, while moisturizing, can be comedogenic for some, meaning it can clog pores and potentially cause breakouts, especially for those with oily or acne-prone skin. If you have sensitive skin, consider using a finer grade of baking soda or reducing the amount in the mix. You can also substitute coconut oil with a non-comedogenic oil like jojoba oil or almond oil. If you experience any irritation, discontinue use immediately.
How often can I use the baking soda coconut oil mix?
The frequency of use depends on your skin type and the intended purpose. For exfoliation, using it once or twice a week is generally sufficient. Over-exfoliating can strip the skin of its natural oils and lead to irritation. If you’re using it as a deodorant, you can apply it daily, but monitor for any signs of sensitivity. For cleaning purposes, use it as needed, but always test it on a small, hidden area first to ensure it doesn’t damage the surface. Listen to your body and adjust the frequency accordingly. If you notice any dryness, redness, or irritation, reduce the frequency or discontinue use altogether.
Can I use this mix as a toothpaste?
While some people use baking soda and coconut oil as a natural toothpaste alternative, it’s important to be aware of the potential risks. Baking soda is abrasive and can, over time, erode tooth enamel if used too frequently or vigorously. Enamel erosion can lead to increased sensitivity and a higher risk of cavities. Coconut oil, while beneficial for oral health due to its antimicrobial properties, doesn’t contain fluoride, which is essential for preventing tooth decay. If you choose to use this mix as a toothpaste, do so sparingly and gently. Consider alternating it with a fluoride toothpaste to ensure adequate protection against cavities. Consult with your dentist for personalized advice on oral hygiene practices.
How long does the baking soda coconut oil mix last?
The shelf life of the baking soda coconut oil mix depends on how it’s stored. Since it doesn’t contain any preservatives, it’s best to store it in an airtight container in a cool, dry place away from direct sunlight. This will help prevent the coconut oil from going rancid and the baking soda from absorbing moisture. Under these conditions, the mix should last for several weeks to a few months. However, it’s always a good idea to check for any signs of spoilage, such as a change in color, odor, or texture. If you notice anything unusual, discard the mix. To extend the shelf life, you can store it in the refrigerator, but the coconut oil will solidify, so you’ll need to let it warm up slightly before using it.
Can I add essential oils to the baking soda coconut oil mix?
Yes, adding essential oils can enhance the benefits and aroma of the baking soda coconut oil mix. However, it’s crucial to use essential oils safely and responsibly. Always use high-quality, pure essential oils and dilute them properly. A general guideline is to use 1-2 drops of essential oil per tablespoon of the baking soda coconut oil mix. Some popular essential oil choices include lavender for relaxation, tea tree for its antibacterial properties, and lemon for its cleansing and brightening effects. Be sure to research the properties and safety precautions of each essential oil before using it. Some essential oils are not safe for pregnant women, children, or individuals with certain medical conditions. Perform a patch test before applying the mix to a large area of your skin.
What are some other uses for the baking soda coconut oil mix?
Beyond exfoliation, deodorant, and potential toothpaste, the baking soda coconut oil mix has a wide range of other uses. It can be used as a gentle cleanser for removing makeup, a soothing balm for minor skin irritations, a natural remedy for athlete’s foot, and a stain remover for clothing and household surfaces. It can also be used to polish silver and remove sticky residue. The versatility of this mix is truly remarkable. Experiment with different applications and discover new ways to incorporate it into your daily routine. Remember to always test it on a small, inconspicuous area first to ensure it doesn’t cause any damage or discoloration.
What if my baking soda coconut oil mix is too dry or too oily?
Adjusting the consistency of your baking soda coconut oil mix is easy. If it’s too dry, simply add a little more coconut oil, a teaspoon at a time, until you reach your desired consistency. If it’s too oily, add a little more baking soda, a teaspoon at a time, until it thickens up. The ideal ratio will depend on your personal preference and the intended use. For a coarser scrub, use more baking soda. For a smoother paste, use more coconut oil. Don’t be afraid to experiment until you find the perfect balance.
Leave a Comment