
Grow bigger melons than you ever thought possible! Imagine sinking your teeth into a juicy, sweet melon that you nurtured from a tiny seed right in your own backyard. It’s not just a dream; it’s an achievable reality with a few clever DIY tricks and hacks. For centuries, melons have been a symbol of abundance and prosperity, gracing tables from ancient Egypt to modern-day picnics. Their cultivation has been passed down through generations, with each era adding its own secrets to the art of melon growing.
But let’s face it, sometimes our melon dreams fall a little flat. We end up with small, bland fruits that barely satisfy a single craving. That’s where this guide comes in! I’m going to share some simple, yet effective, DIY techniques that will help you grow bigger melons and unlock their full potential. These aren’t complicated methods requiring expensive equipment; they’re practical tips that anyone, regardless of their gardening experience, can implement.
Why do you need these tricks? Because who doesn’t want bragging rights for growing the biggest, most delicious melon on the block? More importantly, these hacks will help you maximize your yield, reduce waste, and enjoy the satisfaction of harvesting truly exceptional fruit. So, grab your gardening gloves, and let’s get started on your journey to melon-growing mastery!
DIY: Unlock Giant Melons – My Secrets to Bumper Crops!
Okay, melon lovers, gather ’round! I’m about to spill my secrets on how to grow melons that are so big, you’ll need a wheelbarrow to haul them in. Forget those puny grocery store melons – we’re talking prize-winning, jaw-dropping, “did-you-see-the-size-of-that-melon?” kind of results. This isn’t just about planting a seed and hoping for the best; it’s about understanding what melons need and giving them exactly that. Get ready to roll up your sleeves and get your hands dirty!
Understanding Melon Needs: The Foundation for Success
Before we dive into the nitty-gritty, let’s talk melon basics. Knowing what makes these guys tick is half the battle.
* Sunlight is King: Melons are sun worshippers. They need at least 6-8 hours of direct sunlight per day. Don’t even think about planting them in a shady spot.
* Soil Matters: Well-draining soil is crucial. Melons hate sitting in soggy soil, which can lead to root rot. Amend your soil with compost or well-rotted manure to improve drainage and fertility.
* Water Wisely: Consistent watering is key, especially during fruit development. However, avoid overwatering, which can dilute the sugars and affect the taste.
* Nutrient Powerhouse: Melons are heavy feeders. They need plenty of nutrients, especially potassium and phosphorus, to produce large, sweet fruit.
* Warmth is Essential: Melons thrive in warm temperatures. They’re sensitive to frost, so wait until the danger of frost has passed before planting.
Phase 1: Preparing Your Melon Patch
This is where the magic begins! A well-prepared melon patch sets the stage for a bountiful harvest.
1. Choose the Right Location: Select a spot in your garden that gets at least 6-8 hours of direct sunlight. Make sure the soil drains well. If your soil is heavy clay, amend it with plenty of compost or well-rotted manure.
2. Soil Testing (Optional but Recommended): A soil test can tell you exactly what nutrients your soil is lacking. You can purchase a soil test kit at most garden centers or send a sample to your local agricultural extension office.
3. Amend the Soil: This is the most important step! Melons need rich, well-draining soil. Dig in plenty of compost or well-rotted manure to a depth of at least 12 inches. I like to add a slow-release fertilizer specifically formulated for vegetables at this stage.
4. Create Raised Beds (Optional): Raised beds improve drainage and warm up faster in the spring. If you have heavy clay soil, raised beds are a must. You can build raised beds from wood, concrete blocks, or even just mound up the soil.
5. Consider Black Plastic Mulch: Black plastic mulch warms the soil, suppresses weeds, and helps retain moisture. Lay the plastic mulch over the prepared soil and secure it with landscape staples. Cut holes in the plastic for planting your melon seedlings.
Phase 2: Planting Your Melon Seedlings
Now for the fun part – getting those little melon plants into the ground!
1. Start Seeds Indoors (Optional): Starting seeds indoors gives you a head start on the growing season. Sow melon seeds in peat pots or seed trays about 4-6 weeks before the last expected frost. Keep the soil moist and warm.
2. Harden Off Seedlings: Before transplanting seedlings outdoors, you need to harden them off. This means gradually exposing them to outdoor conditions over a period of 7-10 days. Start by placing them in a sheltered spot for a few hours each day, gradually increasing the amount of time they spend outdoors.
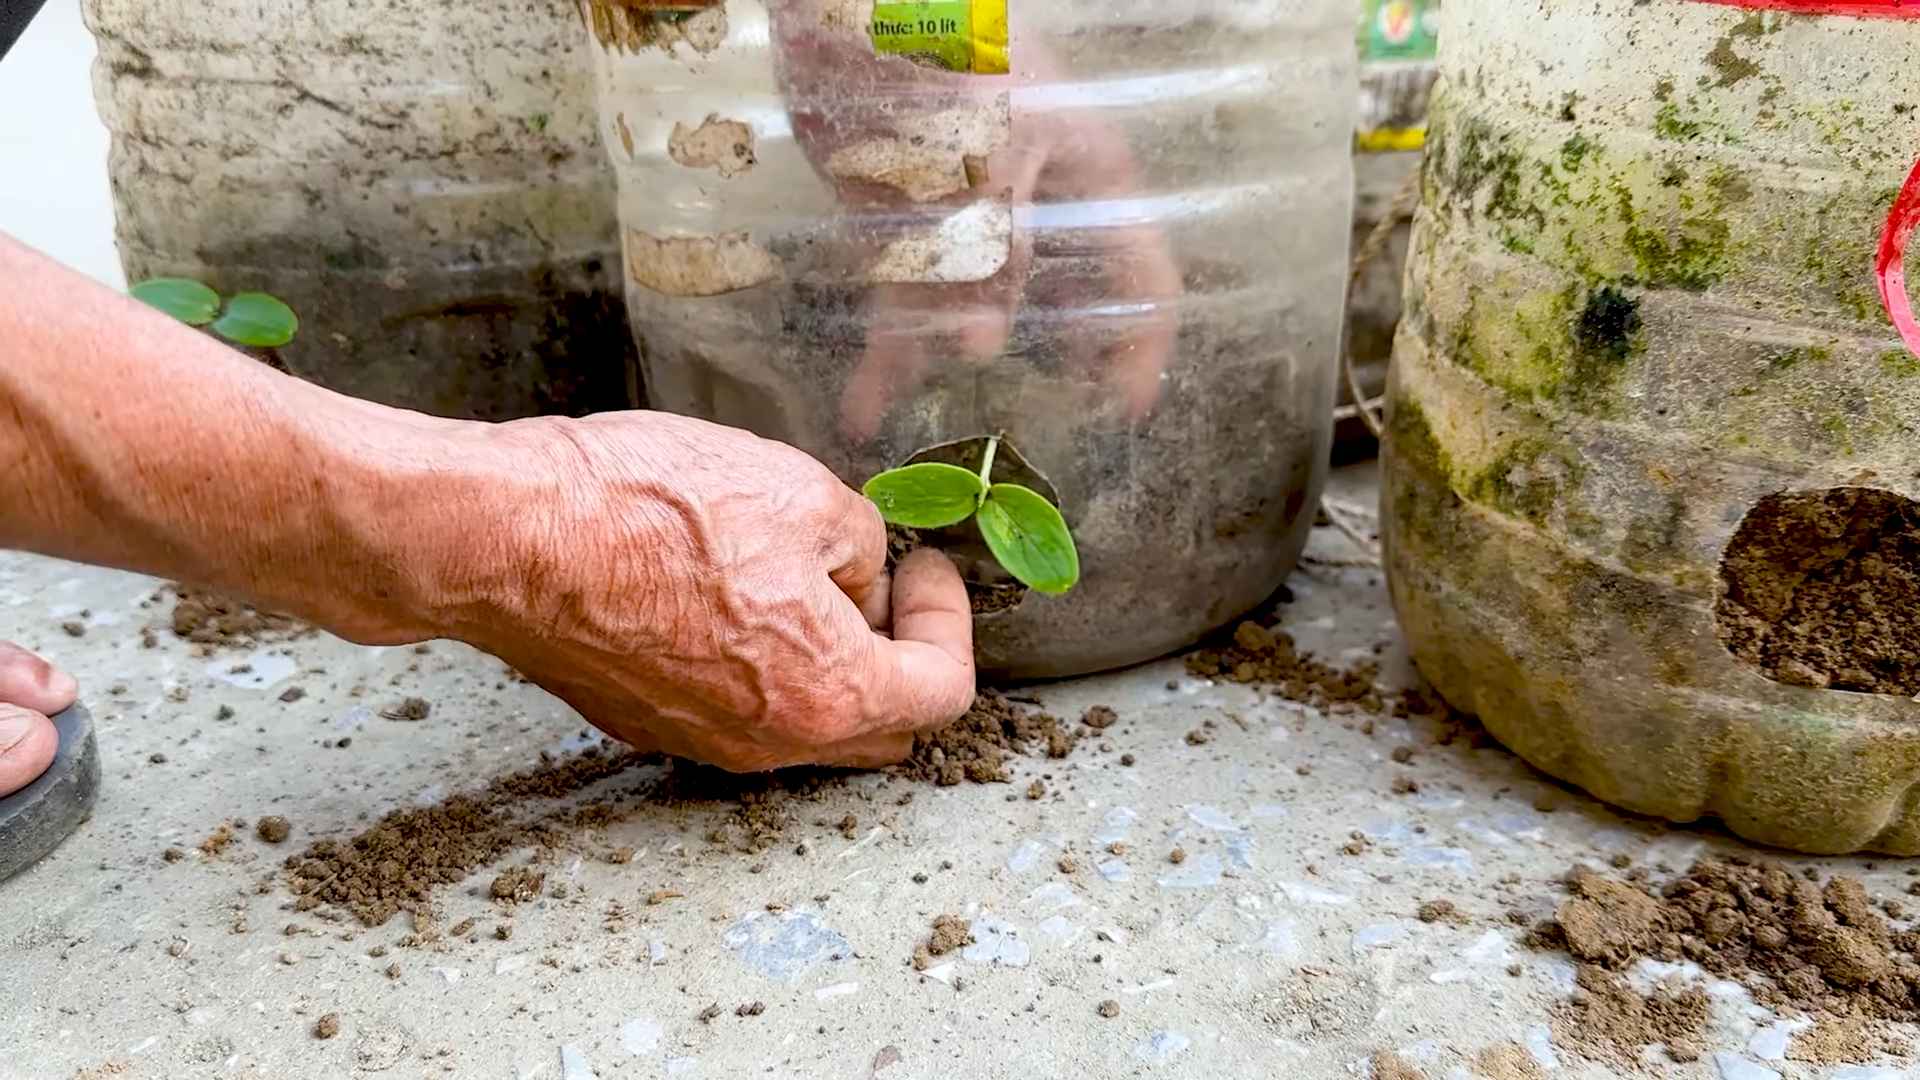
3. Transplant Seedlings: Once the danger of frost has passed and the soil has warmed up, it’s time to transplant your melon seedlings. Dig a hole slightly larger than the root ball of the seedling. Gently remove the seedling from the pot and place it in the hole. Backfill with soil and water thoroughly.
4. Direct Sowing: If you live in a warm climate, you can direct sow melon seeds directly into the garden. Sow seeds about 1 inch deep and space them according to the variety you are growing.
5. Spacing is Key: Give your melon plants plenty of room to grow. Watermelons need more space than cantaloupes or honeydews. Check the seed packet or plant tag for specific spacing recommendations.
Phase 3: Nurturing Your Melon Vines
This is where the real work begins – keeping your melon plants happy and healthy.
1. Watering: Water deeply and regularly, especially during fruit development. Aim for about 1-2 inches of water per week. Avoid overhead watering, which can promote fungal diseases. Drip irrigation is the best way to water melons.
2. Fertilizing: Melons are heavy feeders, so fertilize them regularly. Use a fertilizer that is high in potassium and phosphorus. I like to use a liquid fertilizer every 2-3 weeks. You can also side-dress your plants with compost or well-rotted manure.
3. Weed Control: Keep your melon patch free of weeds. Weeds compete with melon plants for water and nutrients. Hand-pull weeds or use a hoe to cultivate the soil. Mulch can also help suppress weeds.
4. Pest and Disease Control: Keep an eye out for pests and diseases. Common melon pests include aphids, squash bugs, and cucumber beetles. Common melon diseases include powdery mildew and fusarium wilt. Treat pests and diseases promptly to prevent them from spreading. Insecticidal soap and neem oil are effective for controlling many common pests. Fungicides can be used to control fungal diseases.
5. Pruning (Optional): Pruning melon vines can improve air circulation and encourage fruit development. Remove any dead or diseased leaves and stems. You can also prune off some of the lateral vines to encourage the plant to focus its energy on producing fewer, larger melons.
6. Pollination Assistance (Sometimes Necessary): Melons need to be pollinated to produce fruit. Bees are the primary pollinators of melons. If you don’t have enough bees in your garden, you may need to hand-pollinate your melon flowers. To hand-pollinate, use a small paintbrush to transfer pollen from the male flowers to the female flowers. Female flowers have a small fruit behind the flower, while male flowers do not.
Phase 4: The Secret Sauce – Maximizing Melon Size
Okay, now we’re getting to the real secrets! This is how I get those truly enormous melons.
1. Fruit Thinning: This is crucial! Once your melon plants start producing fruit, you need to thin them. Remove all but 1-2 melons per vine. This allows the plant to focus its energy on developing those remaining melons, resulting in larger fruit. It’s hard to do, I know, but trust me!
2. Elevate the Melons: As the melons grow, place them on a piece of wood, cardboard, or even a bed of straw. This prevents them from sitting directly on the soil, which can lead to rot and pest problems. It also helps them ripen evenly.
3. Sugar Boost (My Secret Weapon!): About 2-3 weeks before harvest, I give my melons a little sugar boost. Dissolve 1 tablespoon of Epsom salts in 1 gallon of water and pour it around the base of the plant. Epsom salts contain magnesium, which helps the plant produce sweeter fruit. Don’t overdo it, though! Too much Epsom salts can harm your plants.
4. Sun Protection: In extremely hot climates, the sun can scorch the melons. If you notice your melons are getting sunburned, provide them with some shade during the hottest part of the day. You can use shade cloth or even just drape a piece of fabric over the melons.
5. Consistent Monitoring: Check your melons regularly for signs of pests, diseases, or problems. The sooner you catch a problem, the easier it will be to fix.
Phase 5: Harvesting Your Giant Melons
The moment you’ve been waiting for! Harvesting your prize-winning melons.
1. Know When to Harvest: Knowing when to harvest melons is crucial. Different varieties have different indicators of ripeness. Generally, watermelons are ripe when the tendril closest to the fruit turns brown and dry, and the underside of the melon turns yellow. Cantaloupes are ripe when they slip easily from the vine. Honeydews are ripe when they turn a creamy yellow color and have a slightly waxy feel.
2. Handle with Care: Melons are delicate, so handle them with care. Use a sharp knife to cut the melon from the vine, leaving a few inches of stem attached.
3. Curing (Optional): Some melons, like winter melons, benefit from curing. Curing involves storing the melons in a cool, dry place for a few weeks to allow the
Conclusion
So, there you have it! This simple yet effective DIY trick for encouraging larger melon growth is a game-changer for any home gardener. We’ve explored the science behind it, the straightforward steps involved, and the potential benefits you can reap. But why is this a must-try? Because it empowers you to take control of your garden’s yield, maximizing the potential of each and every melon vine. Imagine biting into a juicy, incredibly flavorful melon that you nurtured to its full potential – that’s the reward waiting for you.
This isn’t just about size, though. While the visual appeal of a larger melon is undeniable, the real magic lies in the enhanced flavor and sweetness that comes with proper nutrient delivery and optimized growth conditions. By implementing this DIY trick, you’re essentially giving your melons the VIP treatment, ensuring they receive everything they need to thrive.
Ready to take your melon game to the next level?
Don’t be afraid to experiment! Consider these variations to tailor the technique to your specific needs and preferences:
* Compost Tea Boost: Instead of plain water, try using a diluted compost tea solution for an extra boost of nutrients. This can further enhance the flavor and sweetness of your melons.
* Mulch Magic: Apply a layer of organic mulch around the base of your melon plants to help retain moisture, suppress weeds, and regulate soil temperature. This creates an ideal growing environment.
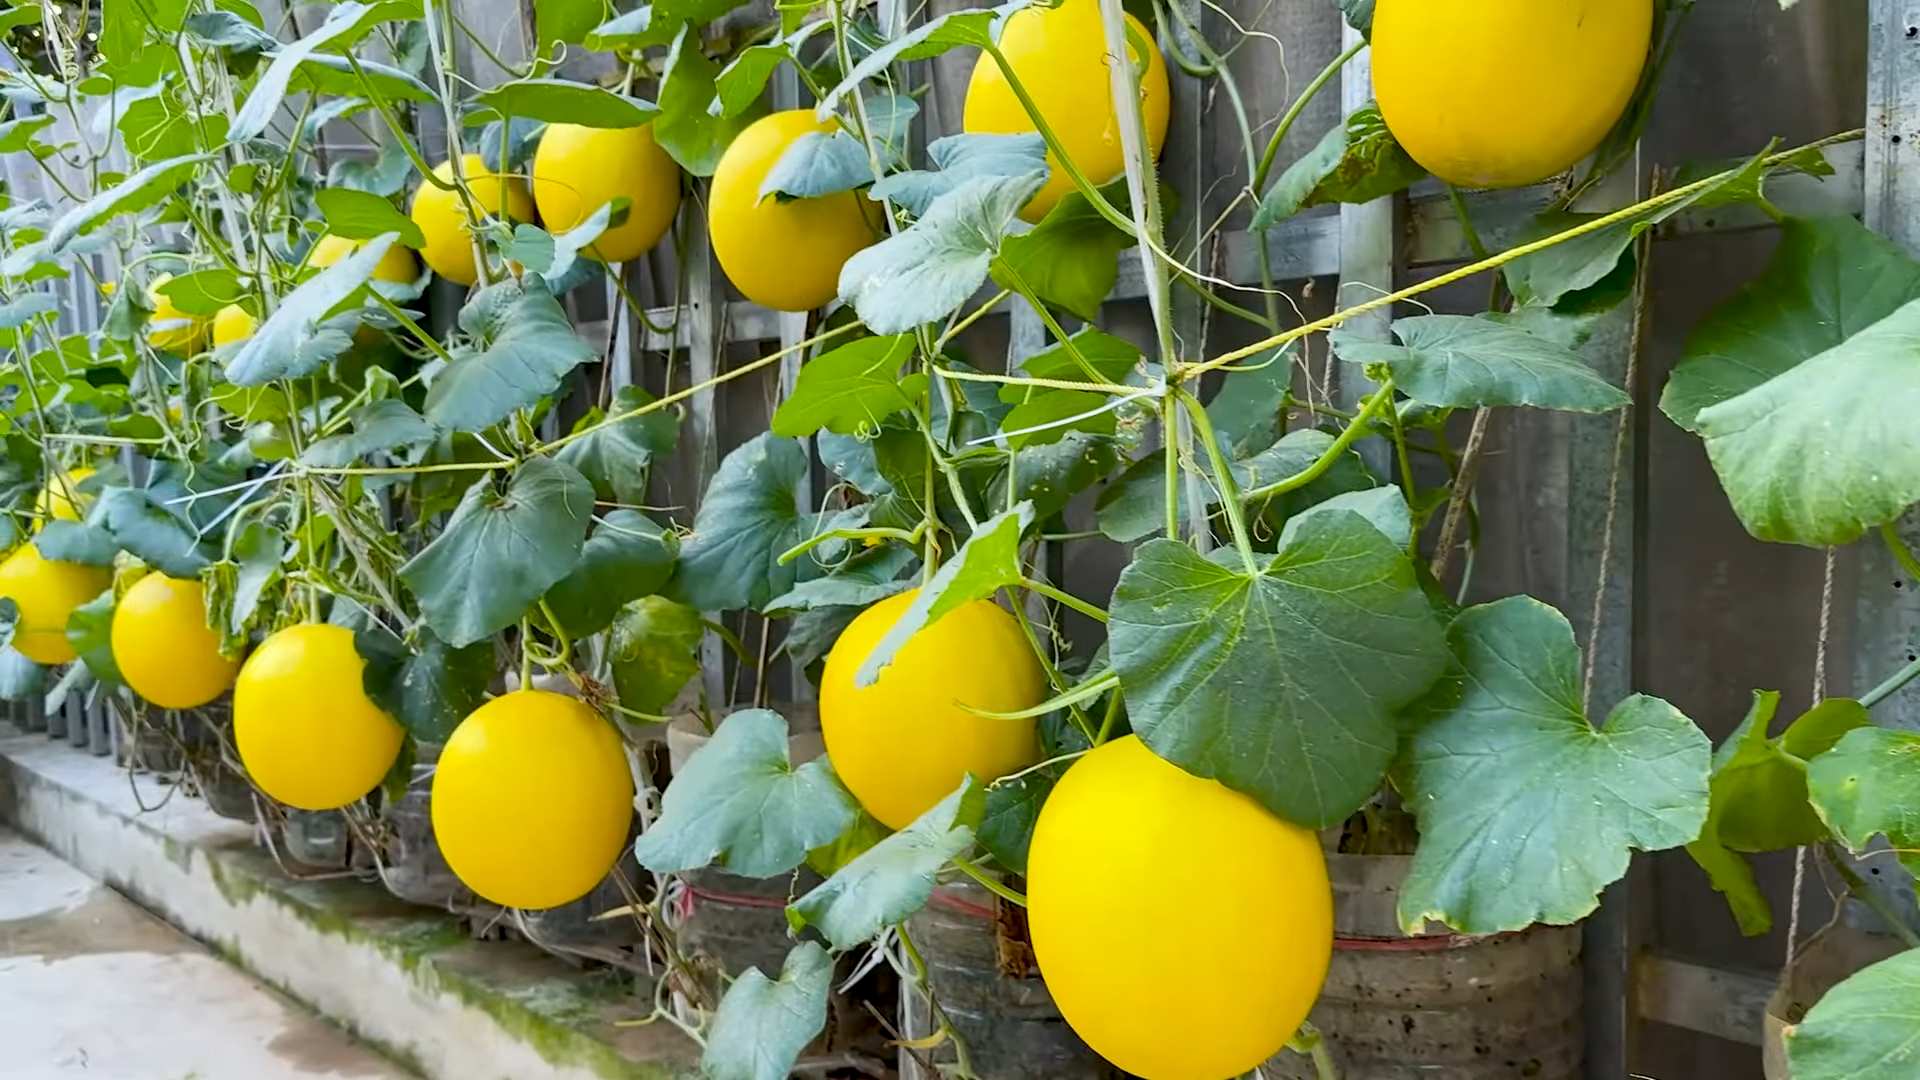
* Vertical Support: If you’re growing melons in a limited space, consider using a trellis or other vertical support system. This can help to improve air circulation and prevent the melons from sitting directly on the ground, reducing the risk of rot.
* Different Melon Varieties: This technique works well with various melon types, including watermelon, cantaloupe, and honeydew. Experiment with different varieties to discover your favorites.
We are confident that this DIY trick will significantly improve your melon harvest. Remember to monitor your plants closely, adjust your watering and feeding schedule as needed, and be patient. Growing bigger melons takes time and dedication, but the results are well worth the effort.
Now, it’s your turn! We encourage you to try this DIY trick in your own garden and share your experiences with us. Did you notice a significant increase in melon size? Did you experiment with any variations? What challenges did you encounter, and how did you overcome them? Your feedback is invaluable and will help other gardeners learn and grow. Share your photos and stories on our social media channels using #GrowBiggerMelons. We can’t wait to see your amazing results!
FAQ
Q: What exactly does this DIY trick entail?
A: The core of the trick involves strategically thinning out the number of melons developing on a single vine and focusing nutrient delivery to the remaining fruit. This is often done by removing some of the smaller, less promising melons early in their development. This allows the plant to concentrate its energy and resources on fewer melons, resulting in larger, more flavorful fruit. It also involves ensuring consistent watering and feeding with a balanced fertilizer to provide the necessary nutrients for optimal growth.
Q: Why does thinning the melons actually work?
A: Thinning works because melon plants have a limited amount of energy and resources to allocate to fruit production. When a plant is trying to support too many melons simultaneously, each melon receives less of these vital resources. By removing some of the melons, you’re essentially redirecting the plant’s energy to the remaining fruit, allowing them to grow larger and develop more fully. Think of it like sharing a pizza – the fewer people sharing, the more pizza each person gets.
Q: When is the best time to thin out the melons?
A: The ideal time to thin out your melons is when they are about the size of a tennis ball or slightly larger. At this stage, you can easily assess which melons are developing well and which ones are lagging behind. It’s also early enough that the plant hasn’t invested too much energy in the melons you’ll be removing.
Q: How many melons should I leave on each vine?
A: The number of melons you should leave on each vine depends on the variety of melon you’re growing and the overall health of the plant. As a general rule, for larger melon varieties like watermelon, aim for one to two melons per vine. For smaller varieties like cantaloupe or honeydew, you can leave two to three melons per vine. Always prioritize the health and vigor of the plant when making your decision. If the plant seems stressed or weak, it’s best to err on the side of leaving fewer melons.
Q: What kind of fertilizer should I use to grow bigger melons?
A: A balanced fertilizer with a slightly higher phosphorus content is generally recommended for melon growth. Look for a fertilizer with an NPK ratio (nitrogen, phosphorus, potassium) of around 10-15-10 or similar. Phosphorus is essential for fruit development and will help your melons grow larger and sweeter. Be sure to follow the instructions on the fertilizer packaging carefully to avoid over-fertilizing, which can damage your plants. Organic options like bone meal and rock phosphate are also excellent sources of phosphorus.
Q: How often should I water my melon plants?
A: Melon plants need consistent watering, especially during fruit development. Water deeply and regularly, aiming to keep the soil consistently moist but not waterlogged. The frequency of watering will depend on the weather conditions and the type of soil you have. In hot, dry weather, you may need to water daily. In cooler, wetter weather, you can water less frequently. A good rule of thumb is to check the soil moisture level regularly and water when the top inch or two of soil feels dry to the touch. Drip irrigation is an excellent way to deliver water directly to the roots of your melon plants, minimizing water waste and reducing the risk of fungal diseases.
Q: Can I use this trick for all types of melons?
A: Yes, this DIY trick can be applied to most types of melons, including watermelon, cantaloupe, honeydew, and even smaller varieties like sugar baby watermelons. However, the specific number of melons you leave on each vine may vary depending on the variety. Always research the specific needs of the melon variety you’re growing to ensure optimal results.
Q: What if I don’t have a garden? Can I still grow bigger melons in containers?
A: Yes, you can definitely grow melons in containers, but it requires a bit more attention and care. Choose a large container (at least 20 gallons) with good drainage. Use a high-quality potting mix and provide consistent watering and fertilization. You may also need to provide support for the vines as they grow. When growing melons in containers, it’s even more important to thin out the melons to ensure that the plant has enough energy to support the remaining fruit.
Q: Are there any other tips for growing bigger melons?
A: Absolutely! Here are a few additional tips:
* Sunlight: Melons need plenty of sunlight to thrive. Aim for at least 6-8 hours of direct sunlight per day.
* Pollination: Ensure proper pollination by attracting pollinators to your garden with flowering plants. You may also need to hand-pollinate the flowers if you’re not seeing enough bee activity.
* Pest and Disease Control: Monitor your plants regularly for pests and diseases and take action promptly if you notice any problems.
* Soil Temperature: Melons prefer warm soil. Consider using black plastic mulch to warm the soil early in the season.
* Harvesting: Harvest your melons at the peak of ripeness for the best flavor and texture. Learn the signs of ripeness for the specific melon variety you’re growing.
By following these tips and implementing the DIY trick described above, you’ll be well on your way to growing bigger, juicier, and more delicious melons than ever before!

Leave a Comment