
Growing beans successfully doesn’t have to be a daunting task! Imagine plucking fresh, crisp beans straight from your own backyard, knowing you nurtured them from tiny seeds to a bountiful harvest. Sounds dreamy, right? Well, it’s absolutely achievable, even if you’re a beginner gardener. For centuries, beans have been a staple crop in cultures worldwide, providing essential nutrients and playing a vital role in sustainable agriculture. From the ancient Incas who revered beans as symbols of life to the modern-day gardener seeking fresh, organic produce, the allure of growing your own beans remains strong.
But let’s face it, sometimes things don’t go as planned. Maybe your beans are stunted, or perhaps pests are having a feast. That’s where these DIY tricks and hacks come in! I’m here to share my tried-and-true methods for growing beans successfully, ensuring you get a thriving crop. Whether you’re dealing with limited space, challenging soil, or pesky critters, I’ve got solutions for you. Get ready to roll up your sleeves and transform your garden into a bean-growing paradise!
Growing Beans Like a Pro: A DIY Guide to Bountiful Bean Harvests
Hey there, fellow gardening enthusiasts! I’m so excited to share my tried-and-true methods for growing beans. I’ve been growing beans for years, and let me tell you, there’s nothing quite like the satisfaction of harvesting your own fresh, crisp beans. Whether you’re a seasoned gardener or just starting out, this guide will walk you through every step of the process, from choosing the right beans to dealing with pesky pests. Let’s get our hands dirty!
Choosing Your Bean Variety
Before we even think about planting, we need to decide what kind of beans we want to grow. There are two main types: bush beans and pole beans.
* **Bush Beans:** These are compact and don’t require any support. They’re perfect for smaller gardens or containers. They produce a large harvest all at once, making them ideal for canning or freezing.
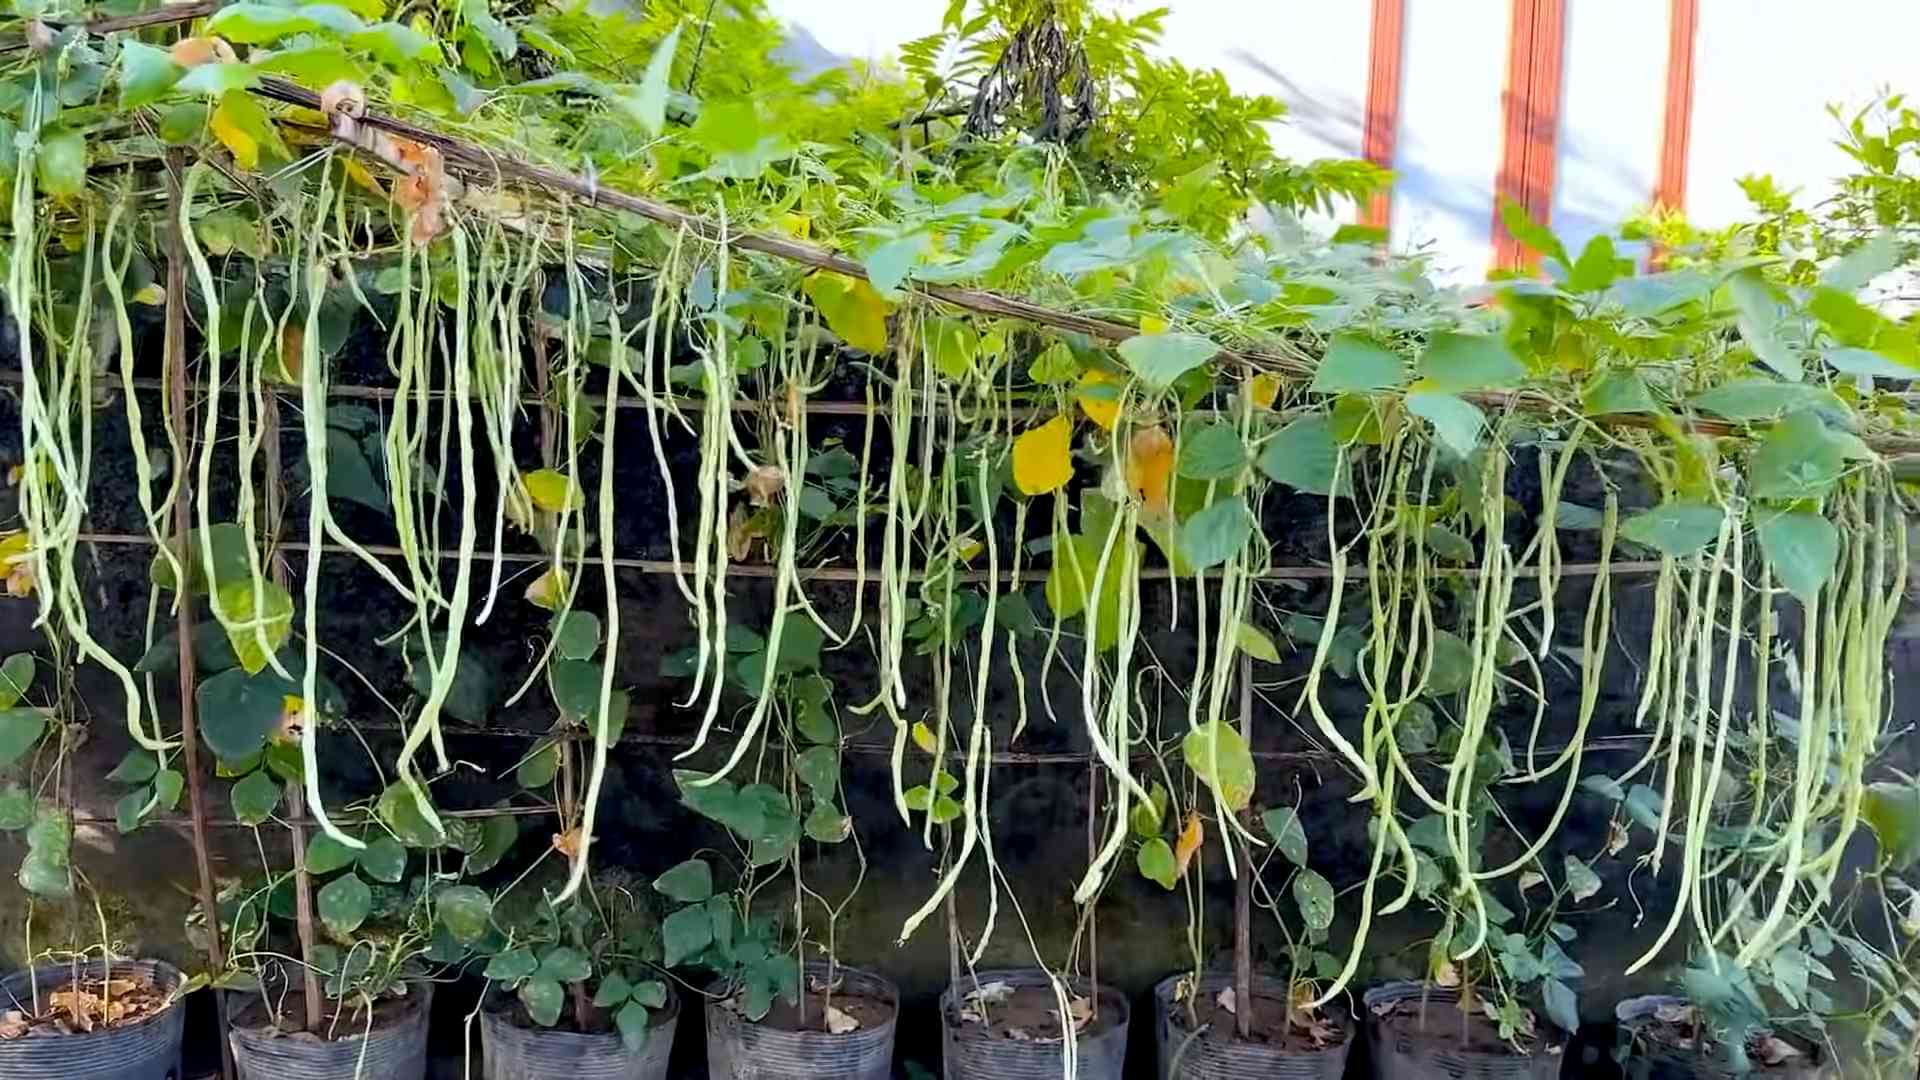
* **Pole Beans:** These are vining beans that need a trellis or other support to climb. They produce a steady harvest over a longer period. I personally love pole beans because they add a vertical element to my garden and are just so fun to watch grow!
Within these two categories, there are tons of different varieties to choose from. Here are a few of my favorites:
* **Bush Beans:**
* Blue Lake Bush: A classic, reliable variety with excellent flavor.
* Contender: An early-maturing bean that’s great for cooler climates.
* Provider: A high-yielding bean that’s resistant to many diseases.
* **Pole Beans:**
* Kentucky Wonder: A heirloom variety with a rich, beany flavor.
* Scarlet Runner: A beautiful bean with bright red flowers that attract hummingbirds. Plus, the beans are delicious!
* Fortex: A long, slender bean that’s perfect for French-style cooking.
Consider your climate, garden space, and personal preferences when choosing your bean variety.
Preparing Your Garden Bed
Beans need well-drained soil that’s rich in organic matter. Here’s how I prepare my garden bed for planting:
* **Timing is Key:** Wait until the danger of frost has passed and the soil has warmed up to at least 60°F (15°C). Beans are sensitive to cold temperatures.
* **Sunlight:** Choose a spot that gets at least 6-8 hours of sunlight per day.
* **Soil Preparation:**
1. **Clear the Area:** Remove any weeds, rocks, or debris from the planting area.
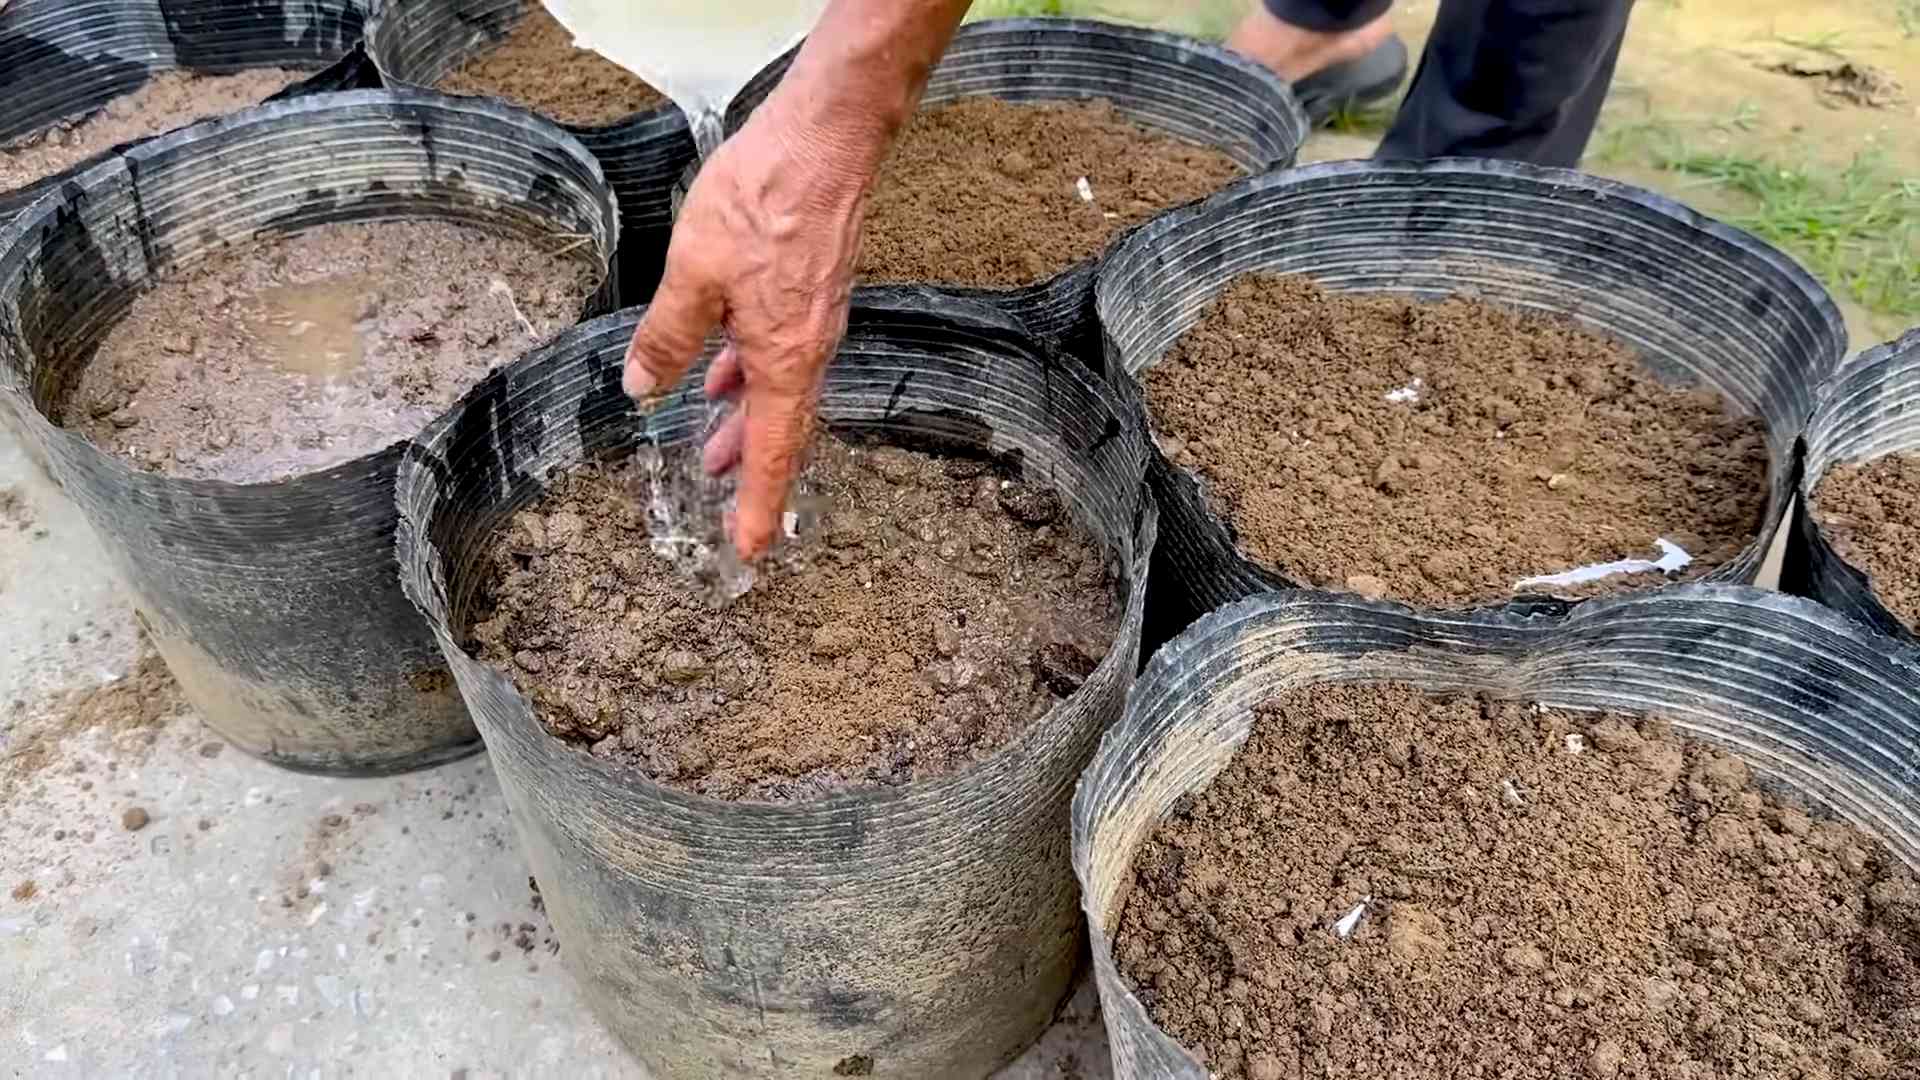
2. **Amend the Soil:** Add plenty of compost or well-rotted manure to improve soil fertility and drainage. I usually add a 2-3 inch layer and work it into the top 6-8 inches of soil.
3. **Check the pH:** Beans prefer a slightly acidic to neutral soil pH (around 6.0-7.0). You can test your soil pH with a soil testing kit. If your soil is too acidic, add lime to raise the pH. If it’s too alkaline, add sulfur to lower the pH.
4. **Level the Soil:** Rake the soil smooth and level.
Planting Your Beans
Now for the fun part – planting!
1. **Soaking the Seeds (Optional):** I like to soak my bean seeds in water for a few hours before planting. This helps to soften the seed coat and speed up germination. Don’t soak them for more than 12 hours, though, or they might rot.
2. **Planting Bush Beans:**
* **Spacing:** Plant bush bean seeds 1-2 inches deep and 2-4 inches apart in rows that are 18-24 inches apart.
* **Watering:** Water the soil thoroughly after planting.
3. **Planting Pole Beans:**
* **Setting up the Trellis:** Before planting pole beans, you’ll need to set up a trellis or other support for them to climb. You can use a bamboo teepee, a wire fence, or even just a sturdy branch.
* **Spacing:** Plant pole bean seeds 1-2 inches deep and 4-6 inches apart at the base of the trellis.
* **Watering:** Water the soil thoroughly after planting.
4. **Marking Your Rows:** I always mark my rows with plant markers so I know what I’ve planted and where.
Caring for Your Bean Plants
Once your beans are planted, it’s important to provide them with the care they need to thrive.
* **Watering:** Beans need consistent moisture, especially during flowering and pod development. Water deeply whenever the top inch of soil feels dry. Avoid overhead watering, as this can lead to fungal diseases. Drip irrigation or soaker hoses are ideal.
* **Weeding:** Keep the area around your bean plants free of weeds. Weeds compete with beans for water and nutrients. I like to hand-pull weeds or use a hoe to cultivate the soil.
* **Fertilizing:** Beans are nitrogen-fixing plants, meaning they can convert atmospheric nitrogen into a form that plants can use. However, they still benefit from a little extra phosphorus and potassium. I like to side-dress my bean plants with a fertilizer that’s low in nitrogen and high in phosphorus and potassium. Bone meal and wood ash are good organic options.
* **Supporting Pole Beans:** As your pole beans grow, you may need to help them find the trellis. Gently guide the vines onto the trellis and tie them loosely with twine if necessary.
* **Pest and Disease Control:** Keep an eye out for common bean pests and diseases, such as aphids, bean beetles, and powdery mildew.
Dealing with Common Bean Pests and Diseases
Unfortunately, beans can be susceptible to a few pests and diseases. Here’s how I deal with them:
* **Aphids:** These tiny insects suck the sap from bean plants, causing them to weaken and become distorted. I control aphids by spraying them with a strong stream of water or by using insecticidal soap.
* **Bean Beetles:** These beetles chew holes in bean leaves and pods. I control bean beetles by hand-picking them off the plants or by using an organic insecticide like neem oil.
* **Powdery Mildew:** This fungal disease causes a white, powdery coating to form on bean leaves. I prevent powdery mildew by providing good air circulation around the plants and by avoiding overhead watering. If powdery mildew does occur, I treat it with a fungicide.
* **Bean Rust:** Another fungal disease that causes reddish-brown pustules on the leaves and stems. Remove infected leaves and ensure good air circulation. Copper-based fungicides can also be used.
* **Cutworms:** These pests can sever young bean plants at the soil line. Use cutworm collars made from cardboard or plastic around the base of the plants to protect them.
Harvesting Your Beans
The moment we’ve all been waiting for – harvesting!
* **When to Harvest:** The timing of your bean harvest will depend on the variety you’re growing and how you plan to use them.
* **Snap Beans:** Harvest snap beans when the pods are firm, crisp, and fully developed, but before the beans inside become too large.
* **Shelling Beans:** Harvest shelling beans when the pods are dry and the beans inside are fully mature.
* **Dry Beans:** Harvest dry beans when the pods are completely dry and brittle.
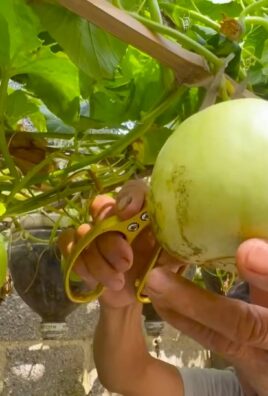
* **How to Harvest:** Gently snap or cut the bean pods from the plant. Be careful not to damage the plant.
* **Storing Your Beans:**
* **Fresh Beans:** Store fresh beans in the refrigerator for up to a week.
* **Canning or Freezing:** You can can or freeze your beans for longer storage.
* **Dry Beans:** Store dry beans in an airtight container in a cool, dry place.
Extending Your Bean Harvest
Want to keep those beans coming? Here are a few tips for extending your bean harvest:
* **Succession Planting:** Plant a new crop of beans every 2-3 weeks to ensure a continuous harvest.
* **Deadheading:** Remove spent flowers and pods to encourage the plant to produce more.
* **Watering and Fertilizing:** Continue to water and fertilize your bean plants throughout the growing season.
Saving Bean Seeds
If you’re growing heirloom bean varieties, you can save the seeds to plant next year.
1. **Allow the Pods to Dry:** Allow the bean pods to dry completely on the plant.
2. **Harvest the Seeds:** Shell the beans from the pods and spread them out on a screen or tray to dry for a few more days.
3. **Store the Seeds:** Store the dried bean seeds in an airtight container in a cool, dry place.
Enjoying Your Bean Harvest
Now that you’ve harvested your beans, it’s time to enjoy them! There are so many delicious ways to prepare beans. Here are a few of my favorites:
* **Steamed or Sautéed:** Simply steam
Conclusion
So, there you have it! Mastering the art of growing beans successfully doesn’t require a green thumb blessed by the gardening gods. It’s about understanding the plant’s needs and employing a few simple, yet effective, DIY tricks. We’ve explored how to create the perfect soil environment, build sturdy supports, and ward off common pests, all without breaking the bank or relying on harsh chemicals.
Why is this DIY approach a must-try? Because it empowers you to take control of your food source, ensuring you’re consuming fresh, healthy, and delicious beans grown with love and care. Store-bought beans simply can’t compare to the vibrant flavor and satisfying crunch of homegrown varieties. Plus, the process itself is incredibly rewarding. There’s nothing quite like watching those tiny seeds sprout and transform into a bountiful harvest.
But don’t stop there! Experiment with different bean varieties to discover your favorites. Try pole beans for vertical gardening, bush beans for compact spaces, or even colorful heirloom varieties for a visual feast. Consider companion planting – marigolds to deter pests, or nasturtiums to attract beneficial insects. You can also explore different methods of support, from traditional teepees to elaborate trellises, adding a touch of personality to your garden.
And remember, growing beans successfully is a journey, not a destination. There will be challenges along the way, but don’t be discouraged. Learn from your mistakes, adapt your techniques, and celebrate your successes. The more you experiment, the more you’ll learn about the fascinating world of gardening and the incredible power of nature.
We wholeheartedly encourage you to give this DIY approach a try. Start small, be patient, and most importantly, have fun! We’re confident that you’ll be amazed by the results. And once you’ve harvested your first crop of homegrown beans, we’d love to hear about your experience. Share your tips, tricks, and triumphs in the comments below. Let’s build a community of bean-growing enthusiasts and inspire others to embrace the joys of gardening. Happy growing!
Frequently Asked Questions (FAQ)
What are the best bean varieties to start with for beginners?
For beginners, bush beans like ‘Blue Lake’ or ‘Contender’ are excellent choices. They are relatively easy to grow, require minimal support, and produce a good yield. Pole beans like ‘Kentucky Wonder’ are also a good option, but they require a trellis or other support structure. Consider your local climate and growing season when selecting varieties. Look for varieties that are known to be disease-resistant and well-suited to your region. Local nurseries and garden centers can provide valuable advice on the best choices for your area.
How often should I water my bean plants?
Bean plants need consistent moisture, especially during flowering and pod development. Water deeply whenever the top inch of soil feels dry to the touch. Avoid overhead watering, as this can promote fungal diseases. Instead, water at the base of the plants, using a soaker hose or watering can. In hot, dry weather, you may need to water daily. In cooler, wetter weather, you may only need to water every few days. Monitor the soil moisture regularly and adjust your watering schedule accordingly.
What are some common pests and diseases that affect bean plants, and how can I prevent them?
Common pests include aphids, bean beetles, and spider mites. Diseases include powdery mildew, bean rust, and anthracnose. To prevent these problems, practice good garden hygiene. Remove any dead or diseased plant material promptly. Rotate your crops each year to avoid soilborne diseases. Use insecticidal soap or neem oil to control pests. Ensure good air circulation around your plants to prevent fungal diseases. Consider using companion planting to deter pests and attract beneficial insects. For example, planting marigolds near your bean plants can help repel bean beetles.
How do I know when my beans are ready to harvest?
The timing of harvest depends on the type of bean you are growing. Snap beans (also known as green beans) are ready to harvest when the pods are firm, plump, and snap easily when bent. Dry beans are ready to harvest when the pods are dry and brittle. Shelling beans are harvested when the pods are plump and the beans inside are fully developed but still tender. Check your seed packet or plant tag for specific harvest instructions for your variety. Regular harvesting encourages continued production.
Can I grow beans in containers?
Yes, you can grow beans in containers, but you’ll need to choose the right size container and variety. Bush beans are generally better suited for containers than pole beans, as they are more compact. Use a container that is at least 12 inches deep and wide. Fill the container with a well-draining potting mix. Provide adequate sunlight and water regularly. You may also need to fertilize your bean plants more frequently when growing them in containers, as the nutrients can leach out more quickly.
What kind of soil is best for growing beans successfully?
Beans thrive in well-drained soil that is rich in organic matter. The ideal soil pH is between 6.0 and 7.0. Before planting, amend your soil with compost or other organic matter to improve drainage and fertility. Avoid heavy clay soils, as they can become waterlogged and inhibit root growth. If you have heavy clay soil, consider growing your beans in raised beds or containers. A soil test can help you determine the pH and nutrient levels of your soil and guide you in making any necessary amendments.
How much sunlight do bean plants need?
Bean plants need at least 6-8 hours of direct sunlight per day. Choose a sunny location for your bean plants. If you live in a hot climate, provide some afternoon shade to prevent the plants from overheating. Insufficient sunlight can result in leggy plants with poor pod production.
Can I save seeds from my bean plants to plant next year?
Yes, you can save seeds from your bean plants, but only if you are growing open-pollinated varieties. Hybrid varieties will not produce true-to-type seeds. To save seeds, allow the pods to dry completely on the plant. Once the pods are dry and brittle, shell the beans and store them in an airtight container in a cool, dry place. Label the container with the variety and date. Before planting, test the germination rate of your saved seeds to ensure they are still viable.
What is companion planting, and how can it benefit my bean plants?
Companion planting is the practice of planting different crops together to benefit each other. Some good companion plants for beans include marigolds, nasturtiums, rosemary, and carrots. Marigolds and nasturtiums deter bean beetles, while rosemary repels bean flies. Carrots help to loosen the soil and improve drainage. Avoid planting beans near onions or garlic, as they can inhibit bean growth. Research different companion planting combinations to find the best options for your garden.
How do I deal with yellowing leaves on my bean plants?
Yellowing leaves can be a sign of several problems, including nutrient deficiencies, overwatering, underwatering, or disease. Check the soil moisture to ensure you are watering correctly. If the soil is consistently wet, reduce your watering frequency. If the soil is dry, water more deeply. A soil test can help you determine if your soil is lacking any essential nutrients. Amend your soil with compost or fertilizer as needed. If you suspect a disease, consult a local gardening expert for diagnosis and treatment options.
Leave a Comment