
Shaving Foam Cleaning Hacks: Who knew that the fluffy stuff you use to get a close shave could be your new secret weapon against household grime? I’m always on the lookout for clever, budget-friendly ways to keep my home sparkling, and let me tell you, this one’s a game-changer! For generations, folks have relied on elbow grease and harsh chemicals to tackle tough cleaning jobs, but what if I told you there’s a gentler, more effective solution hiding in your bathroom cabinet?
The use of readily available household items for cleaning isn’t exactly new. Think about the age-old vinegar and baking soda combo! But the surprising versatility of shaving foam as a cleaning agent is a more recent discovery, and it’s quickly gaining popularity. Why? Because it works! We all crave a clean and tidy living space, but the cost and effort involved can often feel overwhelming. That’s where these shaving foam cleaning hacks come in. They’re simple, affordable, and surprisingly effective on everything from stubborn stains to grimy surfaces. Get ready to ditch the harsh chemicals and embrace a cleaner, fresher home with these amazing DIY tricks!
Shaving Foam: Your Unexpected Cleaning Superhero!
Okay, friends, let’s talk cleaning. We all dread it, right? But what if I told you there’s a secret weapon hiding in your bathroom cabinet, just waiting to unleash its cleaning power? I’m talking about shaving foam! Yes, that fluffy stuff you (or your partner) use to get a smooth shave is actually a surprisingly versatile cleaner. I’ve been experimenting with it for a while now, and I’m ready to share my favorite shaving foam cleaning hacks with you. Get ready to be amazed!
Why Shaving Foam Works (It’s Not Just for Beards!)
Before we dive into the how-to, let’s quickly understand why shaving foam is such a good cleaner. It’s all about the ingredients! Most shaving foams contain:
* Surfactants: These are the magic ingredients that break down dirt and grime, lifting them away from surfaces.
* Soaps: These help to emulsify the dirt, making it easier to wipe away.
* Humectants: These help to moisturize and prevent the surface from drying out too quickly, which can leave streaks.
Basically, it’s a gentle but effective cleaning cocktail! Now, let’s get to the good stuff.
Cleaning Mirrors and Glass Like a Pro
Tired of streaks and smudges on your mirrors and windows? Shaving foam is your new best friend!
What you’ll need:
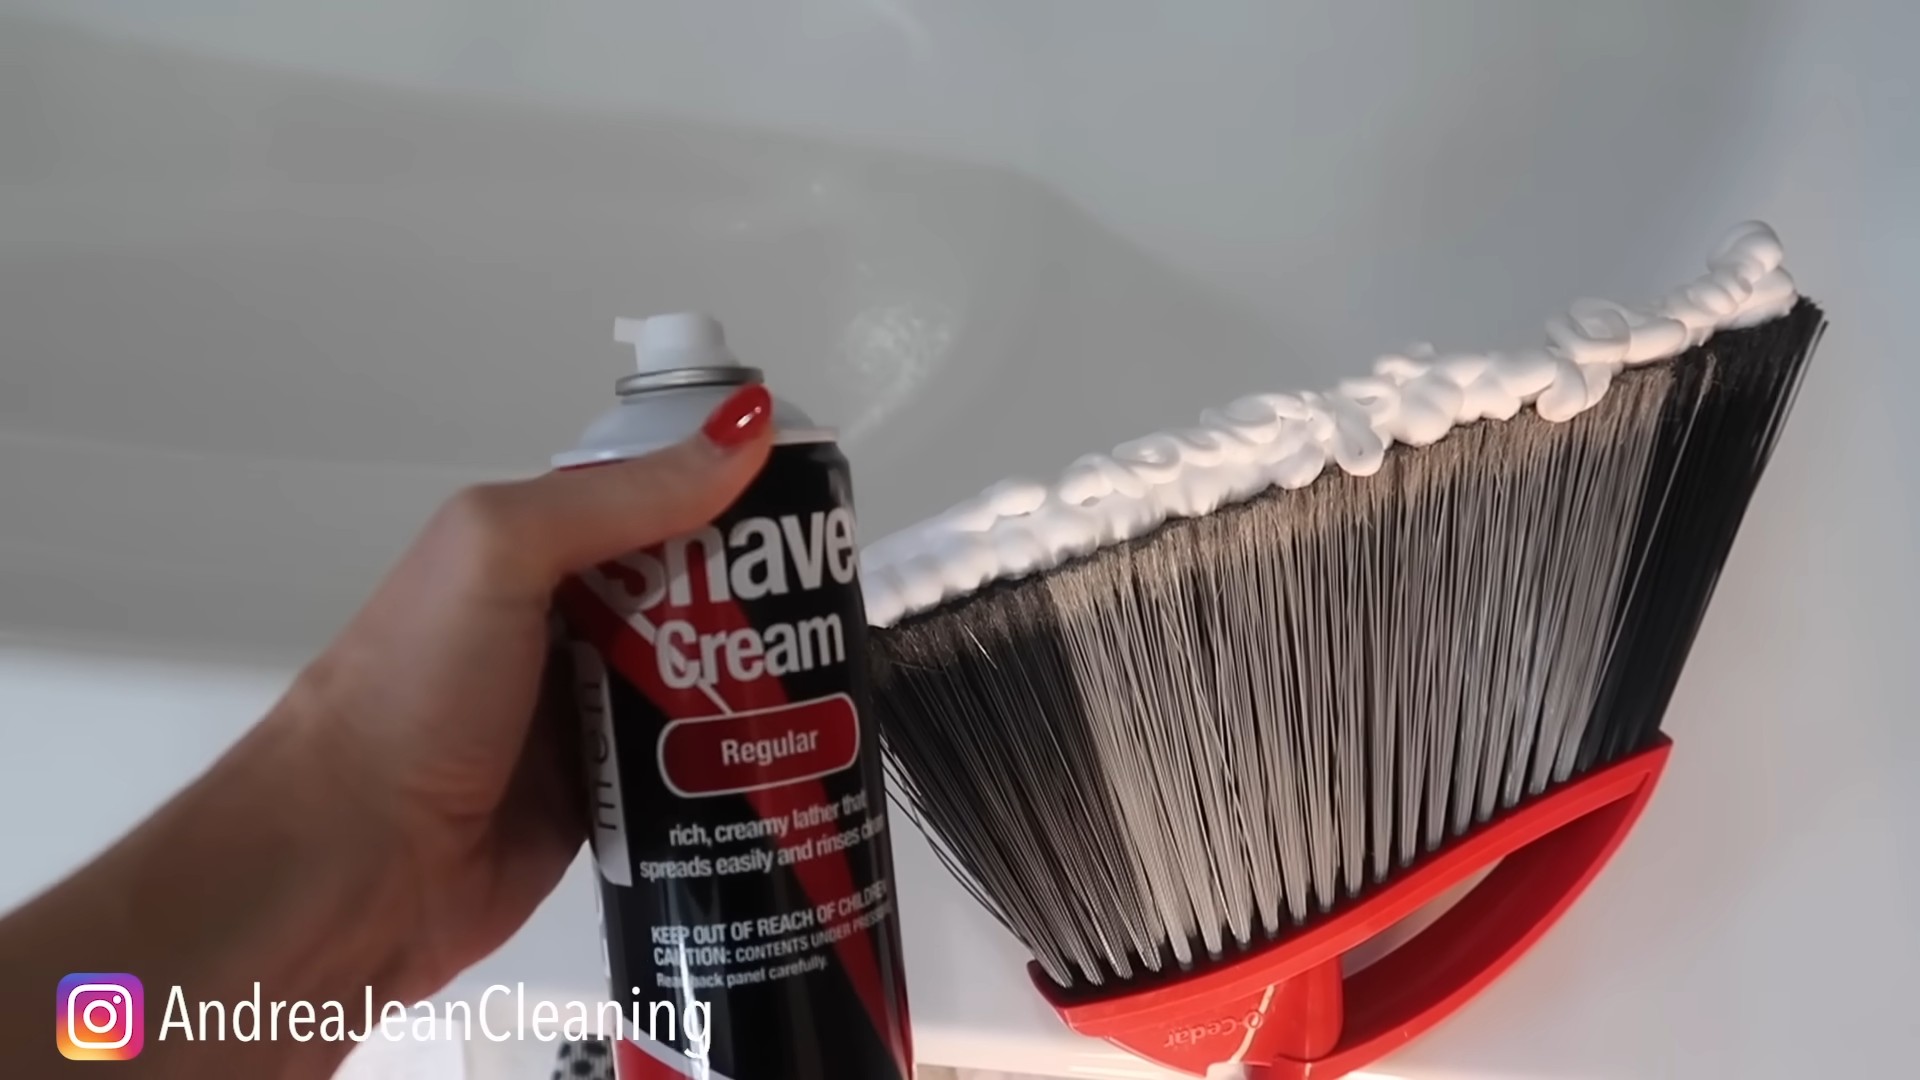
* Shaving foam (any kind will do, but I prefer the foamy kind)
* A clean, lint-free cloth (microfiber is ideal)
* Water spray bottle (optional)
Step-by-step instructions:
1. Apply the shaving foam: Squirt a generous amount of shaving foam directly onto the mirror or glass surface. Don’t be shy!
2. Spread it around: Using your fingers or a clean cloth, spread the shaving foam evenly over the entire surface. Make sure to cover every inch!
3. Let it sit: Allow the shaving foam to sit for a minute or two. This gives the surfactants time to work their magic and break down any dirt or grime.
4. Wipe it away: Using a clean, lint-free cloth, wipe away the shaving foam in a circular motion. You’ll see the dirt and grime disappearing as you wipe.
5. Buff to a shine: If you notice any streaks, lightly dampen a clean section of your cloth with water and buff the surface until it’s sparkling clean. You can also use a water spray bottle and spray the surface lightly before buffing.
6. Admire your reflection: Step back and admire your streak-free, sparkling clean mirror or window!
Removing Stubborn Stains from Carpets and Upholstery
Accidents happen, and sometimes those accidents leave behind unsightly stains on our carpets and upholstery. Don’t despair! Shaving foam can come to the rescue.
What you’ll need:
* Shaving foam (again, the foamy kind is best)
* A clean, damp cloth
* A vacuum cleaner
Step-by-step instructions:
1. Act fast: The sooner you treat the stain, the better your chances of removing it completely.
2. Apply the shaving foam: Apply a generous amount of shaving foam directly onto the stain. Make sure to completely cover the affected area.
3. Let it sit: Allow the shaving foam to sit for at least 15-20 minutes. This gives it time to penetrate the stain and break it down. For tougher stains, you can let it sit for up to an hour.
4. Blot, don’t rub: Using a clean, damp cloth, gently blot the stain. Avoid rubbing, as this can spread the stain and damage the fibers of your carpet or upholstery.
5. Repeat if necessary: If the stain is still visible, repeat steps 2-4 until it’s gone.
6. Rinse (optional): If you’re concerned about residue, you can lightly rinse the area with clean water. Be sure to blot up any excess water with a clean cloth.
7. Vacuum: Once the area is completely dry, vacuum it thoroughly to restore the texture of your carpet or upholstery.
Important Note: Always test the shaving foam on a small, inconspicuous area of your carpet or upholstery before applying it to the entire stain. This will help you ensure that it doesn’t damage or discolor the fabric.
Shining Up Stainless Steel Appliances
Stainless steel appliances look great, but they can be a pain to keep clean. Fingerprints, smudges, and water spots seem to appear out of nowhere. But guess what? Shaving foam can help with that too!
What you’ll need:
* Shaving foam
* A clean, lint-free cloth
Step-by-step instructions:
1. Apply the shaving foam: Apply a small amount of shaving foam to a clean, lint-free cloth.
2. Wipe the appliance: Gently wipe the stainless steel appliance with the cloth, following the grain of the metal.
3. Buff to a shine: Use a clean, dry section of the cloth to buff the appliance until it’s sparkling clean.
Pro Tip: Shaving foam can also help to prevent fingerprints from reappearing on your stainless steel appliances. The humectants in the shaving foam create a protective barrier that repels fingerprints and smudges.
Cleaning Bathroom Fixtures (Chrome and Porcelain)
Shaving foam is a fantastic way to clean bathroom fixtures like faucets, showerheads, and toilets. It helps to remove soap scum, water spots, and other grime, leaving your bathroom sparkling clean.
What you’ll need:
* Shaving foam
* A sponge or cloth
* Water
Step-by-step instructions:
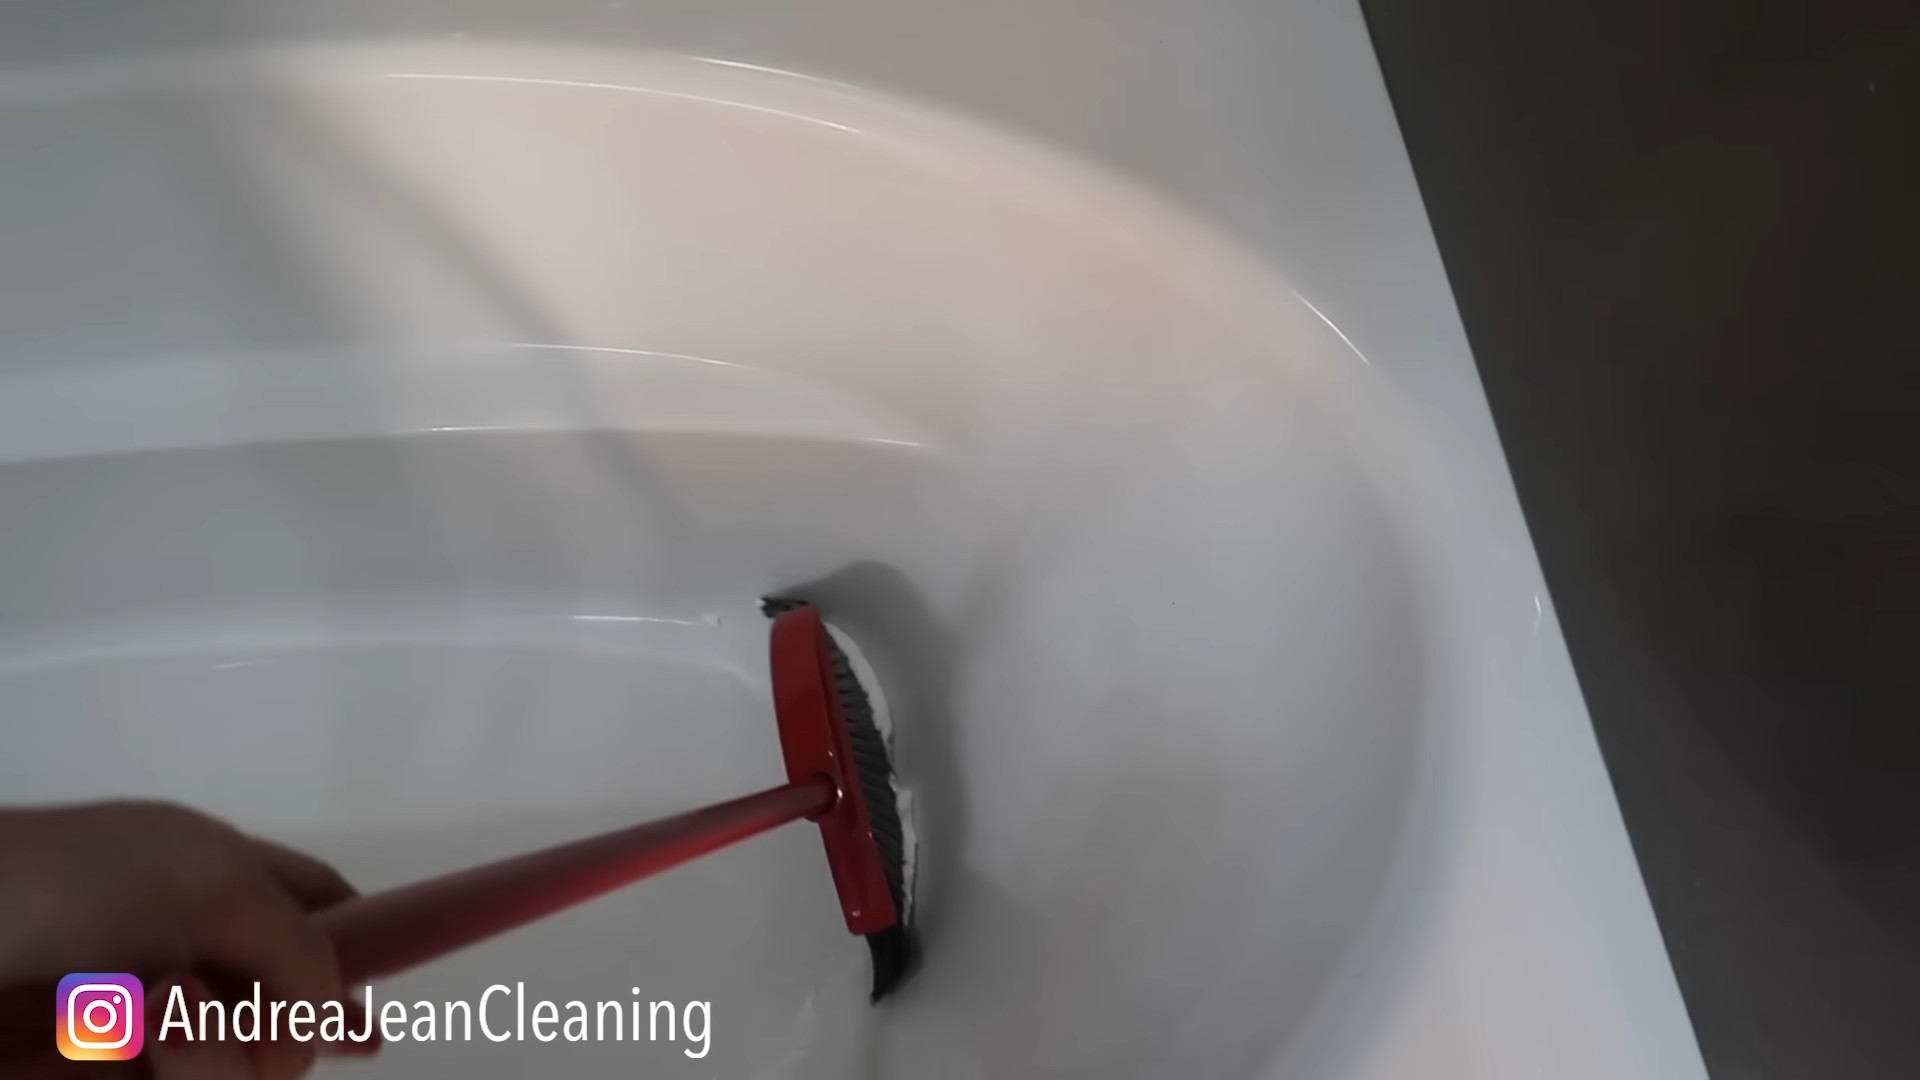
1. Apply the shaving foam: Apply a generous amount of shaving foam to the surface you want to clean.
2. Let it sit: Allow the shaving foam to sit for a few minutes to loosen the grime.
3. Scrub: Use a sponge or cloth to scrub the surface, paying attention to areas with heavy buildup.
4. Rinse: Rinse the surface thoroughly with water.
5. Dry: Dry the surface with a clean cloth.
Specific Applications:
* Chrome Faucets and Showerheads: Shaving foam helps remove water spots and restore shine.
* Porcelain Toilets: Shaving foam can help remove stains and freshen the bowl. Apply it, let it sit, scrub, and flush.
Preventing Foggy Mirrors in the Bathroom
This is one of my favorite shaving foam hacks! Tired of your bathroom mirror fogging up every time you take a shower? Shaving foam can prevent that!
What you’ll need:
* Shaving foam
* A clean, lint-free cloth
Step-by-step instructions:
1. Apply the shaving foam: Apply a thin layer of shaving foam to the mirror.
2. Spread it around: Spread the shaving foam evenly over the entire surface of the mirror.
3. Wipe it away: Using a clean, lint-free cloth, wipe away the shaving foam until the mirror is clear.
4. Enjoy a fog-free mirror: The shaving foam will create a protective barrier that prevents the mirror from fogging up during your shower. This effect can last for several days!
Cleaning Jewelry
Yes, you read that right! Shaving foam can even be used to clean your jewelry. It’s a gentle and effective way to remove dirt and grime, leaving your jewelry sparkling.
What you’ll need:
* Shaving foam
* A soft-bristled toothbrush
* Warm water
* A clean, soft cloth
Step-by-step instructions:
1. Apply the shaving foam: Apply a small amount of shaving foam to your jewelry.
2. Gently scrub: Use a soft-bristled toothbrush to gently scrub the jewelry, paying attention to any areas with heavy buildup.
3. Rinse: Rinse the jewelry thoroughly with warm water.
4. Dry: Dry the jewelry with a clean, soft cloth.
Important Note: This method is safe for most types of jewelry, but it’s always a good idea to test it on a small, inconspicuous area first. Avoid using shaving foam on delicate or porous stones, such as pearls or opals.
Removing Sticky Residue
We’ve all been there: sticky residue left behind by stickers, tape, or labels. It’s annoying and difficult to remove. But shaving foam can help!
What you’ll need:
* Shaving foam
* A clean cloth or sponge
Step-by-step instructions:
1. Apply
Conclusion
So, there you have it! Shaving foam isn’t just for a smooth shave; it’s a surprisingly versatile and effective cleaning agent that can tackle a multitude of household messes. From banishing stubborn stains on carpets and upholstery to restoring shine to your stainless steel appliances and even cleaning your bathroom mirrors, the possibilities are truly endless. This simple, affordable, and readily available product offers a fantastic alternative to harsh chemical cleaners, making it a win-win for your home and your wallet.
Why is this DIY trick a must-try? Because it’s effective, economical, and eco-friendlier than many commercial cleaners. It simplifies your cleaning routine by replacing multiple specialized products with a single, multi-purpose solution. Plus, the light, pleasant scent of most shaving foams leaves your home smelling fresh and clean without the overpowering chemical odors.
Looking for variations? Consider adding a few drops of your favorite essential oil to the shaving foam for an extra boost of fragrance. Lavender, lemon, or eucalyptus oil can enhance the cleaning experience and leave a lingering aroma. For tougher stains, let the shaving foam sit for a longer period, perhaps even overnight, before wiping it away. You can also experiment with different types of shaving foam – gel, cream, or foam – to see which works best for specific cleaning tasks. For example, a thicker shaving cream might be ideal for grout cleaning, while a lighter foam could be better for delicate surfaces.
Don’t be afraid to experiment and discover new ways to utilize the power of shaving foam in your cleaning arsenal. The key is to start with a small, inconspicuous area to test the product’s effect on the surface before applying it more broadly.
We wholeheartedly encourage you to try these shaving foam cleaning hacks and experience the magic for yourself. You’ll be amazed at how easily and effectively this everyday product can transform your cleaning routine. Once you’ve given it a go, we’d love to hear about your experiences! Share your tips, tricks, and success stories in the comments below. Let’s build a community of savvy cleaners who are harnessing the power of shaving foam to create sparkling clean homes. Let us know what surfaces you cleaned and how well the shaving foam cleaning hacks worked for you!
Frequently Asked Questions (FAQs)
Is shaving foam safe to use on all surfaces?
While shaving foam is generally safe for most surfaces, it’s always best to test it on a small, inconspicuous area first. This is especially important for delicate materials like leather, silk, or certain types of wood. Look for any signs of discoloration, damage, or staining before proceeding with a larger application. Avoid using shaving foam on electronic devices or surfaces that are sensitive to moisture. If you’re unsure about a particular surface, consult the manufacturer’s instructions or a professional cleaner.
What type of shaving foam is best for cleaning?
Most types of shaving foam – gel, cream, or foam – can be used for cleaning. However, some may be more effective than others depending on the task. For general cleaning purposes, a standard aerosol shaving foam works well. For tougher stains or grout cleaning, a thicker shaving cream might be more suitable. Experiment with different types to see which works best for your specific needs. Avoid using shaving foams that contain harsh chemicals or abrasive ingredients, as these could damage surfaces. Look for shaving foams that are labeled as “sensitive skin” or “fragrance-free” if you have allergies or sensitivities.
Can shaving foam remove tough stains from carpets and upholstery?
Yes, shaving foam can be surprisingly effective at removing tough stains from carpets and upholstery. The key is to act quickly and blot the stain with a clean cloth before applying the shaving foam. Apply a generous amount of shaving foam to the stain, let it sit for 15-30 minutes (or longer for stubborn stains), and then blot it away with a clean, damp cloth. Repeat the process if necessary. For best results, use a white or light-colored shaving foam to avoid transferring any dye to the carpet or upholstery. Always test the shaving foam on a hidden area first to ensure it doesn’t cause any discoloration or damage.
Will shaving foam damage my stainless steel appliances?
No, shaving foam is generally safe to use on stainless steel appliances. In fact, it can help to remove fingerprints, smudges, and water spots, leaving your appliances looking shiny and new. Simply apply a small amount of shaving foam to a soft cloth and wipe down the surface of the appliance. Then, use a clean, damp cloth to remove any residue. Finally, buff the surface with a dry cloth to restore its shine. Avoid using abrasive cleaners or scouring pads on stainless steel, as these can scratch the surface.
How long should I leave shaving foam on a surface before wiping it away?
The amount of time you should leave shaving foam on a surface depends on the cleaning task and the severity of the stain. For general cleaning purposes, 5-10 minutes is usually sufficient. For tougher stains or grout cleaning, you may need to let the shaving foam sit for 15-30 minutes, or even overnight. Always test the shaving foam on a small, inconspicuous area first to ensure it doesn’t damage the surface. If you’re unsure, start with a shorter dwell time and increase it as needed.
Can I use shaving foam to clean my bathroom mirrors?
Yes, shaving foam is an excellent way to clean bathroom mirrors and prevent them from fogging up. Simply apply a thin layer of shaving foam to the mirror, let it sit for a few minutes, and then wipe it away with a clean, dry cloth. The shaving foam will remove any dirt, grime, and water spots, leaving your mirror sparkling clean and fog-free. This trick is especially useful after a hot shower or bath.
Is shaving foam safe for children and pets?
While shaving foam is generally considered safe, it’s important to keep it out of reach of children and pets. Shaving foam is not intended for consumption and may cause irritation if ingested. If your child or pet accidentally ingests shaving foam, contact your doctor or veterinarian immediately. When cleaning with shaving foam, ensure that the area is well-ventilated and that children and pets are kept away until the surface is completely dry.
Can I add essential oils to shaving foam for cleaning?
Yes, adding essential oils to shaving foam can enhance the cleaning experience and leave a pleasant fragrance. Choose essential oils that have cleaning properties, such as lemon, tea tree, or eucalyptus oil. Add a few drops of your favorite essential oil to the shaving foam before applying it to the surface. Be sure to test the mixture on a small, inconspicuous area first to ensure that the essential oil doesn’t damage the surface. Avoid using essential oils that are known to be toxic to pets or children.
What are some other creative uses for shaving foam besides cleaning?
Besides cleaning, shaving foam can be used for a variety of other creative purposes. It can be used as a substitute for paint in children’s art projects, as a sensory play material for toddlers, or as a temporary hair dye. It can also be used to lubricate zippers, remove sticky residue, or polish shoes. The possibilities are endless! Just be sure to use a non-toxic shaving foam and supervise children closely when using it for non-cleaning purposes.
Leave a Comment