
DIY Vertical Garden Setup: Dreaming of lush greenery but short on space? I totally get it! Whether you’re in a tiny apartment with a balcony or just want to add a unique touch to your backyard, a vertical garden is the answer. Forget sprawling plots – we’re going up!
Vertical gardening isn’t exactly new. Think of the Hanging Gardens of Babylon, one of the Seven Wonders of the Ancient World! While we might not be building anything quite that grand, the principle remains the same: maximizing space and bringing nature closer. Throughout history, cultures have found ingenious ways to cultivate plants in limited areas, from terraced rice paddies to climbing vines adorning ancient walls.
But why should you embrace a DIY Vertical Garden Setup? Well, beyond the sheer beauty and space-saving benefits, it’s incredibly rewarding. Imagine stepping outside to snip fresh herbs for dinner or enjoying a vibrant wall of flowers right outside your window. Plus, it’s a fantastic way to recycle materials, reduce your carbon footprint, and even improve air quality. In this article, I’m going to share some easy and affordable DIY tricks and hacks to help you create your own stunning vertical garden, no matter your skill level. Let’s get growing!
DIY Vertical Garden: Bring Greenery to Small Spaces!
Hey there, fellow plant lovers! Are you dreaming of lush greenery but short on space? Don’t worry, I’ve got you covered! I’m going to walk you through creating your very own stunning vertical garden. It’s easier than you think, and the results are absolutely worth it. This project is perfect for balconies, patios, or even indoor walls. Let’s get started!
What You’ll Need: The Essentials
Before we dive in, let’s gather our supplies. This is crucial for a smooth and enjoyable DIY experience. Trust me, running to the store mid-project is never fun!
* **A Pallet (or other vertical structure):** This is the backbone of your garden. You can use a reclaimed wooden pallet (make sure it’s heat-treated and not chemically treated!), a trellis, a repurposed shelving unit, or even build your own frame from wood. I’m using a pallet for this guide because it’s readily available and gives a rustic charm.
* **Heavy-Duty Landscape Fabric:** This will line the back and bottom of each section of your pallet, creating pockets for the soil.
* **Staple Gun and Staples:** Essential for securing the landscape fabric to the pallet.
* **Potting Soil:** Choose a good quality potting mix that drains well. Avoid using garden soil, as it can compact and not provide adequate drainage in containers.
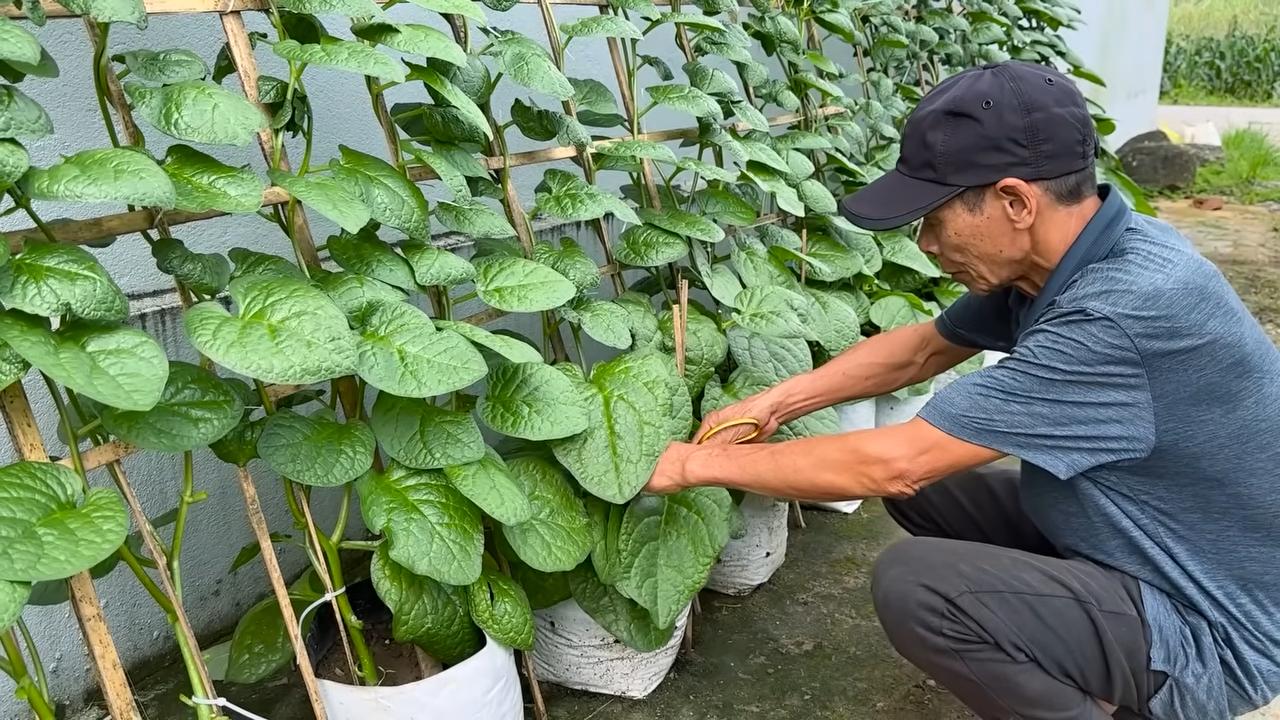
* **Plants:** This is the fun part! Select plants that are suitable for vertical gardening and the amount of sunlight your garden will receive. Think herbs, succulents, strawberries, lettuce, and trailing flowers.
* **Gloves:** Protect your hands from dirt and splinters.
* **Scissors or Utility Knife:** For cutting the landscape fabric.
* **Measuring Tape:** To ensure accurate cuts of the fabric.
* **Optional: Sandpaper:** If your pallet is rough, a quick sanding will prevent snags.
* **Optional: Wood Stain or Paint:** To customize the look of your pallet.
* **Optional: Watering Can or Hose:** For watering your plants.
* **Optional: Hooks or Brackets:** For hanging your vertical garden.
Preparing Your Pallet: The Foundation
This step is all about getting your pallet ready to be transformed into a beautiful vertical garden.
1. **Inspect and Clean:** Carefully inspect your pallet for any loose nails, splinters, or damage. Remove any loose nails and sand down any rough spots with sandpaper. This will prevent injuries and make the pallet look nicer.
2. **Clean the Pallet:** Use a brush and soapy water to clean the pallet thoroughly. Rinse well and allow it to dry completely. This removes dirt, grime, and any potential contaminants.
3. **Optional: Sanding:** If your pallet is particularly rough, give it a light sanding to smooth out the surface. This will make it easier to work with and prevent snags on the landscape fabric.
4. **Optional: Painting or Staining:** If you want to customize the look of your pallet, now is the time to paint or stain it. Choose a color that complements your plants and your outdoor space. Make sure to use exterior-grade paint or stain to protect the wood from the elements. Let it dry completely before moving on to the next step. I personally love the natural look of wood, so I often skip this step.
Creating the Planting Pockets: The Heart of the Garden
This is where the magic happens! We’ll be creating the pockets that will hold the soil and your plants.
1. **Measure and Cut the Landscape Fabric:** Measure the width and depth of each section of your pallet where you want to create a planting pocket. Add a few extra inches to each measurement to allow for overlap and secure stapling. Cut the landscape fabric accordingly. You’ll need enough fabric to line the back and bottom of each section.
2. **Attach the Landscape Fabric to the Back:** Starting with the back of the pallet, staple the landscape fabric securely to the wood. Make sure the fabric is taut and covers the entire back of the section. Overlap the edges slightly to prevent soil from leaking out.
3. **Create the Bottom Pocket:** Now, fold the landscape fabric up from the bottom of the section to create a pocket. Staple the sides of the fabric to the pallet, creating a secure bottom for the soil. Make sure the pocket is deep enough to hold a good amount of soil.
4. **Reinforce the Corners:** To prevent the corners of the pockets from tearing, reinforce them with extra staples. You can also fold the fabric over itself at the corners for added strength.
5. **Repeat for Each Section:** Repeat steps 1-4 for each section of the pallet where you want to create a planting pocket. Make sure the pockets are evenly spaced and securely attached.
Planting Your Vertical Garden: Bringing it to Life
Now for the most exciting part – planting!
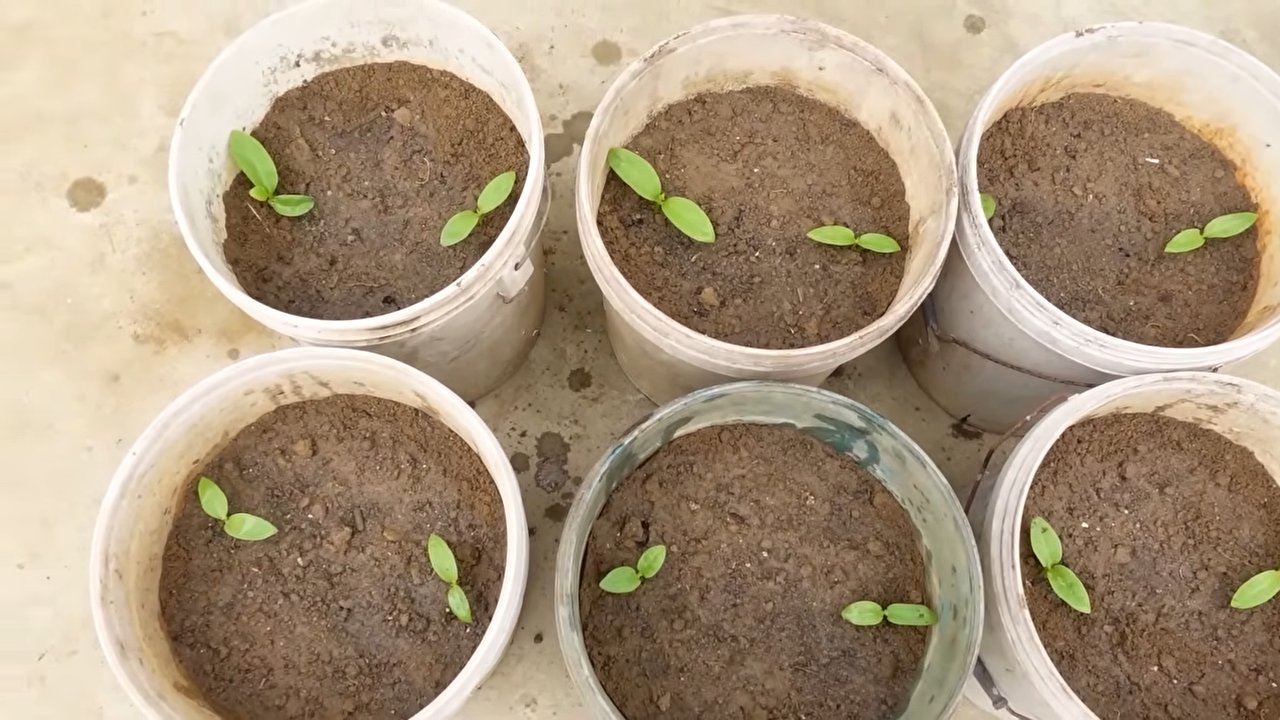
1. **Fill the Pockets with Potting Soil:** Carefully fill each pocket with potting soil, leaving about an inch of space at the top. Gently pat down the soil to remove any air pockets.
2. **Choose Your Plants:** Select plants that are appropriate for the size of the pockets and the amount of sunlight your garden will receive. Consider the mature size of the plants and how they will look as they grow.
3. **Plant Your Plants:** Gently remove the plants from their containers and loosen the roots. Plant them in the pockets, making sure the roots are well covered with soil. Space the plants appropriately to allow for growth.
4. **Water Thoroughly:** Water your plants thoroughly after planting. This will help settle the soil and encourage root growth.
5. **Add Mulch (Optional):** You can add a layer of mulch to the top of the soil to help retain moisture and suppress weeds.
Maintaining Your Vertical Garden: Keeping it Thriving
A little care goes a long way in keeping your vertical garden looking its best.
1. **Water Regularly:** Vertical gardens tend to dry out more quickly than traditional gardens, so it’s important to water them regularly. Check the soil moisture daily and water when the top inch of soil feels dry.
2. **Fertilize Regularly:** Plants in containers need regular fertilization to thrive. Use a balanced liquid fertilizer every few weeks during the growing season.
3. **Prune and Deadhead:** Prune your plants regularly to encourage bushier growth and remove any dead or dying leaves. Deadhead spent flowers to encourage more blooms.
4. **Pest Control:** Keep an eye out for pests and diseases. Treat any problems promptly with appropriate organic pest control methods.
5. **Rotate Plants (Optional):** If your vertical garden receives uneven sunlight, rotate the plants periodically to ensure they all get adequate light.
6. **Winter Protection:** In colder climates, you may need to protect your vertical garden from frost. You can move it indoors or cover it with a frost blanket.
Hanging Your Vertical Garden: Displaying Your Masterpiece
Now that your vertical garden is planted and thriving, it’s time to hang it up and show it off!
1. **Choose a Location:** Select a location that receives the appropriate amount of sunlight for your plants. Make sure the location is also protected from strong winds.
2. **Install Hooks or Brackets:** Install heavy-duty hooks or brackets on the wall or fence where you want to hang your vertical garden. Make sure the hooks or brackets are strong enough to support the weight of the garden.
3. **Hang Your Vertical Garden:** Carefully lift your vertical garden and hang it on the hooks or brackets. Make sure it is securely attached and level.
4. **Enjoy Your Beautiful Vertical Garden!** Step back and admire your handiwork! Your beautiful vertical garden will add a touch of greenery and beauty to any space.
Alternative Vertical Garden Structures: Beyond the Pallet
While I used a pallet in this guide, there are many other options for creating a vertical garden. Here are a few ideas:
* **Trellis:** A trellis is a simple and elegant way to create a vertical garden. You can train climbing plants, such as vines and roses, to grow up the trellis.
* **Repurposed Shelving Unit:** An old shelving unit can be easily transformed into a vertical garden. Simply add landscape fabric to the shelves to create planting pockets.
* **Hanging Planters:** Hanging planters are a great way to add greenery to a balcony or patio. You can hang them from the ceiling, railings, or walls.
* **Pocket Planters:** Pocket planters are specifically designed for vertical gardening. They are made of fabric or plastic and have pockets for planting.
* **DIY Wooden Frame:** You can build your own wooden frame to create a custom vertical garden. This allows you to create a garden that is perfectly sized for your space.
Plant Selection Guide: Choosing the Right Greenery
Choosing the right plants is crucial for the success of your vertical garden. Here are some popular choices, categorized by their needs:
* **Sun-Loving Plants:**
* **Succulents:** These are drought-tolerant and come in a variety of shapes and colors.
* **Herbs:** Many herbs, such as rosemary, thyme, and oregano,
Conclusion
So, there you have it! Creating your own DIY vertical garden isn’t just a trendy project; it’s a transformative experience that brings nature closer, maximizes space, and adds a unique touch of personality to your home. We’ve walked you through the process, highlighting the ease and affordability of building your own living wall. But why is this DIY trick a must-try?
Firstly, it’s incredibly rewarding. There’s something deeply satisfying about nurturing plants and watching them thrive in a space you’ve personally crafted. Secondly, a vertical garden is a fantastic solution for those with limited outdoor space. Whether you have a small balcony, a tiny patio, or even just an indoor wall, you can enjoy the beauty and benefits of a garden. Thirdly, it’s a sustainable choice. You can recycle materials, grow your own herbs and vegetables, and contribute to a greener environment.
But the benefits don’t stop there. A vertical garden can improve air quality, reduce noise pollution, and even lower your stress levels. It’s a living, breathing work of art that constantly evolves and brings joy to your everyday life.
Now, let’s talk about variations. Feel free to experiment with different types of containers. Upcycled plastic bottles, repurposed wooden pallets, or even fabric pockets can all be used to create a unique and visually appealing vertical garden. Consider the plants you choose as well. Succulents are a great option for low-maintenance gardens, while herbs and vegetables can provide fresh ingredients for your meals. For a splash of color, incorporate flowering plants like petunias or impatiens. Think about the lighting conditions in your space and choose plants that will thrive in those conditions.
Don’t be afraid to get creative with the design. Arrange the plants in a pattern, create a focal point, or even add decorative elements like stones or driftwood. The possibilities are endless! Remember to consider the weight of your vertical garden and ensure that your wall or support structure can handle it. Proper drainage is also crucial to prevent water damage and root rot.
This DIY vertical garden setup is more than just a project; it’s an investment in your well-being and a statement about your commitment to sustainability. It’s a chance to connect with nature, express your creativity, and transform your living space into a vibrant oasis.
We wholeheartedly encourage you to give this DIY trick a try. It’s easier than you think, and the results are truly remarkable. Once you’ve created your own vertical garden, we’d love to hear about your experience! Share your photos, tips, and challenges in the comments below. Let’s inspire each other to create beautiful and sustainable living spaces. We can’t wait to see what you create!
Frequently Asked Questions (FAQ)
What kind of plants are best for a vertical garden?
The best plants for a vertical garden depend on several factors, including the amount of sunlight your garden receives, the climate you live in, and your personal preferences. Generally, plants that are compact, drought-tolerant, and have shallow root systems are ideal. Some popular choices include:
* **Succulents:** These are low-maintenance and come in a variety of shapes and colors. They thrive in dry conditions and require minimal watering.
* **Herbs:** Herbs like mint, basil, thyme, and oregano are easy to grow and provide fresh ingredients for your cooking.
* **Lettuce and Spinach:** These leafy greens are relatively easy to grow in vertical gardens, especially in shadier spots.
* **Strawberries:** A fun and rewarding option, strawberries can thrive in vertical planters with good drainage.
* **Trailing Plants:** Plants like ivy, creeping Jenny, and pothos add a cascading effect to your vertical garden.
* **Annual Flowers:** Petunias, impatiens, and pansies provide a burst of color and are relatively easy to care for.
Remember to research the specific needs of each plant before planting them in your vertical garden.
How do I water a vertical garden?
Watering a vertical garden requires a bit more attention than watering a traditional garden. Since the plants are often in containers, they can dry out quickly. Here are some tips for watering your vertical garden:
* **Check the soil moisture regularly:** Use your finger to check the soil moisture before watering. If the top inch of soil feels dry, it’s time to water.
* **Water thoroughly:** Water the plants until water drains out of the bottom of the containers. This ensures that the roots are adequately hydrated.
* **Consider a drip irrigation system:** A drip irrigation system can automate the watering process and ensure that each plant receives the right amount of water.
* **Water in the morning:** Watering in the morning allows the plants to dry out before nightfall, which can help prevent fungal diseases.
* **Adjust watering frequency based on weather:** During hot, dry weather, you may need to water more frequently. During cool, wet weather, you may need to water less frequently.
How do I fertilize a vertical garden?
Vertical gardens, especially those in containers, require regular fertilization to provide the plants with the nutrients they need to thrive. Here are some tips for fertilizing your vertical garden:
* **Use a slow-release fertilizer:** Slow-release fertilizers provide a steady supply of nutrients over a longer period of time.
* **Use a liquid fertilizer:** Liquid fertilizers are easy to apply and provide a quick boost of nutrients.
* **Fertilize regularly:** Follow the instructions on the fertilizer packaging for how often to fertilize.
* **Consider using compost tea:** Compost tea is a natural fertilizer that is rich in nutrients and beneficial microbes.
* **Avoid over-fertilizing:** Over-fertilizing can damage the plants.
What kind of support structure do I need for a vertical garden?
The type of support structure you need for your vertical garden depends on the size and weight of the garden. Here are some common options:
* **Wooden Pallets:** Pallets are a readily available and inexpensive option. They can be leaned against a wall or hung from a fence.
* **Wire Mesh:** Wire mesh can be attached to a wall or fence and used to support hanging planters.
* **Trellises:** Trellises are a decorative option that can be used to support climbing plants.
* **Wall-Mounted Planters:** Wall-mounted planters are designed to be attached directly to a wall.
* **DIY Frames:** You can build your own frame using wood or metal.
Make sure that your support structure is strong enough to support the weight of the plants, soil, and water.
How do I prevent pests and diseases in my vertical garden?
Pests and diseases can be a problem in any garden, including vertical gardens. Here are some tips for preventing pests and diseases:
* **Choose disease-resistant plants:** When selecting plants for your vertical garden, choose varieties that are known to be resistant to common diseases.
* **Provide good air circulation:** Good air circulation helps to prevent fungal diseases.
* **Water properly:** Avoid overwatering, as this can create a breeding ground for pests and diseases.
* **Inspect plants regularly:** Check your plants regularly for signs of pests or diseases.
* **Use organic pest control methods:** If you find pests, use organic pest control methods such as insecticidal soap or neem oil.
* **Remove diseased plants:** If a plant becomes diseased, remove it from the garden to prevent the disease from spreading.
Can I grow a vertical garden indoors?
Yes, you can absolutely grow a vertical garden indoors! However, there are a few things to keep in mind:
* **Lighting:** Indoor vertical gardens typically require supplemental lighting, as natural light may not be sufficient. LED grow lights are a good option.
* **Humidity:** Indoor air can be dry, so you may need to increase the humidity around your vertical garden. You can do this by using a humidifier or by misting the plants regularly.
* **Watering:** Indoor vertical gardens may dry out more quickly than outdoor gardens, so you’ll need to water them more frequently.
* **Air Circulation:** Ensure good air circulation to prevent fungal diseases. A small fan can help.
* **Plant Selection:** Choose plants that thrive in indoor conditions, such as low-light plants and air-purifying plants.
How do I choose the right soil for my vertical garden?
Choosing the right soil is crucial for the success of your vertical garden. Here are some tips:
* **Use a lightweight potting mix:** A lightweight potting mix will help to reduce the weight of your vertical garden.
* **Choose a well-draining soil:** Good drainage is essential to prevent root rot.
* **Consider adding perlite or vermiculite:** Perlite and vermiculite improve drainage and aeration.
* **Avoid using garden soil:** Garden soil is too heavy and dense for vertical gardens.
* **Consider using a soilless mix:** Soilless mixes, such as coco coir or peat moss, are lightweight and provide excellent drainage.
How do I prepare my wall for a vertical garden?
Preparing your wall properly is essential to prevent damage from moisture and weight. Here’s how:
* **Assess the wall:** Determine the type of wall you have (drywall, concrete, brick, etc.) and its load-


Leave a Comment