
Growing bean sprouts at home is easier than you might think, and I’m here to show you how! Forget those pricey trips to the grocery store for a handful of sprouts; with a few simple supplies and my foolproof method, you’ll be enjoying fresh, crunchy bean sprouts in just a few days.
Sprouting, in general, has a rich history, dating back thousands of years in various cultures, particularly in Asian cuisine. It’s a fantastic way to boost the nutritional value of foods, as sprouting increases vitamin and enzyme content. Think of it as unlocking the hidden potential within those tiny beans!
But why should you bother growing bean sprouts at home? Well, for starters, it’s incredibly cost-effective. Plus, you have complete control over the growing environment, ensuring your sprouts are free from harmful chemicals and pesticides. In today’s world, where we’re all looking for ways to eat healthier and be more self-sufficient, this DIY project is a total game-changer. Imagine adding a burst of freshness to your salads, stir-fries, and sandwiches, all thanks to your own homegrown sprouts. Ready to get started? Let’s dive in!
Growing Bean Sprouts at Home: A Simple DIY Guide
Hey there, fellow DIY enthusiasts! I’m super excited to share one of my favorite kitchen hacks with you: growing your own bean sprouts at home. It’s incredibly easy, surprisingly fast, and adds a fresh, crunchy element to salads, stir-fries, and sandwiches. Plus, it’s a fantastic way to have fresh greens even when you can’t get to the store. Let’s dive in!
What You’ll Need
Before we get started, let’s gather our supplies. The beauty of this project is that you probably already have most of these things lying around your kitchen!
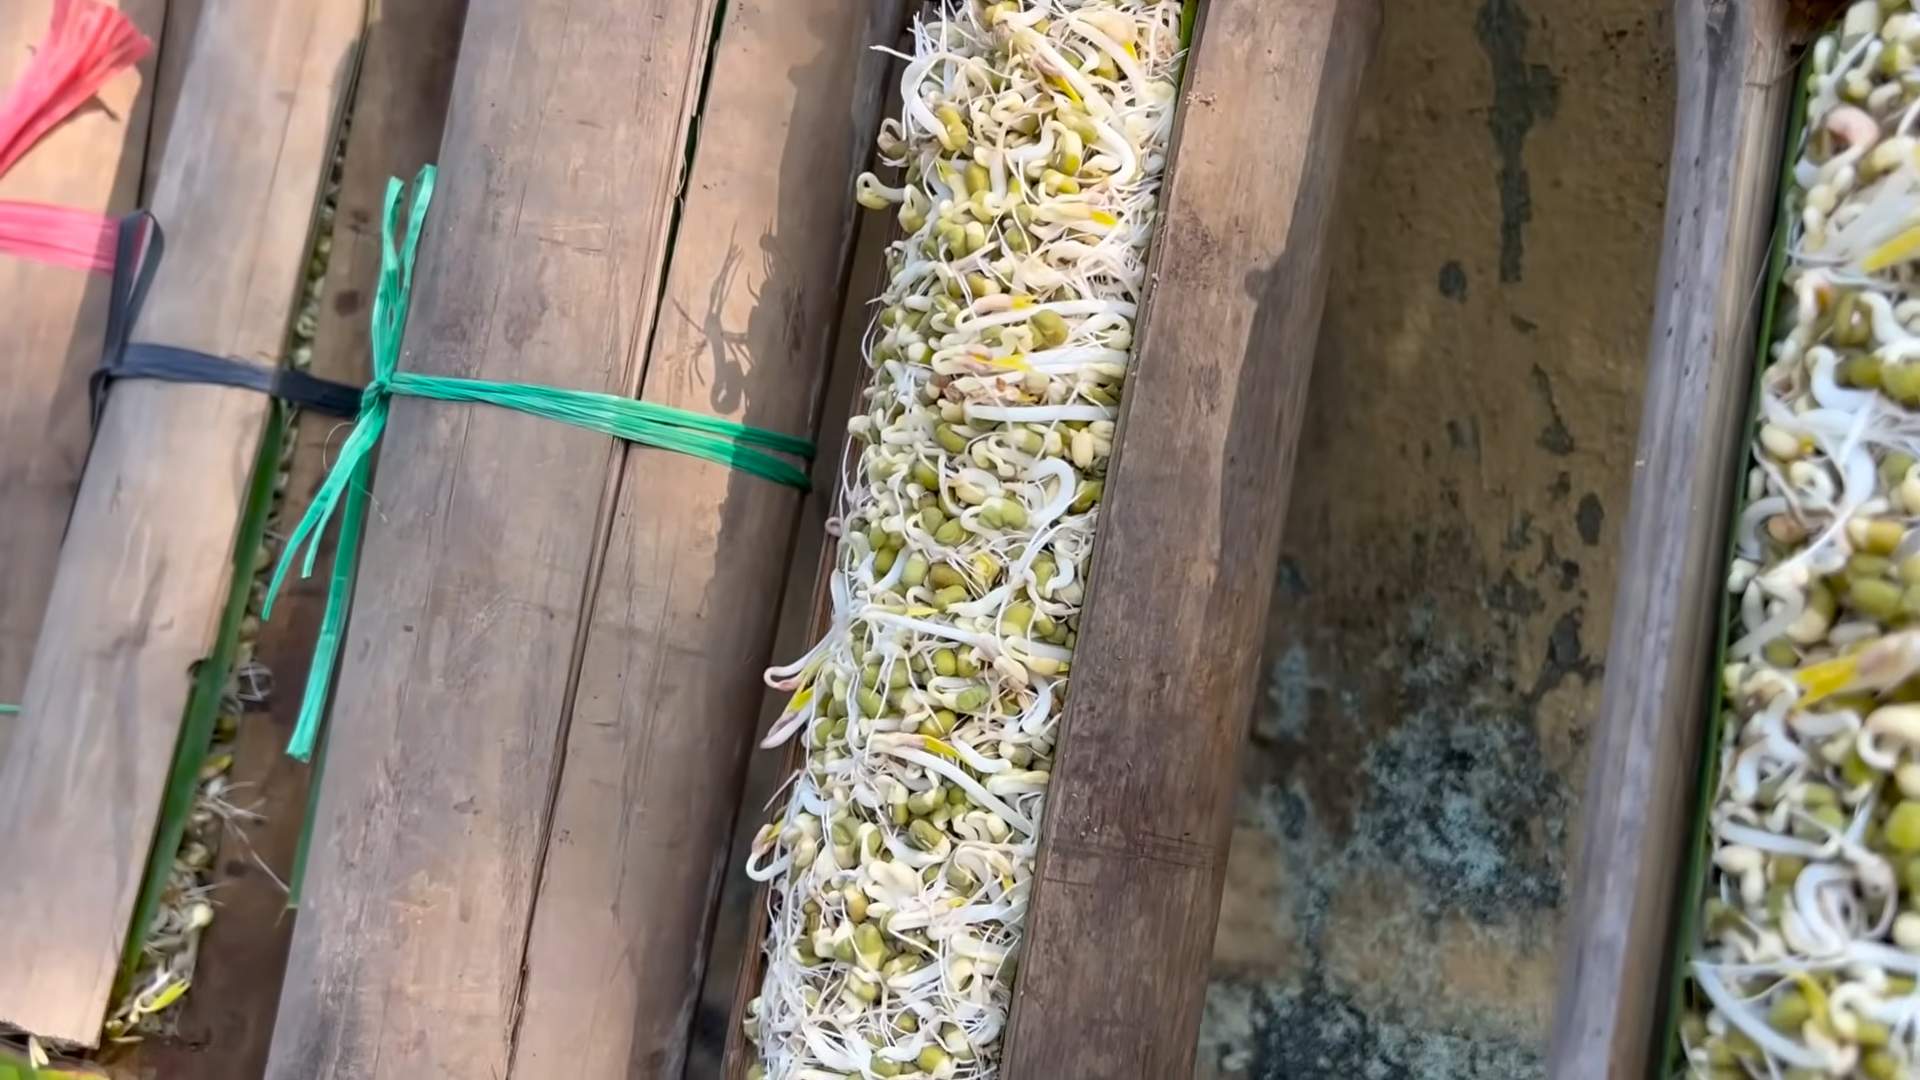
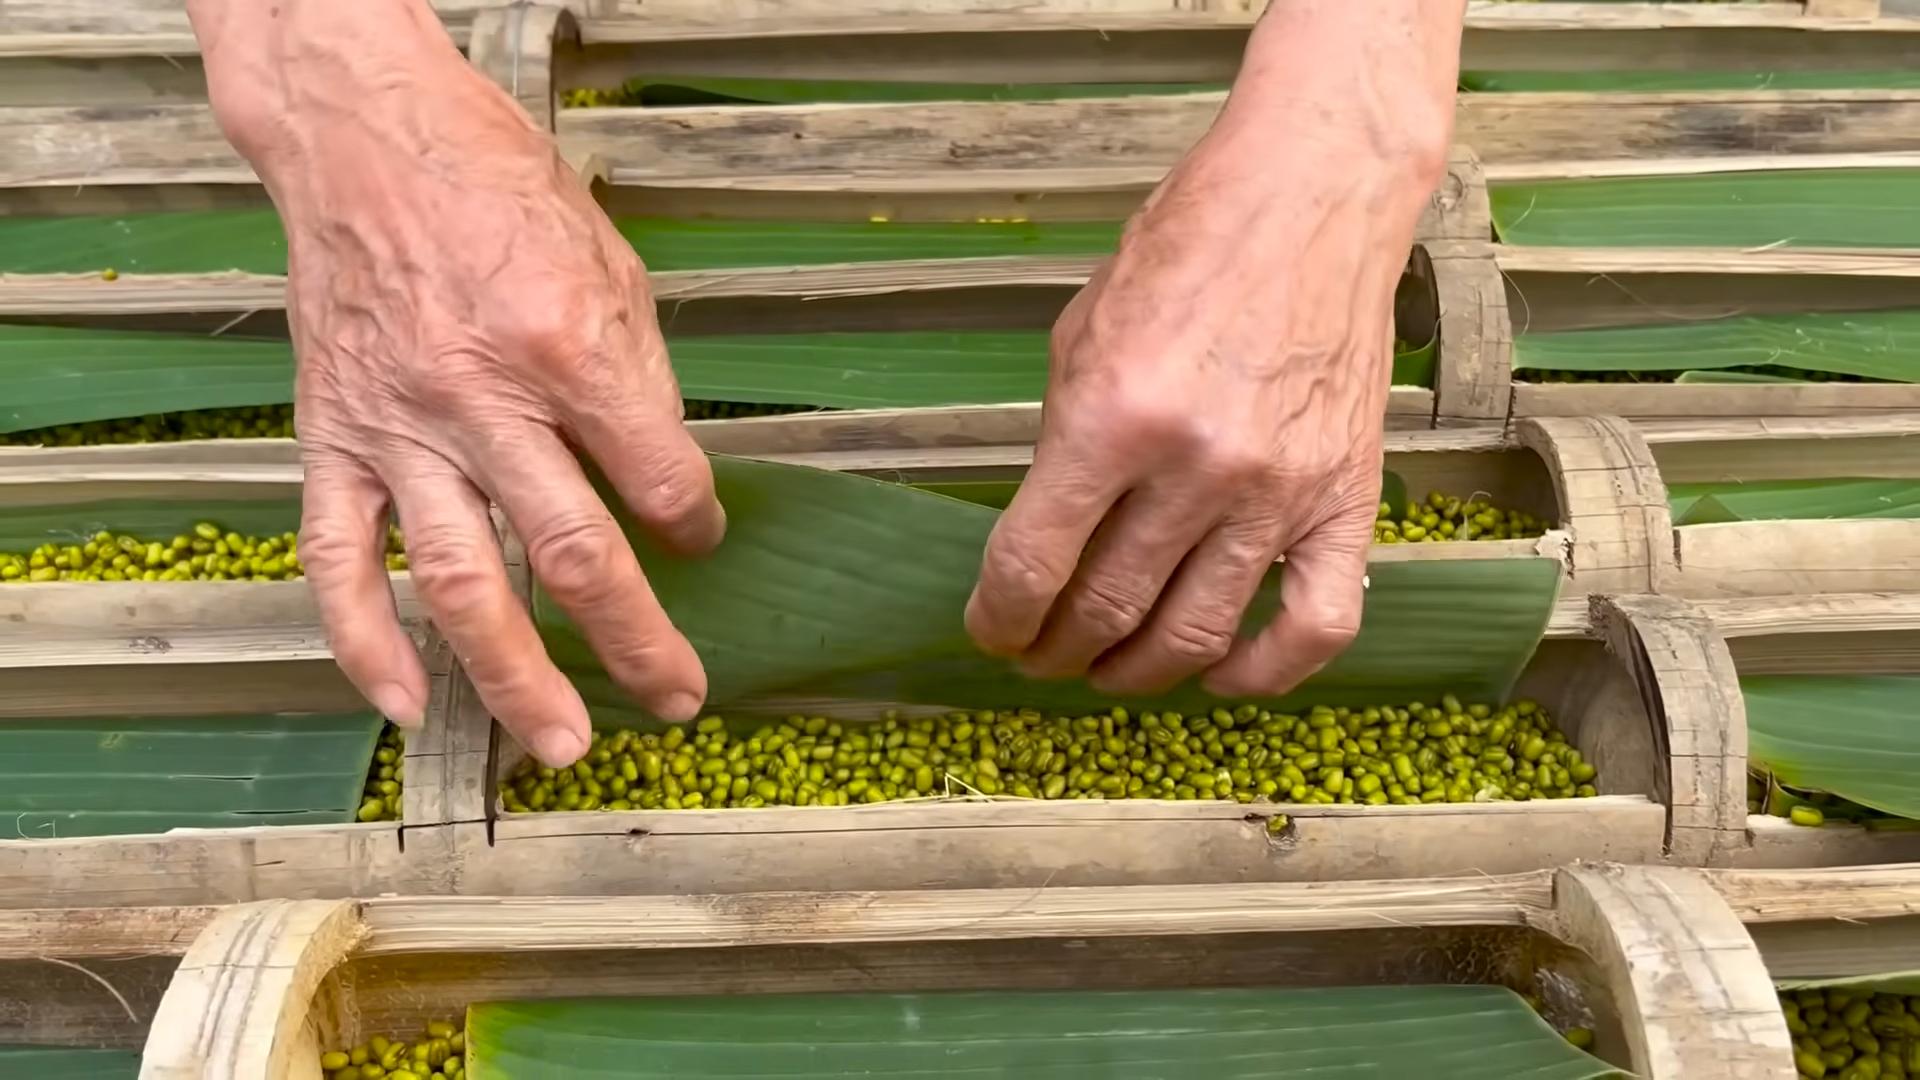
* **Beans:** Mung beans are the most common and easiest to sprout, but you can also use adzuki beans, lentils, chickpeas, or even radish seeds. Just make sure they are whole, un-split, and intended for sprouting (i.e., not roasted or treated). I usually get mine from the bulk section of my local health food store.
* **A Wide-Mouth Jar:** A quart-sized mason jar works perfectly. You can also use a clean glass container or even a plastic container, as long as it’s food-grade and has a wide opening.
* **Sprouting Lid or Cheesecloth:** You’ll need something to cover the jar and allow for drainage. A sprouting lid is ideal (they’re inexpensive and reusable), but a piece of cheesecloth secured with a rubber band works just as well. I’ve even used a piece of nylon stocking in a pinch!
* **Water:** Filtered water is best, but tap water is usually fine too.
* **A Dark Place:** A cupboard, pantry, or even a covered pot will do the trick. Darkness is crucial for the initial sprouting phase.
* **A Bowl or Tray:** To hold the jar at an angle for drainage.
Step-by-Step Instructions
Okay, let’s get sprouting! Here’s a detailed breakdown of the process:
1. **Rinse the Beans:** Place about 1/4 to 1/2 cup of beans in your jar. I usually start with 1/4 cup because they expand quite a bit. Rinse them thoroughly with cool water, removing any debris or broken beans. This step is important to remove any dust or dirt that might be clinging to the beans.
2. **Soak the Beans:** Fill the jar with cool water, ensuring the beans are completely submerged. They’ll absorb a lot of water during this process. Cover the jar with your sprouting lid or cheesecloth and secure it with a rubber band. Let the beans soak for 8-12 hours, or even overnight. I usually soak them before I go to bed so they’re ready to go in the morning.
3. **Drain and Rinse (First Time):** After soaking, drain the water completely. Rinse the beans thoroughly with fresh, cool water. This is where your sprouting lid or cheesecloth comes in handy – it allows you to drain the water without losing any beans.
4. **Darkness is Key:** Place the jar upside down at an angle in your bowl or tray. This allows any excess water to drain out. The angle is important to prevent the beans from sitting in water, which can lead to mold. Now, place the jar in a dark place. A cupboard or pantry works great. You can also cover the jar with a towel or place it inside a pot with a lid.
5. **Rinse and Drain (Daily):** This is the most important step! Rinse and drain the beans 2-3 times per day. This keeps them moist and prevents mold growth. Use cool, fresh water each time. I usually do it in the morning, afternoon, and before bed. Make sure to drain the water thoroughly after each rinse.
6. **Observe the Magic:** After a day or two, you’ll start to see tiny sprouts emerging from the beans. This is so exciting! Continue rinsing and draining 2-3 times a day, keeping the jar in the dark.
7. **Introduce to Light (Optional):** Once the sprouts are about 1-2 inches long (usually after 3-5 days), you can expose them to indirect sunlight for a few hours each day. This will help them develop chlorophyll and turn a light green color. However, be careful not to expose them to direct sunlight, as this can dry them out. I sometimes skip this step if I prefer the paler color and milder flavor.
8. **Harvest and Enjoy:** Your bean sprouts are ready to harvest when they reach your desired length, usually around 2-3 inches. Give them a final rinse and drain.
9. **Storage:** Store your bean sprouts in an airtight container in the refrigerator. They should last for about a week. I usually line the container with a paper towel to absorb any excess moisture.
Troubleshooting and Tips
Even though growing bean sprouts is pretty straightforward, here are a few tips and tricks I’ve learned along the way:
* **Mold Prevention:** The biggest challenge is preventing mold. Thorough rinsing and draining are crucial. If you see any signs of mold (fuzzy white or gray patches), discard the entire batch.
* **Bean Quality:** Use high-quality beans specifically intended for sprouting. Old or damaged beans are less likely to sprout and more likely to mold.
* **Water Quality:** Use filtered or clean water. Tap water is usually fine, but if your tap water has a strong chlorine smell, it’s best to use filtered water.
* **Temperature:** The ideal temperature for sprouting is between 70-80°F (21-27°C). Avoid extreme temperatures.
* **Overcrowding:** Don’t overcrowd the jar with too many beans. They need room to expand and breathe.
* **Experiment:** Try different types of beans and seeds to find your favorites. Radish seeds sprout quickly and have a spicy kick!
* **Smell Test:** If you’re unsure if your sprouts are good, give them a sniff. The
Hey there, fellow DIY enthusiasts! I’m super excited to share one of my favorite kitchen hacks with you: growing your own bean sprouts at home. It’s incredibly easy, surprisingly fast, and adds a fresh, crunchy element to salads, stir-fries, and sandwiches. Plus, it’s a fantastic way to have fresh greens even when you can’t get to the store. Let’s dive in!
What You’ll Need
Before we get started, let’s gather our supplies. The beauty of this project is that you probably already have most of these things lying around your kitchen!
* **Beans:** Mung beans are the most common and easiest to sprout, but you can also use adzuki beans, lentils, chickpeas, or even radish seeds. Just make sure they are whole, un-split, and intended for sprouting (i.e., not roasted or treated). I usually get mine from the bulk section of my local health food store.
* **A Wide-Mouth Jar:** A quart-sized mason jar works perfectly. You can also use a clean glass container or even a plastic container, as long as it’s food-grade and has a wide opening.
* **Sprouting Lid or Cheesecloth:** You’ll need something to cover the jar and allow for drainage. A sprouting lid is ideal (they’re inexpensive and reusable), but a piece of cheesecloth secured with a rubber band works just as well. I’ve even used a piece of nylon stocking in a pinch!
* **Water:** Filtered water is best, but tap water is usually fine too.
* **A Dark Place:** A cupboard, pantry, or even a covered pot will do the trick. Darkness is crucial for the initial sprouting phase.
* **A Bowl or Tray:** To hold the jar at an angle for drainage.
Step-by-Step Instructions
Okay, let’s get sprouting! Here’s a detailed breakdown of the process:
1. **Rinse the Beans:** Place about 1/4 to 1/2 cup of beans in your jar. I usually start with 1/4 cup because they expand quite a bit. Rinse them thoroughly with cool water, removing any debris or broken beans. This step is important to remove any dust or dirt that might be clinging to the beans.
2. **Soak the Beans:** Fill the jar with cool water, ensuring the beans are completely submerged. They’ll absorb a lot of water during this process. Cover the jar with your sprouting lid or cheesecloth and secure it with a rubber band. Let the beans soak for 8-12 hours, or even overnight. I usually soak them before I go to bed so they’re ready to go in the morning.
3. **Drain and Rinse (First Time):** After soaking, drain the water completely. Rinse the beans thoroughly with fresh, cool water. This is where your sprouting lid or cheesecloth comes in handy – it allows you to drain the water without losing any beans.
4. **Darkness is Key:** Place the jar upside down at an angle in your bowl or tray. This allows any excess water to drain out. The angle is important to prevent the beans from sitting in water, which can lead to mold. Now, place the jar in a dark place. A cupboard or pantry works great. You can also cover the jar with a towel or place it inside a pot with a lid.
5. **Rinse and Drain (Daily):** This is the most important step! Rinse and drain the beans 2-3 times per day. This keeps them moist and prevents mold growth. Use cool, fresh water each time. I usually do it in the morning, afternoon, and before bed. Make sure to drain the water thoroughly after each rinse.
6. **Observe the Magic:** After a day or two, you’ll start to see tiny sprouts emerging from the beans. This is so exciting! Continue rinsing and draining 2-3 times a day, keeping the jar in the dark.
7. **Introduce to Light (Optional):** Once the sprouts are about 1-2 inches long (usually after 3-5 days), you can expose them to indirect sunlight for a few hours each day. This will help them develop chlorophyll and turn a light green color. However, be careful not to expose them to direct sunlight, as this can dry them out. I sometimes skip this step if I prefer the paler color and milder flavor.
8. **Harvest and Enjoy:** Your bean sprouts are ready to harvest when they reach your desired length, usually around 2-3 inches. Give them a final rinse and drain.
9. **Storage:** Store your bean sprouts in an airtight container in the refrigerator. They should last for about a week. I usually line the container with a paper towel to absorb any excess moisture.
Troubleshooting and Tips
Even though growing bean sprouts is pretty straightforward, here are a few tips and tricks I’ve learned along the way:
* **Mold Prevention:** The biggest challenge is preventing mold. Thorough rinsing and draining are crucial. If you see any signs of mold (fuzzy white or gray patches), discard the entire batch.
* **Bean Quality:** Use high-quality beans specifically intended for sprouting. Old or damaged beans are less likely to sprout and more likely to mold.
* **Water Quality:** Use filtered or clean water. Tap water is usually fine, but if your tap water has a strong chlorine smell, it’s best to use filtered water.
* **Temperature:** The ideal temperature for sprouting is between 70-80°F (21-27°C). Avoid extreme temperatures.
* **Overcrowding:** Don’t overcrowd the jar with too many beans. They need room to expand and breathe.
* **Experiment:** Try different types of beans and seeds to find your favorites. Radish seeds sprout quickly and have a spicy kick!
* **Smell Test:** If you’re unsure if your sprouts are good, give them a sniff. They should smell fresh and clean. If they smell musty or sour, discard them.
* Don’t be afraid to fail! Sometimes a batch just doesn’t work out. It happens to everyone. Just try again!
Using Your Homegrown Bean Sprouts
Now that you have a jar full of fresh, crunchy bean sprouts, what do you do with them? The possibilities are endless!
* **Salads:** Add them to salads for a boost of texture and nutrients.
* **Stir-fries:** Toss them into stir-fries for a quick and easy vegetable addition.
* **Sandwiches and Wraps:** Use them as a crunchy topping for sandwiches and wraps.
* **Spring Rolls:** They’re a classic ingredient in fresh spring rolls.
* **Soups:** Add them to soups just before serving for a fresh crunch.
* **Garnish:** Use them as a garnish for various dishes.
Why Grow Your Own Bean Sprouts?
Besides being incredibly easy and cost-effective, growing your own bean sprouts offers several benefits:
* **Freshness:** You can’t beat the freshness of homegrown sprouts.
* **Nutrients:** Bean sprouts are packed with vitamins, minerals, and enzymes.
* **Cost Savings:** Growing your own sprouts is much cheaper than buying them at the store.
* **Sustainability:** You’re reducing your carbon footprint by growing your own food.
* **Fun and Educational:** It’s a fun and educational activity for kids and adults alike.
A Few More Tips for Success
* Consistency is key. Make sure you rinse and drain the sprouts at least twice a day. This is the most important factor in preventing mold.
* Don’t be afraid to experiment with different beans. Mung beans are the easiest to start with, but you can also try adzuki beans, lentils, or even radish seeds.
* If you’re having trouble with mold, try using a diluted vinegar solution for rinsing. Add a tablespoon of white vinegar to a cup of water and use that to rinse the sprouts once a day.
* Keep a journal of your sprouting experiences. Note what worked well and what didn’t. This will help you improve your technique over time.
* Share your sprouts with friends and family! They’ll be impressed by your DIY skills.
I hope this guide has inspired you to try growing your own bean sprouts at home. It’s a simple, rewarding, and delicious way to add fresh greens to your diet. Happy sprouting!
Conclusion
So, there you have it! Growing bean sprouts at home is not only incredibly easy and rewarding, but it’s also a fantastic way to add a burst of fresh, nutritious flavor to your meals. Forget those limp, flavorless sprouts from the grocery store – with just a few simple supplies and a little patience, you can cultivate your own vibrant, crunchy bean sprouts right in your kitchen.
Why is this DIY trick a must-try? Because it puts you in control. You control the quality of the beans, ensuring they are organic and free from harmful chemicals. You control the freshness, harvesting your sprouts at their peak flavor and nutritional value. And you control the cost, saving money compared to buying pre-packaged sprouts. Plus, there’s a certain satisfaction that comes from nurturing something from seed to sprout, a connection to the food you eat that’s often missing in our modern lives.
But the best part? The possibilities are endless! While we’ve focused on mung bean sprouts in this guide, don’t be afraid to experiment with other types of beans and seeds. Adzuki beans, lentils, alfalfa, and even radish seeds can all be sprouted at home, each offering a unique flavor and texture. You can also play around with different sprouting methods. Try using a sprouting jar with a mesh lid, a multi-tiered sprouting tray, or even a simple colander lined with cheesecloth. Each method has its own advantages, so find what works best for you and your space.
Consider adding a touch of spice to your sprouts by incorporating a pinch of chili flakes into the rinsing water. Or, for a more savory flavor, try adding a dash of soy sauce or tamari. You can even experiment with different growing conditions, such as varying the amount of light or humidity, to see how it affects the taste and texture of your sprouts.
Growing bean sprouts at home is a journey of discovery, a chance to connect with nature and nourish your body with fresh, wholesome food. It’s a simple yet profound act that can bring joy and satisfaction to your daily life.
We wholeheartedly encourage you to give this DIY trick a try. It’s easier than you think, and the rewards are well worth the effort. Once you’ve tasted the difference between homegrown and store-bought sprouts, you’ll never go back!
And most importantly, we want to hear about your experience! Share your photos, tips, and variations in the comments below. Let us know what worked for you, what challenges you faced, and what delicious dishes you created with your homegrown bean sprouts. Together, we can build a community of sprout enthusiasts and inspire others to embrace the joy of growing their own food. So, get sprouting and let the good times grow!
Frequently Asked Questions (FAQ)
What types of beans can I use for sprouting?
While mung beans are the most common and easiest to sprout, you can experiment with a variety of other beans and seeds. Adzuki beans, lentils, chickpeas, alfalfa seeds, radish seeds, broccoli seeds, and even sunflower seeds can be sprouted. Keep in mind that different beans have different sprouting times and may require slightly different techniques. Always research the specific requirements of the bean you’re using before you begin. Avoid sprouting kidney beans, as they contain toxins that are only destroyed by thorough cooking.
How long does it take to grow bean sprouts?
The sprouting time varies depending on the type of bean and the environmental conditions. Mung bean sprouts typically take 3-5 days to reach a harvestable size. Lentils and alfalfa sprouts may take slightly longer, while radish and broccoli sprouts can be ready in as little as 2-3 days. Keep an eye on your sprouts and harvest them when they reach your desired size and texture.
What is the best way to store bean sprouts?
Once harvested, bean sprouts should be stored in the refrigerator in an airtight container. To keep them fresh and crisp, line the container with a paper towel to absorb excess moisture. Properly stored bean sprouts can last for up to a week in the refrigerator.
How often should I rinse the bean sprouts?
Rinsing is crucial for preventing mold and bacteria growth. Rinse your bean sprouts at least twice a day, preferably three times, with cool, clean water. Ensure that all the water drains away completely after each rinse.
What if my bean sprouts start to smell bad?
A foul odor is a sign of bacterial contamination. If your bean sprouts develop a bad smell, discard them immediately. To prevent this, ensure you are using clean equipment, rinsing the sprouts frequently, and providing adequate drainage.
Can I eat the bean sprout roots?
Yes, the roots of bean sprouts are perfectly edible. They are a natural part of the sprout and contribute to its overall texture and flavor.
Why are my bean sprouts not growing?
There could be several reasons why your bean sprouts are not growing. First, ensure that you are using fresh, viable beans. Old or damaged beans may not sprout. Second, check the temperature. Bean sprouts prefer a warm, humid environment. Third, make sure you are rinsing the sprouts regularly and providing adequate drainage. Finally, avoid exposing the sprouts to direct sunlight, as this can inhibit growth.
Are bean sprouts safe to eat raw?
While homegrown bean sprouts are generally safe to eat raw, it’s important to take precautions to minimize the risk of bacterial contamination. Always use clean equipment, rinse the sprouts thoroughly, and store them properly. If you are concerned about food safety, you can lightly cook the sprouts before eating them.
Can I grow bean sprouts without soil?
Yes, bean sprouts are typically grown without soil. They only require water, air, and a suitable container to sprout. The beans contain all the nutrients they need to germinate and grow into sprouts.
What are the nutritional benefits of bean sprouts?
Bean sprouts are a nutritional powerhouse, packed with vitamins, minerals, and antioxidants. They are a good source of vitamin C, vitamin K, folate, and fiber. They are also low in calories and fat, making them a healthy addition to any diet. Growing bean sprouts at home allows you to access these nutrients at their peak freshness.
How do I prevent mold growth on my bean sprouts?
Preventing mold growth is essential for successful sprouting. Use clean equipment, rinse the sprouts frequently with cool, clean water, and ensure adequate drainage. Avoid overcrowding the sprouts in the container, as this can create a humid environment that promotes mold growth. If you notice any signs of mold, discard the affected sprouts immediately.
Can I use tap water to rinse my bean sprouts?
While tap water is generally safe to use, it’s best to use filtered water if possible. Tap water may contain chlorine or other chemicals that can inhibit sprouting or affect the taste of the sprouts.
What is the ideal temperature for growing bean sprouts?
The ideal temperature for growing bean sprouts is between 70-80°F (21-27°C). Avoid exposing the sprouts to extreme temperatures, as this can slow down growth or even kill the sprouts.
How much light do bean sprouts need?
Bean sprouts do not need direct sunlight. In fact, exposing them to direct sunlight can cause them to turn bitter. A dark or dimly lit environment is ideal for sprouting.
Can I compost the leftover bean hulls after sprouting?
Yes, the leftover bean hulls are a great addition to your compost pile. They are rich in nutrients and will help to enrich your soil.
Leave a Comment