
Refrigerator Cleaning Tips: Let’s face it, nobody *loves* cleaning the fridge. It’s one of those chores that gets perpetually pushed to the bottom of the to-do list, right? But what if I told you that with a few simple DIY tricks and hacks, you could transform this dreaded task into a breeze?
Think about it: your refrigerator is the heart of your kitchen, the guardian of your groceries, and the keeper of your leftovers. From the ancient ice houses of Persia to the modern marvels we have today, keeping food cold has always been a priority. But a fridge filled with forgotten leftovers and sticky spills isn’t just unappealing; it can also be a breeding ground for bacteria and odors that can affect the freshness of your food and even your health!
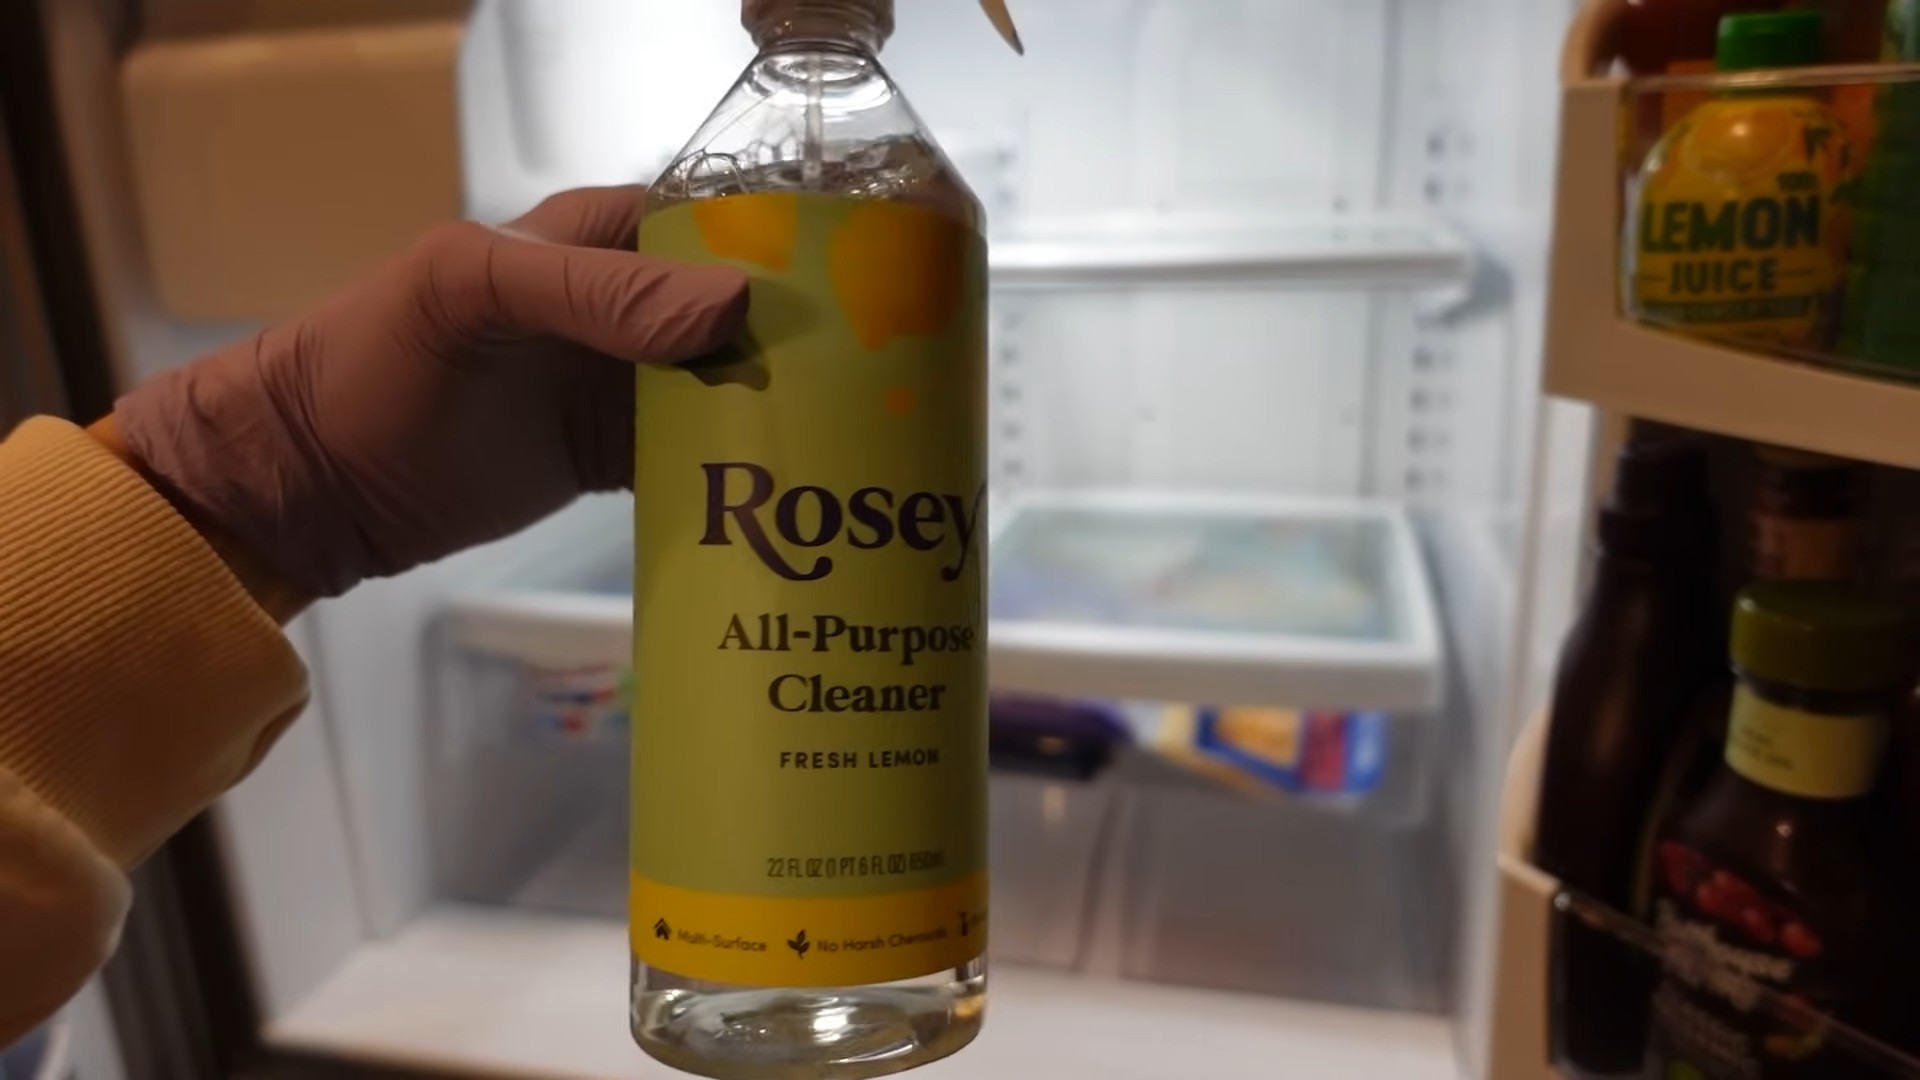
That’s where these refrigerator cleaning tips come in. I’m going to share some easy-to-follow DIY methods that will not only get your fridge sparkling clean but also help you maintain it more effectively. We’ll cover everything from natural cleaning solutions to organizational hacks that will keep your fridge looking and smelling fresh. So, ditch the harsh chemicals and get ready to discover how to make refrigerator cleaning a quick, easy, and even (dare I say it?) enjoyable task!
Growing Watermelons: A Comprehensive DIY Guide for a Sweet Harvest
Hey there, fellow gardening enthusiasts! I’m so excited to share my tried-and-true method for growing juicy, delicious watermelons right in your own backyard. Forget those bland, store-bought melons – with a little effort and these tips, you’ll be enjoying the sweetest watermelons you’ve ever tasted!
Choosing the Right Watermelon Variety
Before we even think about planting, it’s crucial to pick the right watermelon variety for your climate and garden size. Here’s a quick rundown of some popular choices:
* Sugar Baby: This is a classic, compact variety perfect for smaller gardens. It matures quickly and produces small, sweet melons. I’ve had great success with Sugar Baby in my limited space.
* Crimson Sweet: A larger, more traditional watermelon with a vibrant red flesh and excellent flavor. It requires more space but is well worth the effort.
* Jubilee: Known for its disease resistance and large size, Jubilee is a great option if you’re looking for a reliable and productive variety.
* Yellow Doll: If you’re feeling adventurous, try a yellow-fleshed watermelon like Yellow Doll. It’s incredibly sweet and has a unique flavor profile.
* Seedless Varieties: These are great for those who dislike seeds, but they require a bit more attention and often need a seeded variety nearby for pollination.
Consider your growing season length, available space, and personal preferences when making your selection. I always recommend checking with your local nursery for varieties that thrive in your specific region.
Preparing Your Garden Bed
Watermelons are heavy feeders and need a nutrient-rich, well-drained soil to thrive. Here’s how I prepare my garden bed:
* Sunlight: Watermelons need at least 6-8 hours of direct sunlight per day. Choose a location that gets plenty of sun.
* Soil Testing: I always recommend testing your soil to determine its pH and nutrient levels. Watermelons prefer a slightly acidic soil with a pH between 6.0 and 6.8.
* Soil Amendment: Amend your soil with plenty of organic matter, such as compost, well-rotted manure, or leaf mold. This will improve drainage, aeration, and nutrient content. I usually add a generous layer of compost at least a few weeks before planting.
* Raised Beds: If you have heavy clay soil, consider growing your watermelons in raised beds. This will improve drainage and prevent root rot.
* Spacing: Watermelons need plenty of space to spread out. Allow at least 3-4 feet between plants and 6-8 feet between rows.
Starting Watermelon Seeds Indoors (Optional)
While you can direct sow watermelon seeds, starting them indoors gives them a head start, especially in cooler climates. Here’s my method:
1. Timing: Start your seeds about 3-4 weeks before the last expected frost.
2. Seed Starting Mix: Use a high-quality seed starting mix that is light and well-draining.
3. Containers: I prefer using peat pots or biodegradable containers, as they can be planted directly into the ground, minimizing root disturbance.
4. Sowing: Sow seeds about 1 inch deep in the seed starting mix.
5. Watering: Keep the soil consistently moist but not waterlogged.
6. Warmth: Watermelon seeds need warmth to germinate. Use a heat mat to maintain a soil temperature of 80-90°F (27-32°C).
7. Light: Once the seedlings emerge, provide them with plenty of light. A sunny windowsill or grow lights will work well.
8. Hardening Off: Before transplanting your seedlings outdoors, you’ll need to harden them off. Gradually expose them to outdoor conditions for a week or two. Start with an hour or two of sunlight and increase the time each day.
Transplanting Watermelon Seedlings or Direct Sowing
Once the soil has warmed up to at least 70°F (21°C) and the danger of frost has passed, it’s time to transplant your seedlings or direct sow your seeds.
1. Prepare the Planting Hole: Dig a hole that is slightly larger than the root ball of your seedling.
2. Planting Depth: If you started your seeds in peat pots, plant the entire pot directly into the ground. Otherwise, gently remove the seedling from its container and plant it at the same depth it was growing in the container.
3. Spacing: Space your plants according to the recommended spacing for your chosen variety.
4. Watering: Water the newly transplanted seedlings thoroughly.
5. Mulching: Apply a layer of mulch around the plants to help retain moisture, suppress weeds, and regulate soil temperature. I like to use straw or shredded leaves.
6. Direct Sowing: If you’re direct sowing, plant seeds about 1 inch deep and space them according to the recommended spacing for your chosen variety. Keep the soil consistently moist until the seeds germinate.
Watering and Fertilizing
Watermelons need consistent watering, especially during hot, dry weather. Here’s my watering and fertilizing routine:
* Watering: Water deeply and regularly, especially when the fruits are developing. Aim for about 1-2 inches of water per week. Avoid overhead watering, as this can promote fungal diseases. Drip irrigation or soaker hoses are ideal.
* Fertilizing: Watermelons are heavy feeders and benefit from regular fertilization.
* Early Stage: When the plants are young, use a fertilizer that is high in nitrogen to promote leafy growth. I use a balanced fertilizer like 10-10-10.
* Flowering Stage: Once the plants start to flower, switch to a fertilizer that is higher in phosphorus and potassium to promote fruit development. I use a fertilizer like 5-10-10.
* Fruiting Stage: Continue fertilizing every 2-3 weeks throughout the growing season. You can also supplement with compost tea or liquid seaweed extract.
* Avoid Over-Fertilizing: Be careful not to over-fertilize, as this can lead to excessive vine growth and reduced fruit production.
Pollination
Watermelons are pollinated by bees and other insects. If you’re not seeing a lot of bee activity in your garden, you may need to hand-pollinate your plants.
1. Identify Male and Female Flowers: Male flowers have a long, thin stem, while female flowers have a small, immature watermelon at the base.
2. Hand-Pollination: In the morning, use a small paintbrush or cotton swab to collect pollen from the male flower. Then, gently transfer the pollen to the stigma of the female flower.
3. Timing: Hand-pollinate your plants early in the morning, as this is when the flowers are most receptive.
Pest and Disease Control
Watermelons can be susceptible to various pests and diseases. Here’s how I manage them:
* Common Pests:
* Aphids: These tiny insects can suck the sap from your plants. Control them with insecticidal soap or a strong spray of water.
* Cucumber Beetles: These beetles can damage leaves and transmit diseases. Use row covers to protect young plants or hand-pick the beetles off the plants.
* Squash Bugs: These bugs can also damage leaves and transmit diseases. Hand-pick the bugs off the plants or use insecticidal soap.
* Common Diseases:
* Powdery Mildew: This fungal disease causes a white, powdery coating on the leaves. Improve air circulation and use a fungicide if necessary.
* Fusarium Wilt: This soilborne disease can cause the plants to wilt and die. Plant disease-resistant varieties and practice crop rotation.
* Anthracnose: This fungal disease causes dark, sunken spots on the leaves and fruits. Use a fungicide and avoid overhead watering.
* Prevention: The best way to control pests and diseases is to prevent them from occurring in the first place.
* Healthy Soil: Start with healthy soil that is rich in organic matter.
* Good Air Circulation: Provide good air circulation around your plants.
* Water Properly: Water deeply and regularly, but avoid overhead watering.
* Crop Rotation: Practice crop rotation to prevent soilborne diseases.
* Disease-Resistant Varieties: Plant disease-resistant varieties whenever possible.
Supporting the Fruit
As your watermelons grow larger, they may need support to prevent them from rotting on the ground.
* Elevate the Fruit: Place a piece of cardboard, wood, or straw under each watermelon to keep it off the ground.
* Slings: For
Conclusion
So, there you have it! Transforming your refrigerator from a biohazard zone to a sparkling sanctuary is easier than you think. This DIY refrigerator cleaning trick isn’t just about aesthetics; it’s about food safety, extending the life of your appliances, and creating a more pleasant kitchen environment. Think about it: no more mysterious smells assaulting your nostrils every time you open the fridge, no more sticky spills harboring bacteria, and no more wasted food languishing in forgotten corners.
This method, focusing on natural ingredients and a systematic approach, is a game-changer. It’s gentler on your refrigerator’s surfaces than harsh chemicals, better for the environment, and, frankly, more enjoyable. Who wants to spend their Saturday afternoon battling fumes and wearing gloves when you can achieve even better results with ingredients you probably already have in your pantry?
But don’t just take our word for it. The real magic happens when you try it yourself. Feel free to experiment with variations to suit your specific needs and preferences. For instance, if you’re dealing with particularly stubborn odors, consider adding a few drops of your favorite essential oil (lemon, tea tree, or grapefruit are excellent choices) to your cleaning solution. For extra scrubbing power on tough stains, a paste of baking soda and water can work wonders. You can also use a toothbrush to get into those hard-to-reach crevices.
Remember to always unplug your refrigerator before starting the cleaning process for safety.
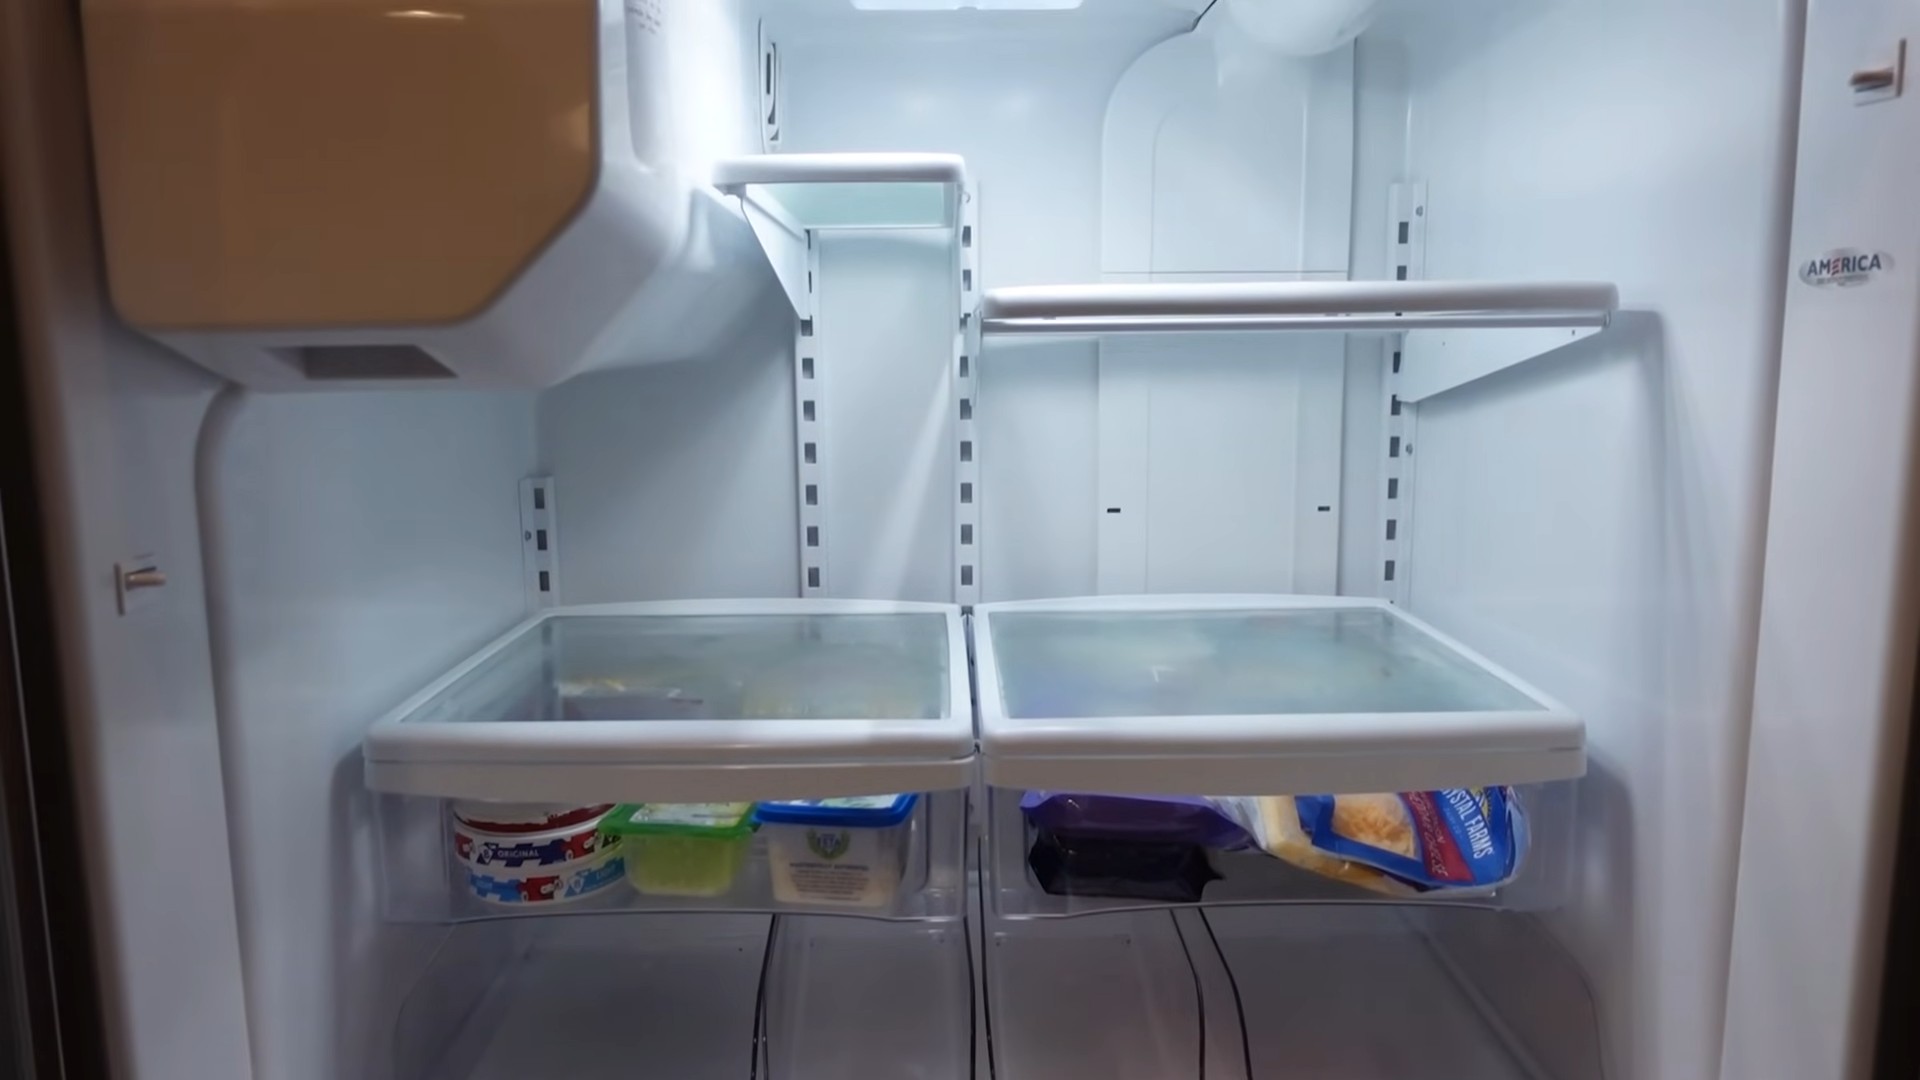
Beyond the basic cleaning, consider incorporating preventative measures to keep your refrigerator in tip-top shape. Designate specific shelves for certain types of food to minimize cross-contamination. Use airtight containers to store leftovers and cut produce, preventing spills and slowing down spoilage. And, perhaps most importantly, make it a habit to do a quick weekly sweep, tossing out anything that’s past its prime.
We’re confident that this DIY refrigerator cleaning trick will become a staple in your cleaning routine. It’s efficient, effective, and surprisingly satisfying. The feeling of opening a clean, organized refrigerator is truly rewarding.
Now, it’s your turn! Give this method a try and see the difference it makes. We’re eager to hear about your experiences. Share your before-and-after photos, your favorite variations, and any tips you’ve discovered along the way in the comments below. Let’s create a community of sparkling refrigerators! Your feedback will not only help others but also inspire us to continue sharing helpful and practical cleaning solutions. Let us know if this DIY refrigerator cleaning trick worked for you!
Frequently Asked Questions (FAQ)
Q: How often should I clean my refrigerator?
A: Ideally, you should aim for a deep clean of your refrigerator every 3-6 months. However, a quick wipe-down of spills and a check for expired food should be done weekly. This prevents build-up and keeps your refrigerator smelling fresh. More frequent cleaning is necessary if you notice persistent odors, spills, or mold growth. Consider a monthly deep clean if you have a large family or tend to accumulate a lot of leftovers.
Q: What if I don’t have all the ingredients listed in the recipe?
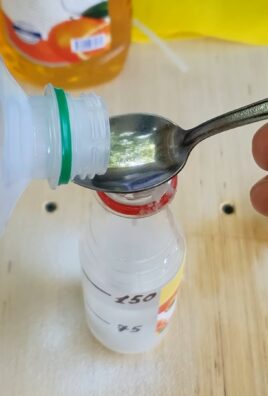
A: Don’t worry! The beauty of this DIY refrigerator cleaning trick is its flexibility. White vinegar and baking soda are the key ingredients, but you can substitute lemon juice for vinegar if you prefer a citrus scent. If you don’t have dish soap, a mild all-purpose cleaner can be used sparingly. The most important thing is to use gentle, non-abrasive cleaners to avoid damaging your refrigerator’s surfaces. If you are missing an ingredient, consider what properties it brings to the cleaning process. For example, vinegar is a natural disinfectant and deodorizer, so lemon juice can be used as a substitute.
Q: Is it safe to use vinegar on all refrigerator surfaces?
A: Generally, yes, white vinegar is safe for most refrigerator surfaces, including plastic, glass, and stainless steel. However, it’s always a good idea to test a small, inconspicuous area first, especially if you have an older refrigerator with potentially more delicate finishes. Avoid using vinegar on porous surfaces like unsealed wood, as it can be absorbed and cause damage. If you’re unsure, consult your refrigerator’s manual for specific cleaning recommendations.
Q: How do I get rid of stubborn odors in my refrigerator?
A: Stubborn odors can be tricky, but there are several effective solutions. After cleaning, place an open box of baking soda in the refrigerator to absorb lingering smells. You can also try placing a bowl of activated charcoal or coffee grounds inside. Another trick is to soak cotton balls in vanilla extract and place them in the refrigerator overnight. For particularly persistent odors, consider identifying the source (e.g., spoiled food) and removing it immediately. Ensure all containers are tightly sealed to prevent odors from spreading.
Q: How long does it take to clean a refrigerator using this method?
A: The time it takes to clean your refrigerator will depend on its size and how dirty it is. A basic cleaning should take about 30-60 minutes. If you have a lot of spills and grime to tackle, it may take longer. The key is to be organized and systematic. Remove all the food, clean the shelves and drawers, wipe down the interior walls, and then replace everything. Breaking the task into smaller steps can make it feel less daunting.
Q: Can I use this method to clean the freezer as well?
A: Absolutely! This DIY refrigerator cleaning trick is also effective for cleaning your freezer. However, you’ll need to defrost your freezer first. Unplug it and allow the ice to melt completely. You can speed up the process by placing bowls of hot water inside. Once the freezer is defrosted, follow the same cleaning steps as you would for the refrigerator. Be sure to dry the freezer thoroughly before plugging it back in to prevent ice from reforming quickly.
Q: What’s the best way to prevent food from spoiling in the refrigerator?
A: Proper food storage is key to preventing spoilage. Store leftovers in airtight containers and label them with the date. Keep raw meat and poultry on the bottom shelf to prevent drips from contaminating other foods. Store fruits and vegetables in the crisper drawers, and adjust the humidity settings accordingly. Avoid overfilling your refrigerator, as this can restrict airflow and lead to uneven cooling. Regularly check for expired food and discard it promptly.
Q: My refrigerator has a water dispenser and ice maker. How do I clean those?
A: Cleaning your refrigerator’s water dispenser and ice maker is essential for maintaining water quality. For the water dispenser, follow the manufacturer’s instructions for cleaning the reservoir and lines. You can typically use a solution of vinegar and water. For the ice maker, discard any old ice and wipe down the interior with a damp cloth. Some ice makers have a self-cleaning cycle, which you should run regularly. Replace the water filter according to the manufacturer’s recommendations.
Q: What are some eco-friendly alternatives to the cleaning solutions mentioned?
A: If you’re looking for even more eco-friendly options, consider using castile soap instead of dish soap. Castile soap is a natural, biodegradable cleaner that’s gentle on the environment. You can also use essential oils like tea tree or eucalyptus for their antibacterial and antifungal properties. When wiping down surfaces, use reusable microfiber cloths instead of paper towels. These cloths are more absorbent and can be washed and reused multiple times.

Leave a Comment