
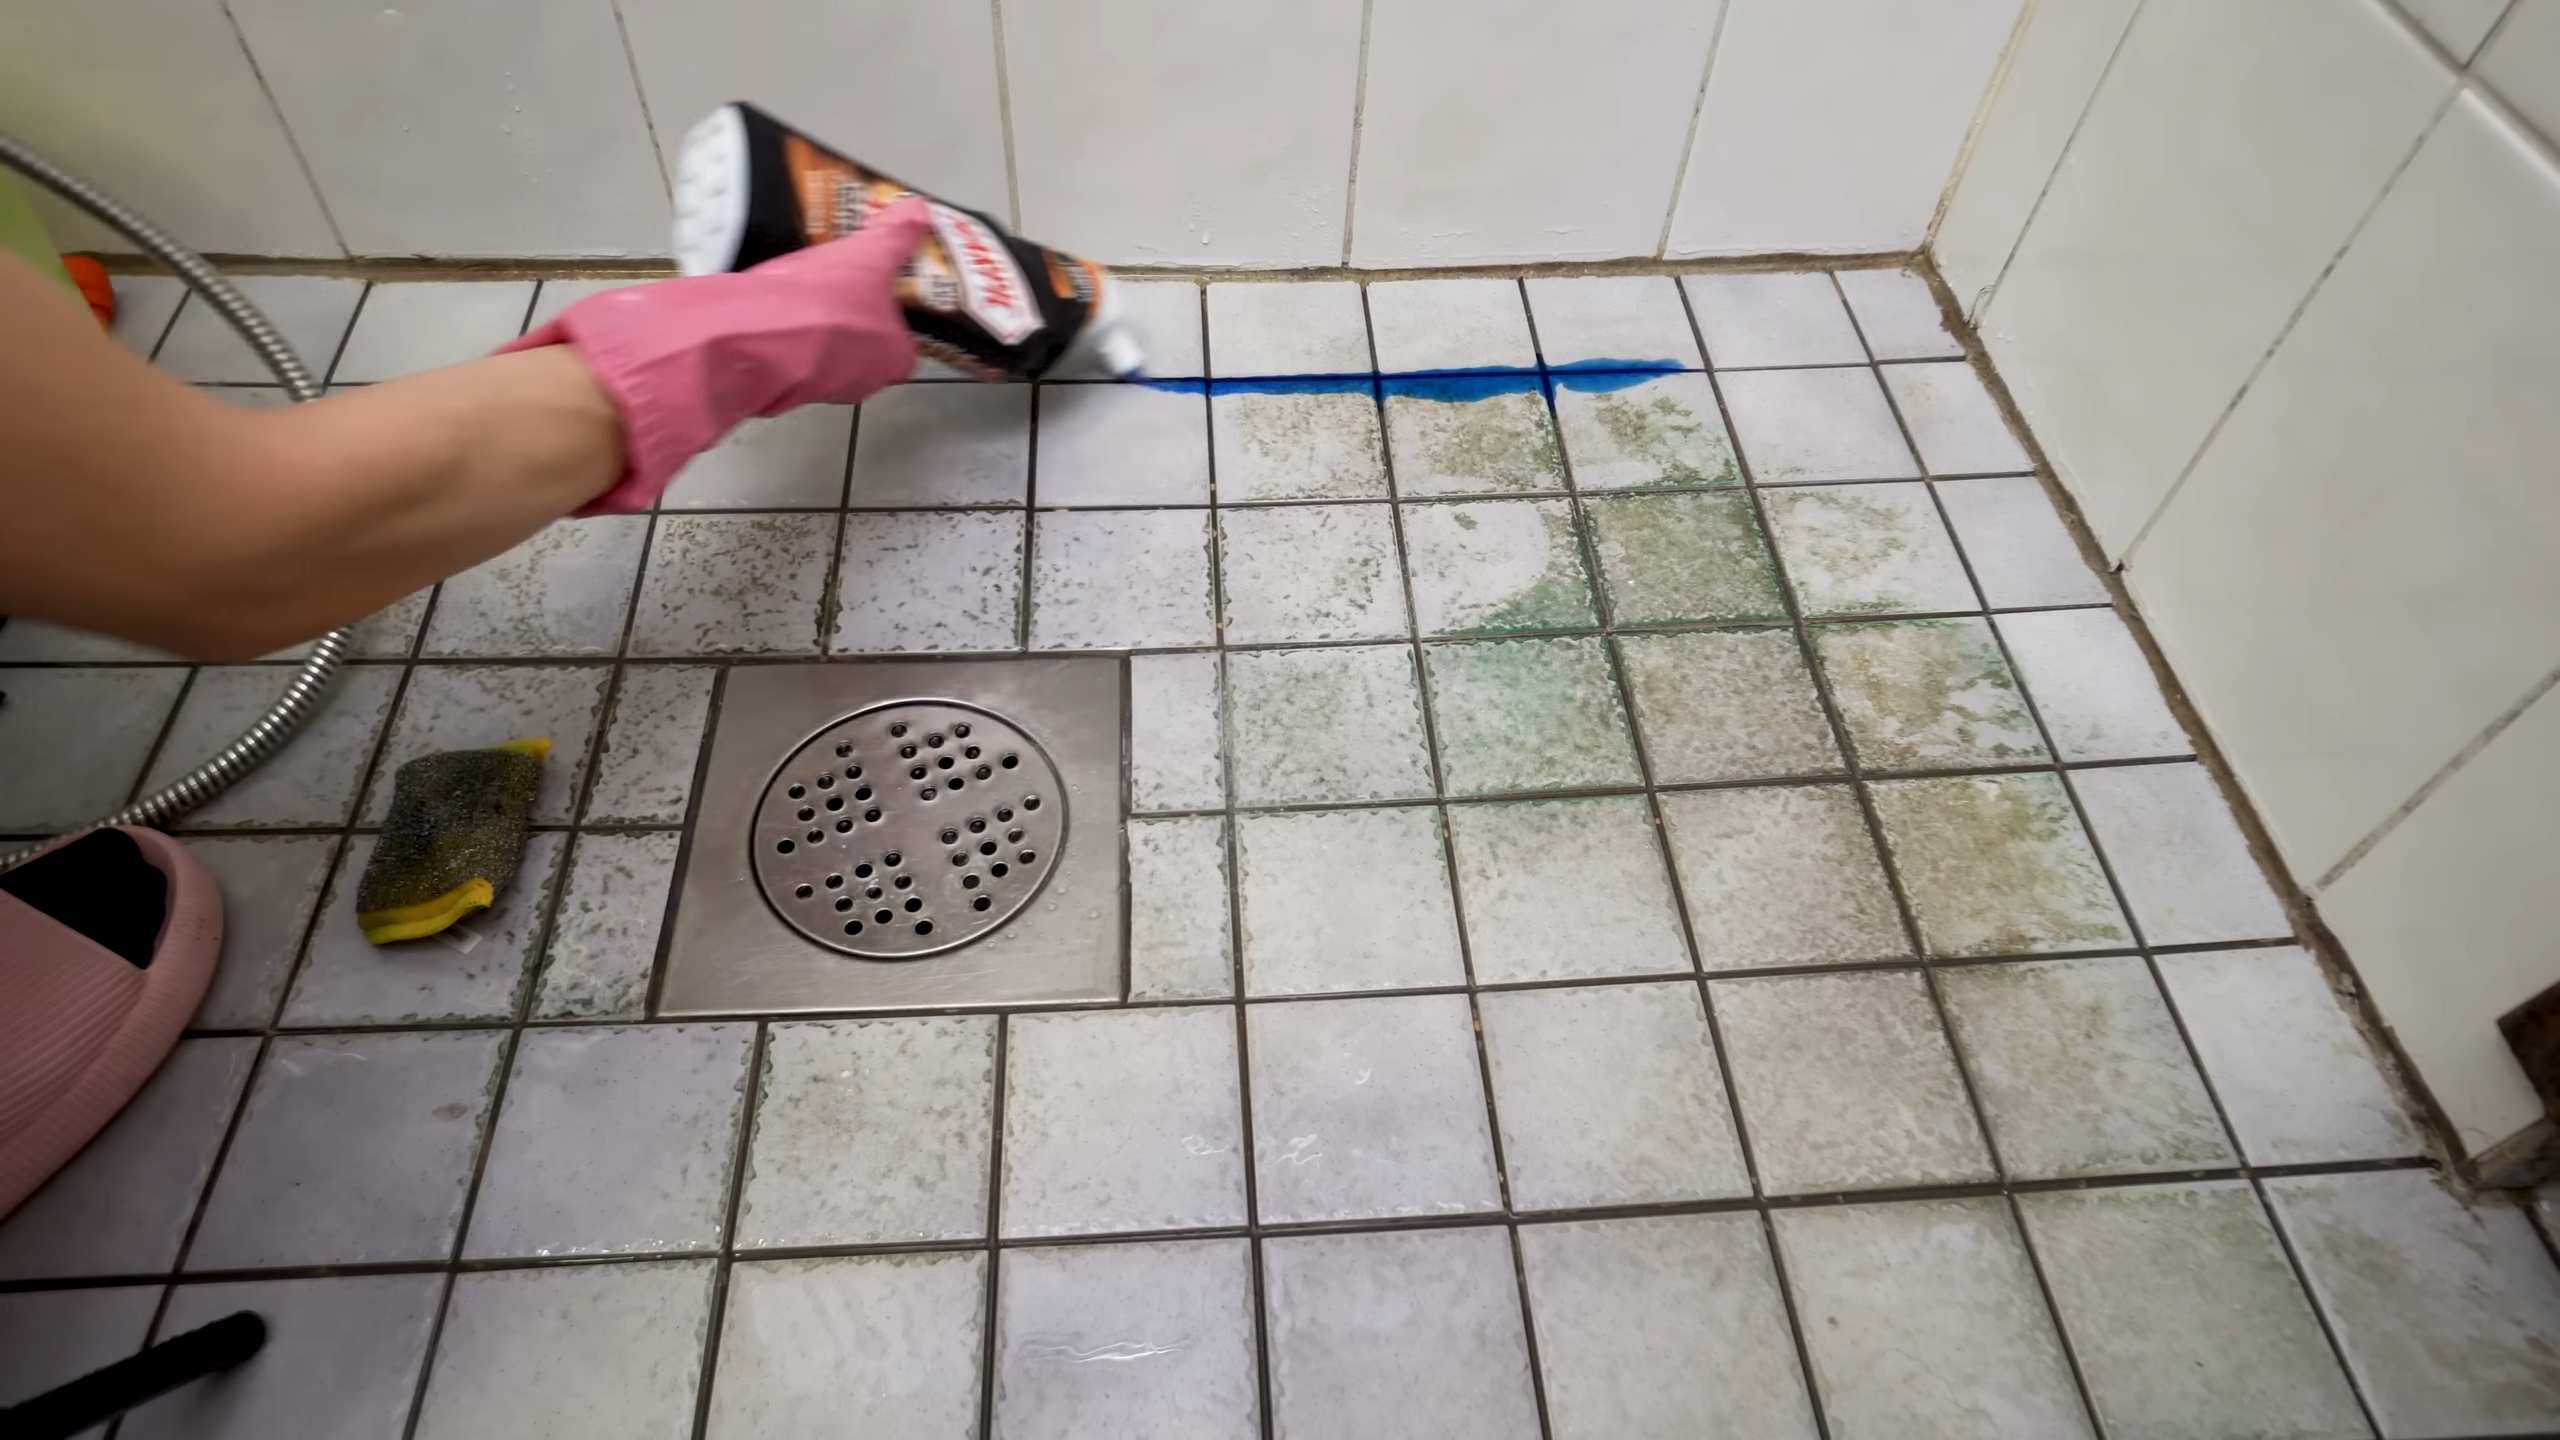
Acid Based Toilet Cleaner Tricks: Are you tired of stubborn toilet stains that just won’t budge, no matter how hard you scrub? I know the feeling! We’ve all been there, battling those unsightly rings and mineral deposits that make our bathrooms look less than sparkling. But what if I told you there’s a way to conquer those cleaning woes with some clever, DIY acid-based toilet cleaner tricks?
For generations, keeping our homes clean has been a symbol of pride and well-being. In many cultures, a clean home is directly linked to good health and a welcoming atmosphere. While commercial cleaners have their place, sometimes the most effective solutions are the ones we can create ourselves, using readily available ingredients and a little bit of know-how.
That’s where these DIY acid-based toilet cleaner tricks come in! Not only can they save you money compared to expensive store-bought options, but they also allow you to control exactly what goes into your cleaning products. Many people are becoming increasingly aware of the harsh chemicals in commercial cleaners and are seeking more natural or customizable alternatives. Plus, let’s be honest, there’s a certain satisfaction in creating something yourself that actually works wonders. So, if you’re ready to unlock the secrets to a sparkling clean toilet bowl using simple, effective, and budget-friendly methods, then keep reading! I’m excited to share these game-changing acid based toilet cleaner tricks with you.
Growing Potatoes in Water: A Fun and Easy DIY Project!
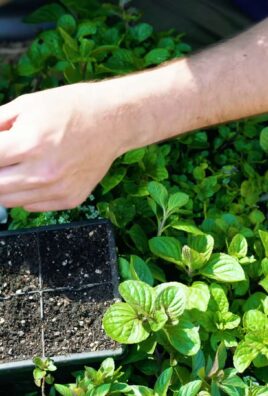
Hey there, fellow plant enthusiasts! Ever thought about growing potatoes without soil? It sounds a bit crazy, right? But trust me, it’s totally doable and a super fun experiment, especially if you’re short on space or just looking for a unique gardening project. I’m going to walk you through the whole process, step-by-step, so you can have your own little potato water garden in no time!
What You’ll Need
Before we dive in, let’s gather our supplies. This is a pretty low-cost project, which is always a win!
* Potatoes: You’ll need seed potatoes or regular potatoes that have started to sprout “eyes.” Organic potatoes are best, as they are less likely to be treated with sprout inhibitors.
* Clear Container: A glass jar, vase, or even a clear plastic container will work. The size depends on how many potatoes you want to grow. I usually use a large mason jar for one or two potatoes.
* Water: Tap water is fine, but letting it sit out for 24 hours to dechlorinate is even better.
* Toothpicks or Skewers: These will help suspend the potato in the water.
* Optional: Liquid fertilizer (balanced formula), rooting hormone (optional, but can speed things up).
Preparing Your Potatoes
Okay, let’s get those potatoes ready for their watery adventure!
1. Choose Your Potatoes: Look for potatoes with several healthy “eyes” (those little bumps where sprouts will emerge). If your potatoes don’t have any sprouts yet, you can encourage them by placing them in a bright, warm spot for a few days.
2. Cut the Potatoes (If Necessary): If your potato is large, you can cut it into pieces, making sure each piece has at least one or two eyes. I usually aim for pieces about 2-3 inches in size. If you’re using smaller potatoes, you can skip this step.
3. Cure the Cut Pieces: This is important to prevent rot! After cutting, let the potato pieces sit out in a dry, well-ventilated area for a day or two. This allows the cut surfaces to callous over, forming a protective layer.
Setting Up Your Water Garden
Now for the fun part – creating the perfect environment for your potatoes to thrive!
1. Clean Your Container: Make sure your jar or container is clean to prevent any unwanted bacteria or algae growth.
2. Insert Toothpicks/Skewers: This is how we’ll suspend the potato in the water. Insert toothpicks or skewers around the middle of the potato, evenly spaced. The goal is to create a “platform” that will rest on the rim of the container.
3. Add Water: Fill your container with water, leaving about an inch or two of space at the top.
4. Position the Potato: Carefully place the potato on top of the container, using the toothpicks/skewers to hold it in place. The bottom half of the potato should be submerged in the water, while the top half remains dry. Make sure the eyes are facing upwards!
5. Optional: Rooting Hormone: If you’re using rooting hormone, you can dip the bottom of the potato in it before placing it in the water. This can help encourage root growth.
Caring for Your Water Potatoes
Alright, your potato is all set up! Now it’s time to provide the right care to help it grow.
1. Location, Location, Location: Place your potato water garden in a bright location, but avoid direct sunlight, especially during the hottest part of the day. A spot near a window with indirect sunlight is ideal.
2. Water Changes: Change the water every few days, or at least once a week. This will help prevent algae growth and keep the water fresh. When changing the water, be careful not to disturb the roots too much.
3. Fertilizing: Once your potato starts to sprout leaves, you can start adding a diluted liquid fertilizer to the water every couple of weeks. Use a balanced formula (like 20-20-20) and dilute it to half strength. This will provide the nutrients your potato needs to grow strong and healthy.
4. Monitoring: Keep an eye on your potato for any signs of rot or disease. If you notice any soft spots or discoloration, remove the affected area immediately.
What to Expect
So, what can you expect to see as your potato grows in water?
* Root Development: Within a week or two, you should start to see roots emerging from the bottom of the potato. These roots will grow quickly and become quite extensive.
* Sprout Growth: Soon after the roots appear, sprouts will start to emerge from the eyes on the top of the potato. These sprouts will grow into stems and leaves.
* Flowering (Maybe!): Depending on the variety of potato, you might even see flowers! Potato plants produce small, white or purple flowers.
* Small Potatoes (Eventually!): While you won’t get a huge harvest like you would with soil-grown potatoes, you might get a few small potatoes forming on the roots. These will be much smaller than regular potatoes, but they’re still a fun bonus!
Troubleshooting
Sometimes, things don’t go exactly as planned. Here are a few common issues you might encounter and how to deal with them:
* Rot: If your potato starts to rot, it’s usually due to too much moisture or poor ventilation. Make sure the top half of the potato is dry and change the water more frequently. You can also try adding a small amount of hydrogen peroxide to the water to help kill bacteria.
* Algae Growth: Algae can grow in the water if it’s exposed to too much sunlight. Move your potato to a less sunny location and change the water more frequently.
* Slow Growth: If your potato isn’t growing as quickly as you’d like, make sure it’s getting enough light and nutrients. You can also try adding a rooting hormone to the water to stimulate root growth.
* Pests: While less common in water gardens, pests can still be a problem. Keep an eye out for aphids or other insects and remove them manually or with an insecticidal soap.
Harvesting (Sort Of!)
Okay, let’s talk about harvesting. Remember, you’re not going to get a massive potato crop from this method. But you might get a few small potatoes forming on the roots.
1. When to Harvest: You’ll know it’s time to “harvest” when the leaves start to turn yellow and die back. This usually takes a few months.
2. Carefully Remove the Potato: Gently remove the potato from the water, being careful not to damage the roots.
3. Harvest the Small Potatoes: If you see any small potatoes forming on the roots, you can carefully pluck them off.
4. Enjoy Your Tiny Harvest!: These little potatoes are perfect for roasting, boiling, or adding to soups and stews.
Beyond the Basics: Experimenting with Different Varieties
Once you’ve mastered the basics of growing potatoes in water, you can start experimenting with different varieties. Some potatoes are better suited for this method than others. Here are a few to try:
* Yukon Gold: A classic all-purpose potato with a creamy texture.
* Red Potatoes: These potatoes have a thin skin and a slightly sweet flavor.
* Fingerling Potatoes: These small, elongated potatoes are perfect for roasting.
Why Grow Potatoes in Water?
You might be wondering, “Why bother growing potatoes in water when I can just grow them in soil?” Well, there are several reasons why this method is worth trying:
* Space-Saving: It’s perfect for small spaces like apartments or balconies.
* Educational: It’s a great way to learn about plant growth and root development.
* Unique and Fun: It’s a conversation starter and a fun project for kids and adults alike.
* Year-Round Gardening: You can grow potatoes in water indoors year-round, regardless of the weather outside.
Final Thoughts
Growing potatoes in water is a surprisingly easy and rewarding project. It’s a great way to add a touch of greenery to your home, learn about plant growth, and even harvest a few tiny potatoes along the way. So, grab a potato, a jar, and some water, and get ready to embark on your own potato water garden adventure! I hope you found this guide helpful, and happy growing!
Conclusion
So, there you have it! Mastering the art of creating your own acid based toilet cleaner is not just about saving money; it’s about taking control of the cleanliness and hygiene of your bathroom with a powerful, effective, and surprisingly simple solution. We’ve walked you through the process, highlighting the key ingredients and steps to ensure a safe and successful outcome.
Why is this DIY trick a must-try? Because it empowers you to create a cleaner tailored to your specific needs. Commercial cleaners often contain harsh chemicals that can be harmful to your plumbing, the environment, and even your health. By making your own, you can adjust the strength and ingredients, opting for more eco-friendly alternatives where possible. Plus, the satisfaction of knowing exactly what’s going into your cleaning products is unparalleled.
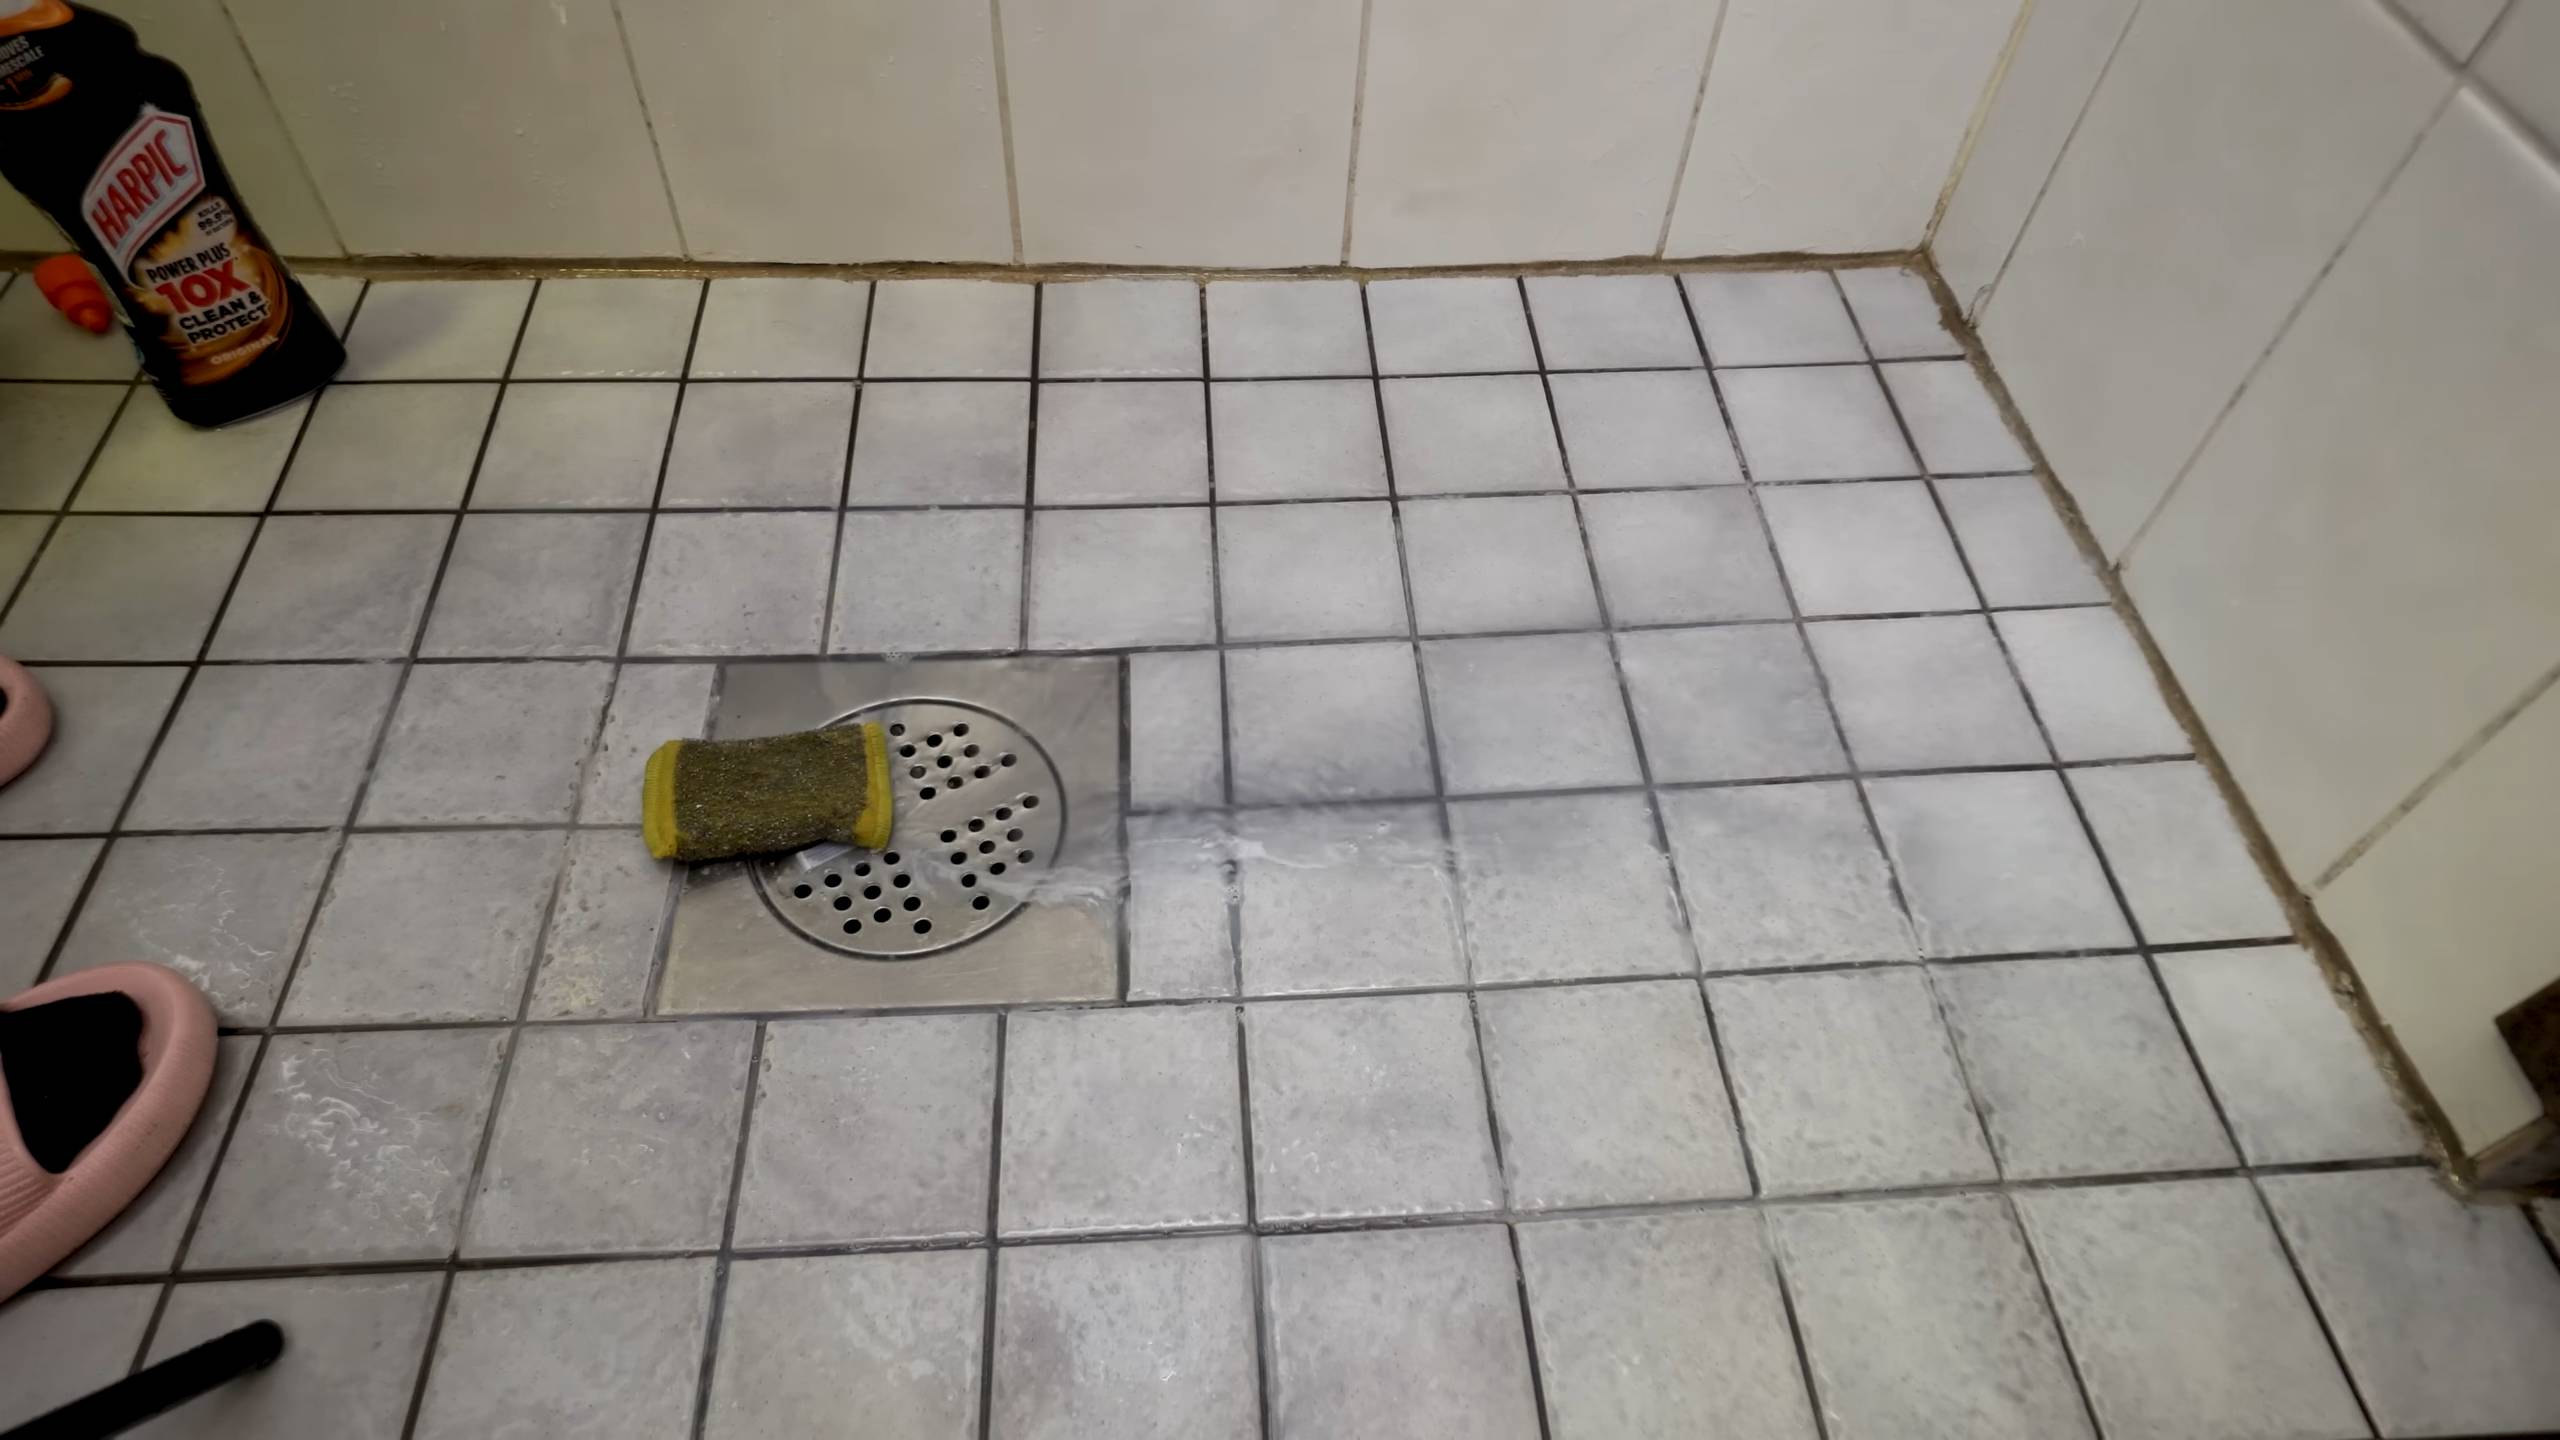
But the benefits don’t stop there. This homemade acid based toilet cleaner is incredibly effective at tackling stubborn stains, mineral deposits, and that persistent grime that seems impossible to remove. The acidic properties work to break down these build-ups, leaving your toilet bowl sparkling clean and fresh.
Looking for variations? Consider adding a few drops of your favorite essential oil, like tea tree or eucalyptus, for an extra boost of antibacterial power and a pleasant scent. Just be sure to choose oils that are safe for use in cleaning products and won’t damage your plumbing. Another variation involves adjusting the concentration of the acid. If you’re dealing with particularly tough stains, you might slightly increase the amount of acid, but always proceed with caution and wear appropriate protective gear. Conversely, for regular maintenance cleaning, you can reduce the concentration for a gentler approach.
We understand that venturing into the world of DIY cleaning can seem daunting at first, but we assure you, this recipe is straightforward and easy to follow. The key is to be meticulous with your measurements, prioritize safety by wearing gloves and eye protection, and always test the cleaner in an inconspicuous area before applying it to the entire toilet bowl.
Now, it’s your turn! We wholeheartedly encourage you to give this DIY acid based toilet cleaner a try. Experience the satisfaction of creating your own powerful cleaning solution and the peace of mind that comes with knowing exactly what’s going down your drain.
Don’t just take our word for it. Experiment, adapt, and discover the perfect formula that works best for your toilet and your cleaning preferences. And most importantly, share your experience with us! We’d love to hear your tips, tricks, and variations. Let us know how this DIY cleaner worked for you, any challenges you encountered, and any modifications you made to the recipe. Your feedback will not only help us improve this guide but also inspire other readers to embark on their own DIY cleaning journey. So, grab your ingredients, put on your gloves, and get ready to transform your toilet cleaning routine!
Frequently Asked Questions (FAQ)
What kind of acid should I use for my homemade toilet cleaner?
The most common and readily available acid for this purpose is muriatic acid (hydrochloric acid). However, it’s crucial to understand that muriatic acid is a strong chemical and must be handled with extreme caution. Always wear appropriate protective gear, including gloves, eye protection, and a mask, and work in a well-ventilated area. Never mix muriatic acid with other cleaning products, especially those containing bleach, as this can create dangerous and potentially deadly fumes. If you are uncomfortable using muriatic acid, consider using a weaker acid like citric acid, although it may not be as effective for removing tough stains.
Is it safe to use acid based toilet cleaner in my septic system?
This is a critical question, and the answer depends on the concentration and frequency of use. While small amounts of diluted acid may not significantly harm your septic system, frequent or excessive use can disrupt the delicate balance of bacteria that are essential for breaking down waste. These bacteria are vital for the proper functioning of your septic system. If you have a septic system, it’s best to use this DIY cleaner sparingly and to dilute it significantly before flushing. Consider using enzyme-based cleaners specifically designed for septic systems as a safer alternative for regular cleaning. Always consult with a septic system professional if you have any concerns.
How often can I use this DIY acid based toilet cleaner?
Due to the potent nature of the acid, it’s recommended to use this cleaner sparingly – no more than once a month, and ideally even less frequently. Overuse can damage your toilet bowl, plumbing, and potentially your septic system. For regular cleaning, opt for gentler, non-acidic cleaners or a simple solution of baking soda and vinegar. This will help maintain the cleanliness of your toilet without the risk of damaging your plumbing or septic system.
What safety precautions should I take when making and using this cleaner?
Safety is paramount when working with acids. Always wear gloves, eye protection (goggles), and a mask to protect yourself from splashes and fumes. Work in a well-ventilated area to avoid inhaling harmful vapors. Never mix acid with other cleaning products, especially bleach, as this can create toxic gases. Store the cleaner in a clearly labeled container out of reach of children and pets. If you accidentally get acid on your skin or in your eyes, rinse immediately with plenty of water and seek medical attention.
Can I use this cleaner on other surfaces besides the toilet bowl?
No, this cleaner is specifically formulated for use in toilet bowls and should not be used on other surfaces. The acid can damage or discolor other materials, such as tile, porcelain, or metal. Stick to using it solely for cleaning the toilet bowl to avoid any potential damage.
What if I don’t have muriatic acid? Are there any alternatives?
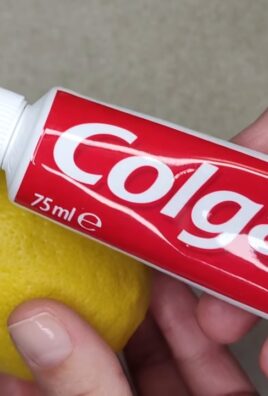
While muriatic acid is the most effective option for a strong acid based toilet cleaner, you can try using citric acid as a milder alternative. Citric acid is a natural acid found in citrus fruits and is less harsh than muriatic acid. It may not be as effective for removing tough stains, but it’s a safer option, especially if you’re concerned about damaging your plumbing or septic system. You can also try using a combination of baking soda and vinegar, which creates a fizzing action that can help loosen stains.
How should I store the homemade acid based toilet cleaner?
Store the cleaner in a tightly sealed, clearly labeled container made of acid-resistant material (like HDPE plastic). Keep it in a cool, dry place out of direct sunlight and away from children and pets. Never store it near other cleaning products, especially those containing bleach. Proper storage is essential to prevent accidents and ensure the cleaner remains effective.
What do I do if the cleaner doesn’t remove all the stains?
If the cleaner doesn’t remove all the stains on the first try, you can try repeating the process, but be careful not to overuse the cleaner. You can also try using a toilet brush to scrub the stains after applying the cleaner. For particularly stubborn stains, you may need to use a stronger acid or consider calling a professional cleaning service.
Can I add bleach to this cleaner for extra disinfecting power?
Absolutely not! Mixing acid with bleach creates chlorine gas, which is extremely toxic and can be fatal. Never, under any circumstances, mix acid with bleach or any other cleaning products containing bleach. The resulting chemical reaction is incredibly dangerous and can have severe health consequences.
How can I make this cleaner more eco-friendly?
While muriatic acid itself isn’t particularly eco-friendly, you can make other aspects of the cleaning process more sustainable. Consider using a toilet brush made from recycled materials and opting for a reusable spray bottle instead of disposable ones. You can also explore using more natural alternatives like citric acid or baking soda and vinegar for regular cleaning to reduce your reliance on harsh chemicals.
Leave a Comment