
Baking Soda Salt Cleaner: Your secret weapon for a sparkling home, without the harsh chemicals! Are you tired of spending a fortune on cleaning products that promise the world but leave you with lingering odors and questionable ingredients? I know I was! That’s why I dove headfirst into the world of DIY cleaning solutions, and let me tell you, the results have been amazing.
For generations, resourceful homemakers have relied on simple, natural ingredients to keep their homes clean and fresh. Think about it – before the age of mass-produced cleaners, baking soda and salt were staples in every household, not just for cooking, but for scrubbing, deodorizing, and disinfecting. This tradition isn’t just about saving money; it’s about connecting with a simpler, more sustainable way of life.
But why should you ditch the store-bought stuff and embrace the power of a baking soda salt cleaner? Because it’s effective, affordable, and incredibly versatile! This simple mixture can tackle everything from stubborn stains on your countertops to grimy buildup in your oven. Plus, it’s safe for your family, your pets, and the environment. In this article, I’m going to share my favorite DIY recipes and tips for using this amazing cleaner to transform your home into a sparkling sanctuary. Get ready to unlock the cleaning power you never knew you had!
DIY Baking Soda and Salt Cleaner: A Powerful, Natural Solution
Hey there, fellow DIY enthusiasts! I’m so excited to share one of my favorite cleaning hacks with you: a powerful, all-natural cleaner made with just baking soda and salt. Seriously, these two humble ingredients can tackle some seriously tough messes around your home. Forget harsh chemicals and expensive cleaners – this DIY solution is effective, affordable, and eco-friendly. Let’s get started!
What Makes This Cleaner So Great?
Before we dive into the how-to, let’s talk about why this baking soda and salt combo is so amazing.
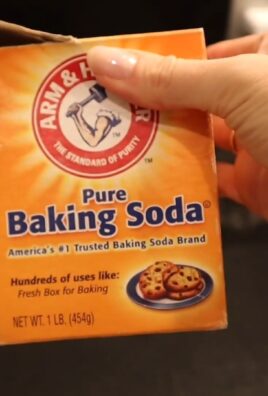
* Baking Soda: This is your gentle abrasive and deodorizer. It helps scrub away grime without scratching surfaces and neutralizes odors like a champ.
* Salt: Salt acts as a slightly stronger abrasive than baking soda, helping to loosen stubborn stains and dirt. It also has some disinfecting properties.
* Together: When combined, baking soda and salt create a synergistic cleaning powerhouse that can tackle everything from grimy stovetops to stained sinks.
What You’ll Need
* Baking Soda
* Table Salt (or Kosher Salt)
* Water (optional, for making a paste)
* Spray Bottle (optional, for a liquid solution)
* Cleaning Cloths or Sponges
* Old Toothbrush (for scrubbing tight spots)
* Gloves (optional, but recommended for sensitive skin)
* Measuring Spoons or Cups (for precise mixing, though eyeballing works too!)
Mixing Your Baking Soda and Salt Cleaner
There are a few ways you can mix this cleaner, depending on what you’re cleaning and your personal preference. I’ll walk you through two of my go-to methods: a paste and a spray.
Method 1: The Cleaning Paste
This is my go-to for tackling tough stains and stuck-on grime.
1. Gather Your Ingredients: Make sure you have your baking soda, salt, a small bowl, and a little water handy.
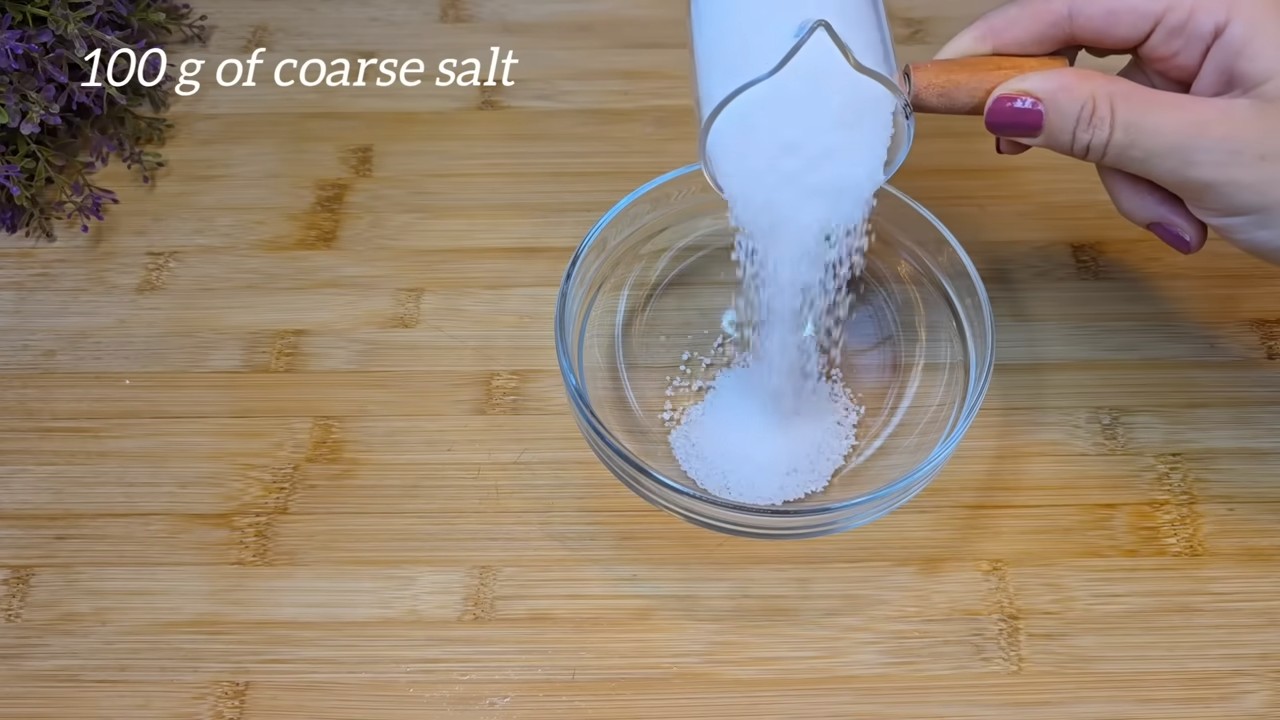
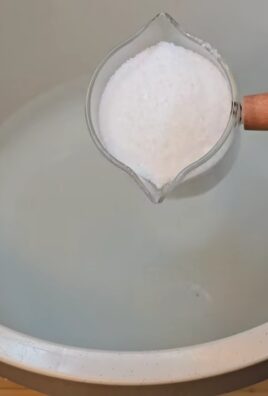
2. Combine Dry Ingredients: In your bowl, mix equal parts baking soda and salt. I usually start with about 1/2 cup of each, but you can adjust the amount depending on the size of the area you’re cleaning.
3. Add Water Gradually: Slowly add water, a teaspoon at a time, and mix until you form a thick paste. You want it to be spreadable but not too runny. Think toothpaste consistency.
4. Adjust as Needed: If your paste is too thick, add a little more water. If it’s too thin, add a bit more baking soda and salt.
Method 2: The Cleaning Spray
This is great for general cleaning and deodorizing.
1. Gather Your Ingredients: You’ll need baking soda, salt, warm water, and a spray bottle.
2. Combine Dry Ingredients: In a separate container (like a measuring cup), mix 1 tablespoon of baking soda and 1 tablespoon of salt.
3. Dissolve in Warm Water: Pour about 1 cup of warm water into the container with the baking soda and salt. Stir until the powders are completely dissolved. Warm water helps them dissolve faster.
4. Pour into Spray Bottle: Carefully pour the mixture into your spray bottle.
5. Shake Well: Give the spray bottle a good shake before each use to ensure the ingredients are well combined.
Putting Your Cleaner to Work: Step-by-Step Instructions
Now for the fun part – cleaning! Here’s how to use your baking soda and salt cleaner in different areas of your home.
Cleaning the Kitchen
The kitchen is a prime spot for grime, so let’s start there.
1. Stovetop:
* Apply the Paste: Spread a generous layer of the baking soda and salt paste onto your stovetop, focusing on areas with burnt-on food or grease.
* Let it Sit: Allow the paste to sit for at least 15-20 minutes. This gives the baking soda and salt time to loosen the grime. For really tough spots, you can let it sit longer, even overnight.
* Scrub: Use a damp sponge or cleaning cloth to scrub the stovetop. You might need to apply some elbow grease, especially for stubborn areas. An old toothbrush is great for getting into corners and around burners.
* Rinse: Rinse the stovetop thoroughly with clean water to remove any remaining paste.
* Dry: Dry the stovetop with a clean cloth.
2. Sink:
* Wet the Sink: Wet the entire sink with water.
* Sprinkle with Baking Soda and Salt: Sprinkle a generous amount of baking soda and salt directly onto the wet surface.
* Scrub: Use a damp sponge or cleaning cloth to scrub the sink, paying attention to stains and water spots.
* Rinse: Rinse the sink thoroughly with clean water.
* Dry: Dry the sink with a clean cloth. For extra shine, you can buff it with a dry microfiber cloth.
3. Oven:
* Prepare the Oven: Remove any loose debris from the oven.
* Apply the Paste: Spread a thick layer of the baking soda and salt paste onto the interior surfaces of the oven, avoiding the heating elements.
* Let it Sit: Allow the paste to sit overnight. This is crucial for breaking down baked-on grease and food.
* Scrub: The next day, use a damp sponge or cleaning cloth to scrub the oven. The grime should be much easier to remove after soaking overnight.
* Rinse: Rinse the oven thoroughly with clean water. You might need to use a spray bottle to reach all areas.
* Dry: Dry the oven with a clean cloth.
4. Microwave:
* Prepare a Solution: Mix 1 tablespoon of baking soda and 1 tablespoon of salt in a microwave-safe bowl with 1 cup of water.
* Microwave: Microwave the solution for 2-3 minutes, or until the water boils and the microwave is steamy.
* Let it Sit: Let the bowl sit in the microwave for 5-10 minutes. The steam will loosen any splatters and grime.
* Wipe Clean: Carefully remove the bowl (it will be hot!) and wipe down the interior of the microwave with a damp cloth.
* Dry: Dry the microwave with a clean cloth.
Cleaning the Bathroom
The bathroom can also benefit from the cleaning power of baking soda and salt.
1. Toilet:
* Pour into Bowl: Pour 1/2 cup of baking soda and 1/2 cup of salt directly into the toilet bowl.
* Let it Sit: Let the mixture sit for at least 30 minutes, or even overnight for stubborn stains.
* Scrub: Use a toilet brush to scrub the bowl thoroughly.
* Flush: Flush the toilet to rinse.
2. Shower/Tub:
* Wet the Surface: Wet the shower or tub with water.
* Sprinkle with Baking Soda and Salt: Sprinkle a generous amount of baking soda and salt onto the wet surface.
* Scrub: Use a damp sponge or cleaning cloth to scrub the shower or tub, paying attention to soap scum and mildew.
* Rinse: Rinse the shower or tub thoroughly with clean water.
* Dry: Dry the shower or tub with a clean cloth.
3. Sink and Countertop:
* Wet the Surface: Wet the sink and countertop with water.
* Sprinkle with Baking Soda and Salt: Sprinkle a small amount of baking soda and salt onto the wet surface.
* Scrub: Use a damp sponge or cleaning cloth to scrub the sink and countertop.
* Rinse: Rinse the sink and countertop thoroughly with clean water.
* Dry: Dry the sink and countertop with a clean cloth.
Other Uses Around the House
This cleaner isn’t just for the kitchen and bathroom! Here are a few other ways I use it around my home:
1. Deodorizing Carpets:
* Sprinkle: Sprinkle a generous amount of baking soda and salt evenly over the carpet.
* Let it Sit: Let it sit for at least 30 minutes, or even overnight for best results.
* Vacuum: Vacuum the carpet thoroughly to remove the baking soda and salt.
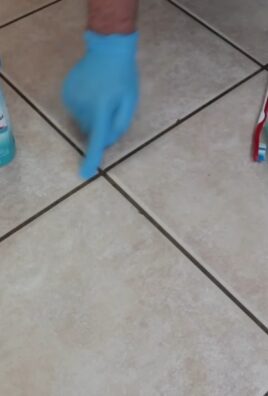
2. Cleaning Grout:
* Apply the Paste: Apply the baking soda and salt paste to the grout lines.
* Let it

Conclusion
So, there you have it! This simple yet incredibly effective baking soda salt cleaner is more than just a cleaning solution; it’s a testament to the power of natural ingredients and a smart way to save money while keeping your home sparkling. We’ve explored how these two humble household staples, baking soda and salt, can combine to create a potent cleaning agent capable of tackling a wide range of messes, from stubborn grime in the kitchen to unsightly stains in the bathroom.
But why is this DIY trick a must-try? Firstly, it’s incredibly cost-effective. Compared to expensive commercial cleaners filled with harsh chemicals, baking soda and salt are readily available and budget-friendly. Secondly, it’s environmentally friendly. By using natural ingredients, you’re reducing your reliance on products that contribute to pollution and can be harmful to your health. Thirdly, it’s surprisingly versatile. As we’ve discussed, this cleaner can be used on various surfaces, making it a true all-purpose solution.
Don’t be afraid to experiment with variations to suit your specific needs. For instance, adding a few drops of your favorite essential oil, like lemon or lavender, can infuse your cleaning solution with a pleasant fragrance. For tougher stains, consider creating a paste with a higher concentration of baking soda and letting it sit for a longer period before scrubbing. You can also add a splash of white vinegar for an extra boost of cleaning power, but remember to test it on an inconspicuous area first to ensure it doesn’t damage the surface.
We understand that trying new things can sometimes be daunting, but we wholeheartedly encourage you to give this baking soda salt cleaner a try. You’ll be amazed at how effective it is and how much money you can save. Plus, you’ll be contributing to a healthier and more sustainable lifestyle.
Once you’ve tried it, we’d love to hear about your experience! Share your before-and-after photos, your favorite uses for the cleaner, and any variations you’ve discovered in the comments below. Your feedback will not only help other readers but also inspire us to continue exploring the world of natural cleaning solutions. Let’s create a community of eco-conscious cleaners who are passionate about keeping their homes sparkling without breaking the bank or harming the environment. So go ahead, grab your baking soda and salt, and get ready to experience the magic of this simple yet powerful cleaning solution! We are confident that you will find this DIY cleaner to be an indispensable part of your cleaning routine.
Frequently Asked Questions (FAQ)
What exactly makes baking soda and salt such effective cleaning agents?
Baking soda, also known as sodium bicarbonate, is a mild alkali. This means it can react with acids, helping to dissolve dirt, grease, and grime. It also has mild abrasive properties, making it effective for scrubbing without scratching most surfaces. Salt, particularly table salt (sodium chloride), also acts as a mild abrasive and can help to loosen dirt and debris. When combined, the two create a synergistic effect, enhancing each other’s cleaning abilities. The salt helps to break down tougher stains, while the baking soda neutralizes odors and provides gentle scrubbing power.
What surfaces can I safely use this baking soda salt cleaner on?
This cleaner is generally safe for use on a variety of surfaces, including:
* Stainless steel sinks and appliances
* Ceramic and porcelain tiles
* Bathtubs and showers
* Ovens and stovetops (avoiding heating elements)
* Countertops (test in an inconspicuous area first, especially on delicate surfaces like marble or granite)
* Drains (to help unclog and deodorize)
However, it’s crucial to exercise caution and test the cleaner in an inconspicuous area before applying it to the entire surface, especially on delicate materials like:
* Marble
* Granite
* Painted surfaces
* Wood
* Aluminum
Avoid using it on surfaces that are easily scratched or damaged by abrasives.
Can I add other ingredients to this cleaner to make it even more effective?
Yes, you can definitely customize this cleaner to suit your specific needs. Here are a few suggestions:
* **White Vinegar:** Adding a splash of white vinegar can boost the cleaning power, especially for tackling tough stains and mineral deposits. However, remember that vinegar is acidic, so always test it in an inconspicuous area first and avoid using it on surfaces that are sensitive to acid, such as marble.
* **Essential Oils:** Adding a few drops of your favorite essential oil, such as lemon, lavender, tea tree, or eucalyptus, can infuse your cleaning solution with a pleasant fragrance and provide additional antibacterial or antifungal benefits.
* **Dish Soap:** A small amount of mild dish soap can help to cut through grease and grime, making the cleaner even more effective for cleaning kitchen surfaces.
* **Hydrogen Peroxide:** For disinfecting purposes, you can add a small amount of hydrogen peroxide. However, be careful when mixing hydrogen peroxide with other ingredients, and always test it in an inconspicuous area first to avoid discoloration.
How do I store the baking soda salt cleaner?
You can store the dry mixture of baking soda and salt in an airtight container in a cool, dry place. This will prevent it from clumping or absorbing moisture. If you’ve mixed the cleaner with water or other liquids, it’s best to use it immediately. If you need to store it, keep it in a sealed container and use it within a few days. Be aware that the mixture may separate over time, so you’ll need to shake or stir it before each use.
Is this cleaner safe for my pets and children?
While baking soda and salt are generally considered safe, it’s still important to exercise caution when using this cleaner around pets and children. Keep the cleaner out of their reach and prevent them from ingesting it. If your pet or child accidentally ingests the cleaner, contact your veterinarian or poison control center immediately. When cleaning surfaces that your pets or children come into contact with, rinse them thoroughly with water after cleaning to remove any residue.
How often should I use this baking soda salt cleaner?
The frequency of use will depend on your cleaning needs and the surfaces you’re cleaning. For general cleaning, you can use it as often as needed. For tougher stains or heavily soiled areas, you may need to use it more frequently. However, avoid overusing it on delicate surfaces, as the abrasive properties of baking soda and salt can cause damage over time.
What if the baking soda salt cleaner doesn’t remove a particular stain?
Some stains are more stubborn than others and may require specialized cleaning solutions. If the baking soda salt cleaner doesn’t remove a particular stain, you can try the following:
* **Pre-treat the stain:** Apply a paste of baking soda and water to the stain and let it sit for several hours or overnight before scrubbing.
* **Use a stronger cleaning agent:** For particularly stubborn stains, you may need to use a commercial stain remover or a stronger cleaning solution.
* **Consult a professional:** If you’re dealing with a valuable or delicate item, it’s best to consult a professional cleaner to avoid damaging the surface.
Can I use this cleaner to unclog drains?
Yes, this cleaner can be used to help unclog drains. Pour about 1/2 cup of baking soda and 1/2 cup of salt down the drain, followed by a cup of boiling water. Let it sit for 30 minutes, then flush with hot water. This can help to break down grease and debris that are clogging the drain. For more stubborn clogs, you can repeat the process or use a drain snake.
Leave a Comment