
Balcony Gardening Bell Peppers – dreaming of fresh, crisp bell peppers grown right outside your door? You’re not alone! For centuries, humans have cultivated food in limited spaces, from ancient rooftop gardens in Babylon to the window boxes of Victorian England. The desire to connect with nature and enjoy homegrown goodness is deeply ingrained in us.
But let’s face it, not everyone has a sprawling backyard. That’s where the magic of balcony gardening comes in! I’m here to tell you that even with limited space, you can absolutely cultivate a thriving bell pepper patch on your balcony. Imagine the satisfaction of harvesting vibrant, juicy bell peppers, knowing you nurtured them from tiny seedlings to delicious additions to your meals.
This DIY guide is packed with simple, effective tricks and hacks to help you succeed. We’ll cover everything from choosing the right containers and soil to providing optimal sunlight and nutrients. Why do you need these tricks? Because growing bell peppers on a balcony presents unique challenges – limited space, potential for overheating, and the need for careful watering. But with the right knowledge and a little bit of effort, you can overcome these hurdles and enjoy a bountiful harvest. So, let’s dive in and transform your balcony into a bell pepper paradise!
Growing Bell Peppers on Your Balcony: A DIY Guide
Hey there, fellow balcony gardeners! I’m so excited to share my experience and guide you through growing your very own bell peppers right on your balcony. It’s surprisingly easy and incredibly rewarding to harvest fresh, crunchy peppers just steps from your kitchen. Let’s get started!
Choosing the Right Bell Pepper Variety
Before we dive into the nitty-gritty, it’s crucial to pick the right bell pepper variety for container gardening. Not all peppers are created equal, and some thrive better in pots than others.
* Consider compact varieties: Look for varieties labeled as “compact,” “dwarf,” or “bush” types. These are bred to stay smaller and more manageable in containers.
* Popular choices: Some excellent options include ‘Patio Bell’, ‘Mini Bell’, ‘Lunchbox Peppers’, and ‘Sweet Baby Bell’. These are known for their smaller size and prolific fruit production.
* Color matters (sort of!): While color is mostly a matter of preference, remember that green bell peppers are simply unripe versions of other colors. Red, yellow, and orange peppers take longer to mature, so factor that into your growing season.
Gathering Your Supplies
Okay, time to assemble our gardening arsenal! Here’s what you’ll need:
* Containers: Choose pots that are at least 12 inches in diameter and depth. Bigger is generally better, as it gives the roots more room to grow. I personally prefer using fabric pots (grow bags) because they allow for better drainage and aeration.
* Potting Mix: This is super important! Don’t use garden soil; it’s too heavy and compacts easily in containers. Opt for a high-quality potting mix specifically formulated for container gardening. Look for mixes that contain peat moss, perlite, and vermiculite for good drainage and aeration.
* Bell Pepper Seedlings or Seeds: You can start from seeds indoors about 6-8 weeks before the last expected frost, or you can buy seedlings from a local nursery. Seedlings are a faster and easier option, especially for beginners.
* Fertilizer: Bell peppers are heavy feeders, so you’ll need a good fertilizer to keep them happy and productive. I recommend a balanced, slow-release fertilizer (like 10-10-10) at planting time, followed by regular feedings with a liquid fertilizer (like fish emulsion or seaweed extract) every 2-3 weeks.
* Watering Can or Hose: Essential for keeping your peppers hydrated.
* Stakes or Cages: As your bell pepper plants grow, they may need support to prevent them from toppling over, especially when loaded with fruit. Stakes or cages are a great way to provide this support.
* Gardening Gloves: To protect your hands from dirt and potential irritants.
* Hand Trowel: For planting and transplanting.
* Optional: Mulch (like straw or wood chips) to help retain moisture and suppress weeds.
Step-by-Step Planting Guide
Alright, let’s get our hands dirty! Here’s how to plant your bell peppers:
1. Prepare Your Containers: Fill your chosen containers with the potting mix, leaving about an inch or two of space at the top.
2. Planting Seedlings: If you’re using seedlings, gently remove them from their nursery pots. Loosen the roots slightly with your fingers. Dig a hole in the potting mix large enough to accommodate the root ball. Place the seedling in the hole, ensuring that the top of the root ball is level with the soil surface. Backfill with potting mix and gently firm the soil around the base of the plant.
3. Planting Seeds: If you’re starting from seeds, sow them about 1/4 inch deep in the potting mix. Gently water the soil and keep it consistently moist until the seeds germinate. Once the seedlings have developed a few sets of true leaves, thin them out, leaving only the strongest seedling in each container.
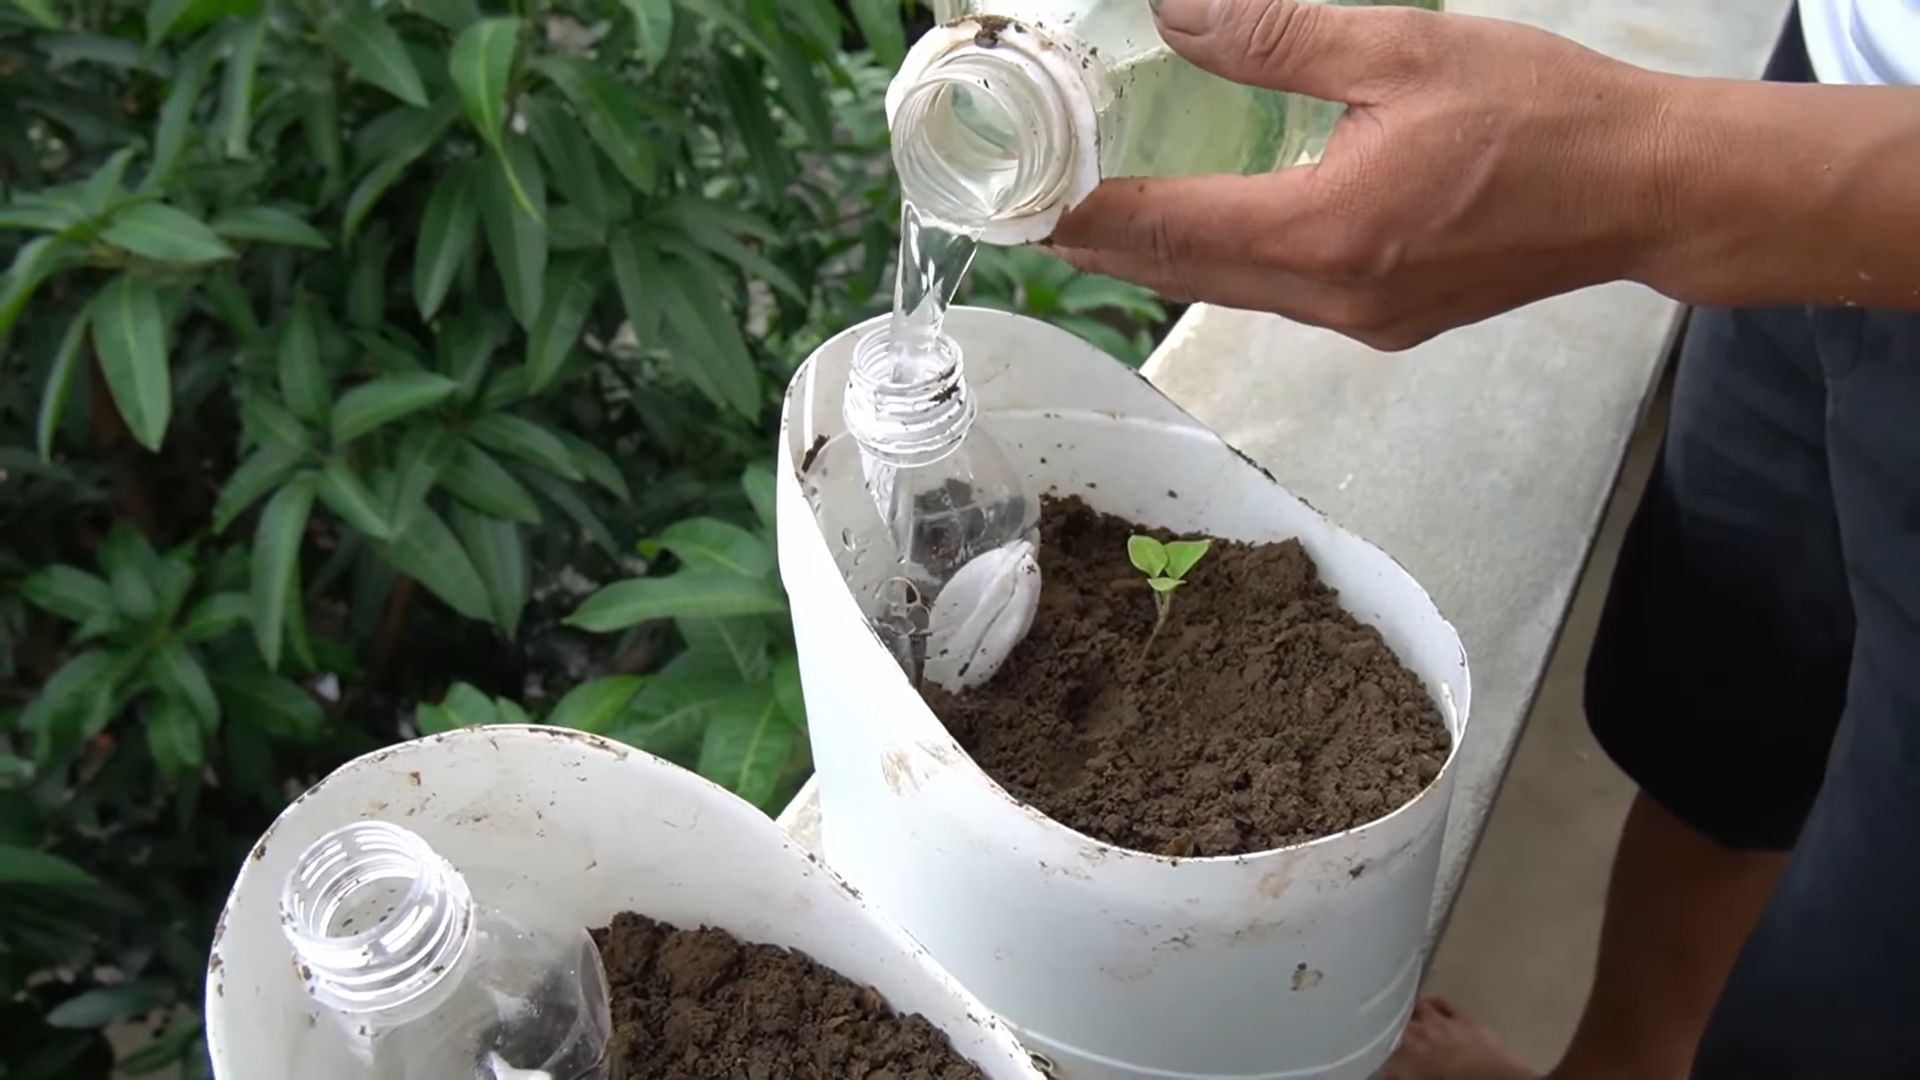
4. Water Thoroughly: After planting, water your bell pepper plants thoroughly until water drains out of the bottom of the container. This helps to settle the soil and ensures that the roots are well-hydrated.
5. Add Support: Install stakes or cages around your bell pepper plants to provide support as they grow. This will help prevent them from toppling over, especially when they’re loaded with fruit.
6. Mulch (Optional): Add a layer of mulch around the base of the plants to help retain moisture and suppress weeds.
Caring for Your Bell Pepper Plants
Now that your bell peppers are planted, it’s time to provide them with the care they need to thrive.
* Sunlight: Bell peppers need at least 6-8 hours of direct sunlight per day. Place your containers in the sunniest spot on your balcony. If you don’t have enough sunlight, you may need to supplement with grow lights.
* Watering: Water your bell pepper plants regularly, especially during hot, dry weather. Check the soil moisture by sticking your finger into the soil. If the top inch of soil feels dry, it’s time to water. Avoid overwatering, as this can lead to root rot.
* Fertilizing: As mentioned earlier, bell peppers are heavy feeders. Fertilize them regularly with a balanced fertilizer. Start with a slow-release fertilizer at planting time, followed by regular feedings with a liquid fertilizer every 2-3 weeks.
* Pruning: Pruning isn’t strictly necessary, but it can help improve air circulation and encourage bushier growth. Remove any yellowing or dead leaves. You can also pinch off the suckers (small shoots that grow between the main stem and the branches) to encourage more fruit production.
* Pest and Disease Control: Keep an eye out for pests and diseases. Common pests that affect bell peppers include aphids, spider mites, and whiteflies. You can control these pests with insecticidal soap or neem oil. Common diseases include blossom end rot (caused by calcium deficiency) and fungal diseases. Ensure proper watering and fertilization to prevent blossom end rot. Use a fungicide to treat fungal diseases.
* Pollination: Bell peppers are self-pollinating, but they may need a little help, especially if you’re growing them indoors or in a sheltered location. Gently shake the plants or use a small paintbrush to transfer pollen from one flower to another.
Harvesting Your Bell Peppers
The moment we’ve all been waiting for! Harvesting your own homegrown bell peppers is incredibly satisfying.
* When to Harvest: Bell peppers are typically ready to harvest about 60-90 days after transplanting, depending on the variety. You can harvest them when they’re green or wait until they turn their mature color (red, yellow, or orange).
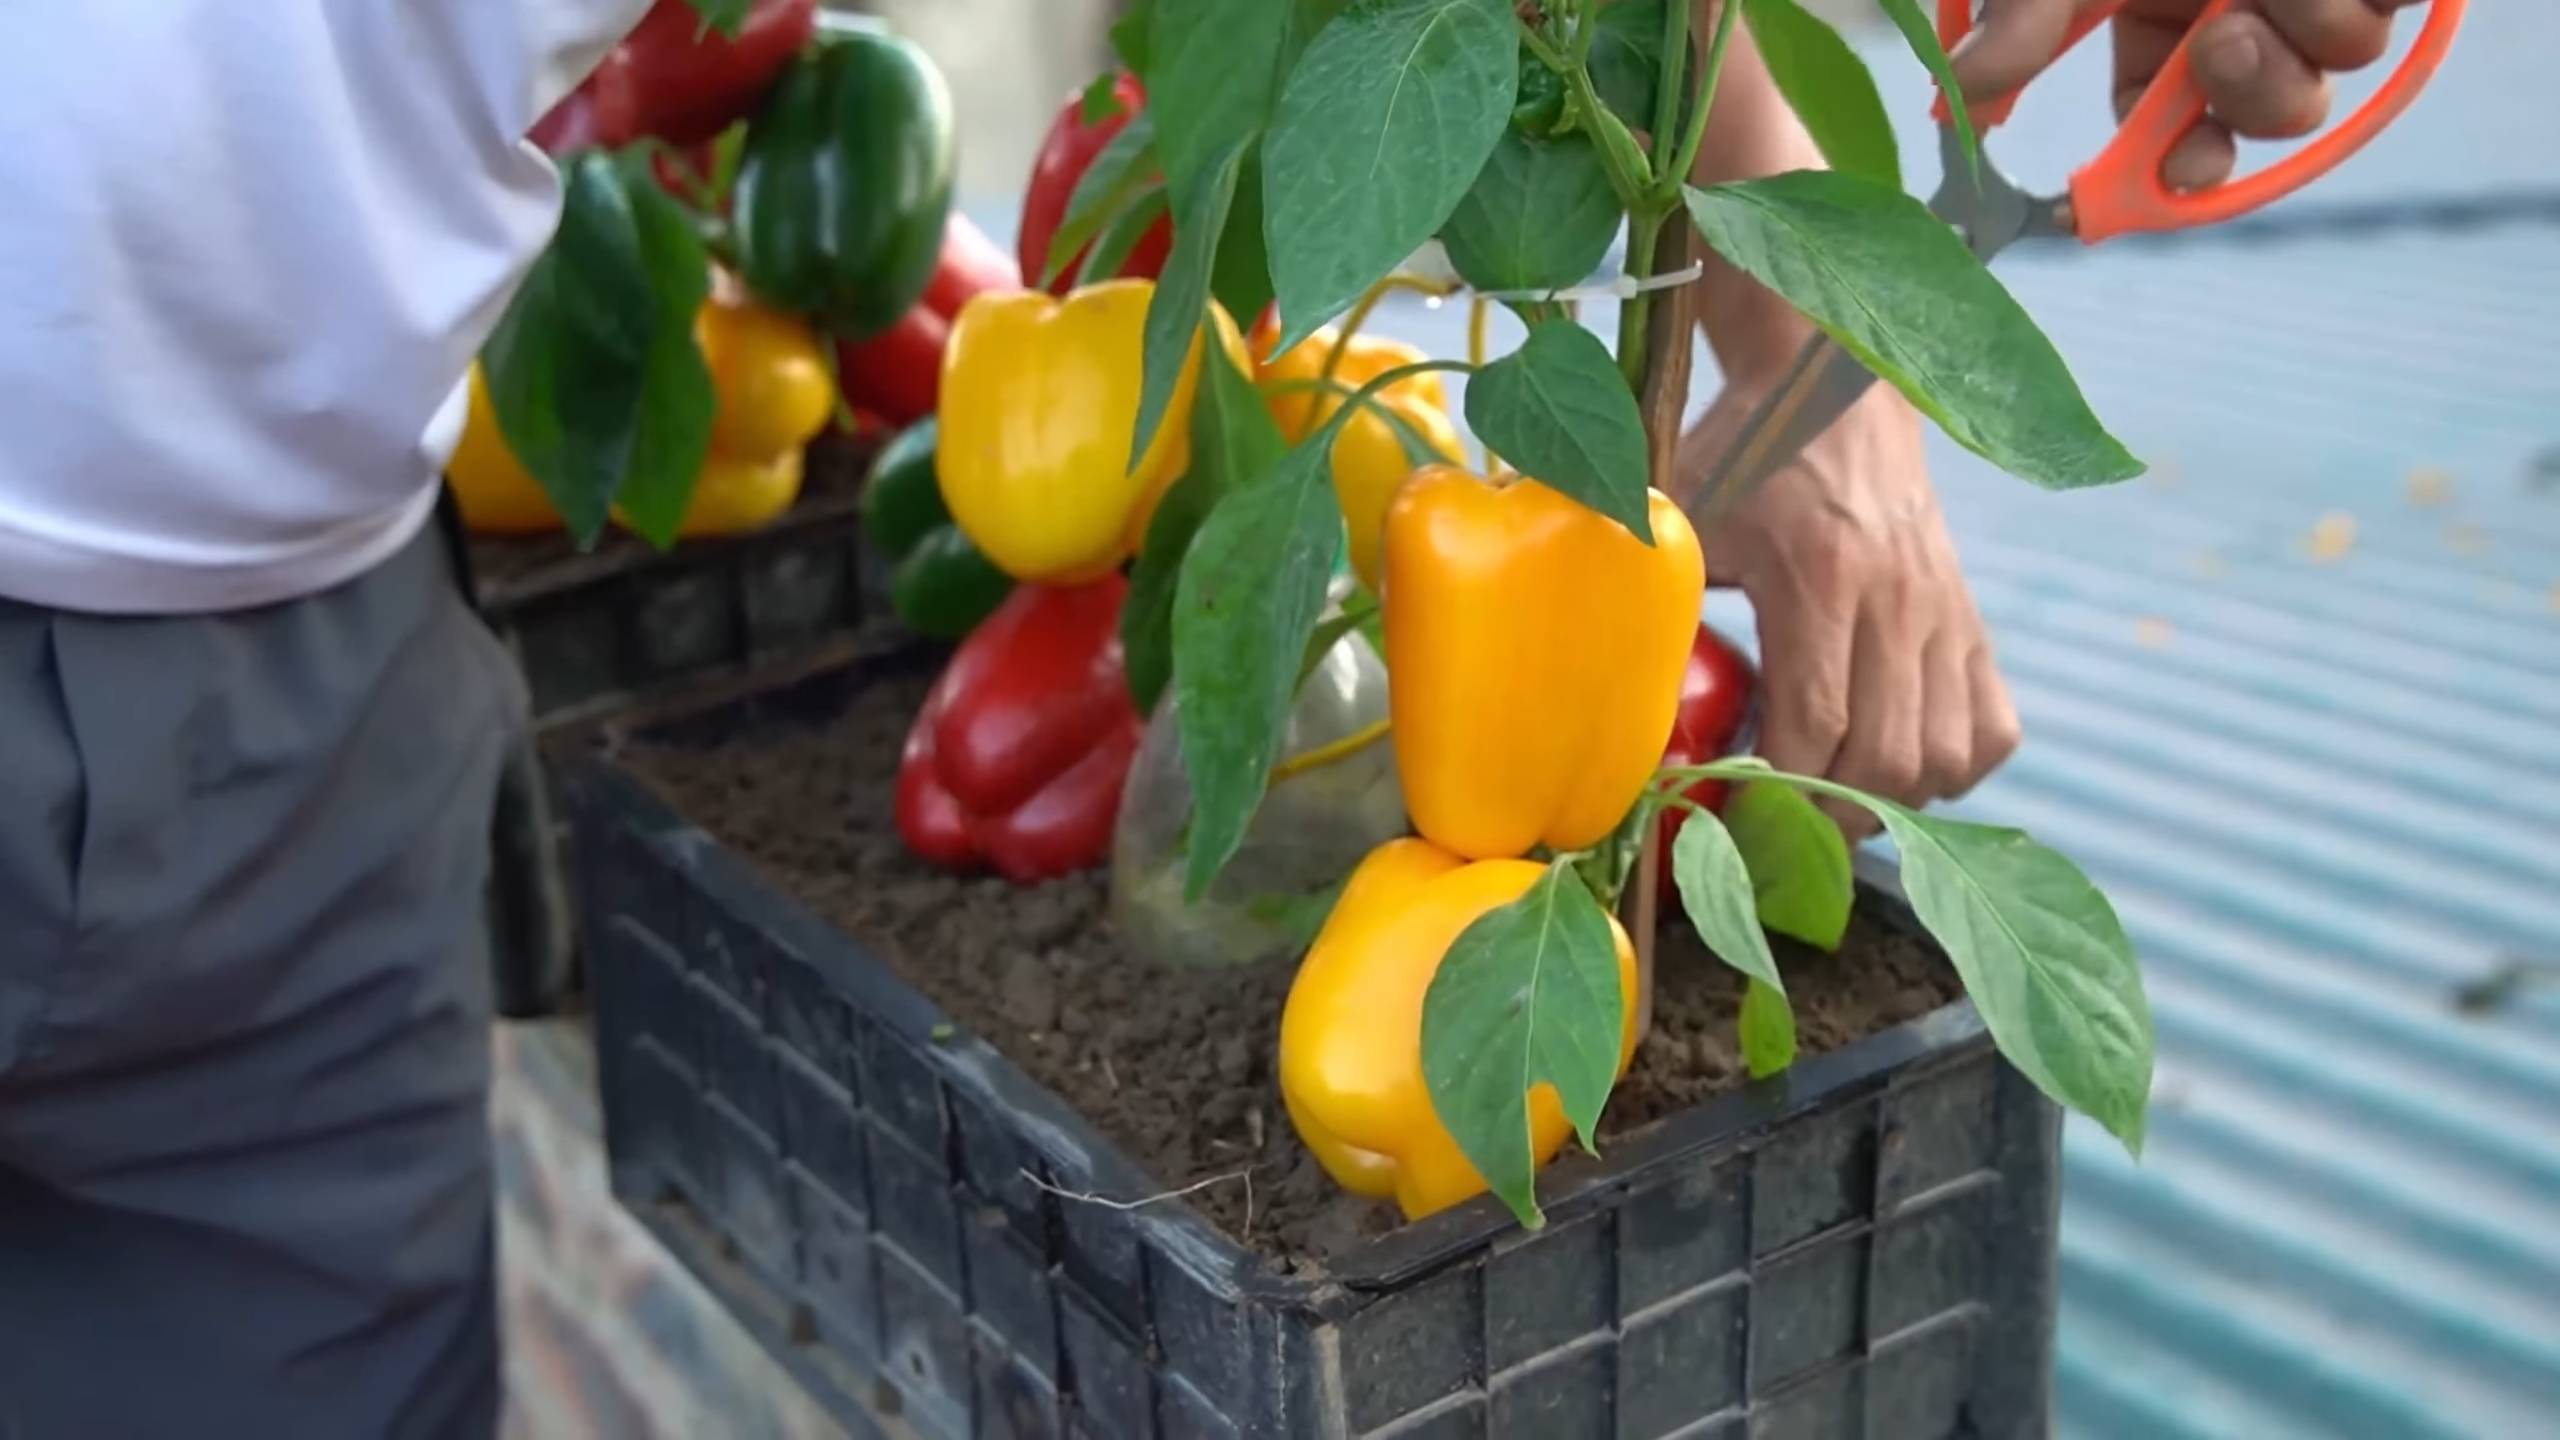
* How to Harvest: Use a sharp knife or pruning shears to cut the peppers from the plant. Leave a small piece of stem attached to the pepper.
* Enjoy Your Harvest: Use your fresh bell peppers in salads, stir-fries, omelets, or any other dish you like. You can also freeze them for later use.
Troubleshooting Common Problems
Even with the best care, you may encounter some problems while growing bell peppers. Here are some common issues and how to address them:
* Blossom End Rot: This is a common problem that causes the bottom of the pepper to turn black and leathery. It’s usually caused by calcium deficiency, which can be due to inconsistent watering or poor soil. Ensure consistent watering and add calcium to the soil (you can use crushed eggshells or a calcium supplement).
* Lack of Fruit Production: If your bell pepper plants are growing well but not producing fruit, it could be due to a lack of pollination, insufficient sunlight, or over-fertilizing with nitrogen. Ensure proper pollination, provide adequate sunlight, and use a balanced fertilizer.
* Pest Infestations: As mentioned earlier, aphids, spider mites, and whiteflies are common pests that affect bell peppers. Control these pests with insecticidal soap or neem oil.
* Yellowing Leaves: Yellowing leaves can be a sign of nutrient deficiency, overwatering, or disease. Check the soil moisture and adjust your watering accordingly. Fertilize your plants with a balanced fertilizer. If the yellowing is accompanied by other symptoms, such as spots or lesions, it could be a sign of disease.
Tips for Success
Here are a few extra tips to help you succeed in growing bell peppers on your balcony:
* Choose the right location: Make sure your balcony gets at least 6-8 hours of direct sunlight per day.
* Use high-quality potting mix: Don’t use garden soil; it’s too heavy and compacts easily in containers.
* Water regularly: Bell peppers need consistent moisture, especially during hot, dry weather.
* Fertilize regularly: Bell peppers are heavy feeders, so fertilize them regularly with a balanced fertilizer.
* Provide support: Use stakes or cages to support your
Conclusion
So, there you have it! Growing your own bell peppers on your balcony isn’t just a whimsical dream; it’s a tangible reality within your reach, even with limited space. This DIY approach to balcony gardening bell peppers offers a rewarding experience that goes beyond simply acquiring fresh produce. It’s about connecting with nature, understanding the growth cycle, and enjoying the unparalleled flavor of homegrown vegetables.
Why is this a must-try? Because it empowers you to take control of your food source, ensuring you’re consuming bell peppers free from harmful pesticides and packed with nutrients. Store-bought bell peppers, while convenient, often lack the vibrancy and sweetness that comes from being freshly picked. Plus, the satisfaction of nurturing a plant from seedling to harvest is an incredibly fulfilling experience.
Beyond the basic method outlined, there’s plenty of room for experimentation. Consider trying different varieties of bell peppers. Yellow, orange, and even purple bell peppers can add a splash of color to your balcony garden and a diverse range of flavors to your meals. You can also explore companion planting. Basil, for example, is known to deter pests and improve the flavor of bell peppers. Marigolds are another excellent choice for pest control and adding a touch of beauty to your balcony.
For those with particularly sunny balconies, you might even consider experimenting with hotter pepper varieties alongside your bell peppers. Just be sure to keep them separated to avoid cross-pollination, which could result in unexpectedly spicy bell peppers!
Don’t be afraid to adapt the techniques to suit your specific balcony environment. If you live in a particularly windy area, consider using taller stakes or a small trellis to provide extra support for your plants. If your balcony gets scorching afternoon sun, you might need to provide some shade during the hottest hours of the day.
The key to successful balcony gardening bell peppers is observation and adaptation. Pay close attention to your plants, monitor their growth, and adjust your care routine as needed. With a little patience and attention, you’ll be rewarded with a bountiful harvest of delicious, homegrown bell peppers.
We wholeheartedly encourage you to give this DIY trick a try. It’s a simple, affordable, and incredibly rewarding way to bring the joy of gardening to your balcony. And most importantly, we want to hear about your experience! Share your photos, tips, and challenges in the comments below. Let’s create a community of balcony gardeners and inspire others to embrace the joys of growing their own food. What are you waiting for? Get your hands dirty and start growing your own balcony gardening bell peppers today!
Frequently Asked Questions (FAQ)
What is the best time of year to start growing bell peppers on my balcony?
The ideal time to start growing bell peppers depends on your climate. In general, bell peppers thrive in warm weather, so you’ll want to start them indoors about 6-8 weeks before the last expected frost. If you live in a warmer climate with a longer growing season, you can start them directly outdoors after the threat of frost has passed. A good rule of thumb is to wait until the soil temperature reaches at least 60°F (15°C).
What size pot is best for growing bell peppers on a balcony?
Bell peppers need adequate space for their roots to grow, so choose a pot that is at least 12 inches in diameter and 12 inches deep. A 5-gallon pot is generally a good size for a single bell pepper plant. Larger pots are always better, as they provide more room for root growth and help retain moisture. Make sure the pot has drainage holes to prevent waterlogging.
What type of soil should I use for my balcony bell peppers?
Use a high-quality potting mix that is well-draining and rich in organic matter. Avoid using garden soil, as it can be too heavy and compact for container gardening. Look for a potting mix that contains ingredients like peat moss, perlite, and vermiculite. You can also amend your potting mix with compost or other organic matter to improve its fertility.
How much sunlight do bell peppers need on a balcony?
Bell peppers need at least 6-8 hours of direct sunlight per day to thrive. Choose a location on your balcony that receives plenty of sunlight throughout the day. If your balcony doesn’t get enough sunlight, you may need to supplement with grow lights. Rotate your plants regularly to ensure that all sides receive adequate sunlight.
How often should I water my balcony bell peppers?
Water your bell peppers regularly, especially during hot, dry weather. Check the soil moisture regularly by sticking your finger into the soil. If the top inch of soil feels dry, it’s time to water. Water deeply, until water drains out of the drainage holes. Avoid overwatering, as this can lead to root rot.
What kind of fertilizer should I use for my balcony bell peppers?
Bell peppers are heavy feeders, so they need regular fertilization. Use a balanced fertilizer with an NPK ratio of 5-10-10 or similar. Fertilize every 2-3 weeks during the growing season. You can also use organic fertilizers like compost tea or fish emulsion.
How do I prevent pests and diseases on my balcony bell peppers?
Regularly inspect your plants for pests and diseases. Common pests of bell peppers include aphids, spider mites, and whiteflies. You can control these pests with insecticidal soap or neem oil. Diseases like blossom end rot can be prevented by providing consistent watering and calcium supplementation. Ensure good air circulation around your plants to prevent fungal diseases.
How long does it take for bell peppers to mature on a balcony?
Bell peppers typically take 60-90 days to mature, depending on the variety. You can harvest them when they are fully colored and firm to the touch. Use a sharp knife or scissors to cut the peppers from the plant, leaving a small stem attached.
Can I grow bell peppers in a hanging basket on my balcony?
While it’s possible to grow bell peppers in a hanging basket, it’s not ideal. Hanging baskets tend to dry out quickly, and bell peppers need consistent moisture. If you do choose to grow them in a hanging basket, make sure to use a large basket with good drainage and water frequently. Dwarf or compact bell pepper varieties are best suited for hanging baskets.
What if my bell pepper plant is producing flowers but no fruit?
There are several reasons why your bell pepper plant might be producing flowers but no fruit. One common reason is lack of pollination. Bell peppers are self-pollinating, but they may need some help, especially if you’re growing them indoors or on a balcony with limited air circulation. You can hand-pollinate your plants by gently shaking the flowers or using a small paintbrush to transfer pollen from one flower to another. Other reasons for lack of fruit production include insufficient sunlight, improper watering, and nutrient deficiencies.

Leave a Comment