
Quick Bag Tying Hacks: Revolutionizing Your Home Garden
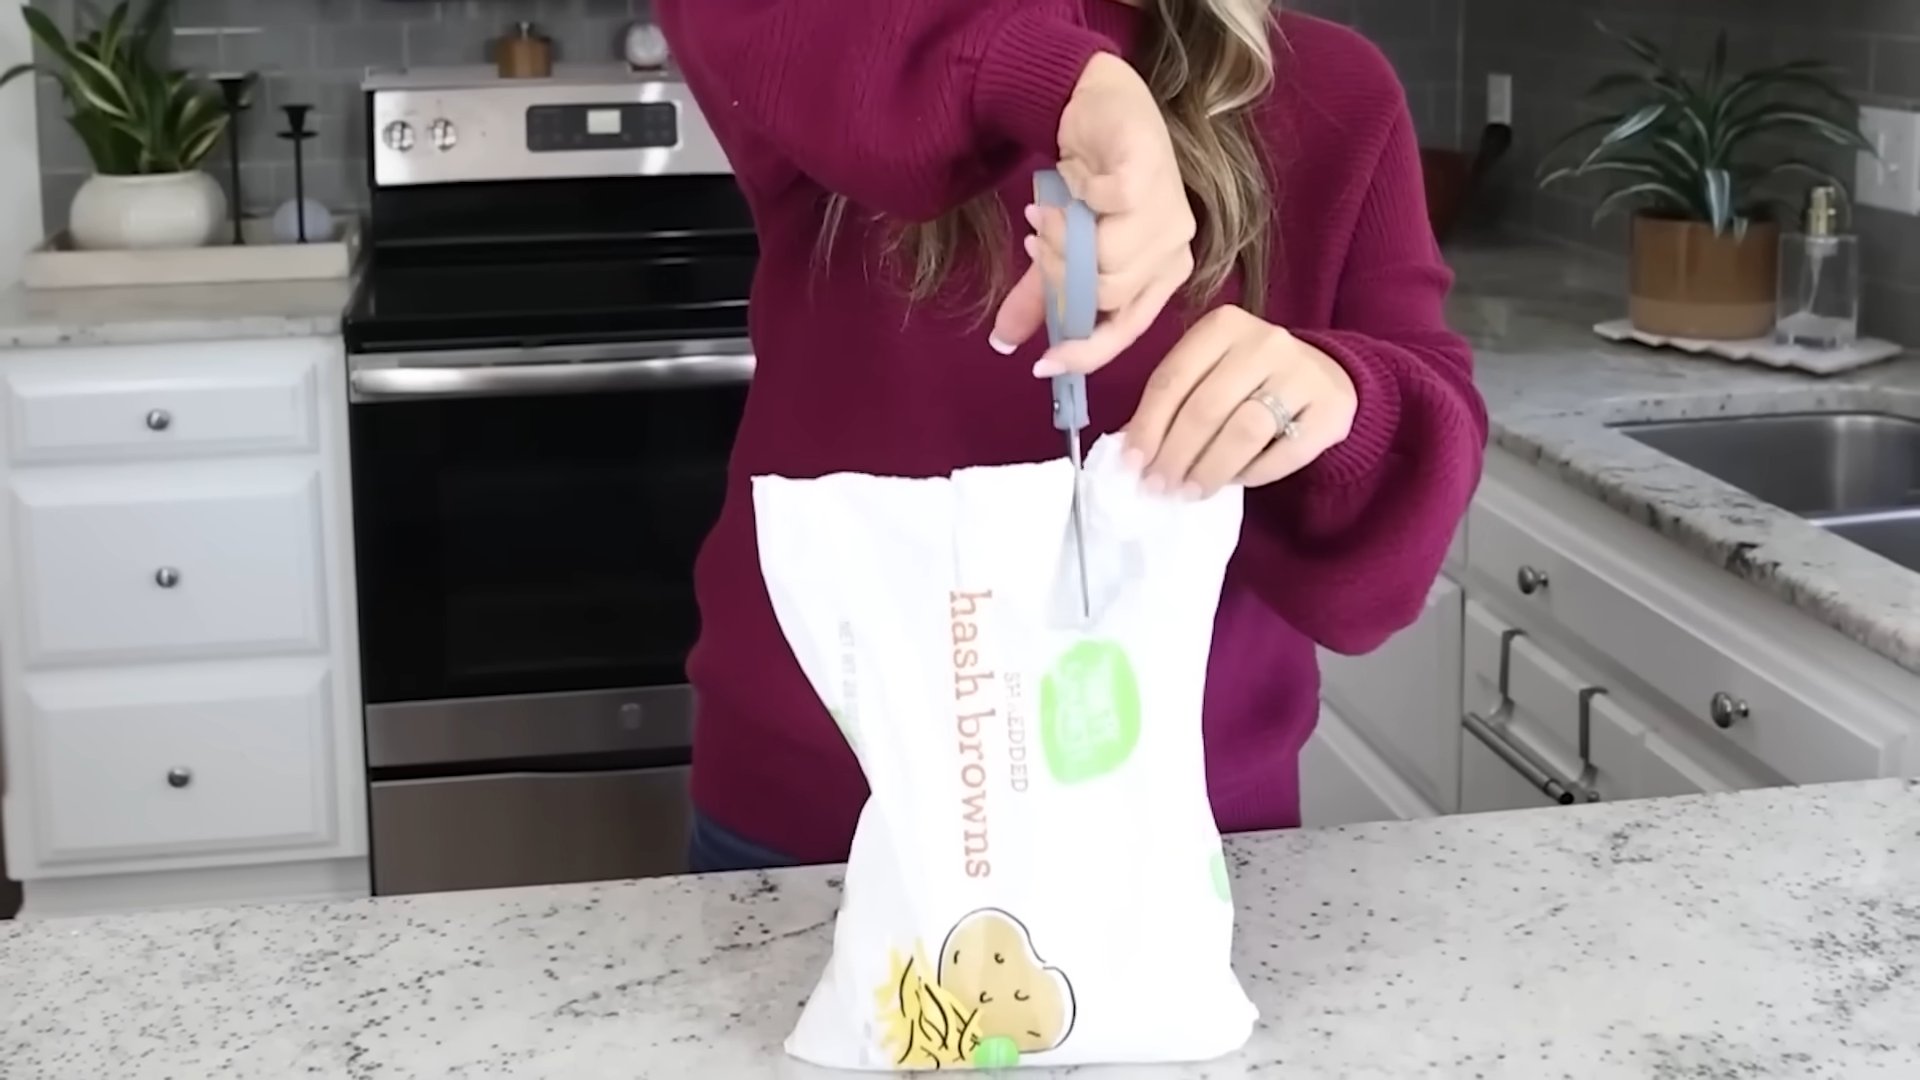
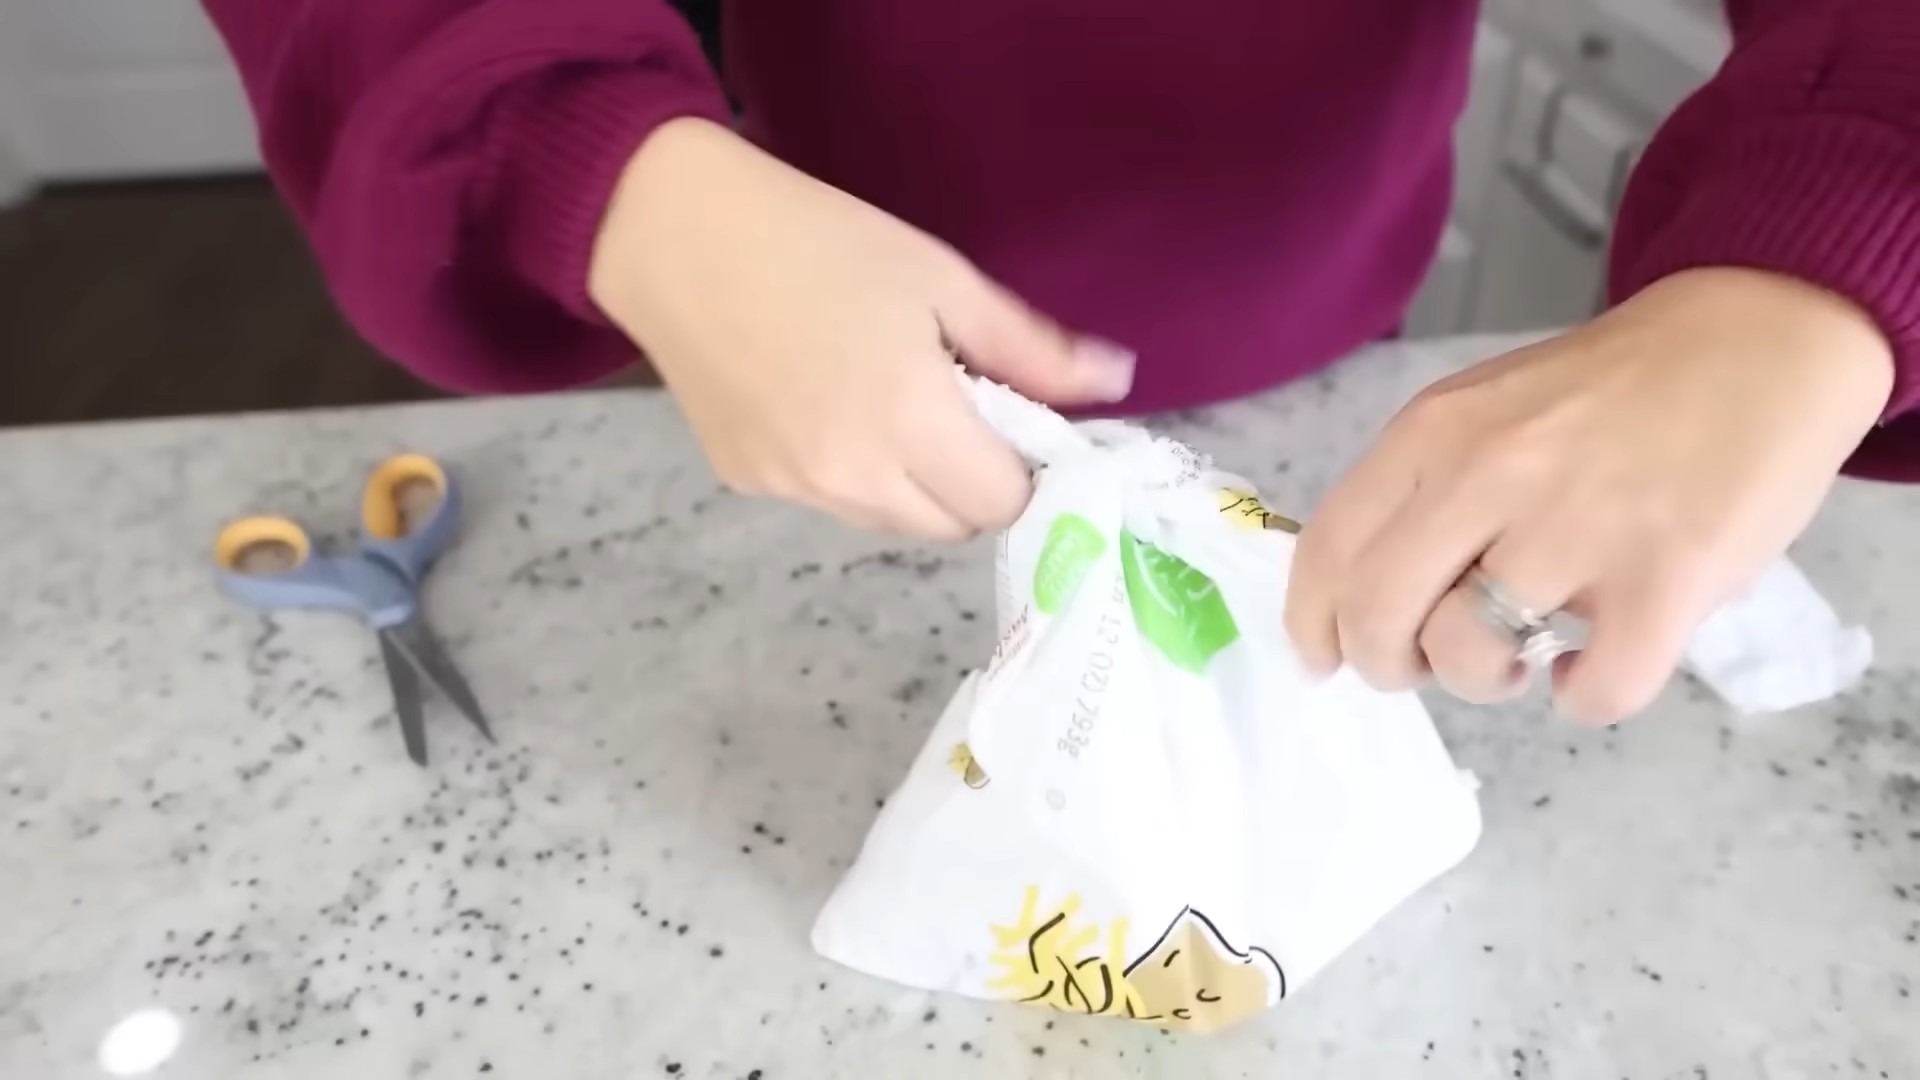
Quick Bag Tying Hacks are a game-changer for any home gardener, and I’m thrilled to share some of my favorite time-saving and space-saving techniques with you today! Forget struggling with awkwardly knotted plastic bags – these simple tricks will transform how you manage seeds, seedlings, and even harvest your bounty. I’ve been gardening for years, and let me tell you, finding efficient ways to organize and store everything is crucial for a successful and enjoyable experience.
Historically, gardeners relied on more rudimentary methods for storing seeds and produce, often using cloth bags or repurposed containers. But in today’s world, plastic bags are ubiquitous, and learning how to use them effectively is a valuable skill. These Quick Bag Tying Hacks aren’t just about convenience; they’re about reducing waste and maximizing your garden’s potential.
Why You Need These Hacks
We all know the frustration of fumbling with plastic bags, especially when your hands are dirty from working in the garden. These Quick Bag Tying Hacks will save you precious time and energy, allowing you to focus on what truly matters: nurturing your plants and enjoying the fruits (and vegetables!) of your labor. Imagine effortlessly organizing your seeds, keeping your seedlings protected, and preserving your harvest with neat, secure bags – all thanks to a few simple, yet ingenious techniques. This article will equip you with the knowledge to master these essential skills, making your gardening journey smoother and more rewarding.
So, let’s dive in and discover the secrets to efficient bag tying, transforming your home gardening experience one cleverly tied bag at a time!
Building a Custom Bookshelf from Reclaimed Wood
I love the look of reclaimed wood, and I’ve always wanted a unique bookshelf. So, I decided to build my own! This project took a bit of time, but the result is a stunning, one-of-a-kind piece I’m incredibly proud of. Here’s how I did it:
Gathering Your Materials
- Reclaimed wood planks (I used about 10-12, varying lengths and widths – aim for a mix of textures and colors for a rustic look!)
- Wood glue
- Wood screws (various lengths, depending on plank thickness)
- Wood filler
- Sandpaper (various grits, starting with coarser and moving to finer)
- Wood stain (your choice of color – I went with a dark walnut)
- Polyurethane sealant (to protect the wood)
- Measuring tape
- Level
- Drill with drill bits (matching your screw sizes)
- Safety glasses
- Work gloves
- Putty knife
- Brushes (for stain and sealant)
- Clamps (to hold planks together while the glue dries)
Preparing the Reclaimed Wood
1. Clean the planks: Before you start, give your reclaimed wood a good cleaning. I used a stiff brush to remove loose dirt and debris. For stubborn grime, a pressure washer can be helpful, but be gentle to avoid damaging the wood.
2. Assess and cut: Lay out your planks to visualize your bookshelf design. I wanted a slightly asymmetrical look, so I didn’t worry about making everything perfectly even. Measure and cut the planks to your desired lengths using a saw (a circular saw or miter saw works best). Remember to account for the thickness of the planks when calculating the overall dimensions of your bookshelf.
3. Sanding is key: This is where the patience comes in. Sand each plank thoroughly, starting with a coarser grit sandpaper (around 80-100 grit) to remove any rough spots or splinters. Gradually move to finer grits (120, then 180, and finally 220) for a smooth finish. Sanding is crucial for a professional-looking final product. Don’t rush this step!
Assembling the Bookshelf
1. Dry fitting: Before applying any glue, do a dry run. Arrange your planks in the desired configuration to ensure everything fits together nicely. This helps you avoid any surprises later on.
2. Applying glue and screws: Once you’re happy with the arrangement, apply wood glue to the joining edges of the planks. Then, clamp the planks together firmly. While the glue is setting, use wood screws to reinforce the joints. Pre-drill pilot holes to prevent the wood from splitting. I used a variety of screw lengths, depending on the thickness of the planks being joined.
3. Filling gaps: Even with careful planning, you might have some small gaps between the planks. Use wood filler to fill these gaps, ensuring a smooth, even surface. Let the filler dry completely before sanding it down flush with the surrounding wood.
4. Final sanding: After the wood filler has dried, give the entire bookshelf another thorough sanding. This will ensure a perfectly smooth surface for staining and sealing. Pay close attention to any areas where the wood filler was applied.
Finishing Touches
1. Applying the stain: Once the sanding is complete, apply your chosen wood stain according to the manufacturer’s instructions. I applied two coats, allowing each coat to dry completely before applying the next. Make sure to work in a well-ventilated area.
2. Sealing the wood: After the stain has dried, apply a few coats of polyurethane sealant. This will protect the wood from moisture and wear, extending the life of your bookshelf. Again, allow each coat to dry completely before applying the next.
3. Let it cure: After applying the sealant, let the bookshelf cure for at least 24 hours before handling it extensively. This allows the sealant to fully harden and provides a durable finish.
Tips and Considerations
Choosing your wood:
The character of your reclaimed wood will significantly impact the final look. Look for planks with interesting textures, knots, and variations in color. Don’t be afraid to mix and match different types of wood for a truly unique piece.
Safety First:
Always wear safety glasses and work gloves when using power tools and working with wood. Proper ventilation is also important when using stains and sealants.
Plan your design:
Before you start cutting, sketch out your design. Consider the dimensions of your space and the types of books you’ll be storing. This will help you determine the size and configuration of your bookshelf.
Take your time:
This is a project that requires patience. Don’t rush any of the steps, especially the sanding and finishing. Taking your time will result in a much more professional-looking and durable bookshelf.
Troubleshooting:
If you encounter any problems during the assembly process, don’t hesitate to seek help from a more experienced DIYer or consult online resources. There are countless tutorials and forums available to assist you.
And there you have it! My custom reclaimed wood bookshelf. It’s a beautiful addition to my home, and I love knowing I built it myself. The process was rewarding, and the end result is truly special. I hope this guide inspires you to tackle your own DIY project!
Conclusion
So there you have it! Our collection of Quick Bag Tying Hacks has armed you with a variety of simple yet effective techniques to conquer the everyday struggle of bag closures. From the classic knot variations to the surprisingly useful twist-and-tuck methods, these DIY tricks are not just about speed; they’re about efficiency, reducing waste, and adding a touch of cleverness to your daily routine. Mastering these techniques will save you precious time and frustration, freeing you up to focus on more important things. This isn’t just about tying bags; it’s about reclaiming control over small tasks and experiencing the satisfaction of a job well done. These Quick Bag Tying Hacks are a must-try for anyone who wants to streamline their life and add a bit of satisfying efficiency to their day.
Beyond the techniques we’ve explored, the possibilities are endless! Experiment with different bag materials – from plastic grocery bags to heavier-duty trash bags – to discover which methods work best. Try adapting these techniques to other tying situations, like securing packages or even creating unique decorative knots. For those who prefer a more secure closure, consider adding a small piece of tape after using one of the knotting methods for extra reinforcement, especially for heavier items. If you’re working with particularly slippery materials, a slightly dampened fingertip can help improve your grip and make knotting easier. Don’t be afraid to get creative and find what works best for you and your specific needs. The beauty of these hacks lies in their adaptability.
We strongly encourage you to try these Quick Bag Tying Hacks and share your experiences with us! Let us know which method became your go-to, any variations you discovered, or any unexpected challenges you encountered. Your feedback will help others and inspire further innovation in the world of efficient bag tying. Share your tips and tricks on social media using #QuickBagTyingHacks – let’s build a community of efficient bag-tying enthusiasts! The more we share, the more we learn, and the more we can all benefit from these simple yet powerful life hacks. Embrace the efficiency, embrace the simplicity, and embrace the satisfaction of mastering the art of the perfect bag tie.
Frequently Asked Questions
Q: Are these Quick Bag Tying Hacks suitable for all types of bags?
A: While most of these techniques work well on a variety of bags, the best method will depend on the bag’s material and size. Thicker, sturdier bags might require a slightly more robust knot, while thinner, more flexible bags might be better suited to simpler twist-and-tuck methods. Experiment to find what works best for each type of bag you use regularly.
Q: What if I struggle with getting the knots tight enough?
A: Practice makes perfect! The more you use these techniques, the easier they will become. If you’re having trouble getting a knot tight, try using both hands to pull the ends firmly. You can also try slightly dampening your fingers to improve your grip, especially with slippery plastic bags. For extra security, consider adding a small piece of tape after tying the knot.
Q: Are there any safety concerns associated with these Quick Bag Tying Hacks?
A: These techniques are generally safe, but always exercise caution when handling sharp objects or heavy items. If you’re working with bags containing sharp or fragile items, take extra care to avoid puncturing the bag during the tying process. Always prioritize safety and use your best judgment.
Q: Can I use these Quick Bag Tying Hacks for bags with handles?
A: Absolutely! Many of these techniques can be adapted to bags with handles. You might need to adjust your grip or the way you manipulate the bag, but the core principles remain the same. Experiment to find the most efficient method for your specific bag type.
Q: What if I’m tying a very large or heavy bag?
A: For larger or heavier bags, you might need to use a more robust knotting technique, such as a double knot or a square knot, to ensure the bag stays securely closed. You could also consider using additional securing methods like tape or a twist tie for extra reinforcement.
Q: Can I use these techniques for garbage bags?
A: Yes, these Quick Bag Tying Hacks are perfectly suitable for garbage bags. The twist-and-tuck methods are particularly effective for quickly and securely closing garbage bags, especially those with drawstrings. However, for very heavy or full garbage bags, you might want to consider using a more secure knotting method for added safety.
Q: Where can I find more information on different types of knots?
A: There are countless resources available online and in libraries that detail various knot-tying techniques. A simple online search for “knot tying diagrams” or “basic knot types” will yield a wealth of information and visual guides to help you expand your knot-tying skills beyond the techniques presented here. Learning more about knot tying can be a fun and rewarding hobby, opening up a world of possibilities for various applications.
Leave a Comment