
Fast Lime Cleaning: Your Secret Weapon for a Sparkling Garden
I’ve always loved the feeling of digging in the soil, the quiet satisfaction of nurturing plants from tiny seeds to bountiful harvests. But let’s be honest, gardening isn’t always glamorous. One of the biggest headaches? Dealing with that stubborn lime buildup that can plague your pots, tools, and even your patio. That’s why I’m so excited to share my fast lime cleaning techniques with you – simple DIY solutions that will save you time, money, and a whole lot of scrubbing!
For centuries, gardeners have battled the effects of hard water and mineral deposits. From ancient Roman aqueducts to modern-day suburban gardens, the struggle against lime scale is a universal one. Our ancestors might have relied on more laborious methods, but today, we have access to clever shortcuts that make fast lime cleaning a breeze. And trust me, you’ll appreciate the difference!
Why is fast lime cleaning so important? Because lime buildup isn’t just unsightly; it can actually harm your plants. It clogs pores in pots, preventing proper drainage and potentially leading to root rot. It dulls your tools, making them less efficient. And it can even leave unsightly stains on your patio furniture. This article will equip you with the knowledge and simple DIY recipes to tackle lime scale effectively, leaving your garden looking its best with minimal effort. Get ready to reclaim your sparkling garden with these easy and effective fast lime cleaning methods!
Building a Custom Bookshelf from Reclaimed Wood
I love the look of reclaimed wood, and I’ve always wanted a unique bookshelf. So, I decided to build my own! This project took a bit of time, but the result is a beautiful, sturdy bookshelf that perfectly fits my space and style. Here’s how I did it:
Phase 1: Sourcing and Preparing the Wood
- Find your wood: This is the fun part! I scoured local salvage yards and even checked out Craigslist for reclaimed wood. Look for planks that are relatively straight and free of major cracks or rot. I aimed for a mix of widths and thicknesses for a more rustic look.
- Clean the wood: Once you’ve got your wood, give it a good cleaning. I used a wire brush to remove loose debris and then wiped it down with a damp cloth. For stubborn dirt, a pressure washer can be helpful, but be gentle to avoid damaging the wood.
- Cut the wood to size: This is where accurate measurements are crucial. I used a tape measure and a carpenter’s square to ensure precise cuts. I needed vertical supports, shelves, and a back panel. I sketched a simple design beforehand to visualize the dimensions.
- Sand the wood: This step is essential for a smooth finish. I started with a coarser grit sandpaper (around 80 grit) to remove any rough spots and then moved to finer grits (120 and then 220 grit) for a smoother surface. Wear a dust mask during sanding!
Phase 2: Assembling the Bookshelf
- Prepare the vertical supports: I chose to use four vertical supports for my bookshelf. I measured and marked the locations for the shelf supports on each vertical piece. These supports will be attached to the shelves later.
- Attach the shelf supports: I used pocket hole screws to attach the shelf supports to the vertical supports. Pocket hole joinery is strong and creates a clean look. If you don’t have a pocket hole jig, you can use traditional wood glue and screws, but ensure the screws are countersunk.
- Attach the shelves: Carefully place the shelves onto the supports, ensuring they are level. I used wood glue and screws to secure the shelves to the supports. Make sure the screws are countersunk and the heads are flush with the wood.
- Attach the back panel: I cut a piece of plywood to fit the back of the bookshelf. This adds stability and a finished look. I used wood glue and brad nails to attach the back panel. You can also use screws, but be careful not to split the wood.
- Check for squareness: Throughout the assembly process, regularly check that the bookshelf is square using a carpenter’s square. Adjust as needed to ensure a stable and aesthetically pleasing structure.
Phase 3: Finishing Touches
- Fill any gaps: Use wood filler to fill any gaps or holes in the wood. Let it dry completely and then sand it smooth.
- Apply stain or paint: This is where you can personalize your bookshelf. I chose a dark walnut stain to enhance the natural beauty of the reclaimed wood. Apply the stain according to the manufacturer’s instructions. Allow ample drying time between coats.
- Apply a sealant: A sealant protects the wood from moisture and wear. I used a polyurethane sealant to give my bookshelf a durable finish. Again, follow the manufacturer’s instructions for application and drying time.
- Add hardware (optional): If desired, you can add decorative hardware, such as metal brackets or handles. This is a great way to add a personal touch.
Phase 4: Addressing Potential Challenges
Dealing with Knots and Cracks
Reclaimed wood often has knots and cracks. These add character, but they can also present challenges. When cutting, be extra careful around knots, as they can cause the wood to split. For larger cracks, you might need to use wood filler to strengthen the structure. Remember to sand the filler smooth before staining or painting.
Working with Uneven Wood
Reclaimed wood is rarely perfectly straight or uniform in thickness. This can make assembly a little more challenging. Use shims to level shelves and supports as needed. Don’t be afraid to adjust your plans slightly to accommodate the unique characteristics of your wood.
Choosing the Right Fasteners
The type of fasteners you use is important. For heavier shelves, you might need longer screws or even bolts. Always pre-drill pilot holes to prevent the wood from splitting. Using wood glue in conjunction with screws will create a stronger and more durable joint.
Safety First!
Always wear safety glasses and a dust mask when working with wood. Use caution when operating power tools. Take your time and work carefully to avoid injury.
Phase 5: Final Inspection and Placement
- Inspect your work: Once the sealant is dry, carefully inspect your bookshelf for any imperfections. Make any necessary repairs or touch-ups.
- Clean up: Clean up any sawdust or debris from your workspace.
- Place your bookshelf: Find the perfect spot for your new bookshelf and admire your handiwork! Load it up with your favorite books and enjoy your custom-built masterpiece.
Building a bookshelf from reclaimed wood is a rewarding project. It allows you to create a unique piece of furniture that reflects your personal style. While it might seem daunting at first, by following these steps and taking your time, you can build a beautiful and functional bookshelf that you’ll cherish for years to come.
Conclusion
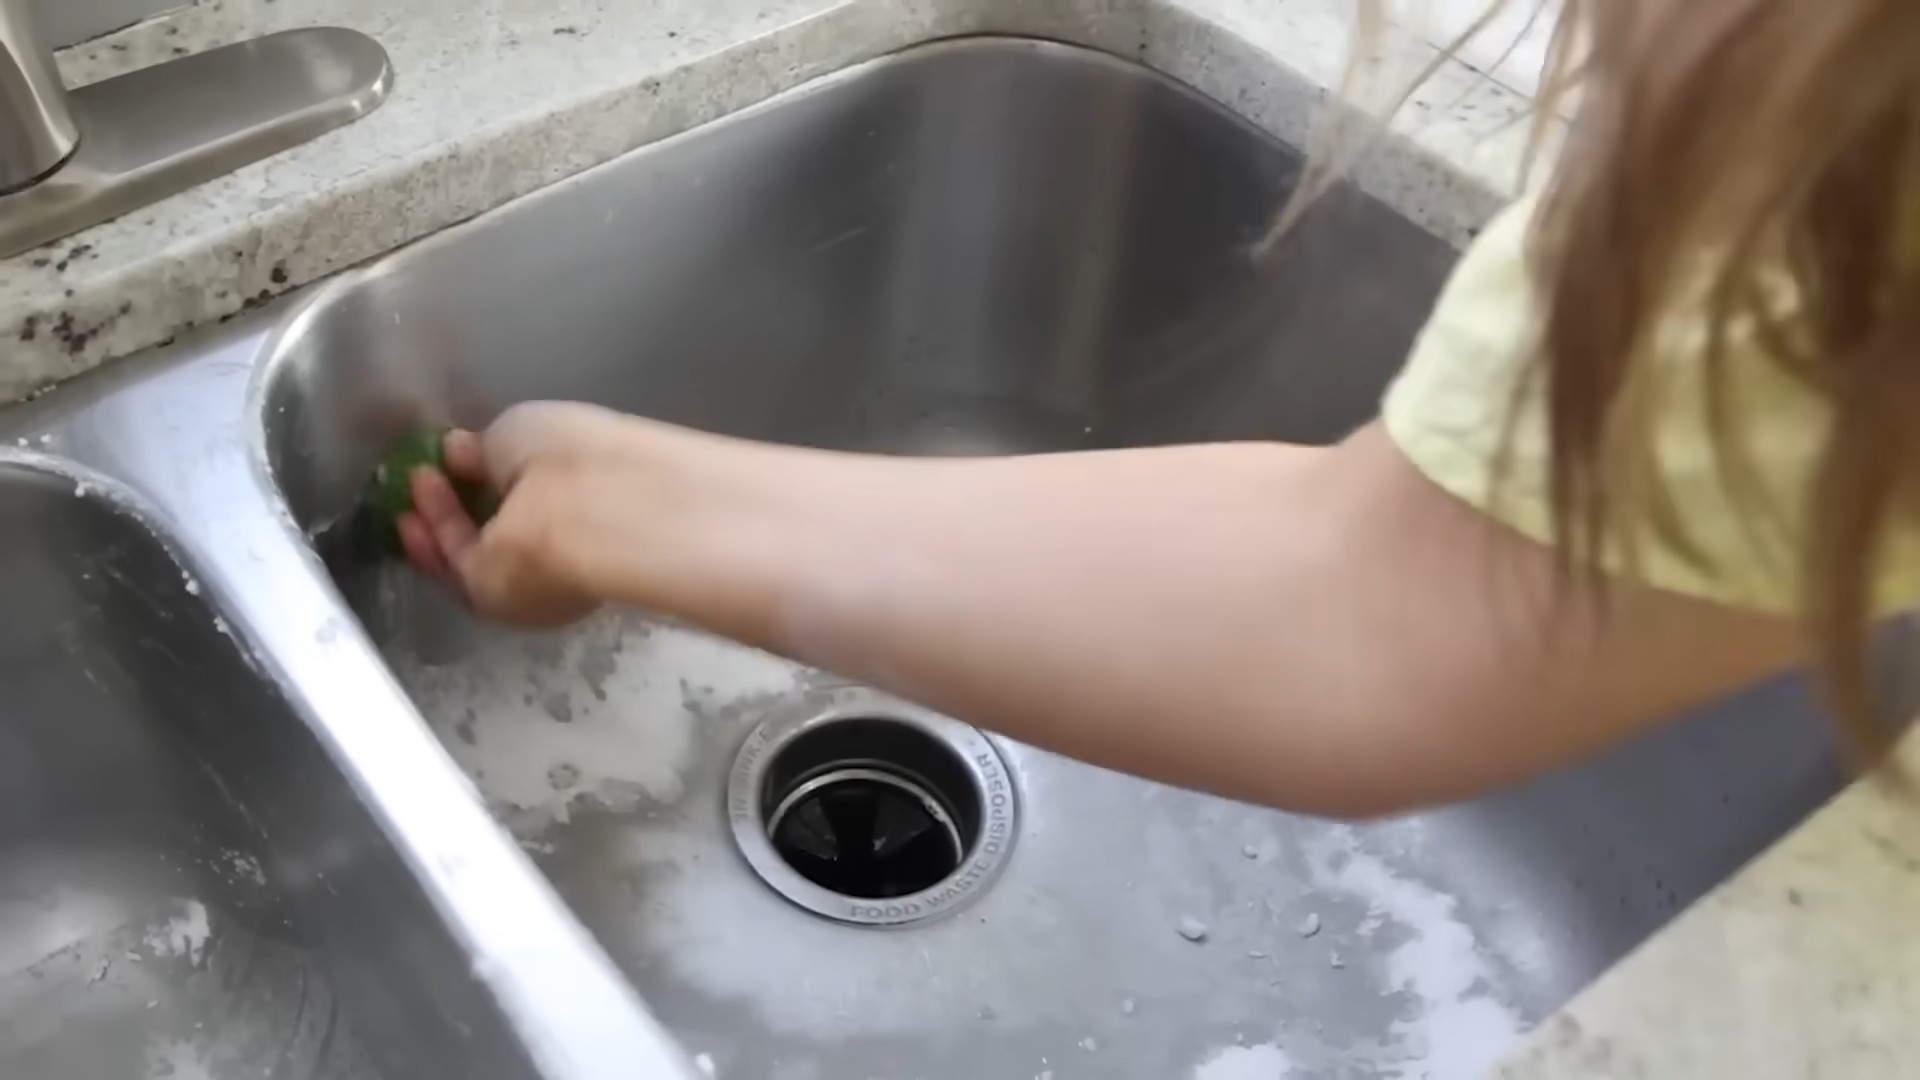
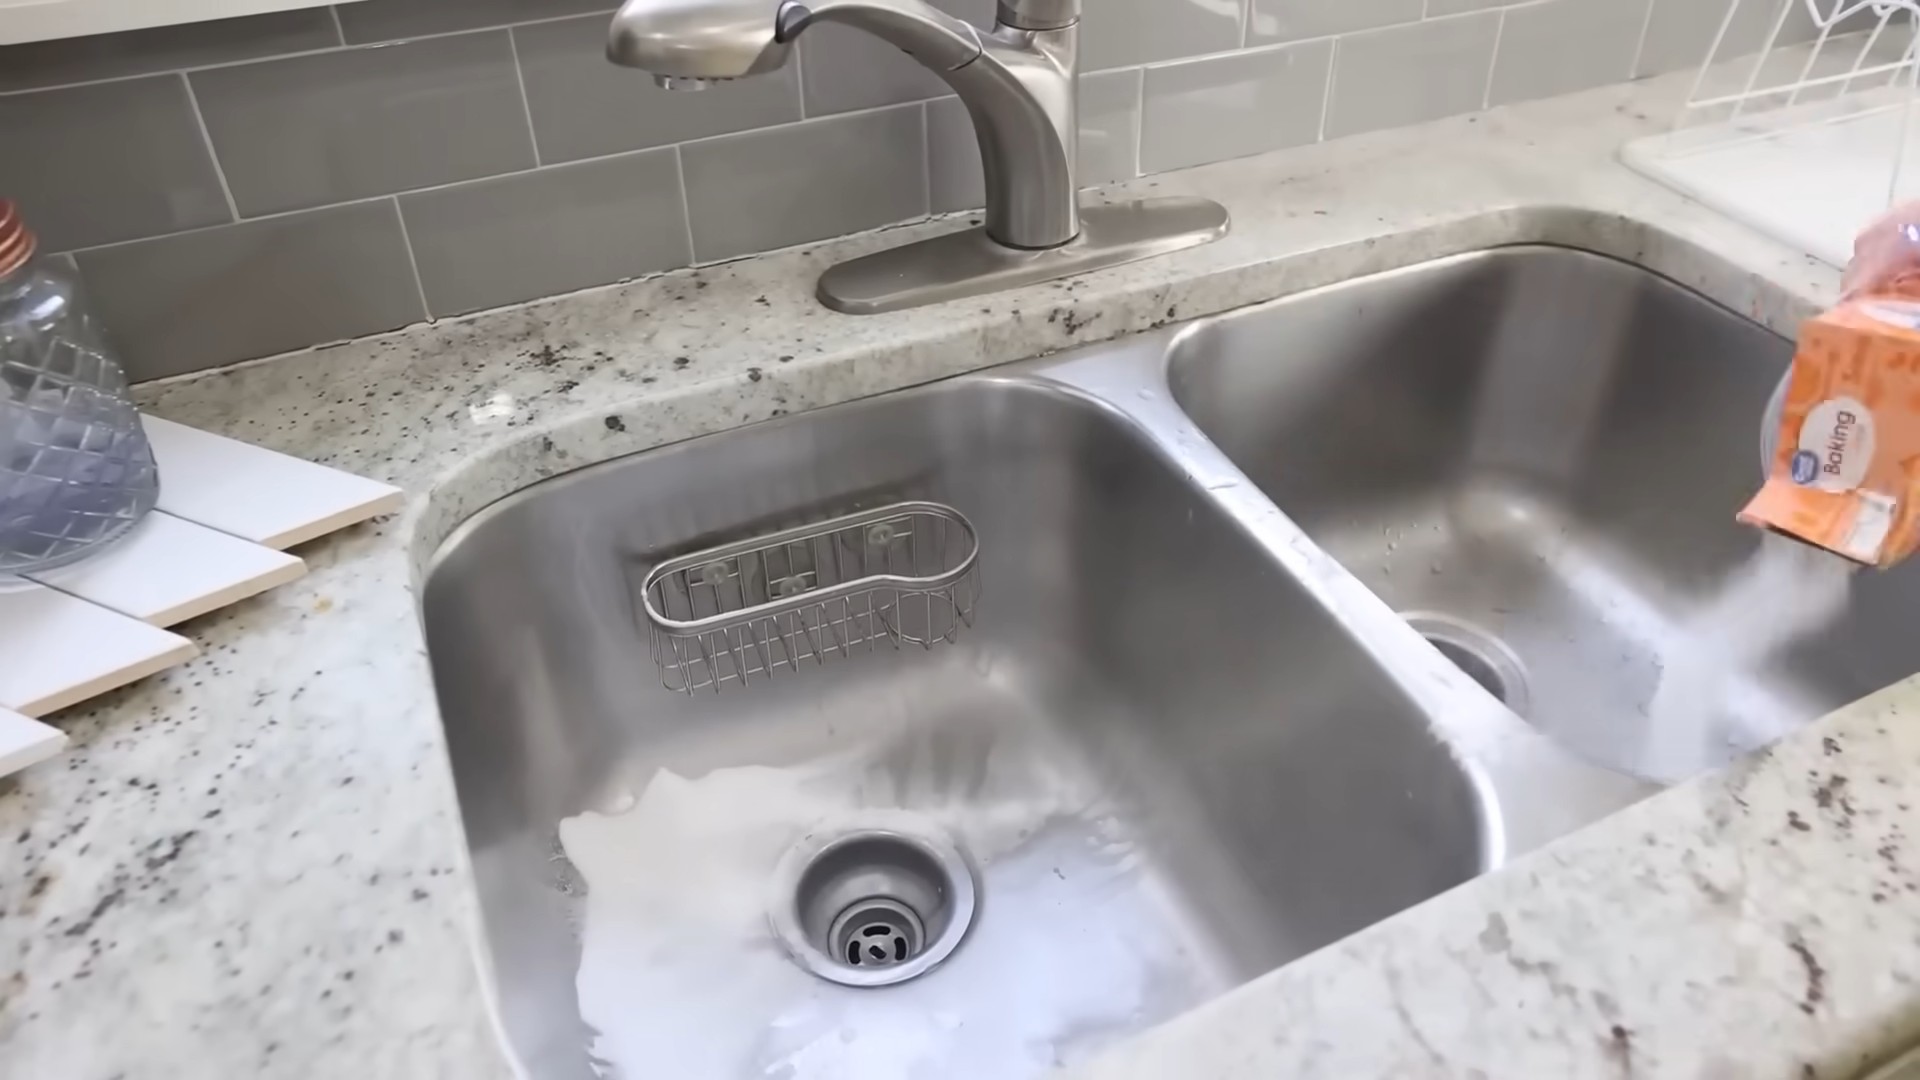
This Fast Lime Cleaning method is a game-changer for anyone battling stubborn lime scale buildup. It’s a simple, inexpensive, and incredibly effective solution that avoids harsh chemicals and their potentially harmful effects. Forget expensive commercial cleaners and embrace the power of readily available ingredients to achieve sparkling, lime-free surfaces. The satisfying results speak for themselves – from gleaming faucets to spotless showerheads, this DIY trick delivers professional-level cleaning without the professional-level price tag. The ease of application and the speed at which it works make it a truly indispensable addition to your cleaning arsenal. You’ll wonder why you ever struggled with lime scale before!
Beyond the core recipe, there are numerous ways to customize this Fast Lime Cleaning method to suit your specific needs and preferences. For instance, if you’re dealing with particularly stubborn lime scale deposits, you can increase the soaking time or apply a second coat of the solution. For those who prefer a more fragrant cleaning experience, a few drops of your favorite essential oil – such as lemon or tea tree oil – can be added to the mixture. Remember to always test a small, inconspicuous area first to ensure the solution doesn’t damage the surface. For delicate surfaces like certain types of marble or polished stone, a gentler approach might be necessary – perhaps reducing the concentration of the acidic ingredient or shortening the application time. Experiment and find what works best for you and your surfaces!
We strongly encourage you to try this Fast Lime Cleaning method and share your experience with us! Let us know in the comments below how it worked for you, what surfaces you tackled, and any variations you experimented with. Your feedback will help other readers and inspire us to continue sharing effective and eco-friendly cleaning solutions. Join the conversation and let’s make cleaning easier and more sustainable together! Don’t let lime scale win – take control and reclaim the sparkle in your home with this simple yet powerful DIY trick. You’ll be amazed at the difference!
Frequently Asked Questions
What types of surfaces can I use this Fast Lime Cleaning method on?
This Fast Lime Cleaning method is effective on a wide range of surfaces prone to lime scale buildup, including faucets, showerheads, shower doors, sinks, tiles, and even some stainless steel appliances. However, it’s crucial to always test a small, inconspicuous area first to ensure the solution doesn’t damage the surface. Avoid using it on delicate materials like unsealed wood or certain types of polished stone. Always refer to the manufacturer’s cleaning instructions for your specific surfaces.
How often should I use this Fast Lime Cleaning method?
The frequency of application depends on the hardness of your water and the level of lime scale buildup. For areas with moderate lime scale, a weekly or bi-weekly application might suffice. For areas with significant buildup, you may need to apply the solution more frequently, perhaps every few days. Regular, preventative cleaning is always better than tackling a severe lime scale problem.
Can I use this method on all types of stainless steel?
While this method works on many stainless steel surfaces, it’s essential to exercise caution. Some stainless steel finishes are more susceptible to etching or damage from acidic solutions. Always test a small, inconspicuous area first before applying the solution to a larger surface. If you notice any discoloration or damage, immediately rinse the area thoroughly and discontinue use.
What if the lime scale is extremely stubborn?
For extremely stubborn lime scale, you can try increasing the soaking time or applying a second coat of the solution. You can also consider using a soft-bristled brush or sponge to gently scrub the affected area while the solution is working. For particularly persistent deposits, you might need to repeat the process several times. In extreme cases, you may need to consider professional cleaning services.
Are there any safety precautions I should take?
Always wear appropriate protective gear, such as rubber gloves, when handling the cleaning solution. Ensure adequate ventilation in the area where you’re applying the solution. Keep the solution out of reach of children and pets. Avoid contact with eyes and skin. If contact occurs, rinse thoroughly with water. If irritation persists, seek medical attention. Remember to always test a small, inconspicuous area first before applying the solution to a larger surface.
What are the ingredients in this Fast Lime Cleaning solution?
The exact ingredients will vary depending on the specific recipe you choose, but common ingredients include white vinegar, baking soda, and water. These are generally safe and readily available household items. However, always check the specific recipe instructions before starting.
Can I substitute the ingredients?
While the core ingredients are effective, some substitutions might be possible. For example, you could potentially use lemon juice instead of white vinegar, but the effectiveness might vary. It’s always best to stick to the recommended ingredients for optimal results. Experimenting with substitutions is possible, but proceed with caution and always test a small area first.
What should I do if I accidentally damage a surface?
If you accidentally damage a surface, immediately rinse the area thoroughly with water. Depending on the severity of the damage, you may need to consult a professional for repair or replacement. Prevention is always better than cure, so always test a small, inconspicuous area first before applying the solution to a larger surface. Remember to always follow the manufacturer’s cleaning instructions for your specific surfaces.

Leave a Comment