
Cillit Bang household uses – bet you didn’t know that powerful cleaning spray you keep under the sink could be your secret weapon for more than just bathroom grime! I’m always on the lookout for clever DIY hacks that save time and money, and I stumbled upon some truly surprising ways to utilize Cillit Bang around the house. Forget spending a fortune on specialized cleaners; this one bottle might just be the answer to a multitude of household woes.
While Cillit Bang might not have a rich historical background like some traditional cleaning remedies (think vinegar or baking soda!), its modern impact is undeniable. It represents a shift towards powerful, readily available cleaning solutions designed for our fast-paced lives. But what if I told you its capabilities extend far beyond the shower tiles?
Let’s face it, keeping a home sparkling clean can feel like a never-ending battle. We’re constantly bombarded with new cleaning products, each promising miraculous results. But who has the time (or the budget!) to try them all? That’s where these unexpected Cillit Bang household uses come in. From reviving dull grout to tackling stubborn stains, I’m going to share some game-changing tricks that will simplify your cleaning routine and leave your home looking its best. Get ready to unlock the hidden potential of this everyday cleaner and discover how it can make your life a whole lot easier!
DIY Cleaning Powerhouse: Unleashing the Versatility of Cillit Bang
Hey there, fellow DIY enthusiasts! Today, we’re diving deep into the surprisingly versatile world of Cillit Bang. You probably know it as that powerful cleaner for your bathroom and kitchen, but trust me, this stuff can do so much more! I’m going to show you how to unlock its full potential and create some amazing DIY cleaning solutions that will save you money and keep your home sparkling.
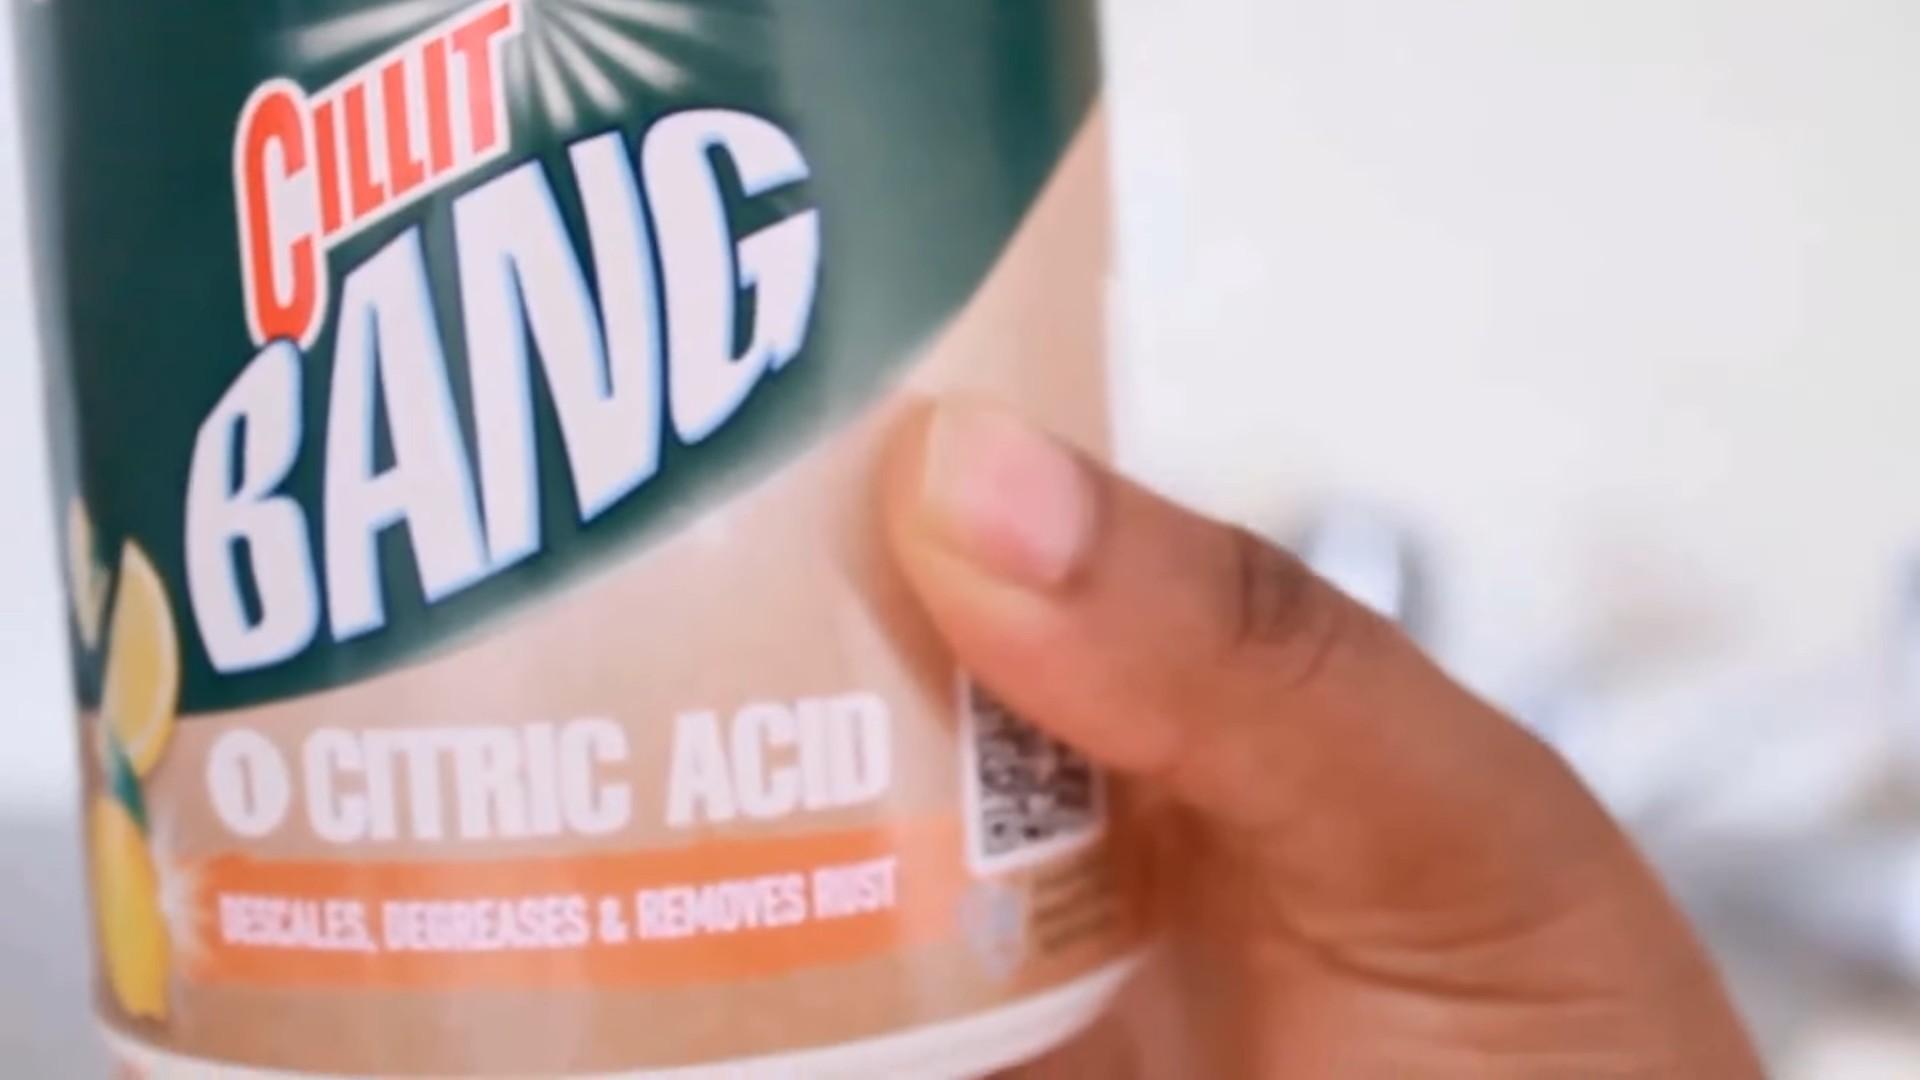
Understanding Cillit Bang: What Makes it Tick?
Before we get started, it’s important to understand what makes Cillit Bang so effective. Most Cillit Bang products contain a blend of surfactants, solvents, and acids (like citric acid or hydrochloric acid, depending on the specific formula). These ingredients work together to break down grease, grime, soap scum, and limescale. Always remember to read the label of your specific Cillit Bang product and take necessary precautions, like wearing gloves and eye protection, and ensuring proper ventilation.
DIY Cleaning Hacks with Cillit Bang
Here are some fantastic ways to use Cillit Bang beyond its intended purpose. Remember to always test your solutions on an inconspicuous area first to ensure they don’t damage the surface.
1. Reviving Grout: The Ultimate Grout Cleaner
Dirty grout can make even the cleanest tiles look grimy. Cillit Bang is a fantastic grout cleaner, but we’re going to make it even better!
What you’ll need:
* Cillit Bang (the one for bathrooms is usually best for grout)
* Baking soda
* An old toothbrush or grout brush
* Water
* Gloves
* Eye protection
Step-by-step instructions:
1. Prepare the Paste: In a small bowl, mix equal parts Cillit Bang and baking soda to form a thick paste. The baking soda acts as a mild abrasive, helping to scrub away stubborn stains.
2. Apply the Paste: Using your gloved fingers or a small spatula, apply the paste generously to the grout lines. Make sure to cover the entire area you want to clean.
3. Let it Sit: Allow the paste to sit on the grout for 5-10 minutes. This gives the Cillit Bang time to break down the grime and the baking soda time to loosen it.
4. Scrub, Scrub, Scrub: Using your old toothbrush or grout brush, scrub the grout lines vigorously. You’ll see the dirt and grime start to lift away.
5. Rinse Thoroughly: Rinse the area thoroughly with clean water. Make sure to remove all traces of the paste. You might need to rinse several times.
6. Dry and Admire: Dry the area with a clean cloth. You’ll be amazed at how much brighter and cleaner your grout looks!
2. Sparkling Stainless Steel: Removing Water Spots and Fingerprints
Stainless steel appliances are beautiful, but they’re also magnets for fingerprints and water spots. Cillit Bang can help you keep them looking their best.
What you’ll need:
* Cillit Bang (the one for bathrooms or kitchens works well)
* Microfiber cloth
* Water
* Gloves
Step-by-step instructions:
1. Dilute the Cillit Bang: In a spray bottle, mix 1 part Cillit Bang with 3 parts water. This dilution is important to prevent damage to the stainless steel.
2. Spray and Wipe: Lightly spray the diluted solution onto the stainless steel surface.
3. Wipe with Microfiber Cloth: Immediately wipe the surface with a clean, dry microfiber cloth. Use a circular motion to remove fingerprints and water spots.
4. Rinse (Optional): If you feel like there’s any residue, you can lightly rinse the surface with water and dry it with another clean microfiber cloth.
5. Buff for Shine: For an extra shine, buff the surface with a dry microfiber cloth.
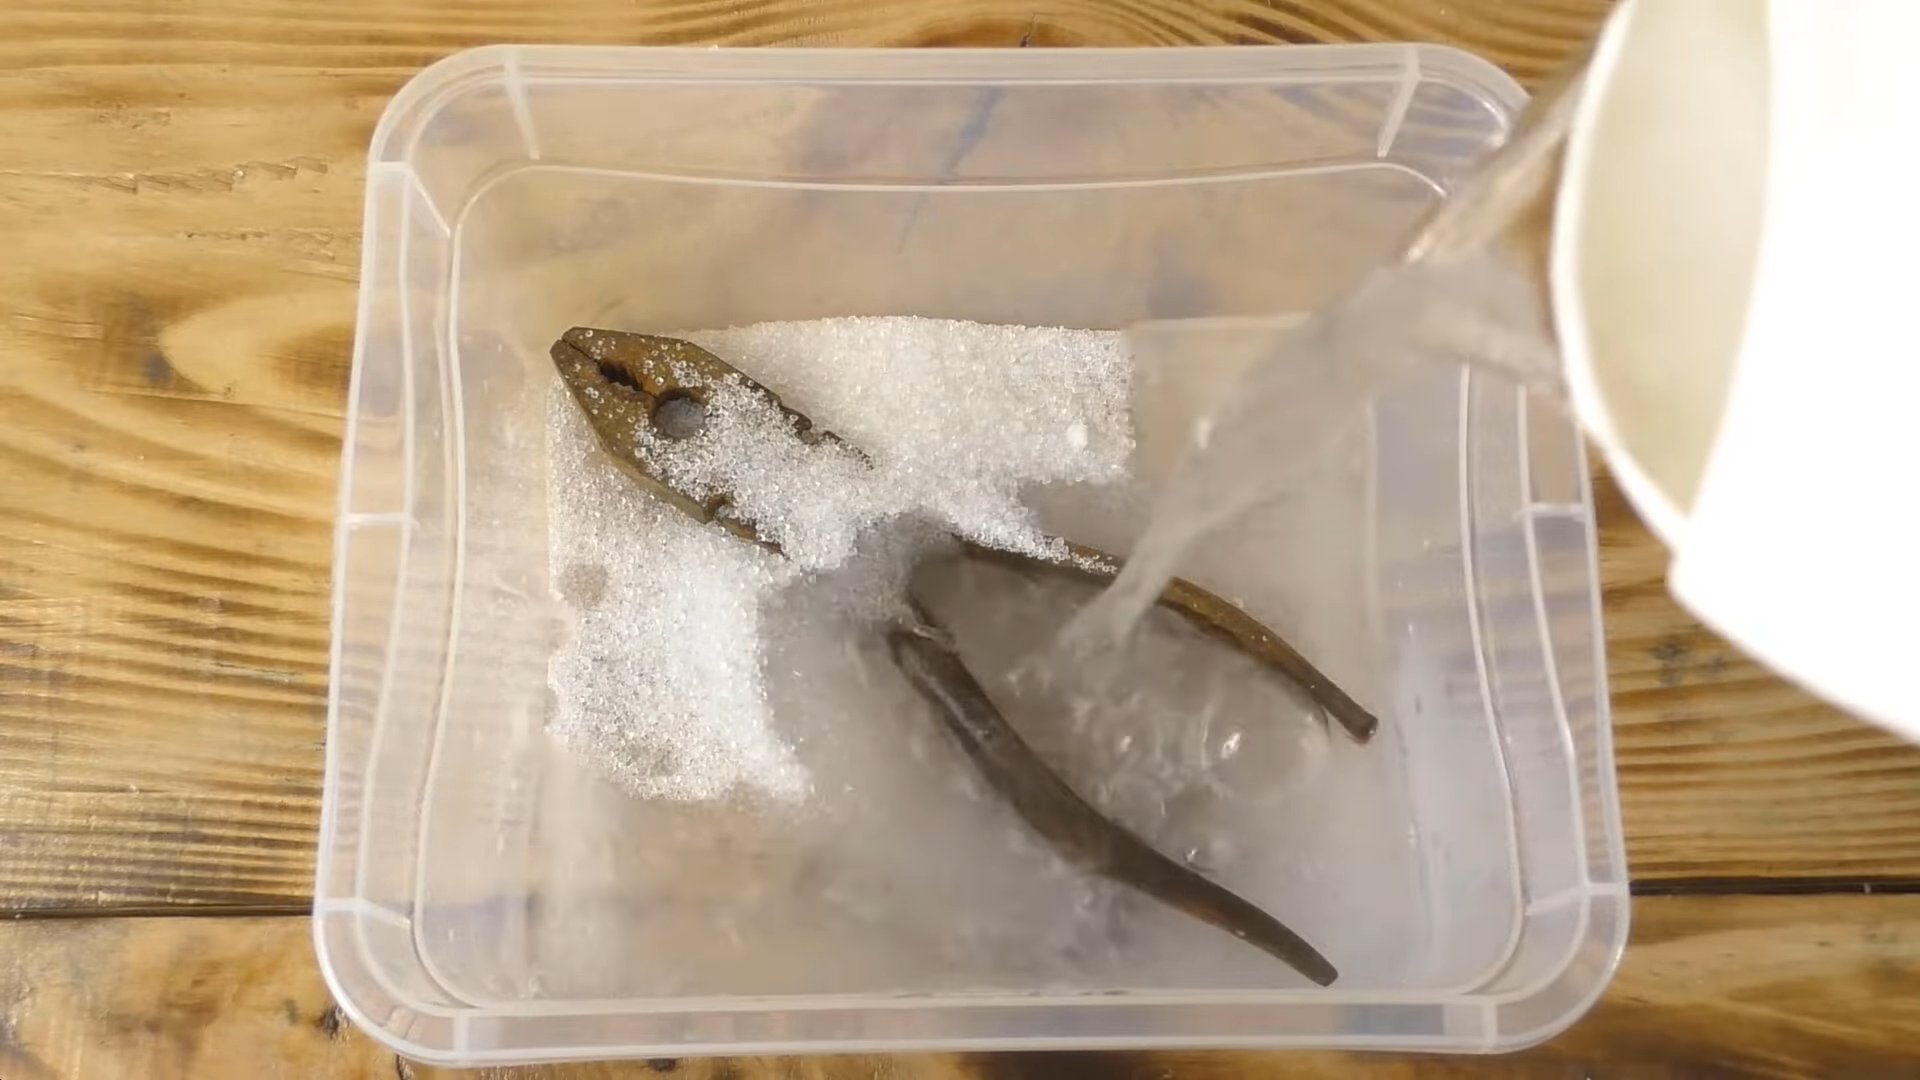
3. Cleaning Burnt Pots and Pans: Salvaging Your Cookware
Burnt food stuck to the bottom of your pots and pans? Don’t despair! Cillit Bang can help you loosen that stubborn residue.
What you’ll need:
* Cillit Bang (the one for kitchens is usually best)
* Hot water
* Dish soap
* Scrub sponge or scouring pad
* Gloves
Step-by-step instructions:
1. Fill the Pot/Pan: Fill the burnt pot or pan with hot water.
2. Add Cillit Bang: Add a small amount of Cillit Bang to the hot water (about 1-2 tablespoons, depending on the size of the pot/pan and the severity of the burning).
3. Let it Soak: Let the pot/pan soak for at least 30 minutes, or even overnight for really stubborn burns. The Cillit Bang will help to loosen the burnt food.
4. Scrub Away: After soaking, drain the water and scrub the pot/pan with a scrub sponge or scouring pad. You should find that the burnt food comes off much more easily.
5. Wash with Dish Soap: Wash the pot/pan thoroughly with dish soap and water to remove any remaining residue and the Cillit Bang.
6. Rinse and Dry: Rinse the pot/pan well and dry it with a clean towel.
4. Restoring Shine to Chrome Fixtures: Faucets, Showerheads, and More
Chrome fixtures can lose their shine over time due to water spots and mineral buildup. Cillit Bang can help you restore their luster.
What you’ll need:
* Cillit Bang (the one for bathrooms is usually best)
* Soft cloth
* Water
* Gloves
Step-by-step instructions:
1. Apply Cillit Bang: Apply a small amount of Cillit Bang directly to a soft cloth.
2. Wipe the Fixture: Gently wipe the chrome fixture with the cloth, focusing on areas with water spots or mineral buildup.
3. Let it Sit Briefly: Allow the Cillit Bang to sit on the fixture for a minute or two to break down the buildup.
4. Rinse Thoroughly: Rinse the fixture thoroughly with clean water.
5. Dry and Buff: Dry the fixture with a clean, dry cloth. Buff it gently to restore its shine.
5. Cleaning Toilet Bowls: A Powerful Cleaning Boost
While Cillit Bang is already designed for bathroom cleaning, you can use it to give your toilet bowl an extra cleaning boost.
What you’ll need:
* Cillit Bang (the one for bathrooms)
* Toilet brush
* Gloves
Step-by-step instructions:
1. Apply Cillit Bang: Squirt Cillit Bang around the rim of the toilet bowl, allowing it to run down the sides.
2. Let it Sit: Let the Cillit Bang sit for 5-10 minutes to break down stains and grime.
3. Scrub Thoroughly: Use a toilet brush to scrub the entire bowl, paying attention to areas with stains or buildup.
4. Flush: Flush the toilet to rinse away the Cillit Bang and the loosened dirt.
6. Removing Soap Scum from Shower Doors and Walls: A Sparkling Clean Shower
Soap scum can be a real pain to remove from shower doors and walls. Cillit Bang can make this task much easier.
What you’ll need:
* Cillit Bang (the one for bathrooms)
* Spray bottle
* Sponge or microfiber cloth
* Water
* Gloves
Step-by-step instructions:
1. Spray the Surface: Spray Cillit Bang directly onto the shower doors and walls, focusing on areas with soap scum.
2. Let it Sit: Let the Cillit Bang sit for 5-10 minutes to break down the soap scum.
3. Wipe Clean: Wipe the surface with a sponge or microfiber cloth. You should find that the soap scum comes off easily.
4. Rinse Thoroughly: Rinse the shower doors and walls thoroughly with clean water.
5. Dry: Dry the surface with a clean towel or squeegee to prevent water spots.
7. Cleaning Plastic Garden Furniture: Bringing Back the Color
Plastic garden furniture can become stained and faded over time. Cillit Bang can help you restore its color and cleanliness.
What you’ll need:
* Cillit Bang (the one for bathrooms or kitchens)
* Spray bottle
* Sponge or brush
* Water
* Gloves
Step-by-step instructions:
1. Dilute the Cillit Bang:
Conclusion
So, there you have it! Ditching the harsh chemicals and embracing this simple, effective DIY cleaning solution is a game-changer for your home. We’ve shown you how to harness the power of readily available ingredients to create a cleaner that rivals, and in many ways surpasses, the effectiveness of commercial products like Cillit Bang, without the associated environmental and health concerns.
This isn’t just about saving money, although that’s certainly a perk. It’s about taking control of what you bring into your home and creating a healthier, more sustainable living space for yourself and your family. The satisfaction of knowing you’re cleaning with a solution you made yourself, using ingredients you understand, is truly rewarding.
The beauty of this DIY approach is its adaptability. Feel free to experiment with the ratios to find what works best for your specific needs and the types of surfaces you’re cleaning. For tougher stains, consider letting the solution sit for a longer period before scrubbing. You can also add a few drops of your favorite essential oil, like lemon or tea tree, for an extra boost of cleaning power and a pleasant, natural scent. Remember to always test the solution in an inconspicuous area first, especially on delicate surfaces.
Beyond the basic recipe, consider these variations:
* For extra degreasing power: Add a tablespoon of washing soda to the mix. Washing soda is a powerful cleaner and degreaser, perfect for tackling stubborn grease buildup in the kitchen.
* For a more abrasive scrub: Sprinkle a small amount of baking soda directly onto the surface before spraying with the solution. The baking soda will act as a gentle abrasive, helping to lift away stubborn dirt and grime.
* For a bathroom boost: Add a few drops of tea tree oil to the solution. Tea tree oil has natural antibacterial and antifungal properties, making it ideal for cleaning bathrooms.
We understand that switching to a DIY cleaning routine might seem daunting at first, but we promise it’s easier than you think. The initial investment in ingredients is minimal, and the long-term benefits for your health, your wallet, and the environment are significant.
We wholeheartedly encourage you to give this DIY cleaning solution a try. We’re confident that you’ll be amazed by its effectiveness and simplicity. Once you experience the difference, you’ll never look back.
Don’t just take our word for it! We want to hear about your experiences. Share your results, tips, and variations in the comments below. Let’s build a community of DIY cleaning enthusiasts who are committed to creating healthier, more sustainable homes. Let us know how this DIY alternative to Cillit Bang worked for you! We are eager to hear your success stories and any challenges you might have encountered. Your feedback will help us refine the recipe and provide even better guidance to others.
Frequently Asked Questions (FAQ)
Is this DIY cleaner as effective as Cillit Bang?
In many cases, yes! While Cillit Bang relies on harsh chemicals to dissolve grime and stains, this DIY solution utilizes the power of natural ingredients like vinegar and baking soda, which are surprisingly effective at cutting through grease, removing soap scum, and disinfecting surfaces. The key is to allow the solution to sit on the surface for a few minutes to allow the ingredients to work their magic. For particularly stubborn stains, you may need to scrub a bit harder or repeat the application. Many users find that this DIY cleaner is just as effective, if not more so, than commercial alternatives, and without the harsh chemical smell or potential health risks.
What surfaces can I use this DIY cleaner on?
This DIY cleaner is generally safe for use on a wide variety of surfaces, including:
* Kitchen countertops: Granite, quartz, laminate, and tile.
* Bathroom surfaces: Sinks, toilets, showers, tubs, and tile.
* Floors: Tile, linoleum, and sealed hardwood.
* Appliances: Stainless steel, enamel, and plastic.
However, it’s crucial to test the solution in an inconspicuous area first, especially on delicate surfaces like marble, unsealed stone, or painted wood. The acidity of the vinegar could potentially damage these surfaces. Avoid using it on aluminum, as vinegar can cause corrosion.
How long does the DIY cleaner last?
This DIY cleaner is best used within a few weeks of mixing. Over time, the ingredients may start to separate or lose their effectiveness. To ensure optimal performance, we recommend mixing a fresh batch every two to three weeks. Store the cleaner in a tightly sealed spray bottle in a cool, dark place.
Can I use different types of vinegar?
Yes, you can use different types of vinegar, but white vinegar is generally the most effective and readily available option. Apple cider vinegar can also be used, but it may have a slightly different scent and may not be as effective at cleaning. Avoid using balsamic vinegar or other flavored vinegars, as they may stain surfaces.
Is this DIY cleaner safe for pets and children?
While this DIY cleaner is made with natural ingredients, it’s still important to keep it out of reach of pets and children. Vinegar can be irritating if ingested, and baking soda can cause stomach upset. Store the cleaner in a secure location and supervise children when they are helping with cleaning. If your pet or child accidentally ingests the cleaner, contact your veterinarian or poison control center immediately.
What if I don’t like the smell of vinegar?
The smell of vinegar can be off-putting to some people. To combat this, you can add a few drops of your favorite essential oil to the solution. Lemon, lavender, and tea tree oil are all great options that not only add a pleasant scent but also have additional cleaning and disinfecting properties. You can also open windows and ventilate the area while cleaning to help dissipate the vinegar smell. The vinegar smell will typically dissipate quickly after the surface dries.
Can I use this DIY cleaner to clean my oven?
Yes, you can use this DIY cleaner to clean your oven, but it may require a bit more effort than commercial oven cleaners. First, remove any loose debris from the oven. Then, spray the interior of the oven with the DIY cleaner and let it sit for several hours or overnight. Next, scrub the oven with a sponge or brush to remove any remaining grime. Finally, wipe the oven clean with a damp cloth. For particularly stubborn stains, you can make a paste of baking soda and water and apply it to the stains before spraying with the DIY cleaner.
What are the environmental benefits of using this DIY cleaner?
Using this DIY cleaner has several environmental benefits. First, it reduces your reliance on commercial cleaning products, which often contain harsh chemicals that can pollute waterways and harm aquatic life. Second, it reduces plastic waste by eliminating the need to purchase single-use plastic bottles of cleaning products. Third, it’s made with readily available, biodegradable ingredients, which are less harmful to the environment than synthetic chemicals. By switching to this DIY cleaner, you can significantly reduce your environmental footprint and contribute to a more sustainable future.
Leave a Comment