
Clean Sink DIY: Is your kitchen sink looking less than sparkling? Let’s face it, the sink is the unsung hero of the kitchen, battling food scraps, greasy dishes, and all sorts of grime on a daily basis. But a grimy sink isn’t just unsightly; it can also harbor bacteria and unpleasant odors.
For generations, keeping a clean and functional kitchen sink has been a cornerstone of household hygiene. Think back to your grandmother’s meticulously clean kitchen – the sink was likely a point of pride! While modern cleaning products offer convenience, many contain harsh chemicals. That’s where our clean sink DIY solutions come in.
I’m excited to share some simple, effective, and budget-friendly DIY tricks to restore your sink’s shine and keep it fresh. You’ll learn how to tackle stubborn stains, eliminate odors, and prevent future build-up using ingredients you probably already have in your pantry. Ready to transform your sink from drab to fab? Let’s dive in!
DIY Deep Clean: Transforming Your Sink from Grimy to Gleaming
Okay, let’s face it, our sinks take a beating. From food scraps to toothpaste splatters, they’re constantly bombarded with grime. But fear not! I’m going to walk you through a super effective DIY method to deep clean your sink and bring back its sparkle. This isn’t just a surface clean; we’re talking about getting into all those nooks and crannies where gunk loves to hide.
What You’ll Need: Your Arsenal of Cleaning Supplies
Before we dive in, let’s gather our supplies. Having everything ready will make the process much smoother. Here’s what I recommend:
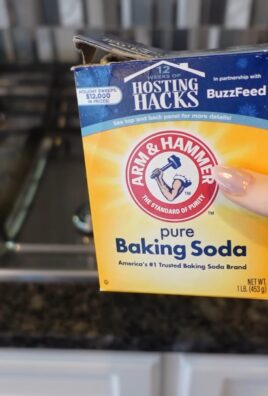
* Baking Soda: This is our gentle abrasive. It’s fantastic for scrubbing away stains without scratching.
* White Vinegar: The acid in vinegar helps dissolve hard water stains and soap scum. Plus, it’s a natural disinfectant.
* Dish Soap: A good quality dish soap will cut through grease and grime.
* Hydrogen Peroxide: Great for sanitizing and tackling stubborn stains.
* An Old Toothbrush: Perfect for getting into tight spots around the drain and faucet.
* Microfiber Cloths: These are lint-free and won’t scratch your sink’s surface.
* A Sponge: For general scrubbing.
* Rubber Gloves: Protect your hands from harsh chemicals and grime.
* Boiling Water: Helps to loosen stubborn buildup in the drain.
* Lemon (Optional): For a fresh, clean scent and extra cleaning power.
* Borax (Optional): For extra tough stains and disinfecting.
Step-by-Step: The Deep Clean Process
Alright, let’s get started! Follow these steps, and you’ll be amazed at the transformation.
1. Clear the Decks: Remove everything from your sink – dishes, sponges, soap dispensers, everything. We need a clean slate to work with.
2. Rinse Thoroughly: Give your sink a good rinse with warm water to loosen any loose debris.
3. Baking Soda Blitz: Generously sprinkle baking soda all over the sink’s surface, including the sides and around the drain. Don’t be shy!
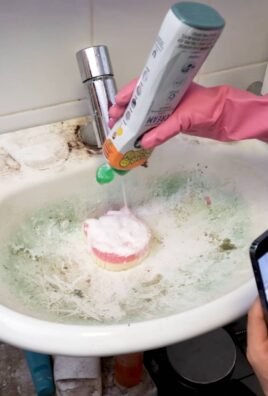
4. Vinegar Power: Now, slowly pour white vinegar over the baking soda. You’ll see it fizz – that’s the magic happening! The chemical reaction helps to lift dirt and grime. Let this mixture sit for about 10-15 minutes. This gives it time to really work its magic.
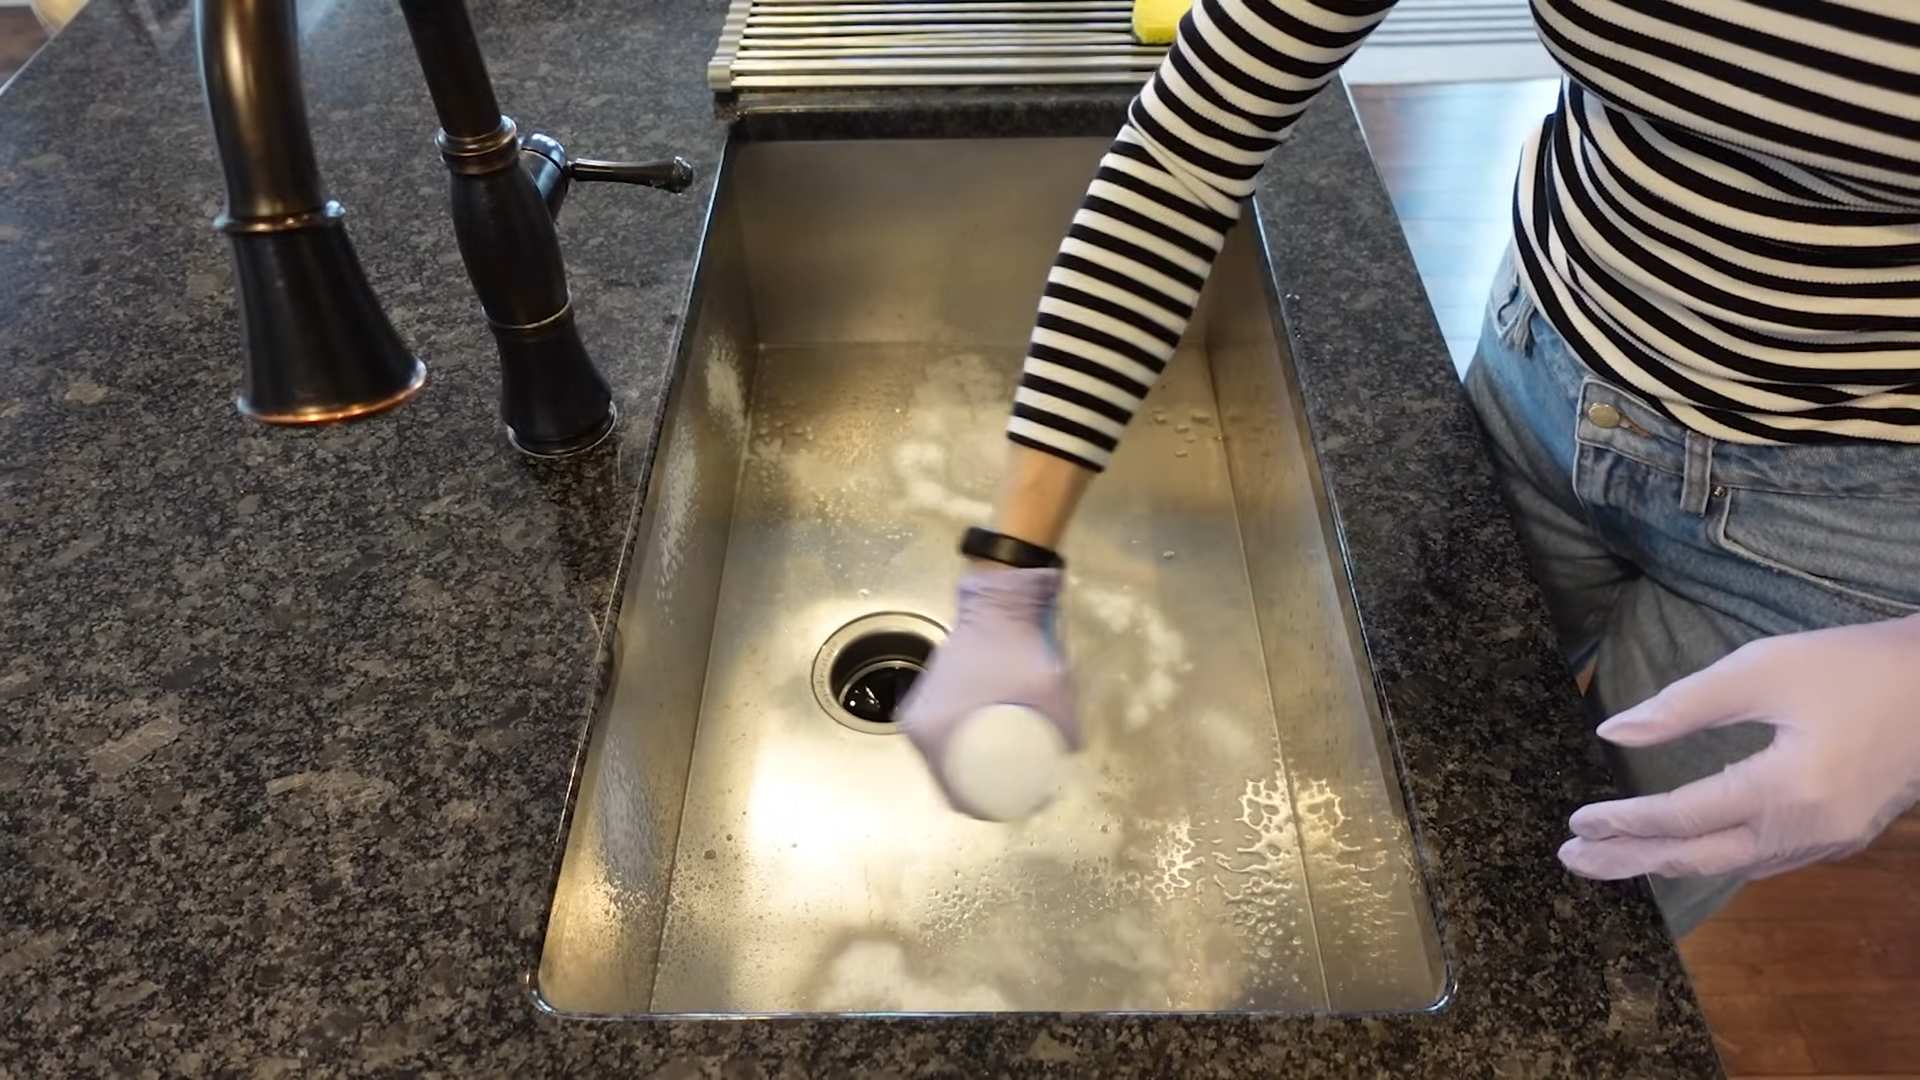
5. Scrub-a-Dub-Dub: Using your sponge, scrub the entire sink surface. Pay extra attention to any stained areas or areas with visible buildup. For those hard-to-reach spots around the drain and faucet, grab your old toothbrush. It’s perfect for getting into those tight spaces.
6. Rinse Again: Rinse the sink thoroughly with warm water to remove the baking soda and vinegar mixture.
7. Dish Soap Deep Dive: Apply a small amount of dish soap to your sponge and scrub the entire sink again. This will help remove any remaining grease and grime.
8. Hydrogen Peroxide Treatment: For extra sanitizing and stain removal, spray hydrogen peroxide all over the sink. Let it sit for about 5-10 minutes.
9. Final Rinse: Rinse the sink thoroughly with warm water one last time.
10. Dry and Shine: Use a clean microfiber cloth to dry the sink completely. This will prevent water spots and leave it looking shiny.
Tackling the Drain: Unclogging and Freshening
A clean sink isn’t complete without a clean drain! Here’s how to tackle that often-neglected area:
1. Boiling Water Flush: Carefully pour a kettle of boiling water down the drain. This can help loosen any grease or buildup that’s causing a slow drain.
2. Baking Soda and Vinegar Volcano (Again!): Pour about 1/2 cup of baking soda down the drain, followed by 1 cup of white vinegar. Let it fizz for about 30 minutes. This will help break down any clogs.
3. Hot Water Rinse: After 30 minutes, flush the drain with hot water for several minutes.
4. Lemon Freshness (Optional): For a fresh scent, toss a few lemon peels down the drain and run the garbage disposal (if you have one) or just let them sit for a while.
Dealing with Stubborn Stains: When Extra Help is Needed
Sometimes, you’ll encounter stains that just won’t budge with the basic cleaning method. Here are a few tricks for those stubborn spots:
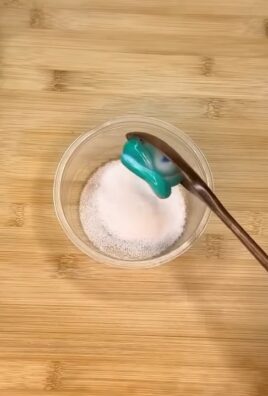
* For Rust Stains: Make a paste of baking soda and lemon juice. Apply the paste to the rust stain and let it sit for about 30 minutes. Then, scrub with a sponge and rinse.
* For Hard Water Stains: Soak a paper towel in white vinegar and place it over the hard water stain. Let it sit for a few hours, or even overnight. Then, scrub and rinse.
* For Really Tough Stains (Use with Caution!): If all else fails, you can try using a small amount of Borax. Make a paste with water and apply it to the stain. Let it sit for a few minutes, then scrub and rinse thoroughly. Important: Borax can be abrasive, so use it sparingly and test it in an inconspicuous area first. Always wear gloves when handling Borax.
Sink Material Matters: Adjusting Your Approach
The type of sink you have will influence the best cleaning methods. Here’s a quick guide:
* Stainless Steel Sinks: These are generally durable and can handle most cleaning products. However, avoid using abrasive cleaners or steel wool, as they can scratch the surface. Always wipe in the direction of the grain to prevent streaks.
* Porcelain Sinks: These are more delicate and prone to chipping. Avoid using harsh chemicals or abrasive cleaners. Stick to gentle cleansers like baking soda and vinegar.
* Composite Sinks: These are a blend of materials and are generally quite durable. However, it’s always a good idea to check the manufacturer’s recommendations for cleaning.
* Copper Sinks: These require special care to maintain their patina. Use a copper cleaner specifically designed for sinks.
Maintaining Your Sparkle: Preventative Measures
The best way to keep your sink clean is to prevent it from getting too dirty in the first place. Here are a few tips:
* Rinse After Each Use: Make it a habit to rinse your sink after each use to prevent food particles and grime from building up.
* Wipe Down Regularly: Wipe down your sink with a damp cloth and a little dish soap every day to remove any surface dirt.
* Avoid Harsh Chemicals: Stick to gentle cleansers like baking soda and vinegar. Harsh chemicals can damage your sink’s surface.
* Protect Your Sink: Use a sink protector or grid to prevent scratches and dents.
* Address Stains Promptly: Don’t let stains sit for too long. The sooner you address them, the easier they will be to remove.
Extra Tips and Tricks for a Super Clean Sink
* Clean Your Faucet: Don’t forget to clean your faucet! Use a microfiber cloth and a little vinegar to remove water spots and grime. An old toothbrush is great for cleaning around the base of the faucet.
* Clean Your Sink Accessories: Wash your soap dispenser, sponge holder, and other sink accessories regularly to prevent the buildup of bacteria and grime.
* Use a Squeegee: After cleaning your sink, use a squeegee to remove any excess water. This will help prevent water spots and keep your sink looking shiny.
* Essential Oils for Freshness: After cleaning, add a few drops of your favorite essential oil to a cotton ball and place it near the drain for a fresh, clean scent. Lavender, lemon, and tea tree oil are all great options.
* Regular Maintenance is Key: Aim to deep clean your sink at least once a month to keep it looking its best. Regular maintenance will prevent grime from building up and make cleaning much easier in the long run.
By following these steps and tips, you can transform your sink from a grimy mess to a sparkling clean masterpiece. Happy cleaning!
Conclusion
So, there you have it! This simple, yet incredibly effective, DIY trick for a sparkling clean sink is more than just a cleaning hack; it’s a game-changer for your kitchen routine. We’ve all been there, staring at a dull, stained sink, wondering how to restore its original shine without resorting to harsh chemicals or expensive cleaning services. This method offers a natural, affordable, and surprisingly satisfying solution.
Why is this a must-try? Because it tackles the root of the problem: the buildup of grime, hard water stains, and food particles that accumulate over time. Unlike surface-level cleaning products that only mask the issue, this DIY approach utilizes readily available ingredients to deeply clean and disinfect, leaving your sink not only visually appealing but also hygienically clean. Plus, it’s incredibly gentle on your sink’s surface, preventing scratches and damage that can occur with abrasive cleaners.
But the beauty of this DIY trick lies in its versatility. Feel free to experiment with variations to suit your specific needs and preferences. For instance, if you’re dealing with particularly stubborn stains, consider adding a tablespoon of baking soda to the vinegar solution for an extra boost of cleaning power. Or, if you prefer a more fragrant cleaning experience, infuse your vinegar with citrus peels for a refreshing scent. Lemon, orange, or grapefruit peels work wonders! You can also add a few drops of your favorite essential oil, like tea tree or lavender, for their antibacterial and aromatherapy benefits.
Another variation involves the type of abrasive you use. While baking soda is generally safe for most sink materials, you can opt for a gentler alternative like cream of tartar for delicate surfaces. Just remember to test any new ingredient on a small, inconspicuous area of your sink first to ensure it doesn’t cause any discoloration or damage.
Furthermore, consider the frequency of cleaning. While a deep clean using this DIY method once a week is ideal for maintaining a sparkling sink, you can incorporate smaller steps into your daily routine to prevent buildup. For example, rinsing your sink thoroughly after each use and wiping it down with a damp cloth can significantly reduce the need for intensive cleaning.
Ultimately, the goal is to create a cleaning routine that works for you and your lifestyle. This DIY trick is a fantastic starting point, offering a foundation upon which you can build a personalized cleaning regimen.
We are confident that once you try this DIY trick for a clean sink, you’ll be amazed by the results. It’s a simple, effective, and eco-friendly way to keep your kitchen looking its best. So, ditch the harsh chemicals and embrace the power of natural cleaning!
Now, we want to hear from you! Have you tried this DIY trick? What variations did you experiment with? Share your experiences, tips, and photos in the comments below. Let’s create a community of clean sink enthusiasts and inspire each other to maintain sparkling kitchens! Your feedback is invaluable and helps us refine and improve our cleaning tips for everyone. We can’t wait to see your before-and-after photos and hear your success stories!
Frequently Asked Questions (FAQ)
1. What type of sink is this DIY cleaning method suitable for?
This DIY cleaning method is generally safe for most common sink materials, including stainless steel, porcelain, ceramic, and composite sinks. However, it’s always a good idea to test the method on a small, inconspicuous area of your sink first, especially if you have a more delicate or unusual material. Avoid using abrasive scrub brushes or harsh chemicals on sensitive surfaces like enamel-coated cast iron, as they can cause scratches or damage. For natural stone sinks like granite or marble, consult the manufacturer’s recommendations before using any cleaning products, as some ingredients like vinegar can etch the surface.
2. How often should I use this DIY cleaning method?
For optimal results, we recommend using this DIY cleaning method once a week. This frequency will help prevent the buildup of grime, hard water stains, and food particles, keeping your sink consistently clean and sparkling. However, you can adjust the frequency based on your usage and the level of dirtiness. If you use your sink frequently or notice stains appearing quickly, you may want to clean it more often. Conversely, if you maintain a relatively clean sink through daily rinsing and wiping, you may only need to deep clean it every two weeks.
3. Can I use this method to clean a clogged sink drain?
While this DIY cleaning method can help prevent clogs by removing buildup, it’s not specifically designed to unclog a severely blocked drain. For clogged drains, we recommend using a combination of baking soda and vinegar followed by boiling water. Pour one cup of baking soda down the drain, followed by one cup of vinegar. Let it fizz for 30 minutes, then flush with a pot of boiling water. If the clog persists, you may need to use a drain snake or call a plumber.
4. What if I don’t have vinegar? Can I use something else?
Vinegar is a key ingredient in this DIY cleaning method due to its acidity, which helps dissolve grime and hard water stains. However, if you don’t have vinegar on hand, you can try using lemon juice as a substitute. Lemon juice also contains citric acid, which has similar cleaning properties. Simply substitute the vinegar with an equal amount of lemon juice in the recipe. Keep in mind that lemon juice may not be as effective as vinegar for removing stubborn stains.
5. Is baking soda safe for all sink materials?
Baking soda is generally considered a mild abrasive and is safe for most sink materials, including stainless steel, porcelain, and ceramic. However, it’s always a good idea to test it on a small, inconspicuous area first, especially if you have a more delicate or unusual material. Avoid using excessive pressure when scrubbing with baking soda, as it can potentially scratch sensitive surfaces. For very delicate sinks, consider using a gentler alternative like cream of tartar.
6. Can I add essential oils to this cleaning solution?
Yes, you can definitely add essential oils to this cleaning solution for a more fragrant and potentially antibacterial cleaning experience. Tea tree oil, lavender oil, lemon oil, and eucalyptus oil are all excellent choices. Add a few drops of your favorite essential oil to the vinegar solution before applying it to the sink. Not only will it leave your sink smelling fresh and clean, but some essential oils also have natural antibacterial and antifungal properties.
7. How do I remove hard water stains from my sink?
Hard water stains can be particularly stubborn, but this DIY cleaning method is effective at removing them. The vinegar in the solution helps dissolve the mineral deposits that cause hard water stains. For particularly stubborn stains, you can soak a paper towel in vinegar and place it directly on the stain for 30 minutes before scrubbing with baking soda. You can also use a commercial hard water stain remover, but be sure to choose one that is safe for your sink material.
8. My sink has a lingering odor. Will this DIY method help?
Yes, this DIY method can help eliminate lingering odors in your sink. The vinegar and baking soda work together to neutralize odors and kill odor-causing bacteria. After cleaning your sink with this method, you can also pour a cup of baking soda down the drain followed by a cup of vinegar to freshen the drain and eliminate any odors coming from there. Let it fizz for 30 minutes, then flush with hot water.
9. How can I prevent my sink from getting dirty so quickly?
Prevention is key to maintaining a clean sink. Rinse your sink thoroughly after each use to remove food particles and soap residue. Wipe down your sink with a damp cloth or sponge daily to prevent buildup. Avoid pouring greasy substances down the drain, as they can contribute to clogs and odors. Consider using a sink strainer to catch food particles and prevent them from going down the drain. By incorporating these simple habits into your daily routine, you can significantly reduce the need for intensive cleaning.
10. What if I have a garbage disposal in my sink? Does this method still work?
Yes, this method is safe to use with a garbage disposal. In fact, it can help clean and freshen your garbage disposal as well. After cleaning your sink, run the garbage disposal with cold water while pouring a small amount of the vinegar solution down the drain. This will help remove any food particles or buildup in the disposal and eliminate odors. You can also throw in some citrus peels while running the disposal for an extra boost of freshness.
Leave a Comment