Cleaning Tricks That Work – who doesn’t want a few of those up their sleeve? Let’s be honest, cleaning isn’t usually anyone’s favorite pastime. But what if I told you there are simple, effective, and even *fun* ways to tackle those everyday messes and deep-clean dilemmas? Forget spending hours scrubbing with harsh chemicals; we’re diving into the world of clever DIY solutions that will leave your home sparkling and your wallet happy!
Throughout history, resourceful homemakers have passed down cleaning wisdom, often born out of necessity and a desire to make the most of limited resources. Think about it – our grandmothers didn’t have a shelf full of specialized cleaning products. They relied on natural ingredients like vinegar, baking soda, and lemon juice, proving that sometimes the simplest solutions are the best. These time-tested methods are not only effective but also often gentler on the environment and our health.
In today’s busy world, time is precious. Nobody wants to spend their entire weekend cleaning! That’s why mastering a few key cleaning tricks that work is essential. These DIY hacks can save you time, money, and effort, allowing you to enjoy a cleaner, healthier home without sacrificing your precious free time. Plus, you’ll feel a sense of accomplishment knowing you’re tackling those messes with your own ingenuity. So, let’s get started and unlock the secrets to a sparkling clean home, the easy way!

DIY Cleaning Power: Hacks That Actually Work!
Okay, let’s be honest, cleaning isn’t exactly anyone’s favorite pastime. But a clean home is a happy home, right? I’ve gathered some of my absolute favorite DIY cleaning hacks that are not only effective but also save you money and reduce the number of harsh chemicals you’re using. Get ready to transform your cleaning routine!
Cleaning Your Microwave Like a Pro
Microwaves are notorious for splatters and stuck-on food. This hack uses the power of steam and lemon to loosen everything up, making it a breeze to wipe clean.
What you’ll need:
* 1 lemon
* 1 cup of water
* Microwave-safe bowl
* Sponge or cloth
Step-by-step instructions:
1. Prepare the Lemon Solution: Cut the lemon in half. Squeeze the juice from both halves into the microwave-safe bowl. Then, drop the lemon halves into the bowl as well.
2. Add Water: Pour one cup of water into the bowl with the lemon juice and lemon halves.
3. Microwave the Solution: Place the bowl in the microwave and microwave on high for 3-5 minutes. You want the solution to boil and create steam.
4. Let it Steam: Once the timer goes off, don’t open the microwave immediately! Let the steam sit inside for another 5-10 minutes. This is crucial for loosening the grime.
5. Wipe it Clean: Carefully remove the bowl (it will be hot!). Use a sponge or cloth to easily wipe away the loosened food particles. You’ll be amazed at how easily everything comes off!
6. Final Touches: For any stubborn spots, you can dip your sponge in the lemon water and scrub gently.
Unclogging Drains the Natural Way
Forget those harsh chemical drain cleaners! This method uses the power of baking soda and vinegar, a classic combination for a reason.
What you’ll need:
* 1 cup baking soda
* 2 cups white vinegar
* Hot water
Step-by-step instructions:
1. Pour in the Baking Soda: Carefully pour one cup of baking soda down the clogged drain. Try to get as much of it down the drain as possible.
2. Add the Vinegar: Next, pour two cups of white vinegar down the drain after the baking soda.
3. The Fizzing Action: You’ll hear a fizzing sound – that’s the chemical reaction between the baking soda and vinegar, which helps to break down the clog.
4. Let it Sit: Let the mixture sit for at least 30 minutes, or even better, overnight for really stubborn clogs.
5. Flush with Hot Water: After the waiting period, flush the drain with a generous amount of hot water. Let the water run for several minutes to ensure the clog is completely cleared.
6. Repeat if Necessary: If the drain is still slow, repeat the process. Sometimes it takes a couple of tries to completely clear a stubborn clog.
Cleaning Your Grout Like a Pro
Grimey grout can make even the cleanest bathroom look dirty. This paste will brighten your grout lines and make your tiles sparkle.
What you’ll need:
* Baking soda
* Hydrogen peroxide
* Old toothbrush or grout brush
* Water (optional)
Step-by-step instructions:
1. Make the Paste: In a small bowl, mix baking soda and hydrogen peroxide to form a thick paste. The consistency should be similar to toothpaste. If the paste is too thick, add a tiny bit of water to thin it out.
2. Apply the Paste: Using an old toothbrush or a grout brush, apply the paste to the grout lines. Make sure to cover the entire area you want to clean.
3. Let it Sit: Allow the paste to sit on the grout for at least 5-10 minutes. For heavily soiled grout, you can let it sit for up to 30 minutes.
4. Scrub the Grout: Using the toothbrush or grout brush, scrub the grout lines thoroughly. You’ll see the grime start to lift away.
5. Rinse with Water: Rinse the area with clean water to remove the baking soda and hydrogen peroxide mixture. You can use a damp sponge or cloth to wipe away any residue.
6. Dry the Area: Dry the area with a clean towel. Admire your sparkling clean grout!
Freshening Your Mattress
Mattresses can harbor dust mites and odors. This simple trick will freshen your mattress and help you sleep better.
What you’ll need:
* Baking soda
* Essential oil (optional, like lavender or eucalyptus)
* Vacuum cleaner with upholstery attachment
* Sieve or strainer (optional)
Step-by-step instructions:
1. Prepare the Baking Soda: In a bowl, mix baking soda with a few drops of your favorite essential oil (optional). This will add a pleasant scent to your mattress. If you don’t have essential oils, plain baking soda works just fine.
2. Sprinkle the Baking Soda: Sprinkle a generous layer of baking soda over the entire surface of your mattress. Use a sieve or strainer for even distribution, if you have one.
3. Let it Sit: Allow the baking soda to sit on the mattress for at least 30 minutes, or even better, for several hours. The longer it sits, the more odors and moisture it will absorb.
4. Vacuum Thoroughly: Using the upholstery attachment of your vacuum cleaner, thoroughly vacuum the entire surface of the mattress. Make sure to get into all the nooks and crannies.
5. Repeat on the Other Side: Flip the mattress and repeat the process on the other side.
6. Air it Out: If possible, open a window to air out the mattress for a few hours after vacuuming.
Cleaning Burnt Pots and Pans
Burnt food stuck to the bottom of your pots and pans? Don’t throw them away! This hack can save them.
What you’ll need:
* Baking soda
* Water
* Dish soap
* Scrubbing sponge or pad
Step-by-step instructions:
1. Cover the Burnt Area: Cover the burnt area of the pot or pan with a generous layer of baking soda.
2. Add Water: Add enough water to cover the baking soda and the burnt food.
3. Boil the Mixture: Bring the mixture to a boil on the stovetop. Let it simmer for 10-15 minutes.
4. Let it Cool: Remove the pot or pan from the heat and let it cool completely.
5. Scrub Away: Once cooled, use a scrubbing sponge or pad to scrub away the loosened burnt food. You may need to use a bit of elbow grease, but the baking soda should have loosened most of it.
6. Wash as Usual: Wash the pot or pan with dish soap and water as usual.
Making Your Own All-Purpose Cleaner
This all-purpose cleaner is effective, eco-friendly, and smells great!
What you’ll need:
* 1/2 cup white vinegar
* 1/4 cup baking soda
* 1 liter hot water
* 10-20 drops essential oil (optional, like lemon, lavender, or tea tree)
* Spray bottle
Step-by-step instructions:
1. Combine Ingredients: In a large bowl or pitcher, combine the white vinegar, baking soda, and hot water. Be careful, as the mixture will fizz.
2. Add Essential Oils (Optional): Add 10-20 drops of your favorite essential oil for fragrance and added cleaning power. Lemon, lavender, and tea tree are all great choices.
3. Mix Well: Stir the mixture well to ensure all the ingredients are combined.
4. Pour into Spray Bottle: Carefully pour the mixture into a spray bottle.
5. Use as Needed: Use the cleaner on countertops, sinks, appliances, and other surfaces. Always test in an inconspicuous area first to ensure it doesn’t damage the surface.
Cleaning Your Showerhead
Mineral buildup can clog your showerhead and reduce water pressure. This vinegar soak will dissolve the buildup and restore your showerhead to its former glory.
What you’ll need:
* White vinegar
* Plastic bag
* Rubber band or twist tie
Step-by-step instructions:
1. Fill the Bag with Vinegar: Fill a plastic bag with enough white vinegar to completely submerge your showerhead.
2. Attach the Bag: Carefully attach the bag to the showerhead, ensuring that the showerhead is fully submerged in the vinegar. Use a rubber

Conclusion
So, there you have it! This simple yet incredibly effective cleaning trick is a game-changer for anyone looking to maintain a sparkling clean home without breaking the bank or relying on harsh chemicals. We’ve shown you how easy it is to create your own powerful cleaning solution using ingredients you likely already have in your pantry. Forget spending a fortune on specialized cleaners – this DIY approach is not only budget-friendly but also environmentally conscious.
Why is this a must-try? Because it works! It tackles grime, grease, and everyday messes with surprising efficiency, leaving surfaces clean and refreshed. Plus, you have complete control over the ingredients, ensuring a safe and healthy environment for your family and pets.
But the beauty of this cleaning trick lies in its versatility. Feel free to experiment with variations to suit your specific needs and preferences. For instance, if you’re dealing with stubborn stains, consider adding a tablespoon of baking soda to the mixture for extra scrubbing power. For a refreshing scent, a few drops of your favorite essential oil, like lemon, lavender, or eucalyptus, can transform your cleaning routine into an aromatherapy session. If you are cleaning wooden surfaces, dilute the solution even further to prevent any potential damage. Remember to always test any cleaning solution on an inconspicuous area first, especially on delicate surfaces.
This cleaning trick is a must-try for anyone seeking a simple, effective, and eco-friendly way to keep their home sparkling.
We’re confident that once you try this DIY cleaning solution, you’ll be amazed by the results. It’s a simple change that can make a big difference in your cleaning routine and your overall well-being.
Now it’s your turn! We encourage you to give this cleaning trick a try and see the difference it can make in your home. Don’t be afraid to experiment with variations and find what works best for you. And most importantly, we want to hear about your experience! Share your tips, tricks, and results in the comments below. Let’s build a community of clean-home enthusiasts who are passionate about simple, effective, and sustainable cleaning solutions. We can’t wait to hear your success stories!
Frequently Asked Questions
What exactly makes this cleaning trick so effective?
The effectiveness of this cleaning trick stems from the synergistic action of its ingredients. For example, vinegar is a natural disinfectant and degreaser, while baking soda acts as a mild abrasive and deodorizer. When combined, they create a powerful cleaning solution that can tackle a wide range of messes. The specific ingredients and their ratios will determine the solution’s strength and suitability for different surfaces. The beauty of a DIY solution is that you can adjust the recipe to fit your specific needs.
Can I use this cleaning solution on all surfaces?
While this cleaning solution is generally safe for most surfaces, it’s always best to test it on an inconspicuous area first, especially on delicate materials like wood, marble, or granite. Acidic ingredients like vinegar can potentially damage these surfaces over time. For wooden surfaces, dilute the solution significantly and avoid prolonged contact. For marble and granite, consider using a pH-neutral cleaner instead. Always read the manufacturer’s instructions for your surfaces before using any cleaning product.
How long will the cleaning solution last?
The shelf life of your DIY cleaning solution depends on the ingredients used. Solutions containing water are more prone to bacterial growth and should be used within a week or two. Solutions made with vinegar or alcohol, which have natural preservative properties, can last longer, up to a month or two. Store your cleaning solution in a clean, airtight container in a cool, dark place to maximize its shelf life. If you notice any changes in color, odor, or consistency, discard the solution.
What are some variations I can try with this cleaning trick?
The possibilities are endless! Here are a few ideas to get you started:
* **For extra scrubbing power:** Add a tablespoon of baking soda to the mixture.
* **For a refreshing scent:** Add a few drops of your favorite essential oil, such as lemon, lavender, or eucalyptus.
* **For disinfecting:** Add a few drops of tea tree oil, which has natural antibacterial and antifungal properties.
* **For cleaning glass:** Use a solution of equal parts vinegar and water.
* **For cleaning drains:** Pour a cup of baking soda down the drain, followed by a cup of vinegar. Let it fizz for 30 minutes, then flush with hot water.
Is this cleaning trick safe for pets and children?
When using any cleaning product, it’s important to take precautions to protect your pets and children. While this DIY cleaning solution is generally safer than commercial cleaners, it’s still important to keep it out of reach of children and pets. Avoid spraying the solution directly on pets or in areas where they frequently spend time. Ensure that surfaces are completely dry before allowing pets or children to come into contact with them. If you’re concerned about potential sensitivities, consider using milder ingredients or diluting the solution further.
What if I don’t have all the ingredients listed?
Don’t worry! You can often substitute ingredients based on what you have on hand. For example, if you don’t have vinegar, you can use lemon juice instead. If you don’t have baking soda, you can use washing soda. The key is to understand the properties of each ingredient and choose a suitable substitute. However, keep in mind that the effectiveness of the cleaning solution may vary depending on the substitutions you make.
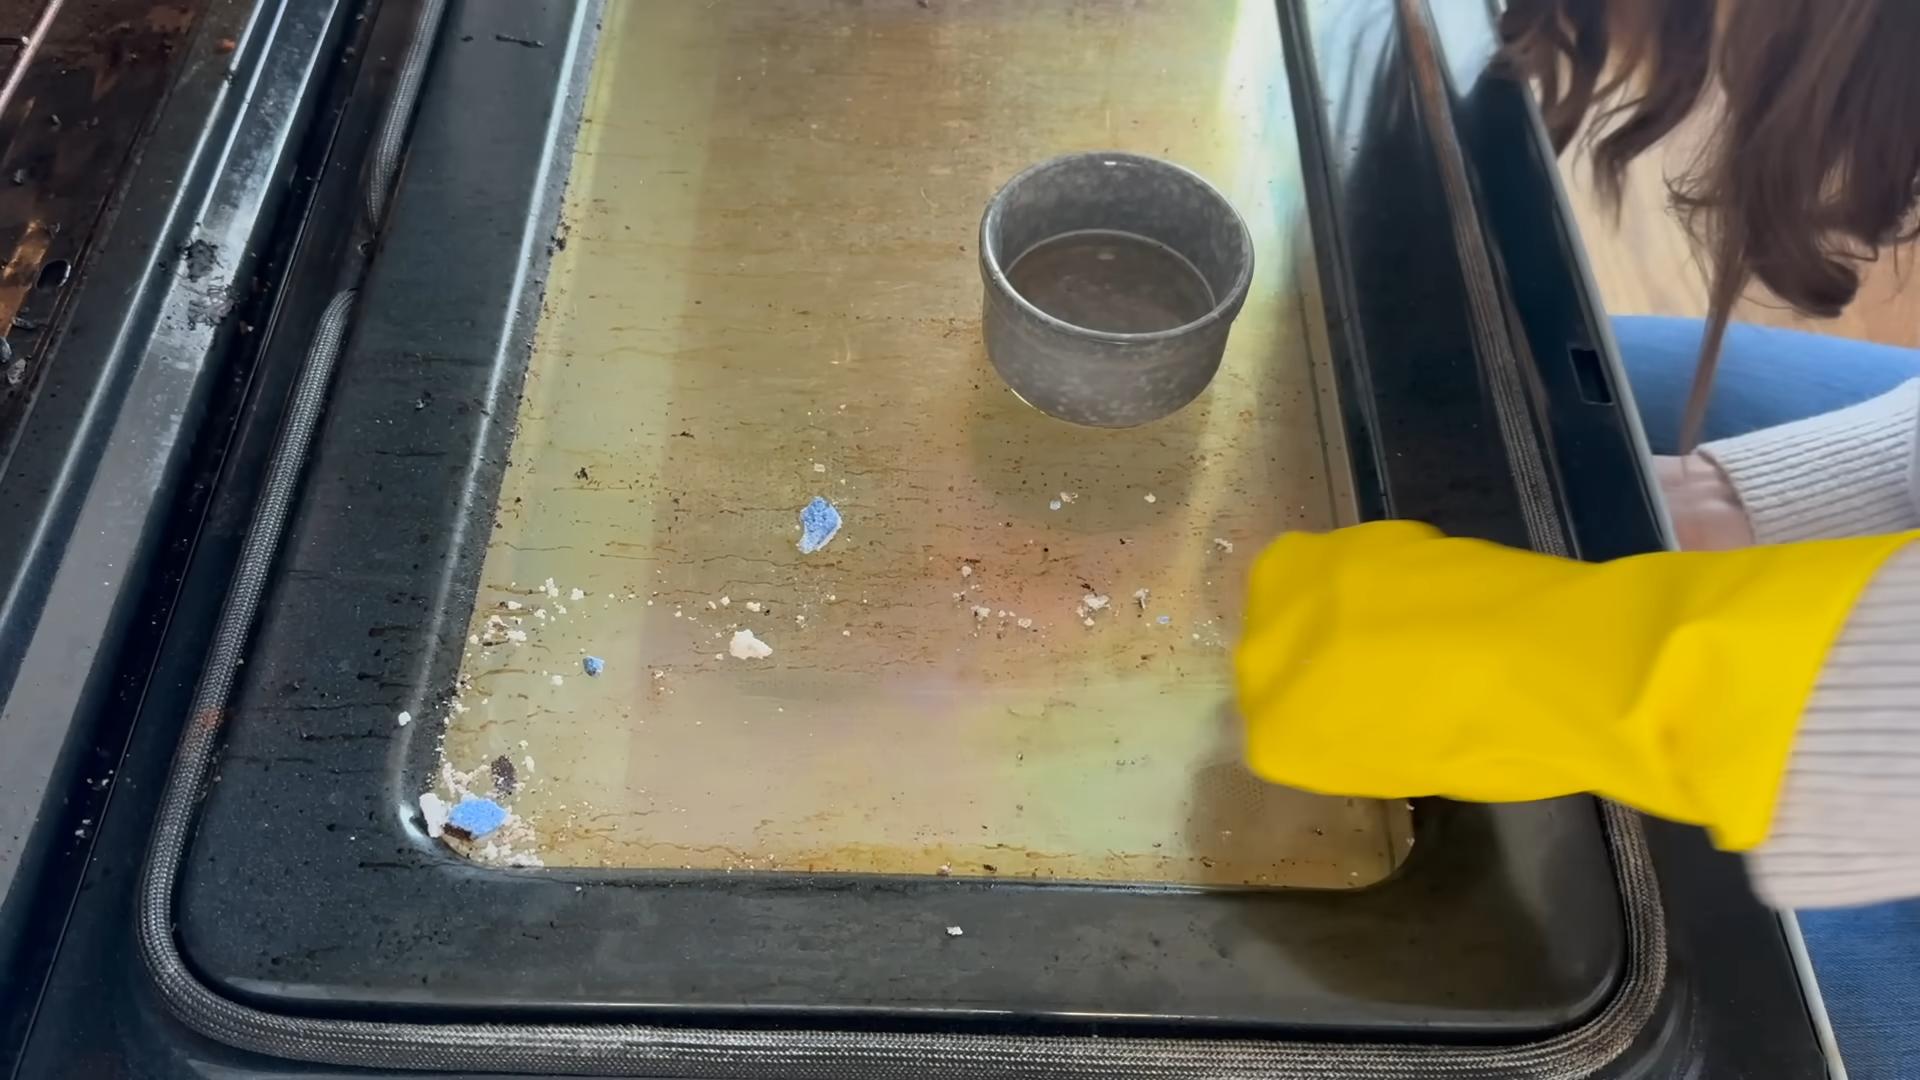
Can I use this cleaning trick to clean my oven?
Yes, you can use a variation of this cleaning trick to clean your oven. Make a paste of baking soda and water, and spread it all over the inside of your oven, avoiding the heating elements. Let it sit overnight, then scrub away the grime with a damp sponge. For stubborn stains, you can add a little vinegar to the paste. This method is a natural and effective way to clean your oven without harsh chemicals.
How often should I use this cleaning trick?
The frequency of use depends on your cleaning needs and preferences. You can use this cleaning trick as often as you like, as it’s gentle and safe for most surfaces. For everyday cleaning, you can use a diluted solution. For tougher messes, you can use a stronger concentration. Listen to your home and adjust your cleaning routine accordingly.
What are the benefits of using DIY cleaning solutions over commercial cleaners?
There are many benefits to using DIY cleaning solutions:
* **Cost-effective:** DIY cleaning solutions are often much cheaper than commercial cleaners.
* **Environmentally friendly:** DIY cleaning solutions typically use natural ingredients that are biodegradable and less harmful to the environment.
* **Safer for your health:** DIY cleaning solutions avoid harsh chemicals that can irritate your skin, eyes, and respiratory system.
* **Customizable:** You can customize DIY cleaning solutions to suit your specific needs and preferences.
* **Empowering:** Making your own cleaning solutions can be a fun and empowering experience.
Where can I find more information about natural cleaning methods?
There are many resources available online and in libraries about natural cleaning methods. You can search for articles, blog posts, and books on the topic. You can also find recipes and tips from other DIY enthusiasts. Experiment with different methods and find what works best for you and your home.


Leave a Comment