
Coffee and dish soap uses in the garden might sound like an odd combination, but trust me, these everyday household items can be your secret weapons for a thriving and beautiful outdoor space! For generations, resourceful gardeners have been passing down clever tips and tricks, often born out of necessity and a deep connection to the land. Think of it as a modern twist on age-old wisdom, blending sustainable practices with readily available resources.
Let’s be honest, gardening can sometimes feel like a constant battle against pests, diseases, and nutrient deficiencies. We all want lush, healthy plants without resorting to harsh chemicals that can harm the environment and our families. That’s where these DIY hacks come in! I’m going to show you how to harness the power of coffee and dish soap uses to tackle common gardening challenges, from deterring unwanted critters to boosting plant growth.
This article is packed with practical, easy-to-follow instructions that will empower you to create a flourishing garden using simple, affordable ingredients. Get ready to unlock the potential of your garden and enjoy the satisfaction of growing your own food and flowers with these amazing DIY tricks!
Growing Peanuts in Your Backyard: A Beginner’s Guide
Okay, so you want to grow peanuts in your backyard? Awesome! It’s surprisingly easy and incredibly rewarding. There’s nothing quite like digging up your own homegrown peanuts and roasting them. Trust me, the flavor is unbeatable. I’m going to walk you through everything you need to know, from choosing the right variety to harvesting your bounty. Let’s get started!
Choosing the Right Peanut Variety
First things first, you need to pick the right peanut variety for your climate and growing conditions. There are four main types:
* Virginia: These are the large, often roasted-in-the-shell peanuts you see at baseball games. They need a long growing season (120-150 days).
* Spanish: These have smaller kernels and a reddish-brown skin. They’re often used in candies and peanut butter. They mature a bit faster than Virginia peanuts (110-120 days).
* Runner: This is the most commonly grown type in the US. They have uniform kernel size and are primarily used for peanut butter. They also need a moderate growing season (125-135 days).
* Valencia: These have three or more small kernels per shell and are known for their sweet flavor. They’re great for boiling or roasting. They mature relatively quickly (90-110 days).
Consider your local climate and the length of your growing season when making your choice. If you live in a warmer climate with a long growing season, Virginia or Runner peanuts might be a good option. If you have a shorter growing season, Spanish or Valencia peanuts might be a better bet. I personally prefer Valencia because I love the sweet taste and the shorter growing time.
Preparing Your Peanut Patch
Peanuts need well-drained, sandy loam soil. They don’t do well in heavy clay soil. Here’s how to get your soil ready:
* Soil Testing: Before you do anything, test your soil. You can get a soil testing kit at most garden centers or send a sample to your local agricultural extension office. This will tell you the pH level and nutrient content of your soil. Peanuts prefer a slightly acidic soil with a pH between 6.0 and 6.5.
* Amending the Soil: Based on your soil test results, you may need to amend your soil. If your soil is too acidic, add lime to raise the pH. If it’s too alkaline, add sulfur to lower the pH. You can also add compost or well-rotted manure to improve soil drainage and fertility. Peanuts don’t need a lot of nitrogen, so don’t over-fertilize.
* Tilling or Turning the Soil: Loosen the soil to a depth of at least 12 inches. This will allow the peanut pegs (the stems that grow down into the soil and form the peanuts) to penetrate easily. Remove any rocks, roots, or other debris.
* Creating Rows: Create rows that are about 24-36 inches apart. This will give the peanut plants enough room to spread out.
Planting Your Peanuts
Now for the fun part – planting!
1. Timing is Key: Peanuts are warm-weather crops, so you need to wait until the soil has warmed up to at least 65°F (18°C) before planting. This is usually a couple of weeks after the last frost.
2. Choosing Your Seeds: You can buy peanut seeds online or at your local garden center. You can also use raw, unsalted peanuts from the grocery store, but make sure they haven’t been roasted or treated with any chemicals.
3. Soaking the Seeds (Optional): Soaking the seeds in water for a few hours before planting can help them germinate faster. I usually soak mine overnight.
4. Planting Depth: Plant the seeds about 1-2 inches deep and 6-8 inches apart in the rows.
5. Watering: Water the soil thoroughly after planting.
Caring for Your Peanut Plants
Peanuts are relatively low-maintenance, but here are a few things you can do to help them thrive:
* Watering: Water regularly, especially during dry periods. Peanuts need about 1 inch of water per week. Avoid overwatering, as this can lead to fungal diseases.
* Weeding: Keep the area around your peanut plants free of weeds. Weeds can compete with the peanuts for nutrients and water.
* Hilling: When the peanut plants start to flower (about a month after planting), hill the soil around the base of the plants. This will help the pegs penetrate the soil.
* Fertilizing (Optional): If your soil is poor, you can fertilize your peanut plants with a balanced fertilizer. However, be careful not to over-fertilize, as this can lead to excessive foliage growth and fewer peanuts. I usually side-dress with a little compost tea every few weeks.
* Pest Control: Peanuts are relatively pest-resistant, but they can be attacked by aphids, spider mites, and other pests. If you notice any pests, you can spray the plants with insecticidal soap or neem oil.
* Disease Control: Peanuts can be susceptible to fungal diseases, such as leaf spot and rust. To prevent these diseases, make sure your plants have good air circulation and avoid overwatering. If you notice any signs of disease, you can spray the plants with a fungicide.
Harvesting Your Peanuts
Harvesting is the most exciting part! Here’s how to know when your peanuts are ready and how to harvest them:
1. Timing: Peanuts are usually ready to harvest about 120-150 days after planting, depending on the variety. The leaves will start to turn yellow and the plants will start to die back. You can also dig up a few plants and check the peanuts. The shells should be fully formed and the kernels should be plump.
2. Digging: Use a garden fork or shovel to carefully dig up the peanut plants. Be careful not to damage the peanuts.
3. Shaking Off the Soil: Shake off as much soil as possible from the plants.
4. Drying: Hang the plants upside down in a well-ventilated area for 2-4 weeks to dry. This will cure the peanuts and improve their flavor. You can also spread the peanuts out on a screen or tarp to dry.
5. Threshing: Once the plants are dry, you can thresh the peanuts by hand or with a machine. To thresh by hand, simply pull the peanuts off the plants.
6. Cleaning: Clean the peanuts by removing any remaining soil or debris.
7. Storing: Store the peanuts in a cool, dry place. You can store them in the shell or shelled. Shelled peanuts will last longer if stored in the refrigerator or freezer.
Roasting Your Homegrown Peanuts
Now for the best part – roasting your homegrown peanuts!
1. Preheat Your Oven: Preheat your oven to 350°F (175°C).
2. Prepare the Peanuts: Spread the peanuts out in a single layer on a baking sheet.
3. Roast: Roast the peanuts for 15-20 minutes, or until they are golden brown and fragrant. Stir them occasionally to ensure even roasting.
4. Cool: Let the peanuts cool completely before eating.
You can also boil your peanuts if you grew Valencia peanuts. Just boil them in salted water until they are tender.
Troubleshooting
Even with the best planning, things can sometimes go wrong. Here are a few common problems you might encounter when growing peanuts and how to fix them:
* Poor Germination: If your peanut seeds aren’t germinating, make sure the soil is warm enough and that you’re not overwatering. You can also try soaking the seeds before planting.
* Yellowing Leaves: Yellowing leaves can be a sign of nutrient deficiency or disease. Test your soil and amend it as needed. You can also spray the plants with a fungicide if you suspect a disease.
* Small Peanuts: Small peanuts can be a sign of insufficient water or nutrients. Water regularly and fertilize as needed.
* Pest Infestation: If you have a pest infestation, spray the plants with insecticidal soap or neem oil.
Enjoying Your Peanut Harvest
Growing peanuts in your backyard is a fun and rewarding experience. You’ll not only get to enjoy fresh, delicious peanuts, but you’ll also learn a lot about gardening. So, get out there and start planting! I promise, you won’t regret it. And the taste of those homegrown, roasted peanuts? Absolutely worth the effort! Happy growing!
Conclusion
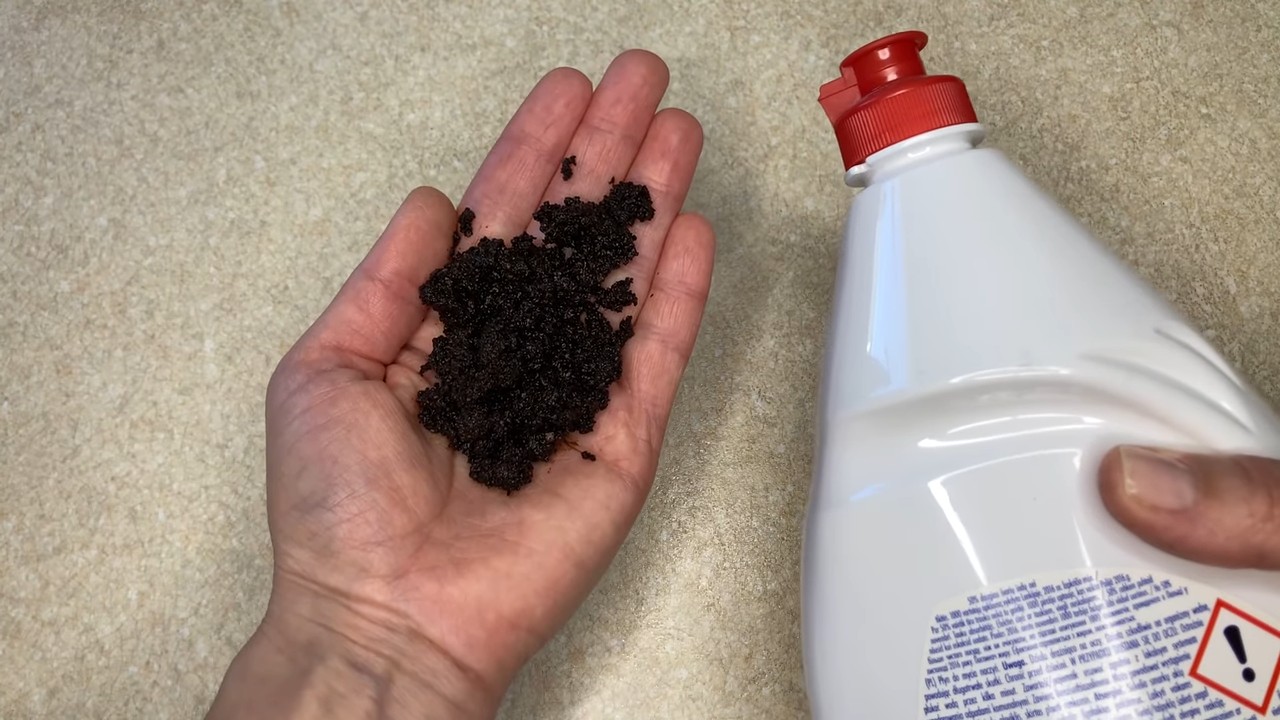
So, there you have it! This simple yet surprisingly effective DIY trick using coffee and dish soap is more than just a cleaning hack; it’s a game-changer for anyone looking to tackle stubborn grease, grime, and unpleasant odors around the house. We’ve explored how the abrasive nature of coffee grounds combined with the degreasing power of dish soap creates a potent cleaning solution that’s both eco-friendly and readily available.
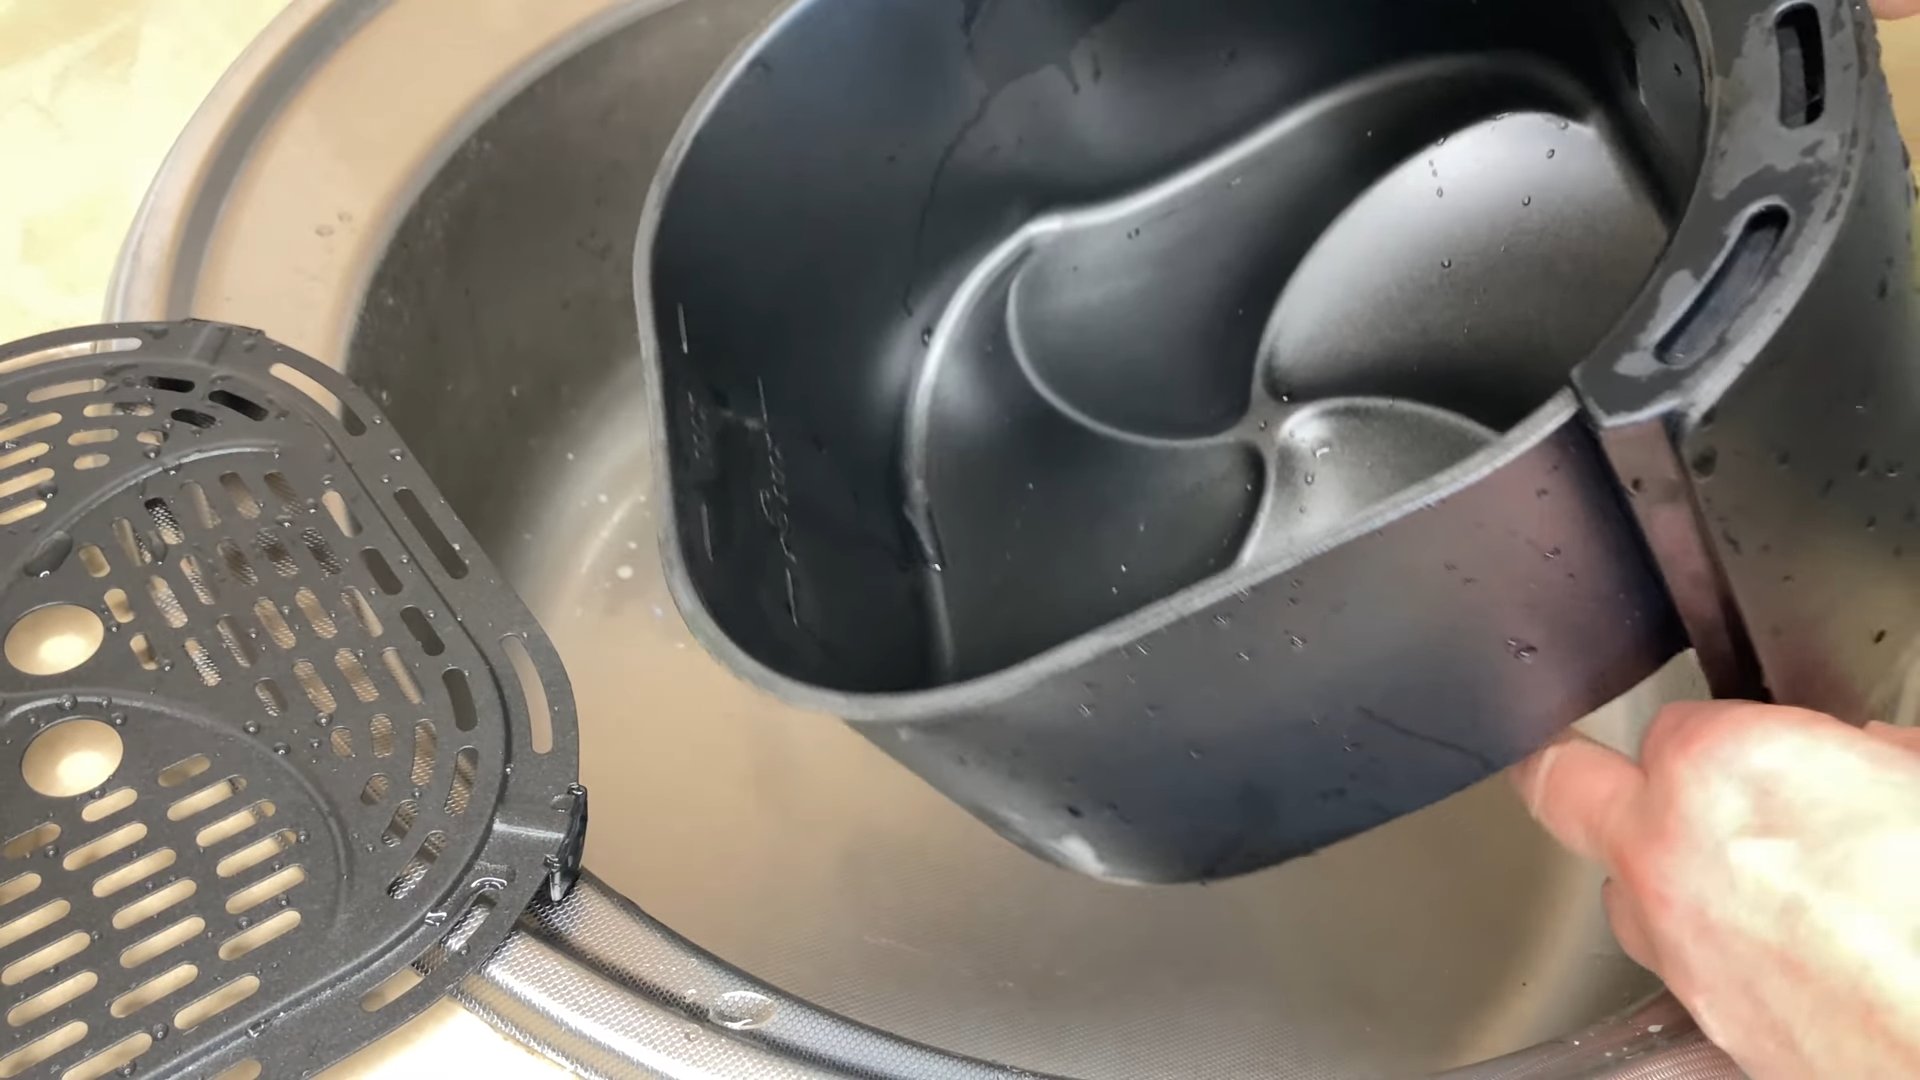
Why is this a must-try? Because it’s incredibly versatile. From scrubbing burnt food off your pots and pans to revitalizing your garbage disposal, this dynamic duo can handle a wide range of cleaning challenges. It’s also a fantastic way to repurpose used coffee grounds, reducing waste and giving them a second life. Plus, let’s be honest, who doesn’t love the lingering aroma of fresh coffee while they clean? It’s a far cry from the harsh chemical smells of many commercial cleaners.
But the benefits don’t stop there. This DIY solution is also gentle on the environment. By using natural ingredients, you’re reducing your reliance on harsh chemicals that can pollute waterways and harm ecosystems. It’s a small change that can make a big difference.
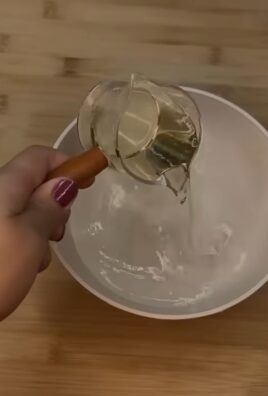
Looking for variations? Absolutely! For extra stubborn stains, try adding a tablespoon of baking soda to the mixture. The baking soda will act as a gentle abrasive, further enhancing the cleaning power. If you’re dealing with a particularly smelly drain, consider adding a few drops of your favorite essential oil, such as lemon or tea tree oil, for an added boost of freshness. You can also adjust the ratio of coffee grounds to dish soap depending on the task at hand. For delicate surfaces, use less coffee grounds and more dish soap. For tougher jobs, increase the amount of coffee grounds.
We encourage you to give this **coffee and dish soap** cleaning trick a try. It’s easy, affordable, and effective. You might be surprised at just how well it works. And once you’ve experienced the magic for yourself, we’d love to hear about it! Share your experiences, tips, and variations in the comments below. Let’s build a community of eco-conscious cleaners who are passionate about finding natural and effective solutions for a sparkling clean home. Don’t forget to share this article with your friends and family so they can benefit from this amazing cleaning hack too! Let’s ditch the harsh chemicals and embrace the power of coffee and dish soap!
Frequently Asked Questions
1. What type of coffee grounds should I use?
You can use any type of coffee grounds, whether they’re from regular brewed coffee, espresso, or even instant coffee. However, finely ground coffee tends to work best as it provides a more consistent abrasive texture. Make sure the coffee grounds are cooled before using them. Using hot coffee grounds could potentially damage some surfaces or even cause burns. Also, ensure that the coffee grounds are relatively fresh. Old, stale coffee grounds may not be as effective at absorbing odors or providing the necessary scrubbing power.
2. What kind of dish soap is best for this DIY cleaner?
Any standard dish soap will work, but consider using a natural or eco-friendly dish soap to further reduce your environmental impact. Look for dish soaps that are free of harsh chemicals, dyes, and fragrances. These types of dish soaps are often gentler on your skin and less likely to cause irritation. Dawn dish soap is a popular choice due to its grease-cutting abilities, but any dish soap that you typically use for washing dishes will suffice.
3. Can I use this coffee and dish soap mixture on all surfaces?
While this mixture is generally safe for most surfaces, it’s always a good idea to test it in an inconspicuous area first, especially on delicate or easily scratched surfaces like stainless steel appliances or painted walls. Avoid using it on porous surfaces like unsealed granite or marble, as the coffee grounds could potentially stain them. Be particularly cautious when using it on non-stick cookware. While the coffee grounds can help remove stubborn food residue, they can also scratch the non-stick coating if you scrub too hard.
4. How do I store the coffee and dish soap mixture?
It’s best to use the coffee and dish soap mixture immediately after preparing it. However, if you have leftover mixture, you can store it in an airtight container in the refrigerator for up to a week. Be sure to label the container clearly to avoid any confusion. Before using the stored mixture, give it a good stir to ensure that the coffee grounds and dish soap are evenly distributed.
5. Will this mixture clog my drain?
While coffee grounds are biodegradable, they can potentially clog drains if used in large quantities. To minimize the risk of clogging, avoid pouring large amounts of coffee grounds down the drain at once. Instead, rinse the drain thoroughly with hot water after using the mixture. You can also use a strainer or drain catcher to prevent coffee grounds from entering the drainpipe. If you have a septic system, it’s generally recommended to avoid putting coffee grounds down the drain altogether, as they can contribute to septic system problems.
6. How often can I use this cleaning method?
You can use this cleaning method as often as needed, depending on the severity of the cleaning task. For heavily soiled items or areas, you may need to use it more frequently. However, for general cleaning, once or twice a week should be sufficient. Pay attention to the surface you’re cleaning and adjust the frequency accordingly.
7. Can I add other ingredients to this mixture?
Yes, you can customize this mixture by adding other ingredients to enhance its cleaning power or scent. As mentioned earlier, baking soda can be added for extra scrubbing power. Essential oils, such as lemon, tea tree, or lavender, can be added for a pleasant fragrance and added antibacterial properties. Vinegar can also be added for its disinfecting and deodorizing properties. However, be cautious when mixing different cleaning agents, as some combinations can be harmful. Never mix bleach with any other cleaning products, as this can create toxic fumes.
8. Is this coffee and dish soap mixture safe for pets and children?
While this mixture is made with natural ingredients, it’s still important to keep it out of reach of pets and children. Dish soap can be irritating if ingested, and coffee grounds can be harmful to pets in large quantities. Store the mixture in a secure location and supervise children when they are helping with cleaning. If your pet or child accidentally ingests the mixture, contact your veterinarian or poison control center immediately.
9. What are some other uses for coffee grounds around the house?
Besides cleaning, coffee grounds have a variety of other uses around the house. They can be used as a natural fertilizer for plants, as a compost ingredient, as a deodorizer for refrigerators and freezers, and as a natural exfoliant for skin. You can even use them to deter pests like ants and slugs. The possibilities are endless!
10. What if I don’t have coffee grounds? Can I use something else?
While coffee grounds are the star ingredient in this DIY cleaner, you can try using other mild abrasives as a substitute. Baking soda is a good alternative, as it’s gentle and effective at removing grime. You can also try using salt or sugar, but be sure to use them sparingly, as they can be more abrasive than coffee grounds. Ultimately, the best substitute will depend on the specific cleaning task and the surface you’re cleaning.

Leave a Comment