
Colgate and Lemon Cleaning: Sounds like an odd combination, right? But trust me, this unexpected duo is about to become your new best friend when it comes to tackling stubborn stains and grime around your home! Forget those harsh chemicals and expensive cleaning products; we’re diving into a simple, effective, and surprisingly delightful DIY cleaning hack that will leave your house sparkling.
The beauty of DIY cleaning solutions lies in their simplicity and accessibility. For generations, resourceful individuals have been concocting homemade remedies using everyday ingredients. While the exact origins of using Colgate and Lemon Cleaning together are a bit hazy, the individual components have a rich history. Lemon, with its natural citric acid, has been prized for its cleaning and disinfecting properties for centuries. Colgate, well, we all know it keeps our pearly whites shining, but its mild abrasive qualities make it surprisingly effective on surfaces beyond our teeth.
Why do you need this DIY trick in your life? Because let’s face it, cleaning can be a chore! But with this simple hack, you can save money, reduce your exposure to harsh chemicals, and feel a sense of accomplishment knowing you’re using a natural and effective solution. I’m excited to show you how to harness the power of Colgate and Lemon Cleaning to banish those stubborn stains and bring a fresh, clean scent to your home. Get ready to be amazed!
DIY Cleaning Powerhouse: Colgate and Lemon Magic!
Hey everyone! I’m so excited to share this amazing cleaning hack with you. I stumbled upon this combination of Colgate toothpaste and lemon juice quite by accident, and let me tell you, it’s a game-changer! It’s a natural, effective, and surprisingly versatile cleaning solution that I now use all over my house. Forget harsh chemicals; this dynamic duo is all you need for sparkling surfaces.
What Makes This Combo So Effective?
Before we dive into the how-to, let’s talk about why this works so well.
* Colgate’s Abrasive Power: Toothpaste, especially the classic white kind, contains mild abrasives. These gently scrub away grime, stains, and buildup without scratching most surfaces. Think of it as a super gentle scouring powder.
* Lemon’s Acidic Punch: Lemon juice is a natural acid that cuts through grease, disinfects, and leaves behind a fresh, clean scent. It’s also a fantastic brightener, helping to remove stains and restore shine.
* The Synergistic Effect: When you combine the abrasive action of toothpaste with the acidic power of lemon juice, you get a cleaning solution that’s much more effective than either ingredient alone. It’s like a cleaning dream team!
What You’ll Need
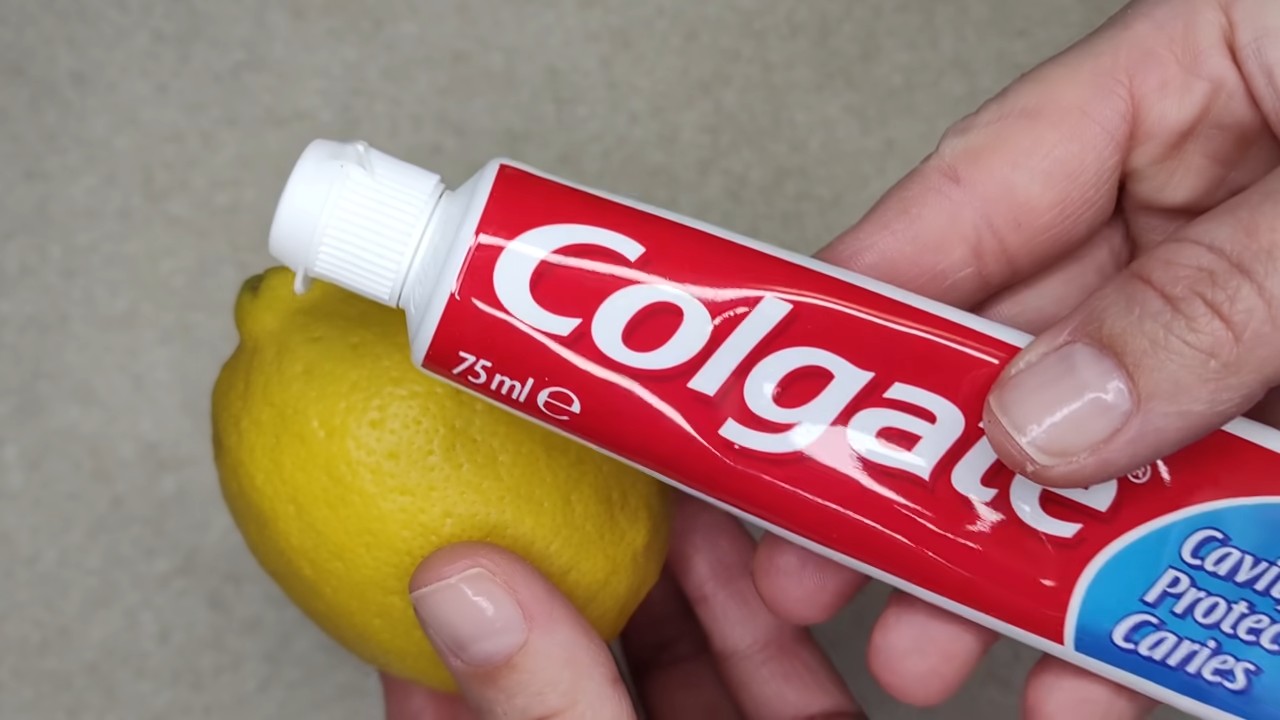
* Colgate toothpaste (the classic white kind works best)
* Lemons (freshly squeezed juice is ideal, but bottled lemon juice can work in a pinch)
* A small bowl or container
* A soft cloth or sponge
* An old toothbrush (for those hard-to-reach spots)
* Water
* Optional: Spray bottle
Cleaning Guide: Step-by-Step Instructions
Okay, let’s get down to the nitty-gritty. Here’s how to use this amazing cleaning concoction:
1. Preparing the Cleaning Paste
This is where the magic begins!
1. Squeeze out the toothpaste: In your small bowl, squeeze out about 1-2 tablespoons of Colgate toothpaste. You don’t need a ton; a little goes a long way.
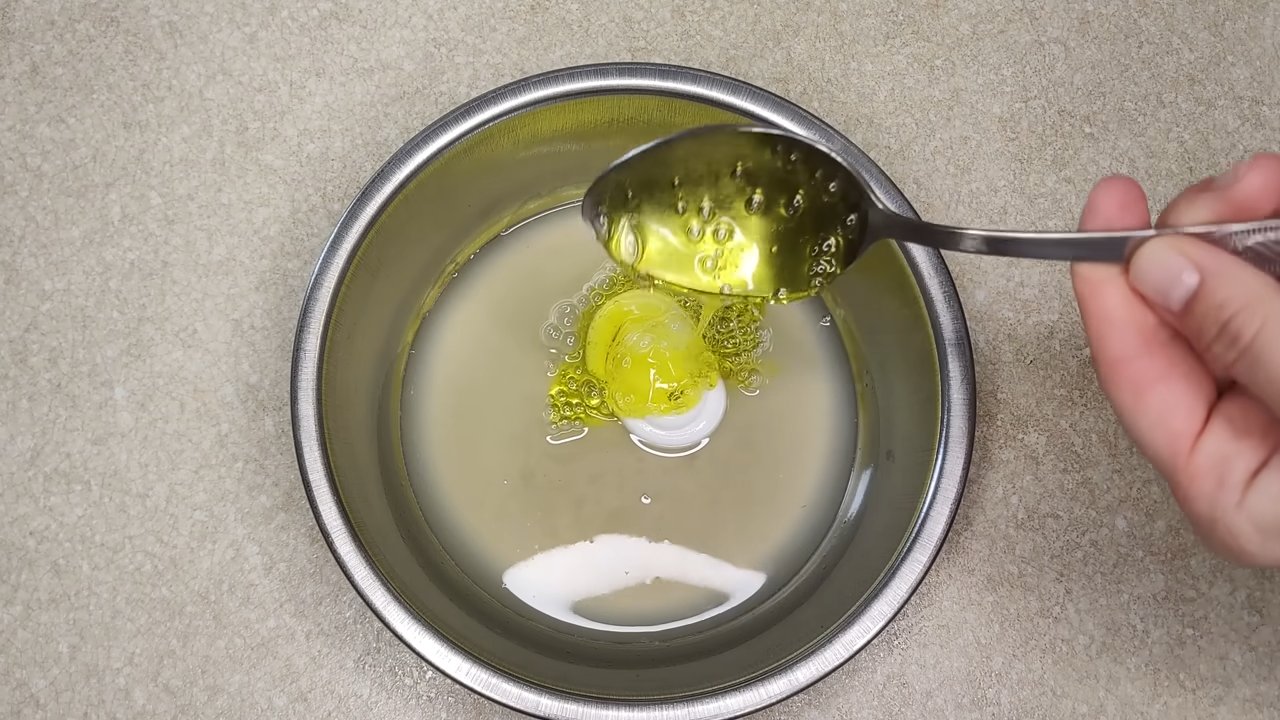
2. Add the lemon juice: Now, add about 1-2 tablespoons of lemon juice to the toothpaste. Start with a smaller amount and add more as needed to achieve a paste-like consistency.
3. Mix it up: Use a spoon or your toothbrush to thoroughly mix the toothpaste and lemon juice until you have a smooth, even paste. It should be thick enough to stick to surfaces but still spreadable.
2. Cleaning Different Surfaces
Now for the fun part – putting our cleaning paste to work! I’ll walk you through how I use it on some of the most common surfaces in my home.
Cleaning Sinks and Faucets
This is one of my favorite uses for this cleaning paste. It works wonders on stainless steel and porcelain sinks.
1. Apply the paste: Using your cloth or sponge, apply a generous amount of the toothpaste and lemon mixture to the sink and faucet.
2. Scrub gently: Gently scrub the surfaces, paying attention to areas with water spots, soap scum, or rust stains. The toothpaste will act as a mild abrasive, while the lemon juice will help dissolve grime and brighten the metal.
3. Rinse thoroughly: Rinse the sink and faucet thoroughly with water until all traces of the paste are gone.
4. Dry and shine: Use a clean, dry cloth to dry the surfaces and buff them to a sparkling shine. You’ll be amazed at the difference!
Cleaning Grout
Grout can be a real pain to clean, but this paste makes it so much easier.
1. Apply the paste: Using your old toothbrush, apply the toothpaste and lemon mixture directly to the grout lines.
2. Let it sit: Allow the paste to sit on the grout for about 5-10 minutes. This will give the lemon juice time to break down the grime and mildew.
3. Scrub vigorously: Use the toothbrush to scrub the grout lines vigorously. You’ll see the dirt and grime start to lift away.
4. Rinse thoroughly: Rinse the area thoroughly with water to remove all traces of the paste. You may need to use a damp cloth to wipe away any residue.
5. Repeat if necessary: For stubborn stains, you may need to repeat the process.
Cleaning Chrome Fixtures
Chrome fixtures can easily become dull and covered in water spots. This paste will bring them back to life!
1. Apply the paste: Apply a small amount of the toothpaste and lemon mixture to a soft cloth.
2. Rub gently: Gently rub the chrome fixtures with the cloth, focusing on areas with water spots or tarnish.
3. Rinse thoroughly: Rinse the fixtures thoroughly with water.
4. Dry and buff: Use a clean, dry cloth to dry the fixtures and buff them to a brilliant shine.
Cleaning Stovetop Grates
Burnt-on food on stovetop grates is a common kitchen woe. This paste can help loosen that stubborn mess.
1. Apply the paste: Remove the stovetop grates and apply a generous amount of the toothpaste and lemon mixture to the affected areas.
2. Let it soak: Allow the paste to soak on the grates for at least 30 minutes, or even longer for heavily soiled grates.
3. Scrub thoroughly: Use a scrub brush or sponge to scrub the grates thoroughly. The toothpaste will help loosen the burnt-on food, while the lemon juice will help dissolve grease.
4. Rinse thoroughly: Rinse the grates thoroughly with water.
5. Dry and replace: Dry the grates completely before replacing them on the stovetop.
Cleaning Shoes (White Sneakers)
This is a surprising one, but it works wonders on white sneakers!
1. Apply the paste: Apply the toothpaste and lemon mixture to the dirty areas of your white sneakers.
2. Scrub gently: Use a toothbrush or soft cloth to gently scrub the shoes.
3. Rinse thoroughly: Rinse the shoes thoroughly with water.
4. Air dry: Allow the shoes to air dry completely. Avoid putting them in the dryer, as this can damage them.
3. Creating a Cleaning Spray (Optional)
If you prefer a spray cleaner, you can easily adapt this recipe.
1. Dilute the paste: In a spray bottle, mix about 1 tablespoon of the toothpaste and lemon mixture with 1 cup of water.
2. Shake well: Shake the bottle well to ensure the ingredients are thoroughly combined.
3. Spray and wipe: Spray the solution onto the surface you want to clean and wipe it down with a clean cloth.
4. Rinse if necessary: For some surfaces, you may need to rinse with water after wiping.
Important Considerations and Precautions
While this cleaning solution is generally safe and effective, there are a few things to keep in mind:
* Test on an inconspicuous area: Before using this cleaning paste on any surface, it’s always a good idea to test it on a small, inconspicuous area first to make sure it doesn’t cause any damage or discoloration.
* Avoid abrasive surfaces: While the toothpaste is a mild abrasive, it’s still best to avoid using it on delicate or easily scratched surfaces, such as polished wood or certain types of plastic.
* Don’t use on marble: Lemon juice is acidic and can etch marble surfaces. Avoid using this cleaning solution on marble countertops or floors.
* Rinse thoroughly: Always rinse surfaces thoroughly with water after cleaning to remove any residue from the toothpaste and lemon juice.
* Storage: I recommend making this cleaning paste fresh each time you need it. However, if you have any leftover, you can store it in an airtight container in a cool, dark place for a few days. The spray solution should also be used within a few days, as the ingredients may separate over time.
* Eye contact: Avoid getting the cleaning paste in your eyes. If contact occurs, rinse thoroughly with water.
Why I Love This Hack
I’m seriously obsessed with this cleaning hack because:
* It’s natural: I love that I can clean my home without using harsh chemicals.
* It’s effective: It really works! It cuts through grime, removes stains, and leaves surfaces sparkling.
* It’s affordable: Colgate and lemons are both inexpensive and readily available.
* It smells great: The lemon scent is so fresh and clean.
* It’s versatile: I can use it on so many different surfaces.
I hope you give this cleaning hack a try! I’m confident you’ll be just as amazed as I am. Happy cleaning!
Conclusion
So, there you have it! This simple yet remarkably effective DIY cleaning trick using Colgate and lemon is more than just a cleaning hack; it’s a game-changer for your home. We’ve explored how the abrasive properties of toothpaste, combined with the natural acidity and disinfecting power of lemon, create a potent cleaning solution that tackles grime, stains, and odors with ease.
Why is this a must-try? Because it’s cost-effective, readily accessible, and environmentally friendlier than many harsh chemical cleaners on the market. You likely already have these ingredients in your home, saving you a trip to the store and reducing your reliance on potentially harmful substances. Beyond the practical benefits, this DIY method offers a sense of accomplishment and control over the products you use in your living space.
But the beauty of this method lies in its adaptability. Feel free to experiment with variations to suit your specific needs and preferences. For instance, if you’re dealing with particularly stubborn stains, consider adding a pinch of baking soda to the mixture for extra scrubbing power. For a more pleasant scent, incorporate a few drops of your favorite essential oil, such as lavender or tea tree, known for their antibacterial properties. If you are cleaning delicate surfaces, test the mixture on an inconspicuous area first to ensure it doesn’t cause any damage. You can also adjust the ratio of Colgate to lemon juice depending on the surface you’re cleaning and the severity of the grime. A thicker paste is ideal for scrubbing, while a more diluted solution works well for wiping down surfaces.
Remember, the key to success with any DIY cleaning method is to be patient and thorough. Allow the Colgate and lemon mixture to sit on the affected area for a few minutes to allow it to penetrate the grime before scrubbing. Use a soft cloth or sponge to avoid scratching delicate surfaces. And always rinse thoroughly with water after cleaning to remove any residue.
We are confident that once you try this Colgate and lemon cleaning trick, you’ll be amazed by the results. It’s a simple, effective, and satisfying way to keep your home sparkling clean and fresh.
Now, we want to hear from you! Give this DIY cleaning method a try and share your experiences with us. Did it work wonders on your bathroom tiles? Did it restore the shine to your stainless steel appliances? Let us know in the comments below. Your feedback will not only help us improve this guide but also inspire others to embrace the power of natural cleaning solutions. We believe that together, we can create a cleaner, healthier, and more sustainable living environment for ourselves and our families. So, go ahead, grab your Colgate and lemon, and let the cleaning magic begin! Don’t forget to share your before-and-after photos – we can’t wait to see the amazing transformations you achieve!
Frequently Asked Questions (FAQ)
Is this Colgate and lemon cleaning method safe for all surfaces?
While the Colgate and lemon cleaning method is generally safe for many surfaces, it’s crucial to exercise caution and test it on an inconspicuous area first, especially when dealing with delicate materials. The abrasive nature of toothpaste, even though mild, combined with the acidity of lemon juice, can potentially damage or discolor certain surfaces.
Avoid using this method on surfaces that are known to be sensitive to acids, such as marble, granite, or other natural stones. These materials can be etched or dulled by lemon juice. Similarly, be careful when cleaning painted surfaces, as the lemon juice could potentially soften or remove the paint.
For stainless steel, this method can be effective in removing water spots and grime, but always scrub in the direction of the grain to avoid scratching. For chrome fixtures, use a gentle touch and rinse thoroughly to prevent any potential corrosion.
If you’re unsure about the suitability of this method for a particular surface, err on the side of caution and test it in a hidden area first. Observe the area for any signs of discoloration, etching, or damage. If you notice any adverse effects, discontinue use immediately and opt for a cleaning method specifically designed for that surface.
What type of Colgate toothpaste is best for cleaning?
The best type of Colgate toothpaste for cleaning is plain white toothpaste, preferably one without added gels, stripes, or whitening agents. These additives can sometimes leave behind residues or potentially stain certain surfaces.
The key ingredient in toothpaste that makes it effective for cleaning is its mild abrasive properties. Plain white toothpaste contains gentle abrasives that help to scrub away grime, stains, and buildup without being too harsh on surfaces.
Avoid using gel toothpastes, as they tend to be less abrasive and may not provide the same level of cleaning power. Similarly, toothpastes with whitening agents may contain chemicals that could potentially damage or discolor certain surfaces.
When in doubt, opt for a basic, fluoride-based Colgate toothpaste. These types of toothpastes are readily available, affordable, and generally safe for a wide range of cleaning applications.
How long should I leave the Colgate and lemon mixture on a surface before scrubbing?
The ideal amount of time to leave the Colgate and lemon mixture on a surface before scrubbing depends on the severity of the grime and the type of surface you’re cleaning.
For lightly soiled surfaces, such as bathroom sinks or countertops, allowing the mixture to sit for 5-10 minutes is usually sufficient. This gives the lemon juice time to break down the grime and the toothpaste time to loosen it.
For more heavily soiled surfaces, such as oven doors or stained tiles, you may need to leave the mixture on for a longer period, such as 15-20 minutes. This will allow the lemon juice to penetrate deeper into the grime and make it easier to scrub away.
However, it’s important to avoid leaving the mixture on for too long, especially on delicate surfaces. Prolonged exposure to lemon juice can potentially damage or discolor certain materials.
As a general rule, check the surface periodically while the mixture is sitting. If you notice any signs of discoloration or damage, rinse the area immediately with water.
Can I use this method to clean my teeth?
No, this DIY cleaning method is specifically designed for household cleaning purposes and should not be used to clean your teeth. While Colgate toothpaste is safe for oral hygiene, the addition of lemon juice can be harmful to your tooth enamel.
Lemon juice is highly acidic and can erode the enamel, the protective outer layer of your teeth. Enamel erosion can lead to tooth sensitivity, cavities, and other dental problems.
It’s important to use toothpaste and other oral hygiene products specifically formulated for dental care. These products are designed to clean your teeth effectively without damaging your enamel.
If you’re concerned about the health of your teeth, consult with a dentist or dental hygienist. They can provide you with personalized advice on how to maintain good oral hygiene.
How do I remove the Colgate and lemon residue after cleaning?
After scrubbing the surface with the Colgate and lemon mixture, it’s essential to rinse thoroughly with clean water to remove any residue. Leftover residue can attract dirt and grime, leaving the surface looking dull and streaky.
Use a clean, damp cloth or sponge to wipe away the residue. Rinse the cloth or sponge frequently to avoid spreading the residue around.
For larger surfaces, you can use a spray bottle filled with clean water to rinse the area. Then, wipe the surface dry with a clean cloth.
If you notice any stubborn residue, you can try using a solution of water and white vinegar. Vinegar is a natural cleaning agent that can help to dissolve any remaining residue.
After rinsing and drying the surface, inspect it carefully to ensure that all the residue has been removed. If necessary, repeat the rinsing and drying process until the surface is completely clean.
What are some other uses for Colgate and lemon cleaning?
Beyond the applications already mentioned, Colgate and lemon can be surprisingly versatile. Try it on:
* **Shower doors:** To remove soap scum and water spots.
* **Sneaker soles:** To brighten white rubber soles.
* **Iron:** To remove scorch marks (make sure the iron is unplugged and cool).
* **Jewelry:** To polish silver and gold (avoid using on delicate gemstones).
Remember to always test in an inconspicuous area first!

Leave a Comment