
Dawn dish soap cleaning hacks – who knew such a humble household staple could be a secret weapon against grime and gunk all over your home? I’m constantly amazed by the versatility of this blue-bottled wonder! Forget spending a fortune on specialized cleaners; you probably already have the solution to many of your cleaning woes sitting right next to your kitchen sink.
For generations, Dawn has been trusted to cut through grease on our dishes, but its cleaning power extends far beyond the kitchen. Think about it: this soap is gentle enough to clean delicate wildlife affected by oil spills, yet strong enough to tackle stubborn stains. That’s a testament to its unique formula and why it’s become a go-to for so many DIY cleaning enthusiasts.
In today’s world, we’re all looking for ways to save money and reduce our reliance on harsh chemicals. That’s where these Dawn dish soap cleaning hacks come in! I’m going to share some of my favorite and most effective ways to use Dawn around the house, from tackling tough laundry stains to giving your bathroom a sparkling makeover. Get ready to unlock the full potential of this everyday essential and discover how it can simplify your cleaning routine and leave your home looking and feeling its best!
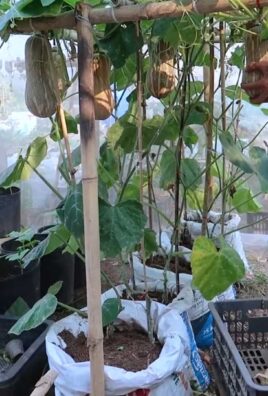
Grow Your Own Sweet Potatoes: A Beginner’s Guide
Hey there, fellow gardening enthusiasts! Ever thought about growing your own sweet potatoes? It’s surprisingly easy and incredibly rewarding. Imagine harvesting those vibrant orange tubers you nurtured from tiny slips! I’m going to walk you through the whole process, from sprouting your own slips to harvesting a bountiful crop. Let’s get our hands dirty!
What You’ll Need
Before we dive in, let’s gather our supplies. Here’s a checklist of everything you’ll need to successfully grow sweet potatoes:
* Sweet Potatoes: Choose organic sweet potatoes from the grocery store or use ones you’ve grown previously. Organic is key to avoid any growth inhibitors.
* Glass Jars or Containers: Wide-mouthed jars work best for suspending the sweet potatoes in water.
* Toothpicks: These will help suspend the sweet potatoes in the jars.
* Potting Mix: A well-draining potting mix is essential for starting the slips.
* Gardening Soil: Prepare your garden bed with nutrient-rich soil. Amend with compost for best results.
* Watering Can or Hose: For regular watering.
* Gardening Gloves: To protect your hands.
* Shovel or Trowel: For planting the slips in the garden.
* Optional:
* Heat mat (to speed up slip production)
* Grow lights (if starting slips indoors during winter)
* Compost or aged manure (for amending the soil)
Sprouting Sweet Potato Slips: The First Step
The first step in growing sweet potatoes is sprouting slips. Slips are the leafy shoots that grow from the sweet potato itself, and these are what you’ll eventually plant in your garden.
1. Prepare the Sweet Potatoes: Select healthy, firm sweet potatoes. Wash them gently to remove any dirt.
2. Insert Toothpicks: Insert toothpicks around the middle of each sweet potato. Space them evenly, about an inch apart. These toothpicks will act as supports to suspend the potato in the jar.
3. Suspend in Water: Fill your glass jars with water, leaving about an inch of space at the top. Carefully suspend the sweet potatoes in the jars, using the toothpicks to rest on the rim. The bottom half of the sweet potato should be submerged in water.
4. Choose a Location: Place the jars in a warm, sunny location. A windowsill that receives plenty of sunlight is ideal. If you’re starting slips during the winter, you might consider using a heat mat and grow lights to provide extra warmth and light.
5. Monitor and Replenish Water: Check the water level regularly and replenish as needed. The water should always cover the bottom half of the sweet potato. You should start to see roots and sprouts (slips) emerging in a few weeks.
6. Wait for Slips to Grow: Be patient! It can take several weeks for the slips to grow large enough to transplant. You’ll want them to be about 6-8 inches long before removing them.
Separating and Rooting the Slips
Once your slips are big enough, it’s time to separate them from the sweet potato and encourage them to develop their own root systems.
1. Gently Remove the Slips: Carefully twist or cut the slips off the sweet potato. Try to get as much of the base of the slip as possible, as this is where the roots will emerge.
2. Root the Slips in Water: Place the slips in a glass of water, ensuring that the bottom 2-3 inches of the stem are submerged.
3. Wait for Roots to Develop: Place the glass of slips in a sunny location and wait for roots to develop. This usually takes about a week. Change the water every few days to keep it fresh. You’ll know the slips are ready to plant when they have a good network of roots, about an inch or two long.
Preparing Your Garden Bed
Sweet potatoes thrive in warm weather and well-drained soil. Before planting, it’s important to prepare your garden bed properly.
1. Choose a Sunny Location: Select a location in your garden that receives at least 6-8 hours of sunlight per day.
2. Prepare the Soil: Sweet potatoes prefer loose, well-drained soil. If your soil is heavy clay, amend it with compost or other organic matter to improve drainage.
3. Create Mounds or Ridges: Sweet potatoes grow best in mounds or ridges. This helps with drainage and allows the tubers to develop easily. Create mounds or ridges that are about 8-12 inches high and 12-18 inches wide. Space the mounds or ridges about 3-4 feet apart.
4. Amend the Soil: Incorporate compost or aged manure into the soil to provide nutrients for the sweet potatoes. Sweet potatoes are heavy feeders, so it’s important to provide them with plenty of nutrients.
Planting the Sweet Potato Slips
Now for the fun part – planting your sweet potato slips!
1. Water the Soil: Before planting, water the soil thoroughly. This will help the slips establish themselves quickly.
2. Plant the Slips: Gently dig a small hole in the top of each mound or ridge. Plant the slips about 4-6 inches deep, burying the roots and the bottom part of the stem. Leave the top leaves exposed.
3. Space the Slips: Space the slips about 12-18 inches apart on the mounds or ridges.
4. Water Again: After planting, water the slips again to help them settle in.
Caring for Your Sweet Potato Plants
Once your sweet potato slips are planted, it’s important to provide them with proper care to ensure a bountiful harvest.
1. Water Regularly: Water the plants regularly, especially during dry periods. Sweet potatoes need consistent moisture to thrive. Aim for about an inch of water per week.
2. Weed Regularly: Keep the garden bed free of weeds. Weeds compete with the sweet potatoes for nutrients and water.
3. Fertilize (Optional): If your soil is poor, you may need to fertilize the plants. Use a balanced fertilizer, following the instructions on the package. Avoid over-fertilizing, as this can lead to excessive vine growth and fewer tubers.
4. Control Pests and Diseases: Sweet potatoes are generally pest-resistant, but they can be susceptible to certain pests and diseases. Monitor the plants regularly and take action if you notice any problems. Common pests include sweet potato weevils and flea beetles. Common diseases include stem rot and fungal leaf spots.
5. Vine Management: Sweet potato vines can grow quite long and spread out. You can prune the vines to keep them under control, but be careful not to remove too much foliage, as this can reduce the yield. You can also lift the vines occasionally to prevent them from rooting at the nodes, which can also reduce tuber production.
Harvesting Your Sweet Potatoes
The moment you’ve been waiting for! Harvesting your own sweet potatoes is incredibly satisfying.
1. Timing is Key: Sweet potatoes are typically ready to harvest about 90-120 days after planting. The leaves will start to turn yellow and the vines will begin to die back.
2. Choose a Dry Day: Harvest your sweet potatoes on a dry day to prevent rot.
3. Dig Carefully: Use a garden fork or shovel to carefully dig around the plants. Be careful not to damage the tubers. Start digging a foot or so away from the plant to avoid accidentally spearing the sweet potatoes.
4. Lift the Tubers: Gently lift the tubers from the soil. Brush off any excess dirt.
5. Curing the Sweet Potatoes: Curing is an important step that improves the flavor and storage life of sweet potatoes. Place the harvested sweet potatoes in a warm, humid place (80-85°F and 85-90% humidity) for about a week. This allows the skins to harden and any minor cuts or bruises to heal. A greenhouse or a warm, humid room in your house works well.
6. Store Properly: After curing, store the sweet potatoes in a cool, dry, and dark place (55-60°F). Avoid storing them in the refrigerator, as this can cause them to develop a hard core. Properly cured and stored sweet potatoes can last for several months.
Troubleshooting
Even with the best planning, sometimes things don’t go exactly as expected. Here are a few common problems and how to address them:
* Slips Not Sprouting: Make sure the sweet potato is in a warm, sunny location. Change the water regularly. If it’s winter, consider using a heat mat and grow lights. Also, ensure you’re using organic sweet potatoes. Non-organic ones may be treated to prevent sprouting.
* Yellowing Leaves: This could indicate a nutrient deficiency. Try
Conclusion
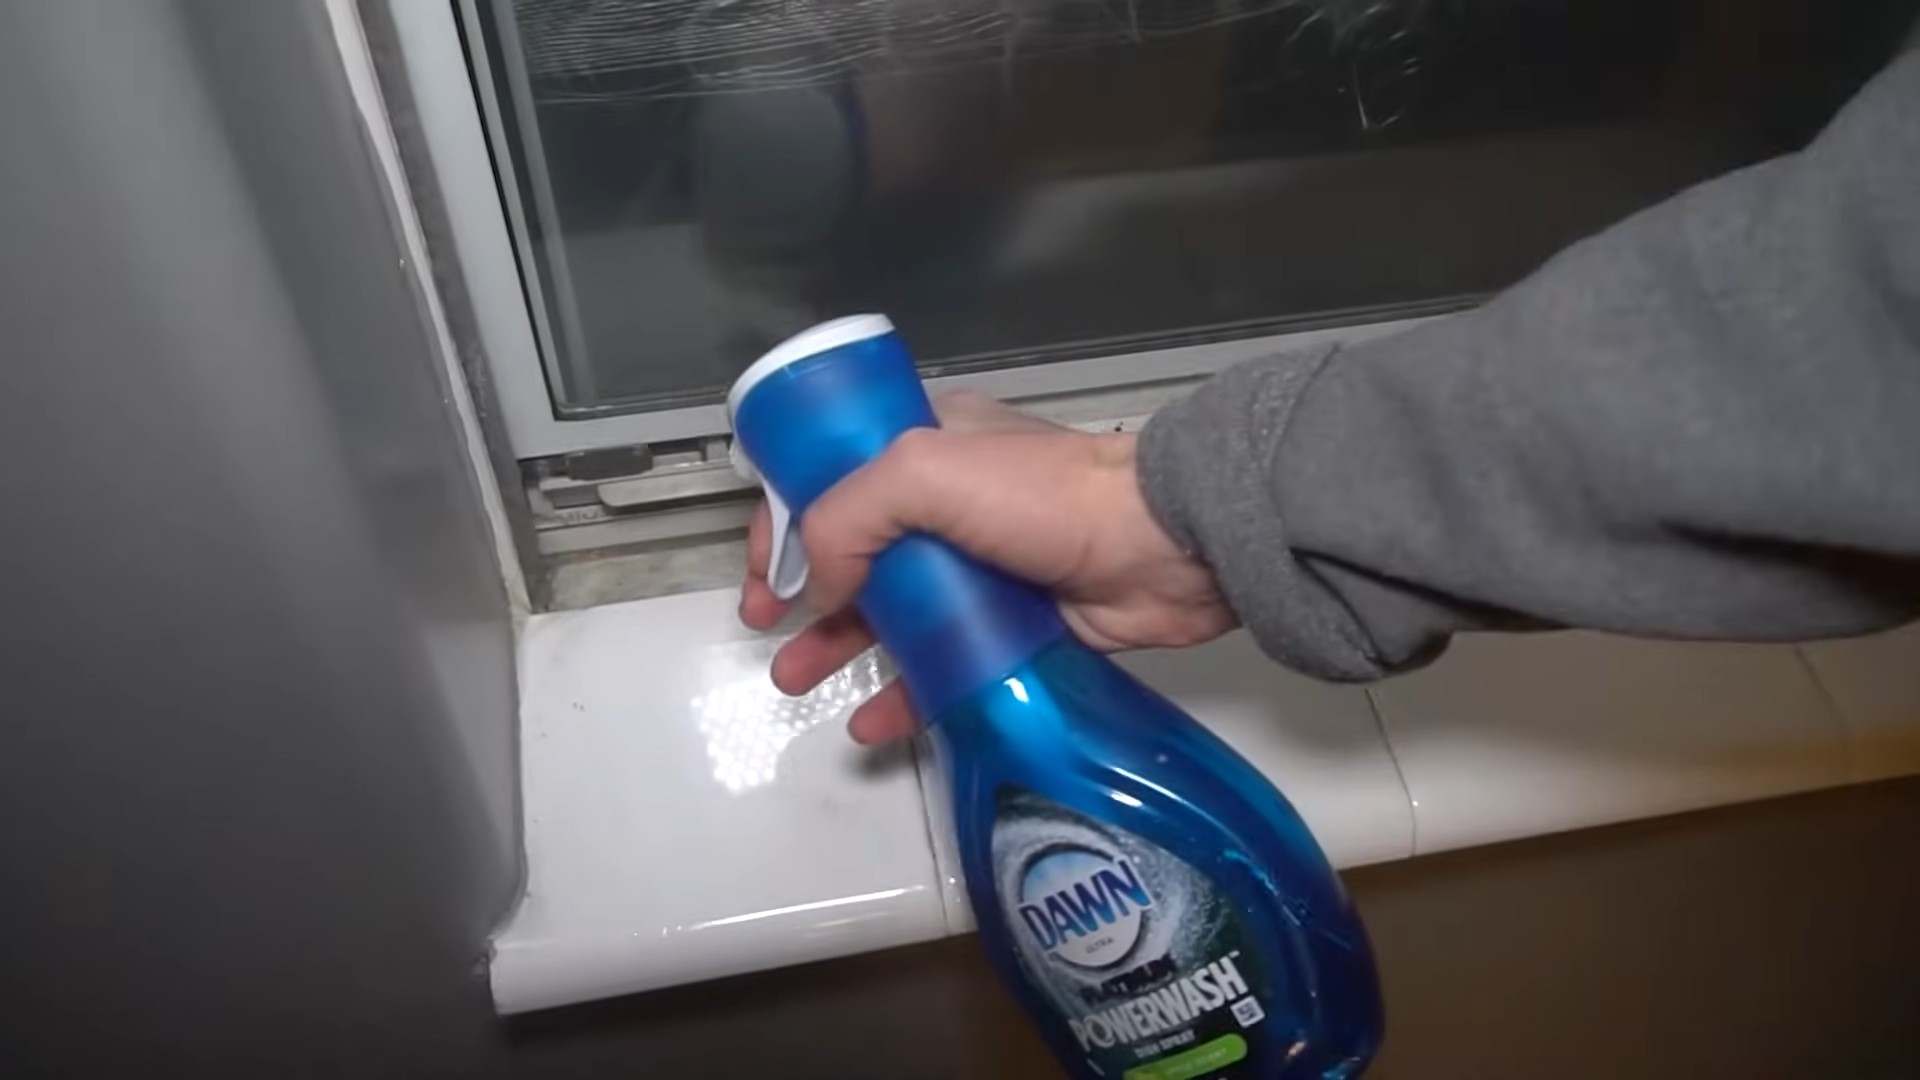
So, there you have it! These Dawn dish soap cleaning hacks are not just clever; they’re game-changers for simplifying your cleaning routine and saving you money. Forget about spending a fortune on specialized cleaners when a simple bottle of Dawn can tackle everything from greasy stovetops to stubborn laundry stains. The versatility of Dawn is truly remarkable, making it a must-have in every household.
Why is this DIY approach a must-try? Because it’s effective, economical, and environmentally conscious. You’re reducing your reliance on harsh chemicals and single-use plastic bottles, all while achieving sparkling clean results. Plus, the satisfaction of knowing you’re using a simple, readily available solution is incredibly rewarding.
But don’t just take our word for it. Experiment with these hacks and discover the magic of Dawn for yourself. For instance, if you’re dealing with particularly stubborn grease on your grill grates, try letting them soak in a Dawn and hot water solution overnight before scrubbing. Or, if you’re looking for a gentler approach to cleaning delicate fabrics, dilute the Dawn even further and test it on an inconspicuous area first.
Here are a few suggestions and variations to get you started:
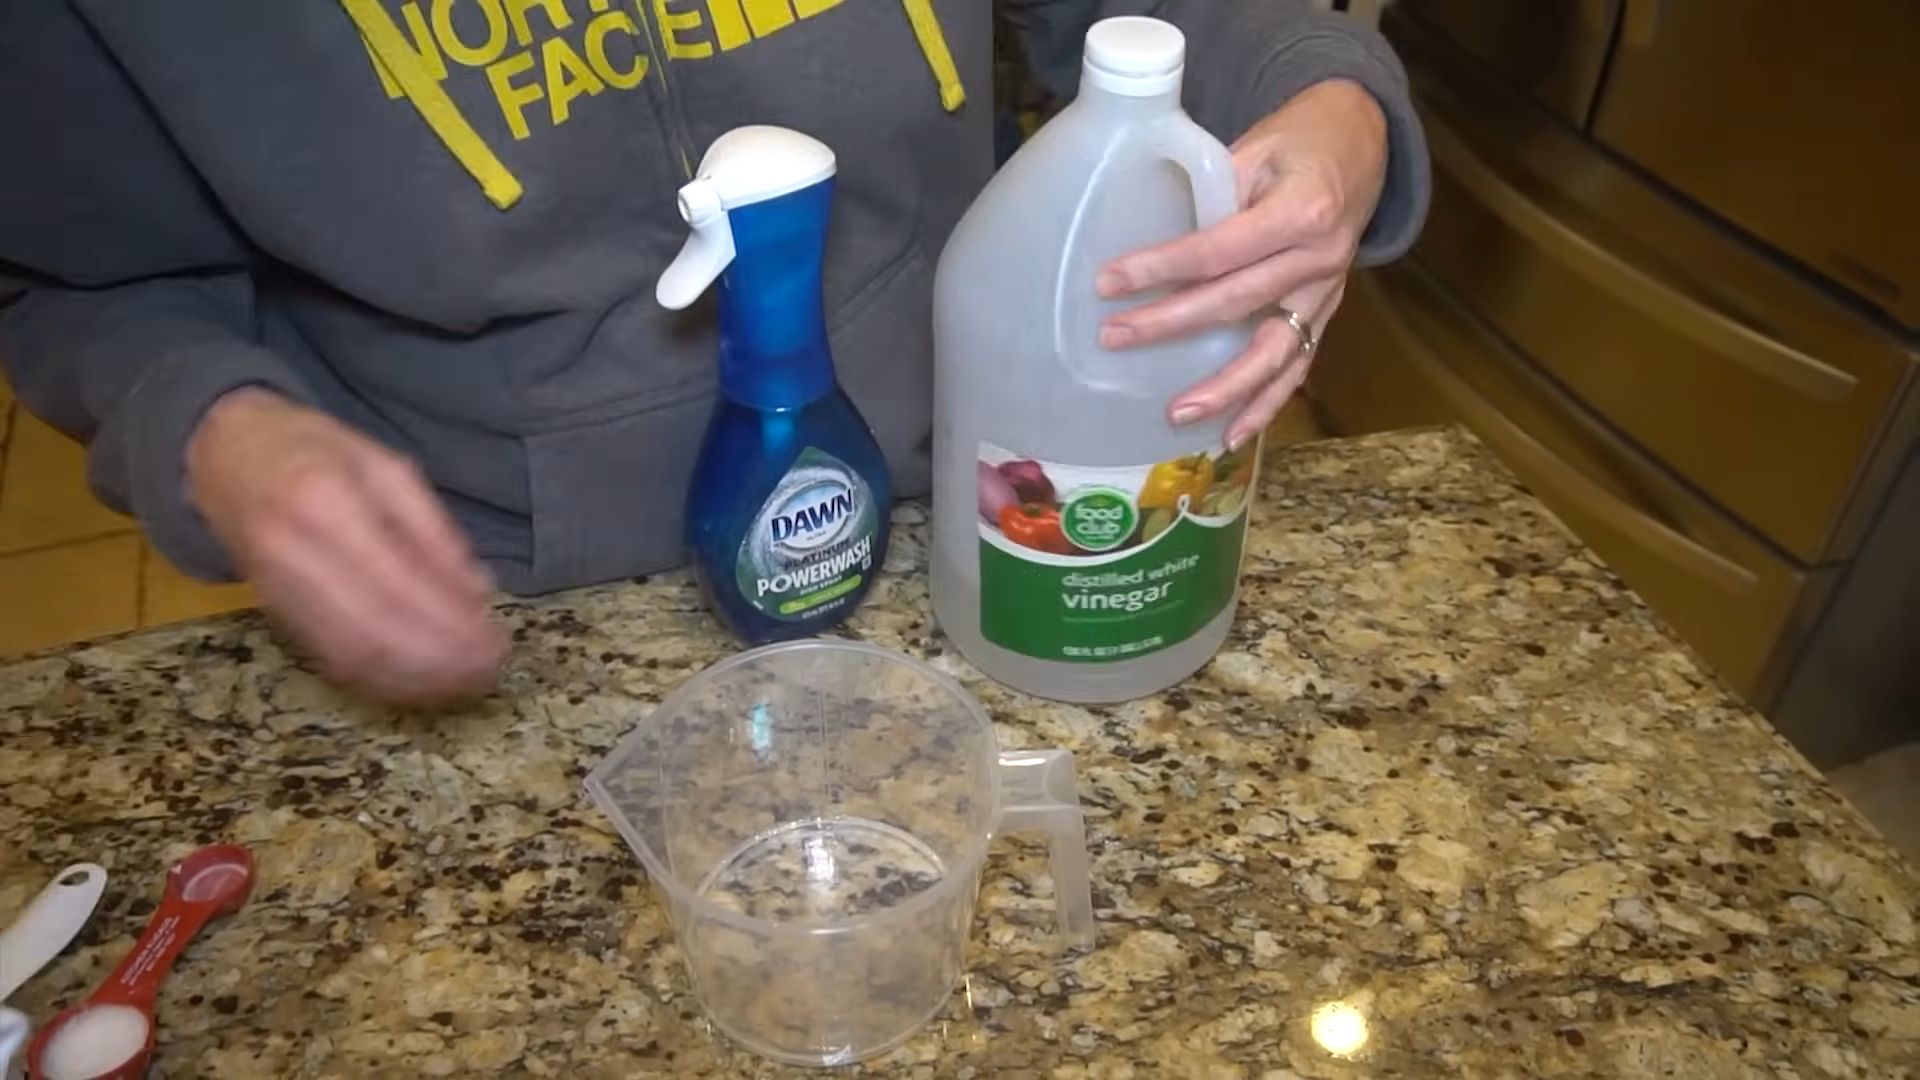
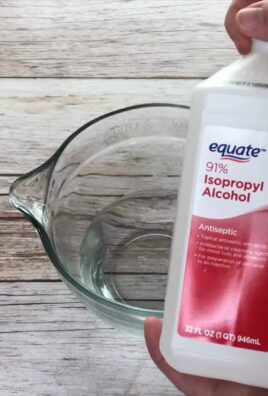
* Dawn Powerwash Alternative: Create your own Dawn Powerwash refill by mixing Dawn dish soap with water and a touch of rubbing alcohol in a spray bottle. This is a fantastic way to save money and reduce plastic waste.
* DIY Jewelry Cleaner: Gently clean your jewelry by soaking it in a solution of warm water and a few drops of Dawn. Use a soft brush to remove any dirt or grime, then rinse thoroughly and pat dry.
* Plant Pest Control: Combat aphids and other plant pests by spraying your plants with a diluted Dawn solution. Be sure to test it on a small area first to ensure it doesn’t harm the foliage.
* Grease Stain Remover Booster: For extra tough grease stains on clothing, pretreat the stain with Dawn and a sprinkle of baking soda before laundering.
We’re confident that once you experience the cleaning power of Dawn, you’ll be hooked. It’s a simple, effective, and affordable solution for a wide range of cleaning challenges. So, ditch the expensive specialty cleaners and embrace the versatility of this everyday essential.
Now, it’s your turn! We encourage you to try these Dawn dish soap cleaning hacks and share your experiences with us. What are your favorite ways to use Dawn around the house? Did you discover any new and innovative cleaning solutions? Let us know in the comments below! We’re eager to hear your stories and learn from your experiences. Together, we can unlock even more of Dawn’s cleaning potential and create a cleaner, healthier home. Don’t forget to share this article with your friends and family so they can benefit from these amazing hacks too!
Frequently Asked Questions (FAQs)
Is Dawn dish soap safe to use on all surfaces?
While Dawn is generally considered safe for most surfaces, it’s always a good idea to test it in an inconspicuous area first, especially on delicate or sensitive materials. For example, some types of wood or painted surfaces might be affected by prolonged exposure to soap and water. When in doubt, dilute the Dawn solution further and use a gentle touch. Avoid using Dawn on surfaces that are specifically labeled as requiring special cleaning products.
Can I use any type of Dawn dish soap for these cleaning hacks?
The original blue Dawn dish soap is often recommended for its grease-cutting power and gentle formula. While other varieties of Dawn may also work, the original formula is generally considered the most effective and versatile for a wide range of cleaning tasks. Be sure to check the label for any specific warnings or instructions before using a different type of Dawn.
How much Dawn dish soap should I use in each cleaning solution?
The amount of Dawn dish soap you use will depend on the specific cleaning task and the severity of the grime or stain. As a general rule, start with a small amount (a few drops to a teaspoon) per cup of water and adjust as needed. For tougher cleaning jobs, you may need to use a slightly higher concentration of Dawn. However, avoid using too much soap, as this can leave a residue that’s difficult to rinse off.
Is Dawn dish soap safe for my pets?
Dawn dish soap is often used by wildlife rescue organizations to clean animals affected by oil spills, which suggests it’s relatively gentle. However, it’s still important to exercise caution when using Dawn around pets. Avoid getting Dawn in their eyes, ears, or mouth, and rinse them thoroughly after washing. If your pet has sensitive skin or a pre-existing skin condition, consult with your veterinarian before using Dawn.
Can I use Dawn dish soap to wash my car?
While Dawn can be used to wash your car, it’s not specifically formulated for automotive use. Regular use of Dawn can strip away the wax and protective coatings on your car’s paint, leaving it vulnerable to scratches and damage. If you choose to use Dawn to wash your car, dilute it heavily and use it sparingly. Consider using a car wash soap specifically designed for automotive use for optimal results.
How do I remove Dawn dish soap residue from surfaces?
If you notice a soapy residue after cleaning with Dawn, simply rinse the surface thoroughly with clean water. You may need to repeat the rinsing process several times to remove all traces of soap. For stubborn residue, try wiping the surface with a damp cloth and then drying it with a clean towel.
Can Dawn dish soap be used to unclog drains?
Yes, Dawn dish soap can be used to help unclog drains. Pour a cup of hot water down the drain, followed by about 1/4 cup of Dawn dish soap. Let it sit for about 15-30 minutes, then flush the drain with more hot water. The Dawn helps to break down grease and grime that are clogging the drain. For more stubborn clogs, you may need to repeat this process or use a drain snake.
Does Dawn dish soap expire?
Dawn dish soap does not have a specific expiration date. However, over time, the ingredients may start to separate or degrade, which can affect its cleaning effectiveness. To ensure optimal performance, it’s best to use Dawn within a few years of purchase. Store Dawn in a cool, dry place away from direct sunlight to prolong its shelf life.
Is Dawn dish soap environmentally friendly?
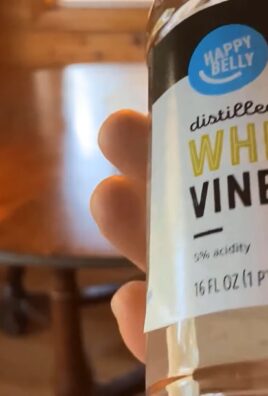
Dawn dish soap is considered to be relatively environmentally friendly compared to some other cleaning products. However, it’s still important to use it responsibly. Avoid using excessive amounts of Dawn, and dispose of it properly. Consider using eco-friendly alternatives to Dawn for certain cleaning tasks, such as vinegar or baking soda.
What other cleaning hacks can I do with Dawn dish soap?
The possibilities are endless! You can use Dawn to clean your bathroom, degrease your oven, remove stains from carpets, clean your windows, and even wash your makeup brushes. With a little creativity, you can discover even more innovative ways to use Dawn around the house. Remember to always test in an inconspicuous area first and use caution when cleaning delicate or sensitive materials.
Leave a Comment