
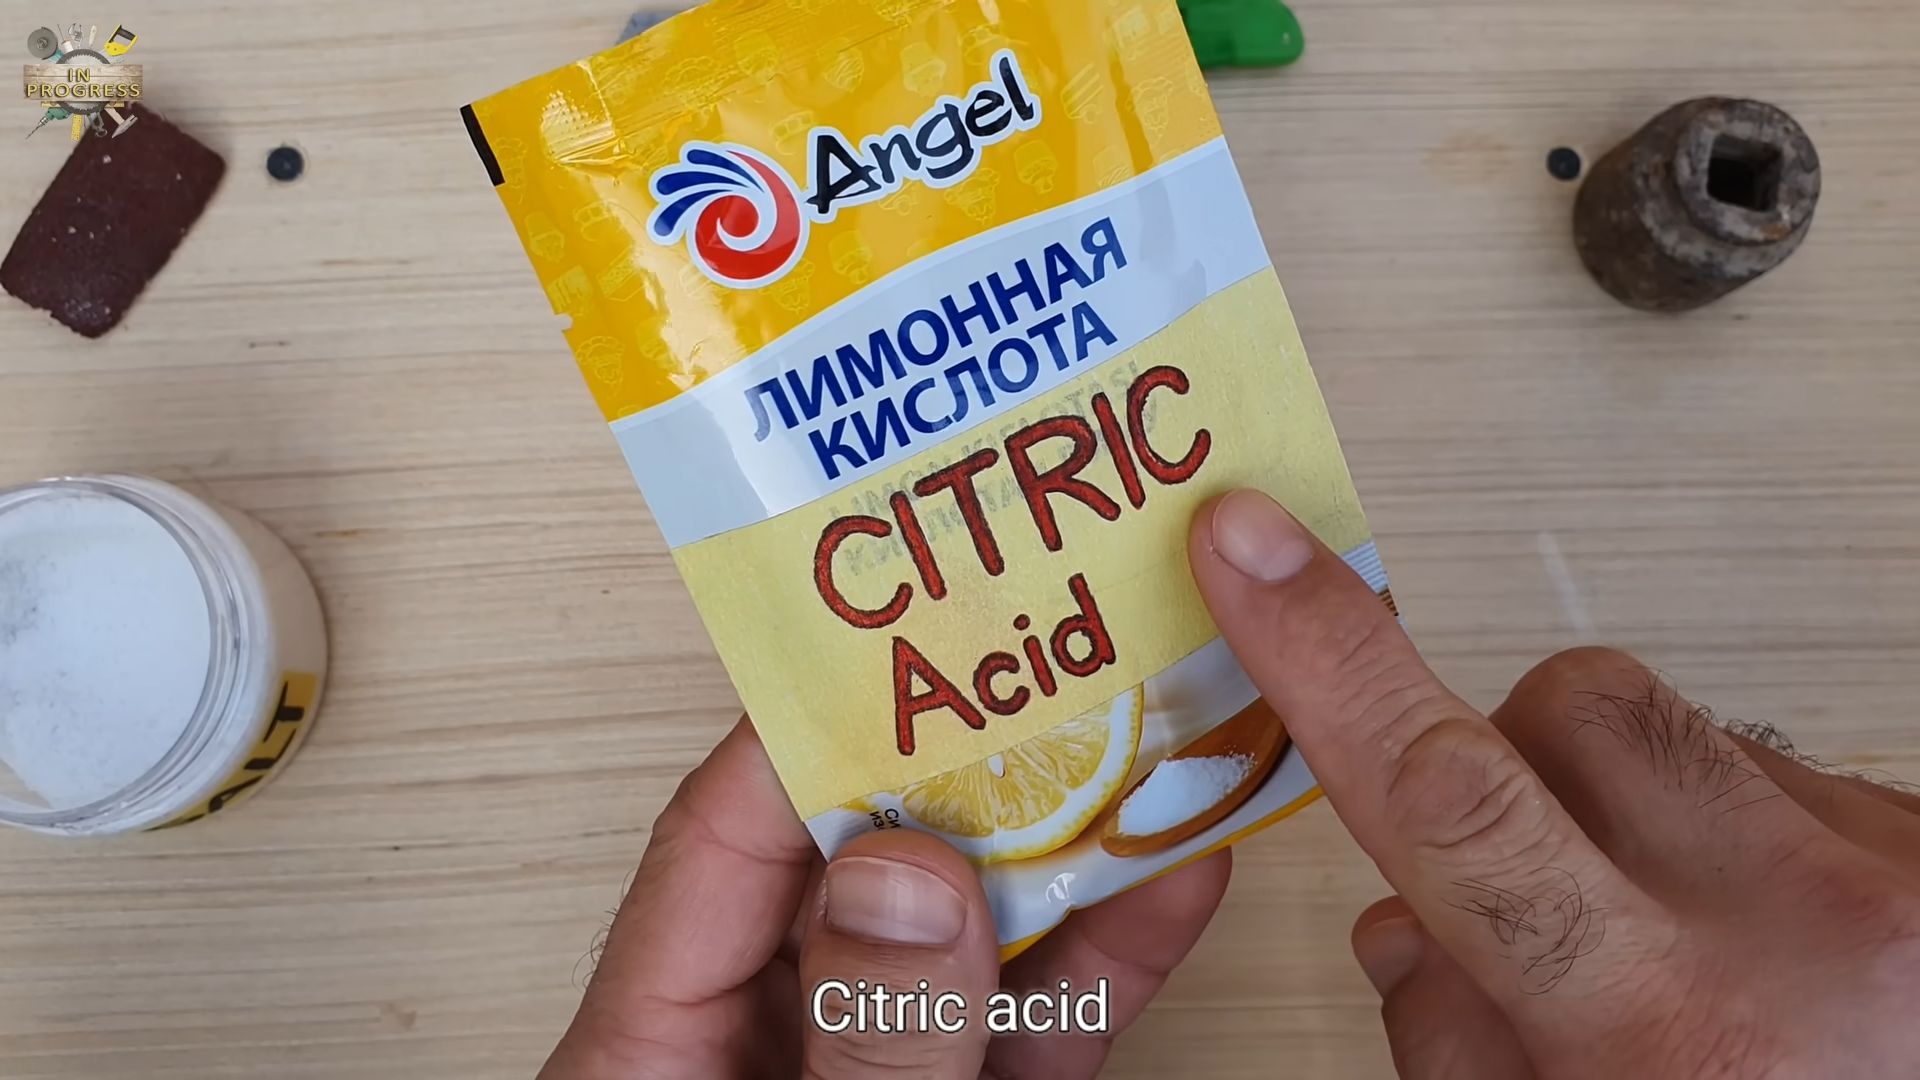
Hydrogen peroxide and salt uses in the garden might sound like a science experiment gone rogue, but trust me, it’s a game-changer! For generations, gardeners have relied on simple, readily available ingredients to nurture their plants. Think about it – our grandparents didn’t have fancy chemical solutions; they used what they had on hand, often with remarkable results. This DIY approach connects us to a rich history of resourcefulness and a deeper understanding of natural processes.
Are you tired of battling stubborn weeds, fungal infections, or nutrient deficiencies in your precious garden? Do you dream of lush, vibrant plants without breaking the bank on expensive products? Well, you’re in the right place! This article will unlock the secrets of using hydrogen peroxide and salt – two surprisingly powerful allies – to tackle common gardening challenges. I’m going to show you how these simple ingredients can be combined to create effective solutions for everything from seed germination to pest control.
Why should you learn these hydrogen peroxide and salt uses? Because they offer a cost-effective, environmentally friendly alternative to harsh chemicals. Plus, it’s incredibly satisfying to know you’re nurturing your garden with simple, natural solutions. Let’s dive in and discover how these everyday items can transform your gardening experience!
DIY Carrot Harvest: From Garden to Table with Ease!
Okay, fellow garden enthusiasts! So, you’ve nurtured your carrot seeds, watched those feathery greens sprout, and now you’re itching to pull up some homegrown goodness. Harvesting carrots might seem straightforward, but there are a few tricks I’ve learned over the years to ensure you get the best, most delicious, and least broken carrots possible. Let’s dive in!
When to Harvest: The Waiting Game
Knowing when to harvest is half the battle! You don’t want tiny, underdeveloped carrots, but you also don’t want them to get woody and tough. Here’s what I look for:
* Days to Maturity: Check your seed packet! It will tell you the approximate number of days from planting to harvest. This is a good starting point.
* Shoulder Size: The top of the carrot, where it meets the greens (the “shoulder”), should be visible above the soil line. Look for carrots that are at least the diameter specified on your seed packet. If you planted a variety that should be 1-2 inches in diameter, that’s what you’re aiming for.
* A Little Peek: Gently brush away some soil around the base of a few carrots to get a better look at their size. This is the most accurate way to determine if they’re ready.
* Taste Test (Optional): If you’re still unsure, sacrifice one! Pull up a carrot and give it a taste. If it’s sweet and crisp, you’re good to go. If it’s bland or bitter, give the rest a little more time.
* After a Frost: Carrots actually get sweeter after a light frost! The cold encourages them to convert starches to sugars. So, if you can, leave them in the ground a little longer after the first frost of the season.
Tools You’ll Need: Keep it Simple!
You don’t need a ton of fancy equipment for harvesting carrots. Here’s my go-to list:
* Gloves: Protect your hands from dirt and any potential irritants in the soil.
* Garden Fork or Trowel: This is essential for loosening the soil around the carrots, especially if you have heavy clay soil.
* Watering Can or Hose: Watering the soil beforehand makes harvesting much easier.
* Bucket or Basket: For collecting your beautiful carrot bounty!
* Knife (Optional): For trimming the greens after harvesting.
* Wheelbarrow (Optional): If you have a large carrot patch, a wheelbarrow can be helpful for transporting your harvest.
Harvesting Techniques: The Gentle Approach
Now for the fun part! Here’s my step-by-step guide to harvesting carrots:
Section 1: Preparing the Soil
1. Water Deeply: The day before you plan to harvest, give your carrot patch a good, deep watering. This will soften the soil and make it much easier to pull the carrots without breaking them. Think of it like trying to pull a nail out of dry wood versus damp wood.
2. Loosen the Soil (If Necessary): If you have heavy clay soil, or if the carrots seem particularly stubborn, use a garden fork or trowel to gently loosen the soil around the carrots. Insert the fork a few inches away from the carrot and gently rock it back and forth. Be careful not to damage the carrots!
Section 2: Pulling the Carrots
1. Grasp the Greens: Grab the carrot greens as close to the base as possible. I like to use a firm but gentle grip.
2. Twist and Pull: Gently twist the carrot while pulling upwards. This helps to break the carrot free from the soil. Don’t yank! If the carrot doesn’t budge, try loosening the soil around it a bit more.
3. Dig if Needed: If the carrot is still stuck, use your trowel to carefully dig around the base of the carrot, loosening the soil as you go. This is especially helpful for long, slender carrot varieties.
4. Inspect Your Carrot: Once you’ve pulled the carrot, inspect it for any damage. If it’s broken or cracked, don’t worry! It’s still perfectly edible. Just use it sooner rather than later.
Section 3: Post-Harvest Care
1. Trim the Greens: Use a knife to trim the greens from the carrots, leaving about an inch of stem. This prevents the greens from drawing moisture from the carrots, which can cause them to wilt and become limp. You can compost the greens or use them in soups or stews!
2. Brush Off Excess Soil: Gently brush off any excess soil from the carrots. Don’t wash them yet! Washing them before storing can actually shorten their shelf life.
3. Cure (Optional): If you plan to store your carrots for a long period of time, you can cure them first. To cure carrots, spread them out in a single layer in a cool, dry, and well-ventilated place for a few days. This allows the skins to toughen up, which helps to prevent rot.
4. Store Properly: Store your carrots in the refrigerator in a plastic bag or container lined with a damp paper towel. This will help to keep them crisp and fresh. They should last for several weeks, or even months, if stored properly.
Troubleshooting: When Things Don’t Go as Planned
Sometimes, even with the best intentions, things don’t go according to plan. Here are a few common problems you might encounter when harvesting carrots, and how to fix them:
* Carrots Break Easily: This is usually due to dry or compacted soil. Make sure to water deeply before harvesting and loosen the soil if necessary.
* Carrots are Small: This could be due to a number of factors, including poor soil, overcrowding, or insufficient sunlight. Make sure to plant your carrots in well-drained soil that is rich in organic matter. Thin them out to give them enough space to grow. And make sure they are getting at least 6 hours of sunlight per day.
* Carrots are Forked or Twisted: This is often caused by rocks or other obstacles in the soil. Remove any rocks or debris before planting. You can also try growing carrots in raised beds or containers.
* Carrots are Bitter: This can be caused by hot weather or inconsistent watering. Try to keep the soil consistently moist, especially during hot weather. You can also try planting carrots in a partially shaded location.
Enjoying Your Harvest: From Garden to Plate
Now that you’ve harvested your beautiful carrots, it’s time to enjoy them! Here are just a few ideas:
* Eat them raw: Carrots are delicious raw, either on their own or with dip.
* Roast them: Roasted carrots are a simple and flavorful side dish.
* Add them to soups and stews: Carrots add sweetness and depth of flavor to soups and stews.
* Juice them: Carrot juice is a healthy and refreshing drink.
* Make carrot cake: Carrot cake is a classic dessert that everyone loves.
Remember: Freshly harvested carrots taste amazing! The flavor is so much better than store-bought carrots.
Tips and Tricks for a Bountiful Harvest
Here are a few extra tips and tricks I’ve picked up over the years:
* Succession Planting: Plant carrots every few weeks to ensure a continuous harvest throughout the season.
* Choose the Right Variety: Different carrot varieties are suited to different climates and soil types. Do some research to find the best varieties for your area.
* Thin Your Seedlings: Thinning your seedlings is crucial for giving your carrots enough space to grow.
* Weed Regularly: Weeds can compete with carrots for nutrients and water. Keep your carrot patch weed-free.
* Protect from Pests: Carrots can be susceptible to pests such as carrot rust flies and nematodes. Use row covers or other pest control methods to protect your crop.
* Don’t Over-Fertilize: Too much nitrogen can cause carrots to grow excessive greens at the expense of root development. Use a balanced fertilizer or compost.
* Rotate Your Crops: Avoid planting carrots in the same location year after year, as this can deplete the soil of nutrients and increase the risk of pests and diseases.
Harvesting your own carrots is a rewarding experience. With a little bit of planning and effort, you can enjoy fresh, delicious carrots from your garden all season long. Happy gardening!
Conclusion
So, there you have it! This simple yet powerful DIY trick using hydrogen peroxide and salt is a game-changer for anyone looking for an effective, affordable, and eco-friendlier alternative to harsh chemical cleaners. We’ve explored how this dynamic duo can tackle everything from stubborn stains and grimy grout to revitalizing your toothbrush and even boosting your plant’s health. The versatility alone makes it a must-try for every household.
But the real magic lies in its simplicity. No complicated formulas, no hard-to-find ingredients, just readily available hydrogen peroxide and salt working together to deliver impressive results. Think about the money you’ll save ditching those expensive, specialized cleaners. Think about the peace of mind knowing you’re reducing your exposure to potentially harmful chemicals.
Why is this DIY trick a must-try? Because it’s effective, affordable, versatile, and environmentally conscious. It’s a win-win-win-win!
Now, let’s talk variations. While the basic recipe of equal parts hydrogen peroxide and salt works wonders, feel free to experiment. For tougher stains, create a paste with a higher concentration of salt. For delicate surfaces, dilute the hydrogen peroxide with water. You can even add a few drops of your favorite essential oil for a pleasant scent. Lavender, tea tree, and lemon are all excellent choices that also offer additional antibacterial properties.
Consider using this mixture to pre-treat laundry stains before washing. Simply apply the hydrogen peroxide and salt solution to the stain, let it sit for 15-20 minutes, and then launder as usual. You’ll be amazed at how effectively it lifts even the most stubborn stains.
Another fantastic application is for cleaning your cutting boards. Cutting boards, especially wooden ones, can harbor bacteria and odors. A quick scrub with hydrogen peroxide and salt will disinfect and deodorize them, leaving them fresh and clean.
Don’t forget about your bathroom! This mixture is perfect for cleaning soap scum and mildew in your shower and on your tiles. The abrasive nature of the salt helps to scrub away grime, while the hydrogen peroxide disinfects and brightens.
We truly believe that once you try this DIY trick, you’ll be hooked. It’s a simple, effective, and satisfying way to tackle a wide range of cleaning tasks around your home.
So, what are you waiting for? Grab your hydrogen peroxide and salt, and get ready to experience the cleaning power of this amazing combination. We’re confident you’ll be thrilled with the results.
And most importantly, we want to hear about your experience! Share your before-and-after photos, your favorite uses, and any variations you’ve discovered in the comments below. Let’s build a community of DIY cleaning enthusiasts and share our tips and tricks for a cleaner, healthier home. Let us know how you are using **hydrogen peroxide and salt uses** in your daily life.
Frequently Asked Questions (FAQs)
What exactly is hydrogen peroxide and why is it effective for cleaning?
Hydrogen peroxide (H2O2) is a mild antiseptic with oxidizing properties. This means it can break down organic matter, making it effective for bleaching, disinfecting, and deodorizing. It’s a readily available and relatively safe alternative to harsher chemical cleaners. The bubbling action you see when hydrogen peroxide comes into contact with organic matter is a sign that it’s working to break down the stain or dirt.
What kind of salt should I use?
For most cleaning applications, regular table salt (sodium chloride) works just fine. However, for more abrasive cleaning, such as scrubbing grout, you can use coarser salts like sea salt or kosher salt. Just be mindful of the surface you’re cleaning, as coarser salts can scratch delicate materials. Epsom salt (magnesium sulfate) can also be used, particularly for plant care, as it provides magnesium, which is beneficial for plant growth.
Is this mixture safe to use on all surfaces?
While hydrogen peroxide and salt are generally safe, it’s always a good idea to test the mixture on an inconspicuous area first, especially on delicate surfaces like painted walls, fabrics, or polished wood. Avoid using it on surfaces that are known to be damaged by bleach, such as colored fabrics or certain types of stone. Always dilute the hydrogen peroxide with water for more sensitive surfaces.
Can I use this mixture on colored fabrics?
Hydrogen peroxide has bleaching properties, so it’s best to avoid using it on colored fabrics, especially dark or vibrant colors, as it may cause fading. If you absolutely must use it on a colored fabric, test it on a hidden area first to ensure it doesn’t cause discoloration. For colored fabrics, consider using a color-safe bleach alternative.
How long should I let the mixture sit on a stain before scrubbing?
The amount of time you let the mixture sit on a stain depends on the severity of the stain. For light stains, 10-15 minutes may be sufficient. For tougher stains, you may need to let it sit for 30 minutes or even longer. You can also reapply the mixture if the stain is particularly stubborn. Just be sure to monitor the area and prevent the mixture from drying out completely.
Can I store the leftover mixture for later use?
It’s best to use the hydrogen peroxide and salt mixture immediately after preparing it. Hydrogen peroxide can degrade over time, especially when exposed to light and air. If you do have leftover mixture, store it in a dark, airtight container in a cool place. However, keep in mind that its effectiveness may diminish over time.
Is it safe to mix hydrogen peroxide with other cleaning products?
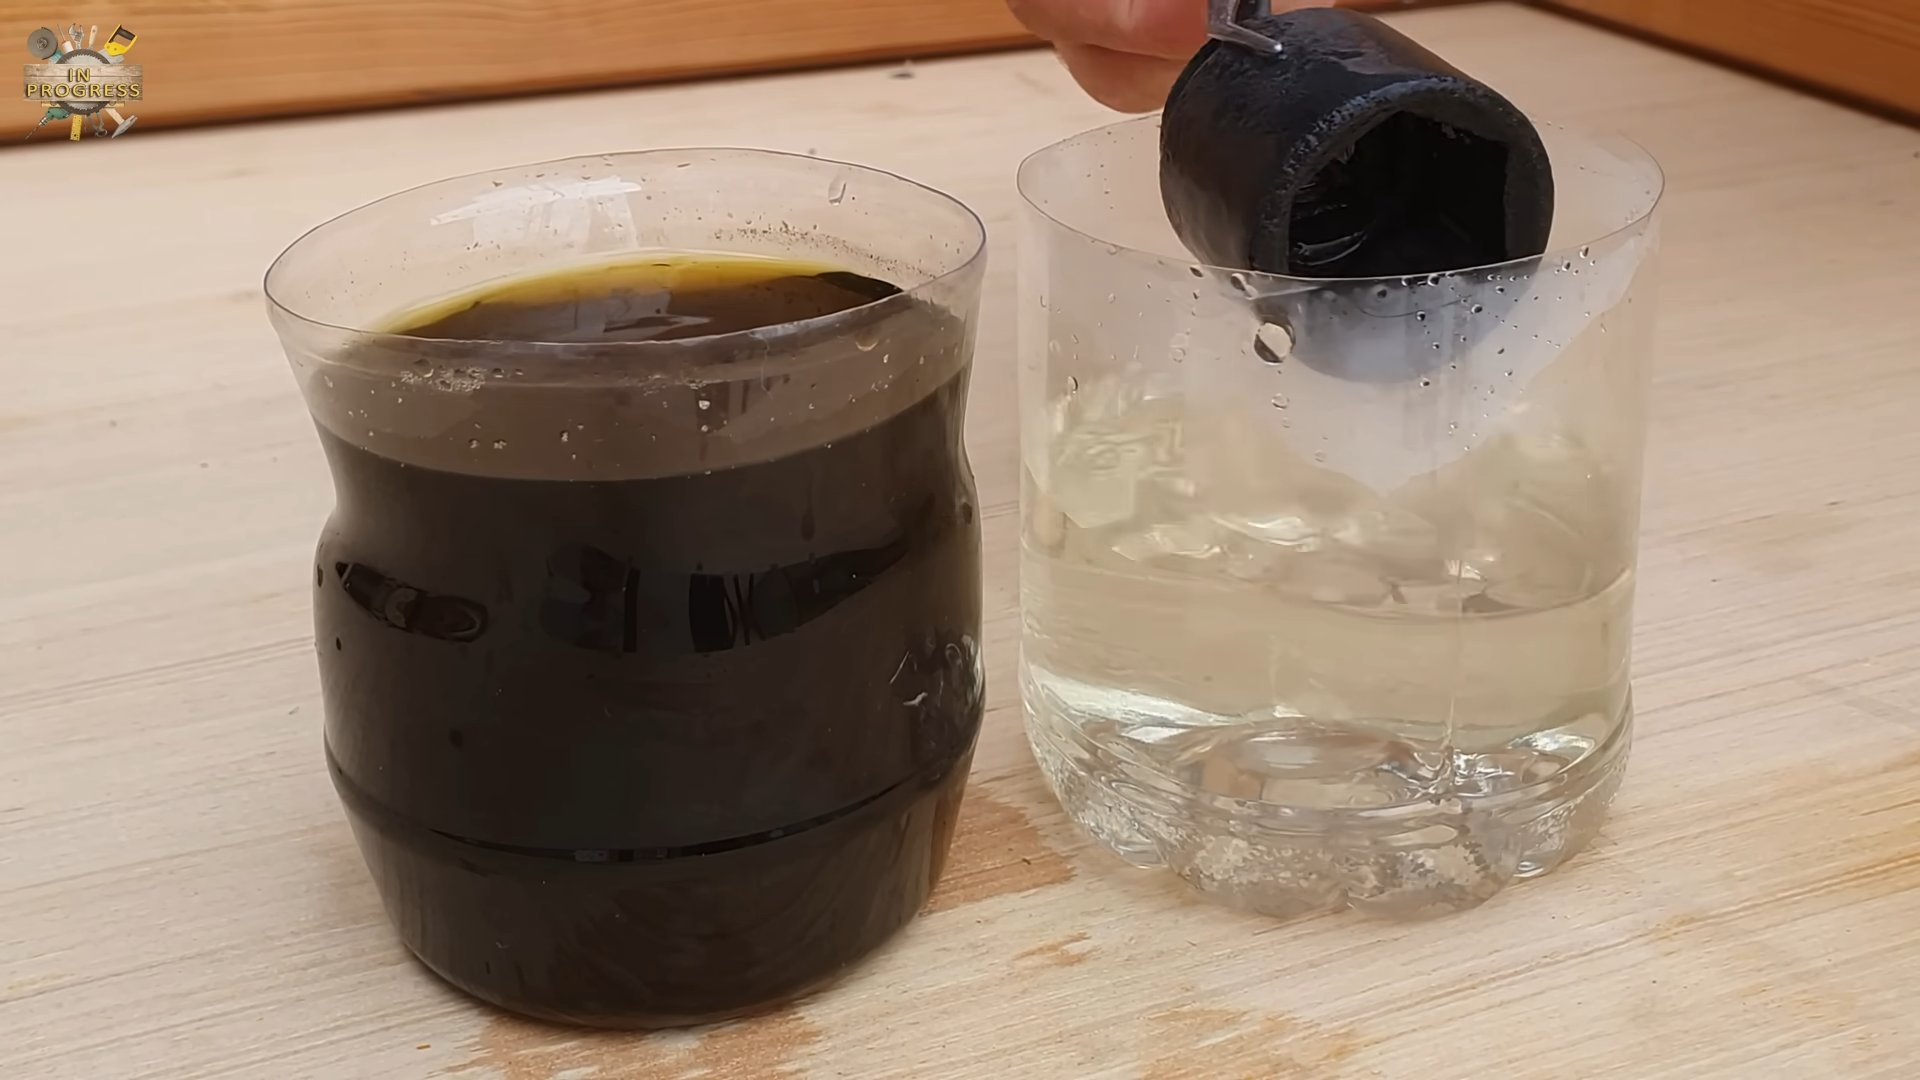
No! Never mix hydrogen peroxide with other cleaning products, especially bleach or ammonia. Mixing hydrogen peroxide with bleach can create toxic chlorine gas, which is extremely dangerous. Mixing it with ammonia can create chloramine gas, which is also harmful. Always use hydrogen peroxide and salt on their own to avoid potentially dangerous chemical reactions.
Can I use this mixture to clean my teeth?
While hydrogen peroxide is sometimes used in teeth whitening products, it’s important to use it with caution and under the guidance of a dentist. Using undiluted hydrogen peroxide or using it too frequently can damage your tooth enamel. If you’re considering using hydrogen peroxide to whiten your teeth, consult with your dentist first to determine if it’s safe for you and to get proper instructions.
How does this mixture help with plant care?
Diluted hydrogen peroxide can be beneficial for plants in several ways. It can help to aerate the soil, kill harmful bacteria and fungi, and even promote root growth. Epsom salt provides magnesium, an essential nutrient for plant health. To use this mixture for plant care, dilute 1 tablespoon of 3% hydrogen peroxide and 1 teaspoon of Epsom salt in 1 gallon of water. Use this solution to water your plants as needed.
What safety precautions should I take when using hydrogen peroxide and salt?
While hydrogen peroxide is generally safe, it’s still important to take some basic safety precautions. Wear gloves to protect your skin from irritation. Avoid getting the mixture in your eyes. If you do get it in your eyes, rinse them thoroughly with water. Work in a well-ventilated area to avoid inhaling fumes. And as with any cleaning product, keep hydrogen peroxide and salt out of reach of children and pets.


Leave a Comment