
DIY Homemade Cleaning Products: Ever feel like you’re waging a never-ending war against grime and dirt in your home? I know I have! And let’s be honest, those store-bought cleaners can be harsh on our wallets, our health, and the environment. But what if I told you that the secret to a sparkling clean home is already hiding in your pantry?
For generations, resourceful homemakers have relied on simple, natural ingredients to keep their homes clean and fresh. Think back to your grandmother’s era 鈥?vinegar, baking soda, and lemon were the cleaning powerhouses of the day! This tradition isn’t just about saving money; it’s about embracing a more sustainable and healthier lifestyle.
In today’s world, where we’re increasingly conscious of the chemicals we expose ourselves and our families to, the appeal of DIY Homemade Cleaning Products is stronger than ever. Not only can you control exactly what goes into your cleaners, avoiding harsh chemicals and allergens, but you can also tailor them to your specific needs. Plus, it’s incredibly satisfying to create something effective and eco-friendly with your own two hands! So, ditch the expensive, chemical-laden bottles and let’s dive into the wonderful world of homemade cleaning solutions. I’m excited to share some of my favorite and most effective DIY cleaning tricks that will leave your home sparkling and your conscience clear!
DIY Homemade Cleaning Products: Safe, Effective, and Budget-Friendly!
Hey everyone! I’m so excited to share some of my favorite DIY cleaning product recipes with you. Not only are these recipes incredibly effective at tackling grime and dirt, but they’re also much safer for your family and the environment than many store-bought options. Plus, they’re super budget-friendly! I’ve been using these for years, and I can honestly say my house has never been cleaner (or smelled better!).
Here’s a breakdown of what we’ll be covering:
- Why DIY Cleaning? We’ll quickly touch on the benefits of making your own cleaning products.
- Essential Ingredients: A list of the key ingredients you’ll need to get started.
- Recipes: The heart of the article! We’ll dive into specific recipes for all-purpose cleaner, glass cleaner, toilet bowl cleaner, drain cleaner, and more!
- Safety Tips: Important reminders to keep you safe while making and using these products.
Why DIY Cleaning?
Honestly, there are so many reasons to switch to DIY cleaning! For me, the biggest draw was knowing exactly what was going into my cleaning products. No more worrying about harsh chemicals or mystery ingredients! Here are a few more benefits:
- Safer for your family and pets: Many commercial cleaners contain harsh chemicals that can be harmful if inhaled or ingested. DIY cleaners use natural ingredients that are generally much safer.
- Better for the environment: By making your own cleaners, you’re reducing your reliance on plastic bottles and harmful chemicals that can pollute our waterways.
- Saves you money: The ingredients for DIY cleaners are often much cheaper than store-bought products. You’ll be surprised how much you can save!
- Customizable: You can easily adjust the recipes to suit your specific needs and preferences. Want a stronger scent? Add more essential oils! Need a more powerful cleaner? Adjust the ratios of ingredients.
Essential Ingredients: Your DIY Cleaning Arsenal
Before we jump into the recipes, let’s talk about the essential ingredients you’ll need to have on hand. Don’t worry, most of these are probably already in your pantry!
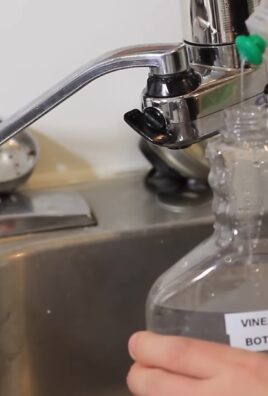
- White Vinegar: This is a powerhouse ingredient! It’s a natural disinfectant, deodorizer, and degreaser.
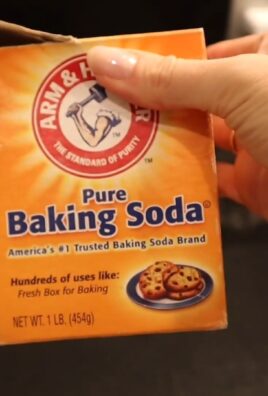
- Baking Soda: Another versatile ingredient! It’s a mild abrasive, deodorizer, and helps to absorb odors.
- Lemon Juice: A natural cleaner and deodorizer with a fresh, citrusy scent.
- Castile Soap: A gentle, plant-based soap that’s effective at cleaning a variety of surfaces. Dr. Bronner’s is a popular brand.
- Essential Oils: These add fragrance and can also have antibacterial and antifungal properties. Some popular choices include lemon, tea tree, lavender, and eucalyptus.
- Water: Distilled water is best, but tap water works fine too.
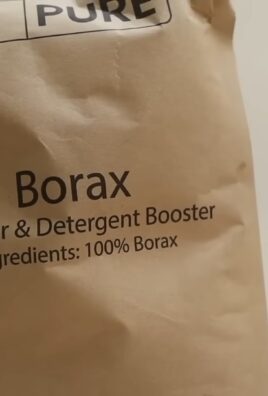
- Borax (Optional): A natural mineral that can be used as a laundry booster and cleaner. However, some people prefer to avoid it, so it’s optional.
- Washing Soda (Sodium Carbonate) (Optional): Stronger than baking soda, washing soda is great for laundry and heavy-duty cleaning. Use with caution on delicate surfaces.
Recipes: Let’s Get Cleaning!
Okay, now for the fun part! Here are some of my go-to DIY cleaning recipes.
All-Purpose Cleaner
This is my everyday cleaner for countertops, sinks, and other surfaces.
Ingredients:
- 1/2 cup white vinegar
- 1/4 cup baking soda
- 1 teaspoon castile soap
- 20 drops essential oil (lemon, lavender, or tea tree are great choices)
- 2 cups water
Instructions:
- In a spray bottle, combine the vinegar and baking soda. Be prepared for it to fizz!
- Once the fizzing subsides, add the castile soap and essential oil.
- Top off with water and shake gently to combine.
- Spray on surfaces and wipe clean with a cloth.
Important Note: Don’t use this cleaner on marble or granite countertops, as the vinegar can damage the stone.
Glass Cleaner
Say goodbye to streaks with this simple glass cleaner!
Ingredients:
- 1/4 cup white vinegar
- 1/4 cup rubbing alcohol (70% isopropyl alcohol)
- 2 cups water
- Optional: a few drops of essential oil for scent
Instructions:
- Combine all ingredients in a spray bottle.
- Shake well to mix.
- Spray on glass surfaces and wipe clean with a microfiber cloth.
Tip: Microfiber cloths are key for streak-free cleaning!
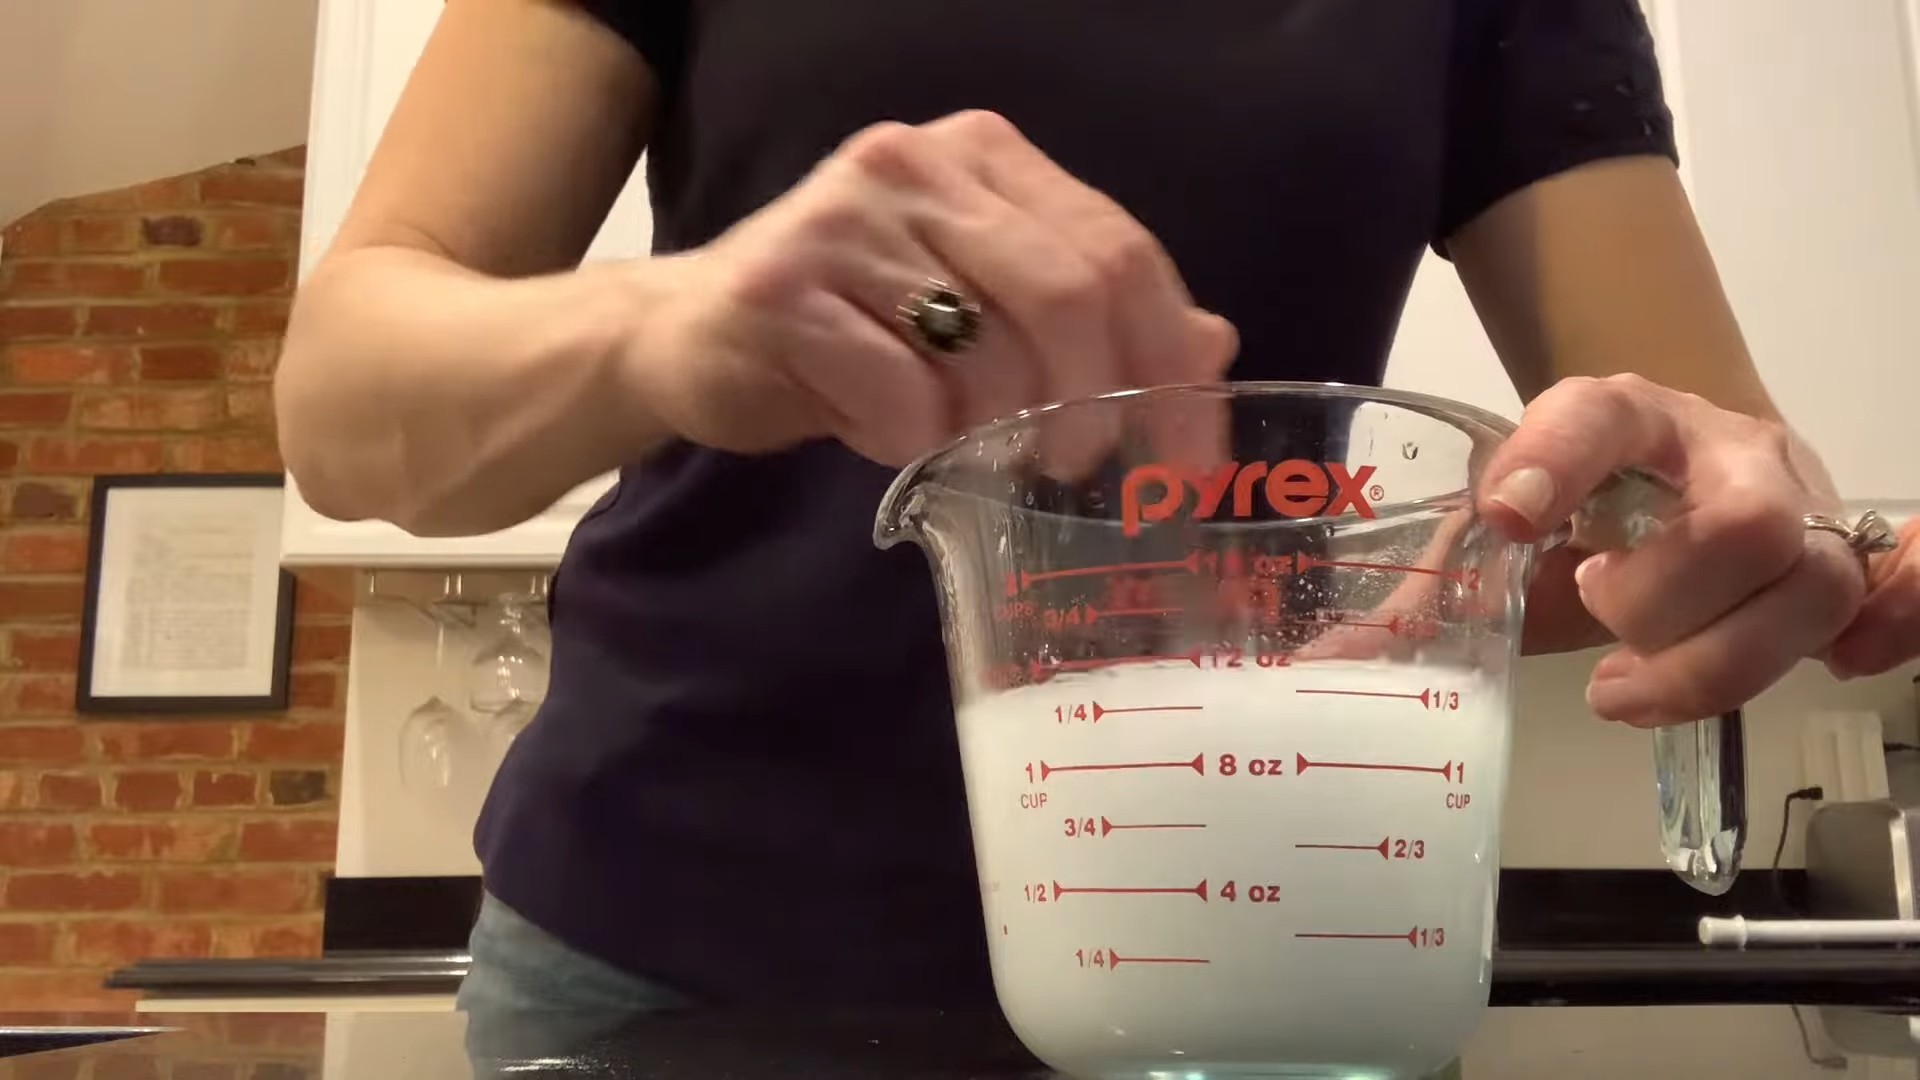
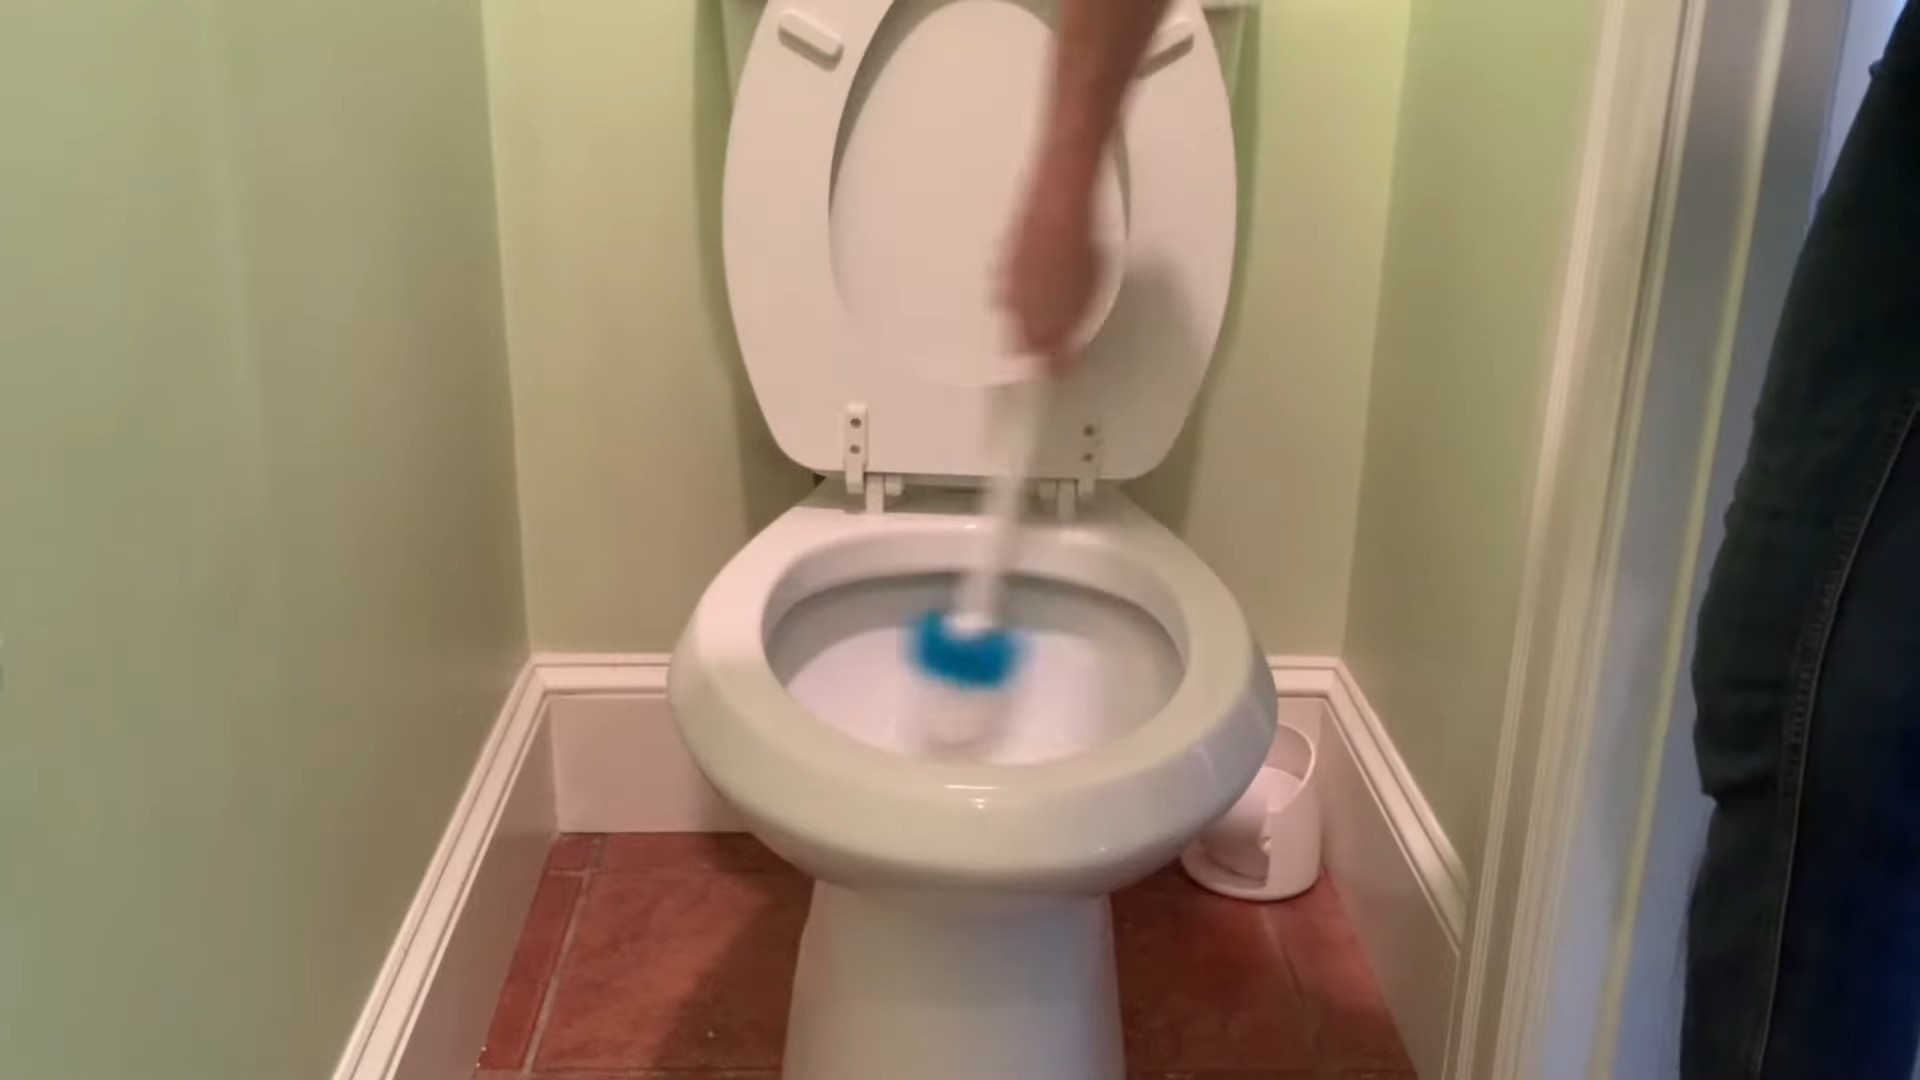
Toilet Bowl Cleaner
This cleaner will leave your toilet sparkling clean and fresh.
Ingredients:
- 1/2 cup baking soda
- 1 cup white vinegar
- 10 drops tea tree essential oil (optional, for its antibacterial properties)
Instructions:
- Sprinkle the baking soda into the toilet bowl.
- Pour the vinegar over the baking soda. It will fizz!
- Let the mixture sit for at least 15 minutes, or even overnight for tough stains.
- Scrub the bowl with a toilet brush and flush.
- Add tea tree oil after flushing for extra cleaning power.
Drain Cleaner
This is a great alternative to harsh chemical drain cleaners.
Ingredients:
- 1/2 cup baking soda
- 1 cup white vinegar
- Boiling water
Instructions:
- Pour the baking soda down the drain.
- Follow with the vinegar. It will fizz!
- Let the mixture sit for 30 minutes.
- Pour boiling water down the drain to flush out the clog.
- Repeat if necessary.
Important Note: Be careful when pouring boiling water!
Oven Cleaner
This requires a little elbow grease, but it’s much safer than commercial oven cleaners.
Ingredients:
- 1/2 cup baking soda
- Water
- Spray bottle
Instructions:
- Remove oven racks and clean separately.
- Mix baking soda with enough water to form a paste.
- Coat the inside of the oven with the paste, avoiding the heating elements.
- Let the paste sit overnight.
- The next day, use a damp cloth or sponge to scrub away the paste and grime.
- Rinse thoroughly with water.
Tip: For stubborn stains, use a plastic scraper.
Laundry Detergent
This recipe makes a large batch of laundry detergent.
Ingredients:
- 1 cup washing soda
- 1 cup borax
- 1 bar castile soap, grated
- Optional: 20-30 drops of essential oil for scent
Instructions:
- Grate the castile soap using a cheese grater.
- Combine the washing soda, borax, and grated soap in a large bowl.
- Add essential oil, if desired.
- Mix well.
- Store in an airtight container.
- Use 1-2 tablespoons per load of laundry.
Note: This detergent is safe for both HE and standard washing machines.
Furniture Polish
This polish will leave your wood furniture looking shiny and new.
Ingredients:
- 1/4 cup olive oil
- 1/4 cup white vinegar or lemon juice
- Optional: a few drops of essential oil for scent
Instructions:
- Combine all ingredients in a spray bottle.
- Shake well to mix.
- Spray a small amount onto a soft cloth and wipe down your furniture.
- Buff with a clean, dry cloth.
Important Note: Always test the polish on an inconspicuous area first to make sure it doesn’t damage the finish.
Dish Soap
A gentle and effective way to clean your dishes.
Ingredients:
- 1 cup hot water
- 1/4 cup grated castile soap
- 1 tablespoon white vinegar
- 10-15 drops essential oil (lemon or grapefruit are great)
Instructions:
- Dissolve the grated castile soap in the hot water. Stir until completely dissolved.
- Add the vinegar and essential oil.
- Let cool completely before using. The mixture will thicken as it cools.
- Pour into a soap dispenser.
Conclusion
So, there you have it! Ditching the harsh chemicals and embracing the power of DIY homemade cleaning products is not just a trend; it’s a conscious choice for a healthier home, a happier planet, and a lighter wallet. We’ve explored simple yet effective recipes that tackle everything from grimy countertops to stubborn toilet stains, all using ingredients you likely already have in your pantry.
But why is this DIY approach a must-try? Beyond the obvious cost savings, you gain complete control over what you’re bringing into your home. No more deciphering cryptic ingredient lists or worrying about hidden toxins. You know exactly what’s in your cleaning solutions, and you can tailor them to your specific needs and sensitivities.
Imagine the peace of mind knowing that your children and pets are playing in a space cleaned with safe, natural ingredients. Think of the satisfaction of reducing your plastic waste by refilling reusable bottles with your own homemade concoctions. And consider the sheer ingenuity of transforming everyday items like vinegar, baking soda, and essential oils into powerful cleaning agents.
The possibilities are endless! Feel free to experiment with variations to personalize your cleaning routine. Add a few drops of tea tree oil to your all-purpose cleaner for its antibacterial properties. Infuse your vinegar with citrus peels for a refreshing scent. Use castile soap instead of dish soap for a gentler, more eco-friendly option. For a deeper clean on tough stains, create a paste of baking soda and water and let it sit for a while before scrubbing. Remember to always test your DIY cleaning products on a small, inconspicuous area first, especially on delicate surfaces.
Don’t be afraid to get creative and adapt these recipes to suit your preferences and the specific challenges of your home. The key is to start simple, experiment gradually, and find what works best for you.
We truly believe that making the switch to DIY homemade cleaning products is a game-changer. It’s a small change that can have a big impact on your health, your budget, and the environment. So, take the plunge, gather your ingredients, and get ready to experience the joy of a sparkling clean home, naturally.
We’re eager to hear about your experiences! Share your favorite recipes, tips, and tricks in the comments below. Let us know what worked well for you, what challenges you encountered, and any creative variations you discovered. Together, we can build a community of eco-conscious cleaners and inspire others to embrace the power of DIY. Let’s make our homes cleaner, greener, and healthier, one homemade cleaning product at a time!
Frequently Asked Questions (FAQ)
Are DIY homemade cleaning products as effective as store-bought cleaners?
This is a common concern, and the answer is a resounding yes, in many cases! While some heavy-duty cleaning tasks might require a bit more elbow grease with natural ingredients, many DIY recipes are surprisingly effective. Vinegar, for example, is a powerful disinfectant and degreaser. Baking soda is a gentle abrasive that can scrub away grime and deodorize surfaces. Essential oils like tea tree and lavender have antibacterial and antifungal properties. The key is to use the right ingredients for the right job and to allow them sufficient contact time to work their magic. For particularly stubborn stains or messes, you might need to pre-treat the area or repeat the cleaning process. However, for everyday cleaning, DIY homemade cleaning products are often just as effective, if not more so, than their chemical-laden counterparts. Plus, you avoid the harsh fumes and potential health risks associated with commercial cleaners.
What are the best essential oils to use in DIY cleaning products?
Essential oils not only add a pleasant scent to your cleaning products but also offer various beneficial properties. Some of the most popular and effective essential oils for cleaning include:
* **Tea Tree Oil:** Known for its powerful antibacterial, antiviral, and antifungal properties. It’s great for disinfecting surfaces and fighting mold and mildew.
* **Lavender Oil:** Has antibacterial and antiseptic properties, plus a calming and relaxing scent.
* **Lemon Oil:** A natural degreaser and disinfectant with a bright, uplifting aroma.
* **Eucalyptus Oil:** Has antiseptic and antiviral properties and a refreshing scent.
* **Peppermint Oil:** A natural disinfectant and insect repellent with a stimulating aroma.
* **Orange Oil:** Similar to lemon oil, it’s a great degreaser and disinfectant with a cheerful scent.
When using essential oils, remember that a little goes a long way. Start with a few drops and adjust to your preference. Also, be sure to store essential oils in dark glass bottles to protect them from light and heat.
Are there any surfaces that I shouldn’t clean with DIY homemade cleaning products?
While DIY cleaning products are generally safe and effective, there are a few surfaces that require special care. Avoid using vinegar on natural stone surfaces like marble, granite, and limestone, as it can etch and damage them. Instead, use a pH-neutral cleaner specifically designed for stone. Also, be cautious when using abrasive cleaners like baking soda on delicate surfaces like polished wood or stainless steel, as they can scratch them. Always test your DIY cleaning products on a small, inconspicuous area first to ensure they don’t cause any damage. For antique furniture or valuable items, it’s best to consult with a professional cleaner.
How should I store my DIY homemade cleaning products?
Proper storage is essential to maintain the effectiveness and safety of your DIY cleaning products. Use clean, airtight containers, preferably glass or BPA-free plastic. Label each container clearly with the name of the product and the date it was made. Store your cleaning products in a cool, dark place away from direct sunlight and heat. Keep them out of reach of children and pets. Some DIY cleaning products, like those containing citrus peels, may have a shorter shelf life than others. It’s generally best to use them within a few weeks or months. If you notice any changes in color, odor, or consistency, discard the product.
Can I use DIY homemade cleaning products if I have allergies or sensitivities?
One of the biggest advantages of DIY cleaning is the ability to control the ingredients and avoid potential allergens or irritants. However, it’s still important to be mindful of your sensitivities. If you’re allergic to citrus, avoid using lemon or orange oil. If you’re sensitive to strong scents, use essential oils sparingly or choose unscented options. Always test your DIY cleaning products on a small area of skin before using them extensively. If you experience any irritation, discontinue use. You can also consult with your doctor or allergist for personalized recommendations.
How can I make my DIY cleaning products more sustainable?
There are many ways to make your DIY cleaning routine even more eco-friendly. Use reusable spray bottles and containers instead of disposable ones. Buy ingredients in bulk to reduce packaging waste. Compost citrus peels and other organic waste. Choose sustainably sourced essential oils. Consider using refillable castile soap or other eco-friendly alternatives. By making small, conscious choices, you can minimize your environmental impact and create a truly sustainable cleaning routine.
What is the shelf life of DIY cleaning products?
The shelf life of DIY cleaning products varies depending on the ingredients used. Products containing water are more prone to bacterial growth and should be used within a few weeks. Products made with vinegar, baking soda, and essential oils generally have a longer shelf life, up to several months. Always label your products with the date they were made and discard them if you notice any changes in color, odor, or consistency.
Can I use DIY cleaning products in my laundry?
Yes, many DIY cleaning products can be used in your laundry. Vinegar can be used as a fabric softener and to remove odors. Baking soda can be added to the wash to boost cleaning power and brighten whites. Laundry detergent can be made with castile soap, washing soda, and borax. However, it’s important to use the right amounts and to test the products on a small area of fabric first to ensure they don’t cause any damage or discoloration.
What are some common mistakes to avoid when making DIY cleaning products?
Avoid mixing bleach with vinegar or ammonia, as this can create toxic fumes. Always use the correct proportions of ingredients, as too much or too little can affect the effectiveness of the product. Don’t store DIY cleaning products in unmarked containers, as this can lead to accidental ingestion. Always test your products on a small, inconspicuous area first to ensure they don’t cause any damage. And finally, don’t be afraid to experiment and adjust the recipes to suit your preferences and needs.
Leave a Comment