
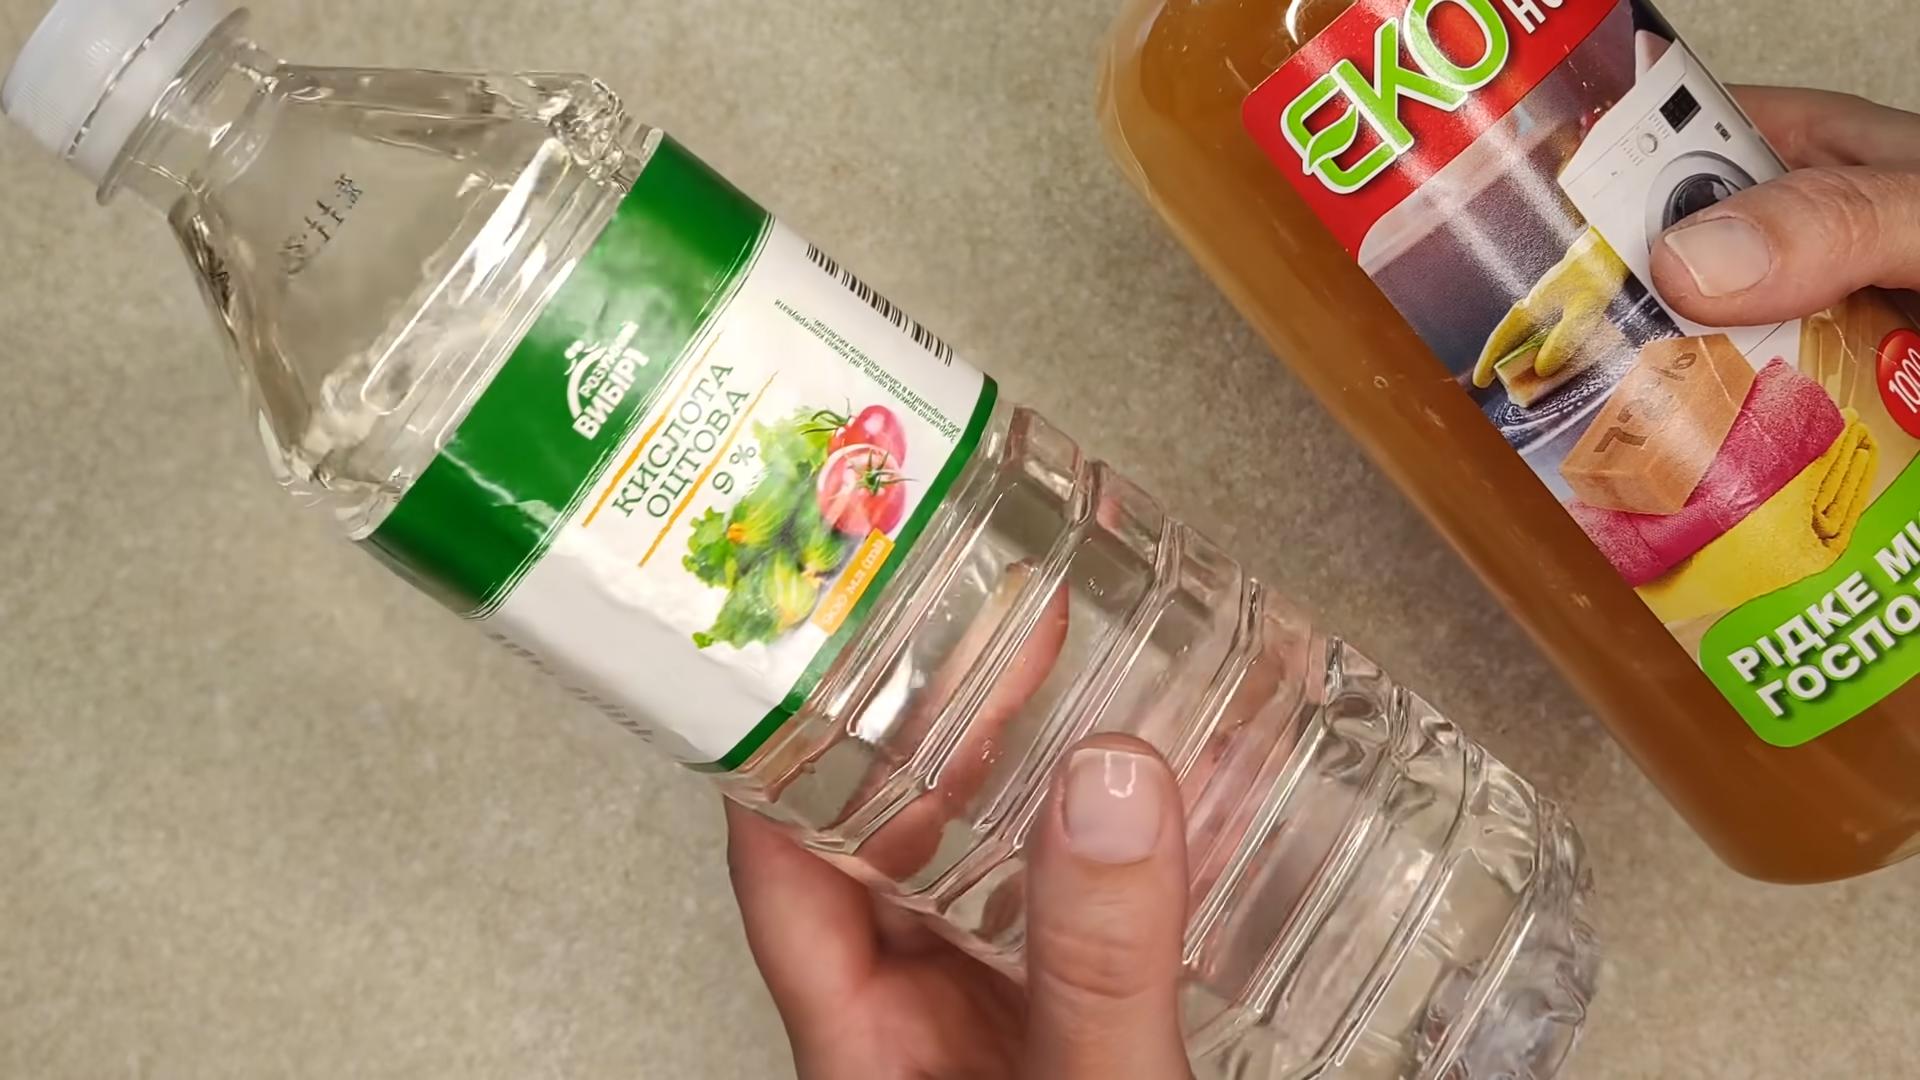
DIY Laundry Soap and Vinegar: Tired of spending a fortune on laundry detergents packed with harsh chemicals? I know I was! For generations, resourceful homemakers have sought natural and effective ways to keep their clothes clean, and the combination of DIY laundry soap and vinegar is a time-tested solution with roots stretching back to simpler times. Think about it – our grandmothers likely used similar methods, relying on readily available ingredients to care for their families’ garments.
But why should you embrace this DIY approach today? Well, beyond the cost savings (which are significant!), making your own laundry soap and using vinegar as a rinse aid is incredibly gentle on sensitive skin. Many commercial detergents contain irritants that can trigger allergies and eczema. Plus, it’s an eco-friendly choice, reducing your reliance on plastic packaging and minimizing the chemicals released into our waterways. This article will guide you through simple, step-by-step instructions for creating your own effective and affordable DIY laundry soap and vinegar solution, leaving your clothes fresh, clean, and your conscience clear. Get ready to ditch the store-bought stuff and embrace a healthier, more sustainable way to do laundry!
Growing Radishes in Containers: A Beginner’s Guide
Hey there, fellow gardening enthusiasts! Ever thought about growing your own radishes but don’t have a sprawling garden? No problem! Radishes are surprisingly easy to grow in containers, making them perfect for balconies, patios, or even a sunny windowsill. I’m going to walk you through everything you need to know to get started, from choosing the right container to harvesting your crunchy, peppery delights.
Choosing the Right Container and Soil
First things first, let’s talk about where your radishes will call home.
* Container Size: Radishes don’t need a ton of space because they grow so quickly. A container that’s at least 6 inches deep is ideal. You can use anything from a small pot to a window box, as long as it has good drainage. I personally love using rectangular planters because they allow me to plant several rows of radishes.
* Drainage is Key: This is super important! Radishes hate sitting in soggy soil. Make sure your container has drainage holes at the bottom. If it doesn’t, you can drill some yourself. Trust me, your radishes will thank you.
* Soil Matters: Don’t just grab any old dirt from your backyard. Radishes need well-draining, loose soil. A good potting mix is your best bet. I usually go for a mix that’s specifically formulated for vegetables, but a general-purpose potting mix will work too. You can also amend your potting mix with compost to add extra nutrients.
Planting Your Radish Seeds
Alright, now for the fun part – planting!
1. Prepare the Soil: Fill your container with potting mix, leaving about an inch of space at the top. Gently pat down the soil to remove any large air pockets.
2. Sowing the Seeds: Radish seeds are tiny, so be careful not to plant them too deep. I usually sow them about ½ inch deep and about an inch apart. You can use your finger to make small indentations in the soil, drop in the seeds, and then gently cover them with soil.
3. Watering: After planting, give your seeds a good watering. Use a gentle spray to avoid disturbing the seeds. The soil should be moist but not soggy.
4. Location, Location, Location: Radishes need at least 6 hours of sunlight per day. Place your container in a sunny spot. If you don’t have a lot of sunlight, you can use a grow light.
Caring for Your Radishes
Now that your radishes are planted, it’s time to give them some TLC.
* Watering Regularly: Keep the soil consistently moist, but not waterlogged. I usually water my radishes every day or two, depending on the weather. Check the soil moisture by sticking your finger into the soil. If it feels dry, it’s time to water.
* Thinning Seedlings: Once your seedlings emerge (usually within a few days), you’ll need to thin them out. This means removing some of the seedlings so that the remaining ones have enough space to grow. I usually thin them to about 2 inches apart. Don’t feel bad about pulling them out – it’s necessary for healthy radish growth!
* Fertilizing (Optional): Radishes don’t need a lot of fertilizer, but you can give them a boost with a balanced liquid fertilizer diluted to half strength. I usually fertilize them once or twice during their growing cycle.
* Weed Control: Keep an eye out for weeds and remove them as soon as you see them. Weeds can compete with your radishes for nutrients and water.
Dealing with Pests and Diseases
Thankfully, radishes are relatively pest-free. However, there are a few things to watch out for.
* Flea Beetles: These tiny beetles can chew small holes in the leaves of your radishes. You can control them by covering your plants with row covers or by spraying them with insecticidal soap.
* Root Maggots: These pests can damage the roots of your radishes. To prevent them, avoid planting radishes in the same spot year after year. You can also use row covers to prevent the adult flies from laying eggs near your plants.
* Fungal Diseases: Overwatering can lead to fungal diseases. Make sure your container has good drainage and avoid watering the foliage.
Harvesting Your Radishes
This is the moment you’ve been waiting for! Radishes are one of the fastest-growing vegetables, so you won’t have to wait long to harvest them.
1. Timing is Everything: Radishes are usually ready to harvest in about 3-4 weeks, depending on the variety. Check the seed packet for specific harvest times.
2. Signs of Maturity: The tops of the radishes will start to peek out of the soil. You can also gently brush away some of the soil to check the size of the radish. They should be about 1 inch in diameter.
3. Harvesting Technique: To harvest, simply pull the radishes out of the soil. If they’re difficult to pull, you can loosen the soil around them with a trowel.
4. Enjoy Your Harvest: Radishes are best eaten fresh. You can eat them raw in salads, slice them on sandwiches, or roast them for a sweeter flavor.
Choosing Radish Varieties for Containers
There are tons of radish varieties to choose from, but some are better suited for container gardening than others. Here are a few of my favorites:
* Cherry Belle: This is a classic red radish that’s easy to grow and has a mild flavor.
* French Breakfast: These oblong radishes have a mild, slightly sweet flavor.
* Easter Egg: This variety produces radishes in a variety of colors, including red, pink, purple, and white.
* Sparkler: A round, red radish with a white tip and a crisp, mild flavor.
Succession Planting for a Continuous Harvest
Want to enjoy fresh radishes all season long? Try succession planting! This means planting a new batch of seeds every week or two. This way, you’ll have a continuous supply of radishes throughout the growing season. I usually plant a new batch of seeds as soon as I harvest the previous one.
Troubleshooting Common Problems
Even with the best care, you might encounter a few problems along the way. Here are some common issues and how to fix them:
* Radishes are too spicy: This can be caused by hot weather or dry soil. Make sure to keep the soil consistently moist and provide some shade during the hottest part of the day.
* Radishes are small and stunted: This can be caused by overcrowding or poor soil. Thin your seedlings to give them enough space to grow and amend your soil with compost.
* Radishes are cracking: This can be caused by inconsistent watering. Make sure to water your radishes regularly and avoid letting the soil dry out completely.
Extra Tips for Radish Growing
Here are a few extra tips to help you grow the best radishes possible:
* Rotate your crops: Avoid planting radishes in the same spot year after year to prevent soilborne diseases.
* Use companion planting: Plant radishes alongside other vegetables, such as carrots, lettuce, and spinach. These plants can help to deter pests and improve the soil.
* Don’t forget the greens: Radish greens are edible and delicious! You can add them to salads, soups, or stir-fries.
Growing radishes in containers is a rewarding experience. With a little bit of care and attention, you can enjoy fresh, homegrown radishes all season long. So, grab a container, some seeds, and get planting! Happy gardening!
Conclusion
So, there you have it! Ditching the expensive, chemical-laden detergents and embracing this simple DIY laundry soap and vinegar combination is more than just a trend; it’s a conscious choice for a cleaner home, a healthier planet, and a happier wallet. We’ve walked you through the easy steps, highlighting the cost savings, the eco-friendliness, and the surprisingly effective cleaning power of this dynamic duo.
But why is this DIY trick a must-try? It boils down to control. You control the ingredients, ensuring that only gentle, natural substances come into contact with your clothes and your skin. You control the scent, opting for essential oils that uplift your mood or simply enjoying the fresh, clean smell of truly clean laundry. And you control the impact on the environment, reducing your reliance on plastic packaging and harsh chemicals that pollute our waterways.
Beyond the basic recipe, the possibilities for customization are endless. For an extra boost of stain-fighting power, consider adding a scoop of borax to your laundry soap mixture. If you prefer a liquid detergent, simply dissolve the grated soap in hot water before adding the other ingredients. Experiment with different essential oil blends to create your signature laundry scent. Lavender and chamomile offer a calming aroma, while lemon and eucalyptus provide a refreshing, invigorating experience. For those with sensitive skin, consider using castile soap as the base for your DIY laundry soap, as it is known for its gentle and hypoallergenic properties. You can also add a tablespoon of baking soda directly to the washing machine for extra deodorizing power, especially for heavily soiled items.
Remember, the key to success with DIY laundry soap and vinegar is experimentation. Start with small batches and adjust the ratios to suit your specific needs and preferences. Don’t be afraid to tweak the recipe until you find the perfect combination that works for your washing machine, your water hardness, and your laundry habits.
We are confident that once you experience the benefits of this simple yet effective DIY laundry solution, you’ll never go back to store-bought detergents. The savings are significant, the environmental impact is minimal, and the results are undeniably impressive.
Now, it’s your turn! We wholeheartedly encourage you to give this DIY laundry soap and vinegar method a try. We are eager to hear about your experiences. Share your tips, your variations, and your results in the comments below. Let’s build a community of conscious consumers who are committed to creating a cleaner, healthier, and more sustainable world, one load of laundry at a time. Let us know what essential oil combinations you loved, or if you found a particular type of vinegar worked better for you. Your feedback will help others on their journey to a more natural laundry routine. So, grab your ingredients, get mixing, and prepare to be amazed by the power of DIY!
Frequently Asked Questions (FAQ)
What kind of soap should I use for DIY laundry soap?
The best type of soap to use for DIY laundry soap is a pure, natural soap bar. Castile soap, like Dr. Bronner’s, is a popular choice because it’s gentle, effective, and readily available. You can also use other natural soap bars, but be sure to check the ingredient list to avoid soaps with added fragrances, dyes, or harsh chemicals. Avoid using beauty bars or soaps with moisturizers, as these can leave a residue on your clothes. Grating the soap finely will help it dissolve more easily in the wash.
Why use vinegar in laundry?
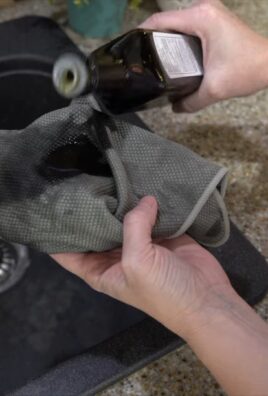
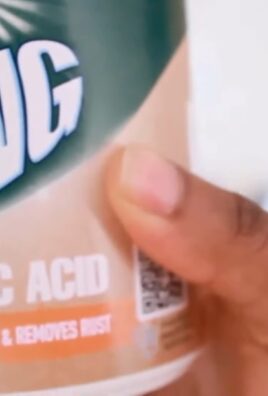
Vinegar acts as a natural fabric softener and deodorizer. It helps to remove soap residue, brighten colors, and soften fabrics without the use of harsh chemicals. It also helps to balance the pH of the wash water, which can improve the effectiveness of the detergent. White distilled vinegar is the best choice for laundry because it’s clear, inexpensive, and doesn’t contain any dyes or fragrances that could stain your clothes.
How much vinegar should I use in my laundry?
A good starting point is to use about 1/2 cup of white distilled vinegar per load of laundry. You can add it directly to the fabric softener dispenser or pour it into the washing machine during the rinse cycle. For heavily soiled or smelly clothes, you can increase the amount of vinegar to 1 cup. Don’t worry about your clothes smelling like vinegar; the scent will dissipate as they dry.
Will vinegar damage my washing machine?
No, vinegar is generally safe to use in washing machines. In fact, it can help to clean and deodorize your machine. However, it’s important to avoid using vinegar in combination with bleach, as this can create harmful fumes. Always use vinegar and bleach separately. Some high-efficiency (HE) washing machines may have specific recommendations regarding the use of vinegar, so it’s always a good idea to consult your owner’s manual.
Can I use essential oils in my DIY laundry soap?
Yes, essential oils are a great way to add a natural fragrance to your DIY laundry soap. Choose essential oils that have antibacterial and antifungal properties, such as lavender, tea tree, lemon, or eucalyptus. Add a few drops of your favorite essential oil blend to the laundry soap mixture or directly to the washing machine during the wash cycle. Start with a small amount and adjust to your preference. Be sure to use pure, therapeutic-grade essential oils for the best results.
My DIY laundry soap is clumping. What am I doing wrong?
Clumping can occur if the soap is not grated finely enough or if the mixture is not stored properly. Make sure to grate the soap into very fine pieces. After mixing the ingredients, store the laundry soap in an airtight container in a cool, dry place. If clumping does occur, you can break up the clumps by shaking the container vigorously or by using a spoon to crush them. You can also try adding a small amount of baking soda to the mixture, as this can help to prevent clumping.
Is DIY laundry soap safe for HE washing machines?
Yes, DIY laundry soap can be safe for HE washing machines, but it’s important to use it correctly. HE machines use less water than traditional washing machines, so it’s important to use a smaller amount of detergent. Start with about 1-2 tablespoons of DIY laundry soap per load and adjust as needed. Also, be sure to use a high-quality soap that dissolves easily in water to prevent residue buildup in your machine. Using vinegar in the rinse cycle can also help to prevent residue buildup.
Can I use this DIY laundry soap for all types of fabrics?
In most cases, yes, you can use this DIY laundry soap for all types of fabrics. However, it’s always a good idea to test it on a small, inconspicuous area of the fabric first, especially for delicate or brightly colored items. Avoid using DIY laundry soap on fabrics that require special care, such as silk or wool, unless you are certain that the ingredients are gentle enough.
How do I store my DIY laundry soap?
Store your DIY laundry soap in an airtight container in a cool, dry place. This will help to prevent clumping and keep the ingredients fresh. A glass jar or a plastic container with a tight-fitting lid works well. Be sure to label the container clearly so that you don’t accidentally use it for something else.
What if my clothes still smell after washing with DIY laundry soap and vinegar?
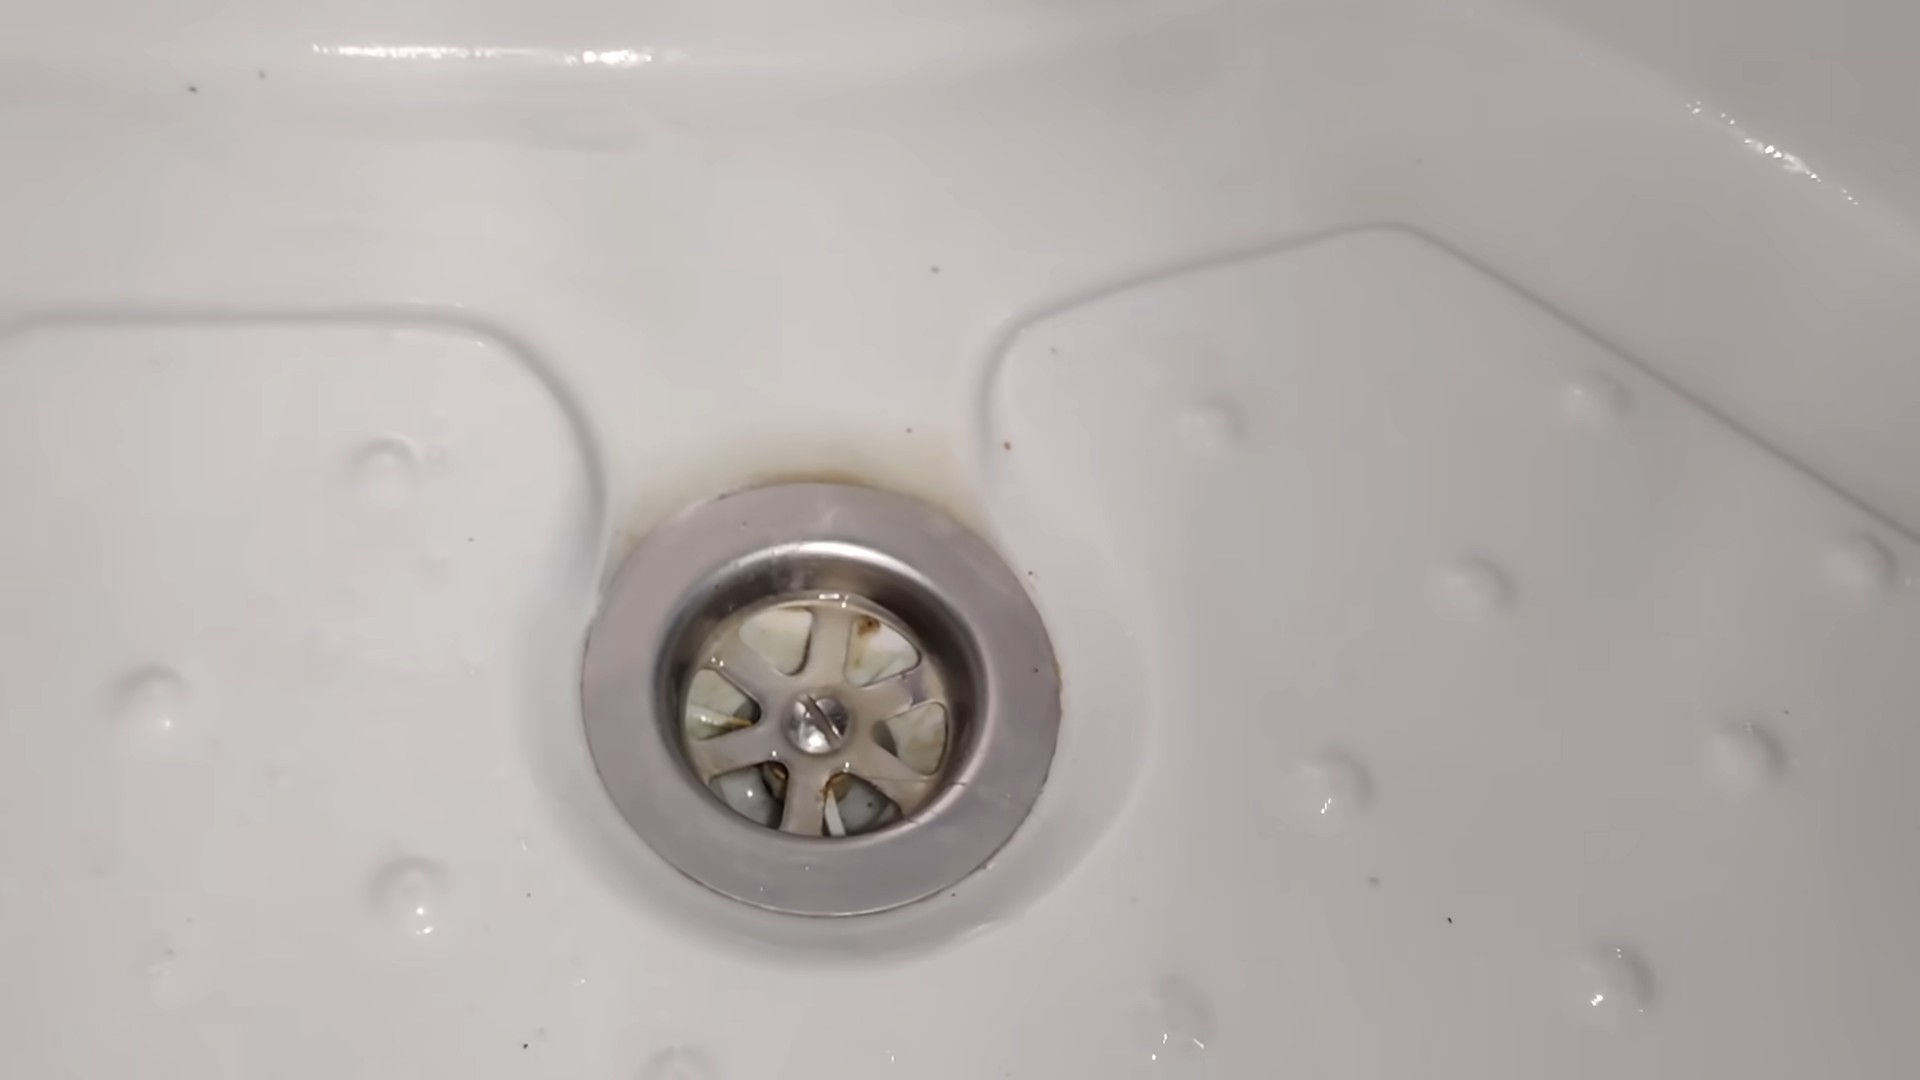
If your clothes still smell after washing, there could be a few reasons. First, make sure you are using enough laundry soap and vinegar. You may need to increase the amount for heavily soiled or smelly clothes. Second, check your washing machine for mold or mildew. Clean your washing machine regularly by running an empty cycle with hot water and vinegar. Third, make sure your clothes are drying properly. Avoid overloading your dryer, and make sure your clothes are completely dry before storing them. You can also try adding a few drops of essential oils to your dryer balls for extra fragrance.
Leave a Comment