
Sweet Potato Growing Guide: Your Path to a Bountiful Harvest!
Have you ever dreamed of strolling into your backyard and harvesting your own delicious, vibrant sweet potatoes? Imagine the satisfaction of knowing exactly where your food comes from and the joy of sharing your homegrown bounty with friends and family. Well, dream no more! This comprehensive DIY guide will unlock the secrets to successfully growing sweet potatoes right in your own home garden, no matter your experience level.
The sweet potato, with its rich history dating back thousands of years in Central and South America, has become a beloved staple in cuisines around the world. Beyond their delightful flavor, sweet potatoes are packed with essential nutrients, making them a healthy and rewarding addition to any diet. But why buy them at the store when you can cultivate your own?
In today’s world, where we’re increasingly conscious of food miles and the impact of our choices on the environment, growing your own food is more relevant than ever. Plus, let’s be honest, store-bought sweet potatoes just don’t compare to the taste of freshly harvested, homegrown ones. This sweet potato growing guide will provide you with simple, step-by-step instructions, clever hacks, and insider tips to ensure a thriving sweet potato patch. I’m excited to share my knowledge and help you experience the joy of growing your own delicious and nutritious sweet potatoes!

DIY Oven Cleaner: A Sparkling Clean Oven Without the Harsh Chemicals
Okay, let’s face it, cleaning the oven is probably on everyone’s list of least favorite chores. Those commercial oven cleaners are powerful, sure, but the fumes are awful, and I always worry about what I’m breathing in. So, I decided to ditch the harsh chemicals and create my own DIY oven cleaner. And guess what? It works amazingly well! Plus, it’s super cheap and uses ingredients you probably already have in your pantry. I’m going to walk you through the whole process, step-by-step, so you can have a sparkling clean oven without the headache (literally!).
What You’ll Need: The Arsenal of Clean
Before we dive in, let’s gather our supplies. This is a pretty simple recipe, so you won’t need anything fancy.
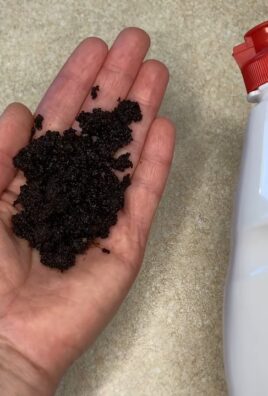
* Baking Soda: This is our main cleaning agent. It’s a mild abrasive that helps loosen baked-on grime.
* Water: Just plain old water to create a paste.
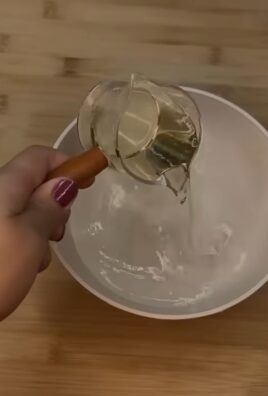
* White Vinegar: This reacts with the baking soda to create a fizzing action that helps break down grease and dirt.
* Spray Bottle: To apply the vinegar.
* Spatula or Scraper: For scraping off the loosened grime. A plastic one is best to avoid scratching the oven surface.
* Rubber Gloves: To protect your hands. Baking soda can be drying.
* Old Rags or Sponges: For wiping down the oven.
* Small Bowl: For mixing the baking soda paste.
* Optional: Essential Oils (Lemon, Orange, or Tea Tree): A few drops can help mask the vinegar smell and add a fresh scent.
Phase 1: The Baking Soda Paste Application
This is where we get our hands dirty (well, gloved, anyway!). The key here is to create a thick paste that will cling to the oven surfaces and really get to work.
1. Empty the Oven: Remove oven racks, baking stones, pizza pans, and anything else that’s inside. We want a clear workspace. I usually wash the racks separately in the sink with hot, soapy water. If they’re really grimy, you can soak them in a tub with baking soda and hot water.
2. Mix the Baking Soda Paste: In your small bowl, combine about ½ cup of baking soda with enough water to form a thick, spreadable paste. You want it to be similar to the consistency of frosting. Add water gradually, mixing as you go, until you reach the right consistency. If you’re using essential oils, add a few drops now and mix well. I personally love lemon because it smells so fresh and clean.
3. Coat the Oven: Using your hands (with gloves on, remember!), spread the baking soda paste all over the inside of your oven. This includes the walls, the floor, the door (inside and out), and even the heating elements (if you can reach them safely). Be generous with the paste, especially on areas with heavy buildup. I usually focus on the bottom of the oven and around the door, as those tend to be the dirtiest spots.
4. Let it Sit: This is the most important part! Let the baking soda paste sit for at least 12 hours, or even overnight. The longer it sits, the more time it has to loosen the grime. I usually do this before I go to bed so it can work its magic while I sleep.
Phase 2: The Vinegar Activation and Scrubbing
Now that the baking soda has had its time to work, it’s time to unleash the power of vinegar! This is where the fun (and the fizzing!) begins.
1. Preheat the oven to 200 degrees F (93 degrees C): This will help loosen the grime even more. Let it heat for about 15-20 minutes, then turn it off.
2. Spray with Vinegar: Fill your spray bottle with white vinegar. Generously spray the baking soda paste with vinegar. You’ll see it start to fizz and bubble – that’s the chemical reaction happening, breaking down the grease and dirt. Don’t be shy with the vinegar!
3. Scrub-a-dub-dub: Using your spatula or scraper, start scraping off the loosened grime. You’ll be surprised at how easily it comes off! For stubborn spots, you might need to apply a little more vinegar and scrub a bit harder with a sponge or rag. I find that a plastic scraper works best for getting into corners and edges.
4. Wipe it Down: Once you’ve scraped off as much grime as possible, use damp rags or sponges to wipe down the entire oven. Rinse your rags frequently in clean water to remove the dirty residue. You might need to wipe it down several times to get rid of all the baking soda and vinegar.
5. Repeat if Necessary: If there are still some stubborn spots, repeat the vinegar spraying and scrubbing process. Sometimes, a second application is needed for really baked-on grime.
Phase 3: The Final Touches and Sparkle
We’re almost there! Now it’s time to put the finishing touches on our sparkling clean oven.
1. Rinse Thoroughly: Make sure to rinse the oven thoroughly with clean water to remove any remaining baking soda or vinegar residue. This is important because any residue left behind can affect the taste of your food.
2. Dry the Oven: Use clean, dry rags to dry the inside of the oven completely. This will prevent any water spots from forming.
3. Clean the Oven Racks: If you haven’t already, wash the oven racks in hot, soapy water. Rinse them well and dry them completely before putting them back in the oven.
4. Reassemble: Put the oven racks and any other items you removed back into the oven.
5. Optional: Final Wipe Down: For an extra touch of sparkle, you can wipe down the outside of the oven with a stainless steel cleaner or a glass cleaner (depending on the finish of your oven).
Tips and Tricks for Oven Cleaning Success
* Don’t Skip the Overnight Soak: Seriously, the longer the baking soda paste sits, the easier the cleaning process will be.
* Use a Toothbrush for Tight Spots: An old toothbrush is perfect for cleaning around the door hinges and other hard-to-reach areas.
* Protect Your Floor: Place some old towels or newspaper under the oven to catch any drips or spills.
* Ventilate the Area: Open a window or turn on the kitchen fan to ventilate the area while you’re cleaning. Even though this is a natural cleaner, it’s still a good idea to have some ventilation.
* Clean Regularly: The more often you clean your oven, the easier it will be to keep it clean. I try to do a quick wipe-down after each use to prevent buildup.
* For Self-Cleaning Ovens: Even if you have a self-cleaning oven, this DIY method can be a great alternative to the high heat and fumes of the self-cleaning cycle.
* Stubborn Stains: For really stubborn stains, you can try making a paste of baking soda and hydrogen peroxide. Apply it to the stain, let it sit for a few minutes, and then scrub.
* Oven Door Glass: If your oven door glass is particularly dirty, you can try using a razor blade scraper to carefully remove the baked-on grime. Be very careful not to scratch the glass.
Why I Love This DIY Oven Cleaner
I’ve been using this DIY oven cleaner for years, and I absolutely love it. Here’s why:
* It’s Safe: No harsh chemicals or fumes to worry about.
* It’s Effective: It cleans just as well as (or even better than) commercial oven cleaners.
* It’s Affordable: Baking soda and vinegar are super cheap.
* It’s Easy: The process is simple and straightforward.
* It’s Environmentally Friendly: No harmful chemicals going down the drain.
So, there you have it! My tried-and-true DIY oven cleaner recipe. I hope you give it a try and see for yourself how easy and effective it is. Happy cleaning!
Conclusion
So, there you have it! Growing your own sweet potatoes isn’t just a fun gardening project; it’s a rewarding experience that connects you to your food in a profound way. From sprouting slips to harvesting those vibrant, nutrient-packed tubers, every step is a testament to the magic of nature and the satisfaction of DIY.
Why is this sweet potato growing guide a must-try? Because it empowers you to take control of your food source, ensuring you have access to fresh, delicious, and organically grown sweet potatoes right in your backyard. Forget those bland, store-bought varieties – imagine the rich, earthy sweetness of a sweet potato you nurtured from start to finish. The taste difference alone is worth the effort!
But the benefits extend beyond flavor. Growing your own sweet potatoes is an environmentally friendly choice, reducing your carbon footprint by minimizing transportation and packaging. It’s also a fantastic way to get some exercise, relieve stress, and connect with the natural world. Plus, it’s a fantastic learning opportunity for kids, teaching them about plant life cycles and the importance of sustainable living.
Ready to experiment? Consider these variations to personalize your sweet potato growing journey:
* **Container Gardening:** If you’re short on space, don’t despair! Sweet potatoes thrive in large containers. Choose a pot at least 20 gallons in size and ensure it has excellent drainage. Dwarf varieties like ‘Bush Porto Rico’ are particularly well-suited for container growing.
* **Vertical Gardening:** Get creative and try growing sweet potatoes in vertical planters or hanging baskets. This is a great way to maximize space and add a unique touch to your garden.
* **Different Varieties:** Explore the diverse world of sweet potato varieties. From the classic ‘Beauregard’ to the purple-fleshed ‘Okinawan,’ each variety offers a unique flavor and texture profile. Experiment to find your favorites!
* **Companion Planting:** Enhance your sweet potato patch by incorporating companion plants like beans, peas, and thyme. These plants can help deter pests, improve soil health, and even enhance the flavor of your sweet potatoes.
* Hydroponic Sweet Potatoes: For the adventurous gardener, hydroponic sweet potato growing is an option. This method involves growing sweet potatoes in a nutrient-rich water solution without soil.
Don’t be intimidated if you’re a beginner. This sweet potato growing guide is designed to be accessible and easy to follow, even for those with limited gardening experience. The key is to start small, be patient, and learn from your mistakes. Every gardener, no matter how experienced, has faced challenges along the way.
We’re confident that you’ll find growing your own sweet potatoes to be a rewarding and enjoyable experience. So, grab your gardening gloves, gather your supplies, and get ready to embark on this exciting adventure!
We can’t wait to hear about your sweet potato growing journey! Share your experiences, tips, and photos with us in the comments below. Let’s create a community of sweet potato enthusiasts and inspire others to embrace the joys of homegrown goodness. Happy gardening!
Frequently Asked Questions (FAQ)
What is the best time to plant sweet potatoes?
The ideal time to plant sweet potato slips is after the last frost, when the soil temperature has warmed to at least 65°F (18°C). In most regions, this is typically in late spring or early summer. Planting too early can result in stunted growth or even death of the slips.
How much sun do sweet potatoes need?
Sweet potatoes require at least 6-8 hours of direct sunlight per day to thrive. Choose a planting location that receives ample sunlight throughout the growing season. Insufficient sunlight can lead to smaller tubers and reduced yields.
What type of soil is best for growing sweet potatoes?
Sweet potatoes prefer well-drained, sandy loam soil with a pH between 6.0 and 6.5. Avoid heavy clay soils, as they can restrict root growth and lead to misshapen tubers. Amend heavy soils with compost or other organic matter to improve drainage and aeration.
How often should I water sweet potatoes?
Water sweet potatoes regularly, especially during dry periods. Aim to keep the soil consistently moist but not waterlogged. Overwatering can lead to root rot and other problems. A good rule of thumb is to water deeply once or twice a week, depending on the weather conditions.
How do I know when my sweet potatoes are ready to harvest?
Sweet potatoes are typically ready to harvest about 90-120 days after planting. The leaves will begin to turn yellow and the vines will start to die back. To check for maturity, carefully dig up a test plant and examine the tubers. They should be firm, well-formed, and have a smooth skin.
How do I cure sweet potatoes after harvesting?
Curing sweet potatoes is essential for developing their sweetness and improving their storage life. After harvesting, gently brush off any excess soil and allow the sweet potatoes to dry in a warm, well-ventilated area for 1-2 weeks. The ideal curing temperature is around 80-85°F (27-29°C) with high humidity (85-90%).
How long can I store sweet potatoes?
Properly cured sweet potatoes can be stored for several months in a cool, dark, and dry place. The ideal storage temperature is around 55-60°F (13-16°C). Avoid storing sweet potatoes in the refrigerator, as this can cause them to develop a hard core and lose their flavor.
What are sweet potato slips?
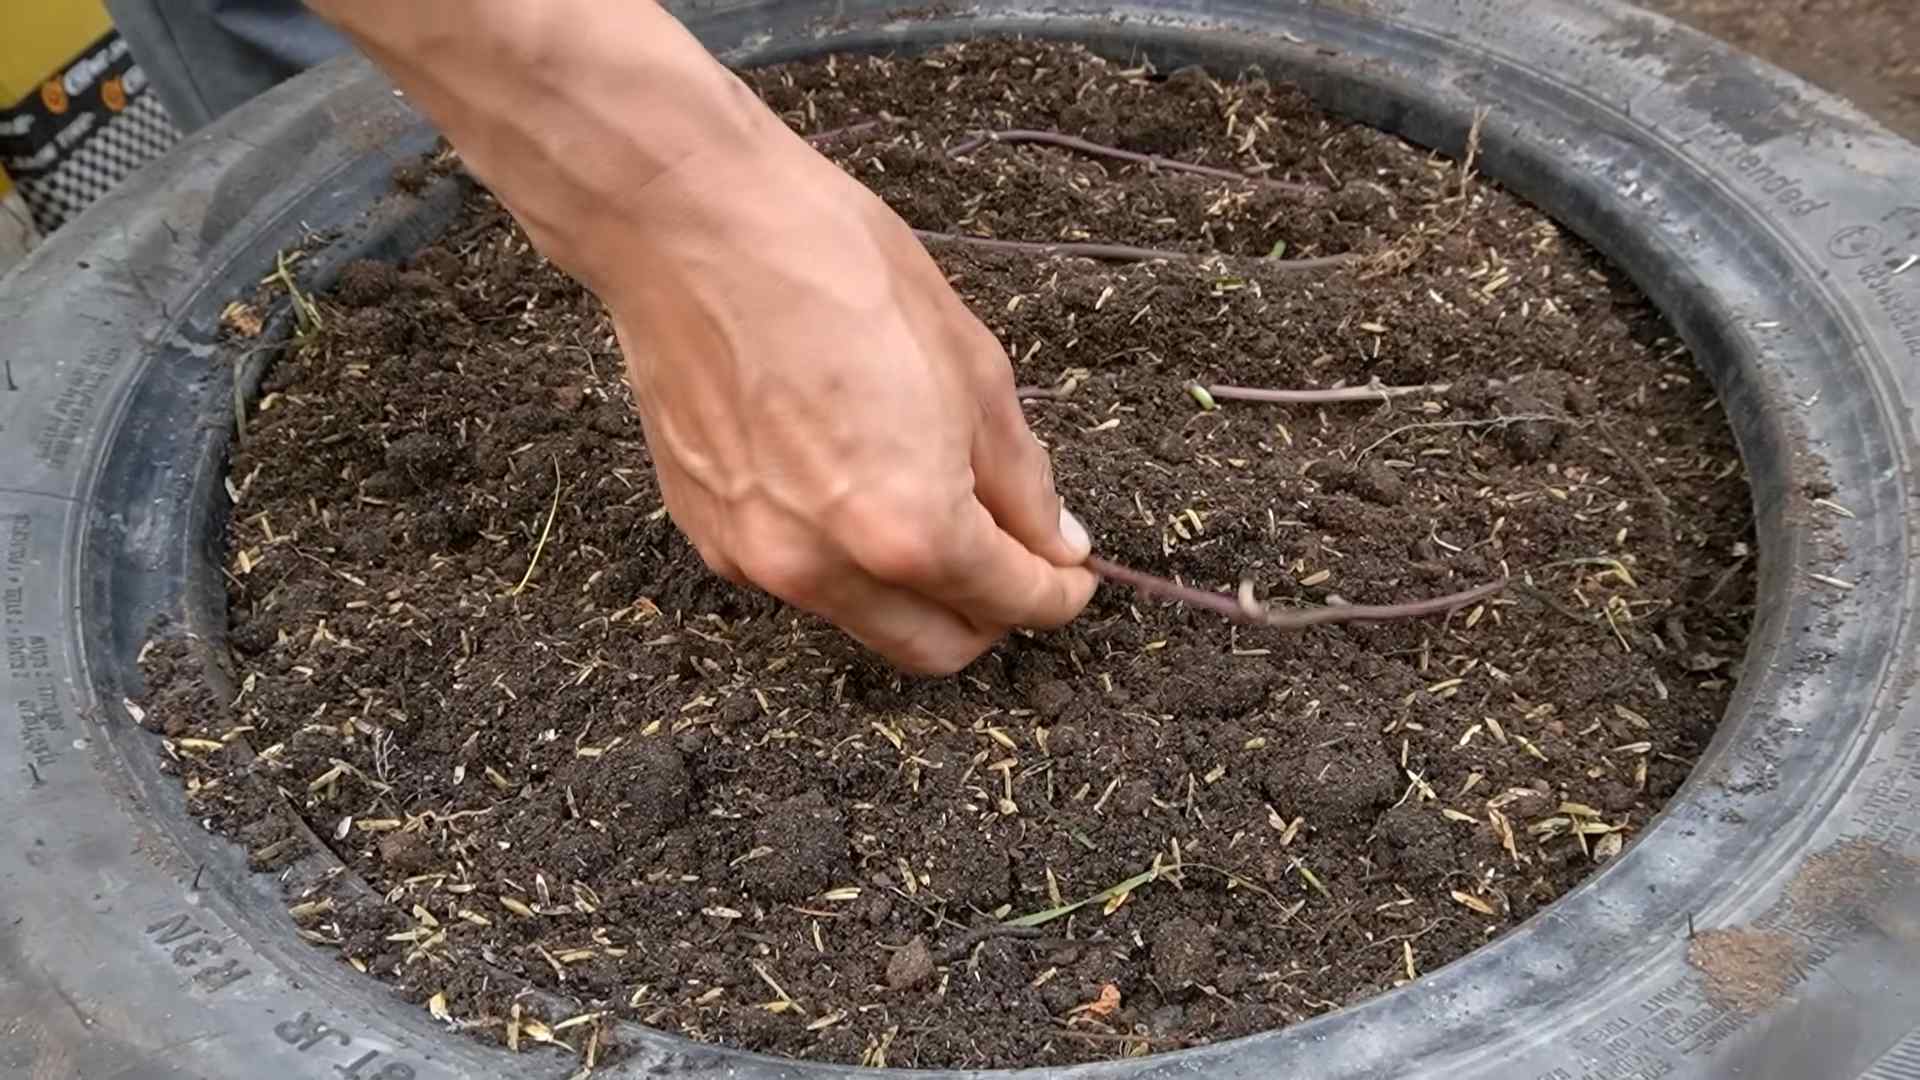
Sweet potato slips are sprouts that grow from a mature sweet potato. They are used to propagate new sweet potato plants. You can either purchase slips from a nursery or grow your own by suspending a sweet potato in water or burying it in moist soil.
Can I grow sweet potatoes in containers?
Yes, sweet potatoes can be successfully grown in containers. Choose a large container (at least 20 gallons) with good drainage. Use a well-draining potting mix and provide plenty of sunlight and water. Dwarf varieties are best suited for container growing.
What are some common pests and diseases that affect sweet potatoes?
Some common pests that affect sweet potatoes include sweet potato weevils, flea beetles, and aphids. Common diseases include stem rot, black rot, and scurf. Practice good sanitation, use disease-resistant varieties, and consider using organic pest control methods to prevent and manage these problems.
Can I eat the sweet potato leaves?
Yes, sweet potato leaves are edible and nutritious. They can be cooked like spinach or other leafy greens. Choose young, tender leaves for the best flavor and texture.
How do I prevent sweet potatoes from cracking?
Cracking in sweet potatoes can be caused by inconsistent watering or nutrient deficiencies. Ensure that you water your sweet potatoes regularly and evenly, especially during dry periods. Amend the soil with compost or other organic matter to improve water retention and nutrient availability.
What are the benefits of growing my own sweet potatoes?
Growing your own sweet potatoes offers numerous benefits, including access to fresh, organic produce, reduced environmental impact, cost savings, and the satisfaction of growing your own food. It’s also a great way to connect with nature and learn about sustainable living.
Is it possible to grow sweet potatoes indoors?
While it’s more challenging, growing sweet potatoes indoors is possible with the right conditions. You’ll need a very large container, a grow light to provide sufficient light, and careful attention to watering and fertilization. However, yields may be lower compared to growing them outdoors.
How do I deal with vine borers on my sweet potato plants?
Vine borers can be a serious pest for sweet potatoes. Look for signs of infestation, such as wilting vines or small holes in the stems. You can try to remove the borers manually by slitting the stem and extracting them. Wrapping the base of the stems with aluminum foil can also help prevent borers from laying their eggs.
Leave a Comment