
DIY Oven Cleaner: Is your oven looking less like a culinary haven and more like a burnt offering? Let’s face it, cleaning the oven is a chore most of us dread. But what if I told you that you could ditch those harsh chemicals and achieve a sparkling clean oven with ingredients you probably already have in your pantry?
For generations, resourceful homemakers have relied on natural cleaning solutions, passing down recipes and techniques that are both effective and eco-friendly. Before the age of commercially produced cleaners, baking soda and vinegar were the go-to powerhouses for tackling tough grime. This tradition of DIY cleaning is not only cost-effective but also allows us to control the ingredients we bring into our homes, creating a healthier environment for ourselves and our families.
In today’s busy world, we’re all looking for ways to simplify our lives and save money. A DIY oven cleaner is the perfect solution! Not only will you avoid the expense and fumes of store-bought cleaners, but you’ll also gain the satisfaction of knowing you’re using a safe and sustainable method. This article will guide you through a simple, step-by-step process to create your own powerful oven cleaner, leaving your appliance looking brand new and ready for your next culinary adventure. Get ready to say goodbye to baked-on grease and hello to a sparkling clean oven, the natural way!
DIY Plastic Bottle Vertical Garden: A Thrifty and Green Project
Hey there, fellow DIY enthusiasts! I’m super excited to share this awesome project with you: building a vertical garden using recycled plastic bottles. Not only is it a fantastic way to add some greenery to your space, especially if you’re short on room, but it’s also a great way to reduce plastic waste. Plus, it’s surprisingly easy and budget-friendly. Let’s get started!
What You’ll Need
Before we dive in, let’s gather all the necessary materials. Trust me, having everything ready beforehand will make the process much smoother.
* Plastic Bottles: The star of the show! I recommend using bottles of similar size and shape for a more uniform look. Think soda bottles, water bottles, juice bottles – anything goes! Aim for at least 6-8 bottles to start, but you can always add more later.
* Scissors or Utility Knife: For cutting the plastic bottles. Be careful and always cut away from yourself!
* Strong Rope or Twine: To hang the bottles. Choose a durable material that can withstand the weight of the soil and plants.
* Soil: Good quality potting soil is essential for healthy plant growth.
* Small Plants or Seeds: Herbs, succulents, strawberries, lettuce, or flowers – the choice is yours! Consider the amount of sunlight your vertical garden will receive when selecting plants.
* Drill or Awl: To create drainage holes and holes for the rope.
* Measuring Tape or Ruler: To ensure even spacing.
* Marker or Pen: To mark cutting lines and hole positions.
* Gloves: To protect your hands.
* Optional: Spray Paint: If you want to add some color and personality to your garden.
* Optional: Landscape Fabric or Coffee Filters: To prevent soil from washing out of the drainage holes.
Preparing the Bottles
This is where we transform those ordinary plastic bottles into mini planters!
1. Clean the Bottles: Thoroughly wash and dry all the plastic bottles. Remove any labels and sticky residue. This will ensure the paint (if you choose to use it) adheres properly and prevent any contaminants from affecting your plants.
2. Cut the Bottles: Decide how you want to cut the bottles. There are a few options:
* Option 1: Horizontal Cut: Cut a rectangular opening on one side of the bottle, leaving the top and bottom intact. This creates a trough-like planter. This is the method I prefer, as it’s easier to plant and water.
* Option 2: Vertical Cut: Cut the bottle in half horizontally. The top half will be inverted and placed inside the bottom half, creating a self-watering system (more on that later).
For the horizontal cut, use your marker to draw a rectangle on the side of the bottle. The size of the rectangle will depend on the size of your bottle and the size of the plants you want to grow. I usually make mine about 4 inches wide and 6 inches long. Carefully use your scissors or utility knife to cut along the marked lines. Be extra careful during this step!
For the vertical cut, simply mark a line around the middle of the bottle and cut along the line.
3. Create Drainage Holes: This is crucial for preventing waterlogging and root rot. Use your drill or awl to create several small holes in the bottom of each bottle. I usually make about 4-5 holes, evenly spaced.
4. (Optional) Paint the Bottles: If you want to add some color and personality to your garden, now’s the time to paint the bottles. Choose a paint that’s suitable for plastic and follow the manufacturer’s instructions. I like to use spray paint for a smooth, even finish. Let the paint dry completely before moving on to the next step. Consider using different colors for each bottle or creating a pattern.
Assembling the Vertical Garden
Now comes the fun part – putting everything together!
1. Prepare the Hanging System: Decide how you want to hang your vertical garden. You can hang it from a wall, a fence, a balcony railing, or even a tree branch.
* Option 1: Single Rope: This is the simplest method. Cut a long piece of rope or twine. The length will depend on how many bottles you’re using and how far apart you want them to be. Thread the rope through the drainage holes of each bottle, starting from the bottom. Tie a knot at the bottom to secure the first bottle. Space the bottles evenly and tie knots above each bottle to keep them in place.
* Option 2: Multiple Ropes: This method provides more stability. Use two or more ropes to hang the bottles. Drill two holes on either side of each bottle, near the top. Thread the ropes through the holes and tie knots to secure the bottles.
I prefer the single rope method for its simplicity, but the multiple rope method is definitely more secure, especially if you’re using heavier plants or larger bottles.
2. Add Landscape Fabric or Coffee Filters (Optional): To prevent soil from washing out of the drainage holes, line the bottom of each bottle with a piece of landscape fabric or a coffee filter. This will also help to retain moisture.
3. Fill with Soil: Carefully fill each bottle with potting soil, leaving some space at the top.
4. Plant Your Plants: Gently remove your plants from their containers and plant them in the bottles. If you’re using seeds, follow the instructions on the seed packet.
5. Water Your Plants: Water your plants thoroughly after planting. Make sure the water drains out of the drainage holes.
6. Hang Your Vertical Garden: Find a suitable location for your vertical garden and hang it securely. Make sure it’s in a spot that receives adequate sunlight for your chosen plants.
Self-Watering System (Using the Vertical Cut Method)
If you opted for the vertical cut method, you can create a simple self-watering system.
1. Invert the Top Half: Take the top half of the cut bottle and invert it.
2. Place Inside the Bottom Half: Place the inverted top half inside the bottom half of the bottle.
3. Add a Wick (Optional): You can add a cotton wick or a strip of fabric that extends from the bottom of the top half to the bottom of the bottom half. This will help to draw water up to the roots of the plant.
4. Fill with Soil: Fill the top half with potting soil and plant your plant.
5. Add Water: Pour water into the bottom half of the bottle. The water will be drawn up to the roots of the plant as needed.
This self-watering system is great for busy gardeners or for plants that require consistent moisture.
Tips and Tricks for a Thriving Vertical Garden
* Choose the Right Plants: Consider the amount of sunlight your vertical garden will receive and choose plants that are well-suited to those conditions. Herbs like basil, mint, and oregano are great for sunny locations, while leafy greens like lettuce and spinach can tolerate partial shade. Succulents are also a good choice for vertical gardens, as they require very little water.
* Water Regularly: Check the soil moisture regularly and water your plants when the soil feels dry to the touch. Be careful not to overwater, as this can lead to root rot.
* Fertilize Regularly: Vertical gardens can deplete nutrients quickly, so it’s important to fertilize your plants regularly. Use a balanced liquid fertilizer and follow the instructions on the label.
* Rotate Your Plants: To ensure even growth, rotate your plants regularly. This will help them to receive sunlight from all sides.
* Prune Regularly: Prune your plants regularly to encourage bushier growth and prevent them from becoming leggy.
* Protect from Extreme Weather: If you live in an area with extreme weather conditions, protect your vertical garden from frost, strong winds, and excessive heat. You may need to move it indoors during the winter months.
* Get Creative with Design: Don’t be afraid to experiment with different bottle sizes, colors, and arrangements. You can create a truly unique and eye-catching vertical garden that reflects your personal style. Consider arranging the bottles in a pattern or creating a living wall.
* Consider Weight: Remember that soil and water add significant weight. Ensure your hanging system is strong enough to support the fully loaded vertical garden. Test it before fully committing.
* Pest Control: Keep an eye out for pests and diseases. Treat any problems promptly to prevent them from spreading. Organic pest control methods are best for edible plants.
* Repurpose Other Materials: While this guide focuses on plastic bottles, feel free to incorporate other recycled materials like tin cans or yogurt containers for added variety.
I hope you found this guide helpful! Building a vertical garden from plastic bottles is a rewarding and sustainable project that anyone can do. So, gather your materials, get creative, and start growing! Happy gardening!
Conclusion
So, there you have it! Ditching those harsh chemicals and embracing this DIY oven cleaner is more than just a trend; it’s a game-changer for your kitchen and your well-being. We’ve walked you through a simple, effective method using ingredients you likely already have in your pantry: baking soda, vinegar, and a little elbow grease. But why is this DIY approach a must-try?
Firstly, it’s about health. Commercial oven cleaners are notorious for their fumes, which can irritate your lungs and pose a risk to your family and pets. This homemade solution eliminates that concern, offering a safer and healthier cleaning experience. Secondly, it’s about cost-effectiveness. Baking soda and vinegar are incredibly inexpensive compared to store-bought cleaners, saving you money in the long run. Thirdly, it’s about environmental responsibility. By choosing a natural cleaner, you’re reducing your contribution to chemical waste and promoting a more sustainable lifestyle.
Beyond the basic recipe, there’s room for customization. For extra cleaning power, consider adding a few drops of lemon essential oil to your baking soda paste. Lemon oil not only adds a pleasant scent but also boasts degreasing properties. If you’re dealing with particularly stubborn baked-on grime, let the baking soda paste sit overnight for maximum effectiveness. Another variation involves using a paste of cream of tartar and water for polishing stainless steel oven interiors after cleaning with the baking soda and vinegar. This will leave your oven sparkling.
Remember, patience is key. The longer you allow the baking soda paste to sit, the easier it will be to scrub away the grime. And don’t be afraid to repeat the process if necessary, especially for ovens that haven’t been cleaned in a while.
We’re confident that once you try this DIY oven cleaner, you’ll never go back to harsh chemicals again. It’s a simple, safe, and effective way to keep your oven sparkling clean and your kitchen a healthier place.
Now, we want to hear from you! Give this DIY trick a try and share your experience in the comments below. Did you find it effective? Did you try any variations? What tips and tricks did you discover along the way? Your feedback will help other readers and contribute to a community of eco-conscious cleaners. Let’s ditch the chemicals and embrace a cleaner, healthier way to clean our ovens!
Frequently Asked Questions (FAQ)
What kind of vinegar should I use for this DIY oven cleaner?
White distilled vinegar is the best choice for this DIY oven cleaner. It’s inexpensive, readily available, and has a high acidity level, making it effective at dissolving grease and grime. Avoid using other types of vinegar, such as apple cider vinegar or balsamic vinegar, as they may leave a residue or stain your oven.
How long should I let the baking soda paste sit in the oven?
For best results, let the baking soda paste sit in the oven for at least 12 hours, or even overnight. This allows the baking soda to penetrate and loosen the baked-on grime, making it easier to scrub away. If your oven is heavily soiled, you may want to let the paste sit for up to 24 hours.
Is this DIY oven cleaner safe for self-cleaning ovens?
While this DIY oven cleaner is generally safe, it’s always a good idea to consult your oven’s manufacturer’s instructions before using any cleaning product, especially on self-cleaning ovens. Some manufacturers recommend against using any cleaning products during the self-cleaning cycle. However, this DIY cleaner is safe to use in between self-cleaning cycles. If you are unsure, test a small, inconspicuous area first.
Can I use this DIY oven cleaner on other appliances?
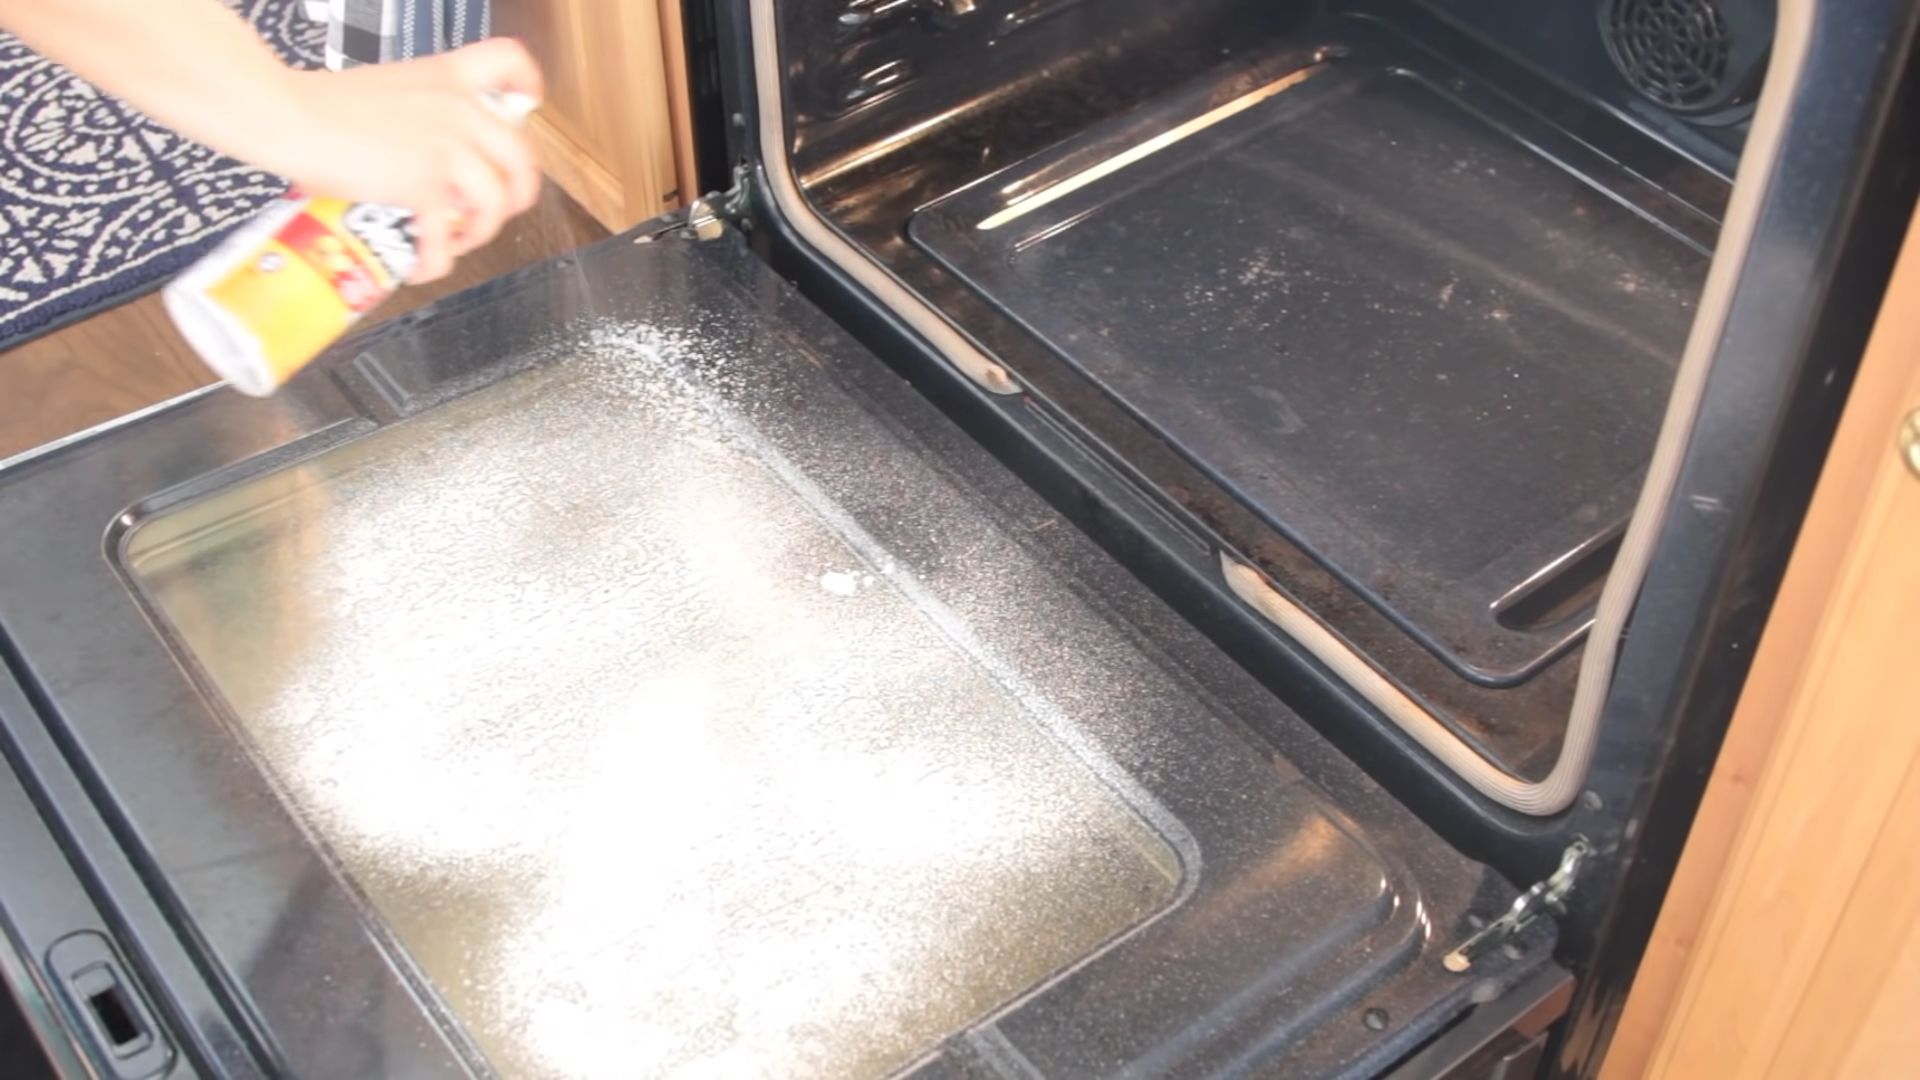
Yes, this DIY oven cleaner can be used on other appliances, such as stovetops, microwaves, and even barbecue grills. However, be sure to test a small, inconspicuous area first to ensure that the cleaner doesn’t damage the surface. For stovetops, you can use the baking soda paste to scrub away burnt-on food. For microwaves, you can place a bowl of vinegar and water inside and heat it for a few minutes to loosen grime before wiping it clean.
What if the grime is too stubborn to remove with just scrubbing?
If you’re having trouble removing stubborn grime, try using a plastic scraper or a non-scratch scouring pad to gently scrub the area. You can also try making a stronger baking soda paste by adding a little bit of water at a time until you achieve a thick, spreadable consistency. Another option is to spray the area with vinegar and let it sit for a few minutes before scrubbing. For extremely stubborn grime, you may need to repeat the cleaning process several times.
Will this DIY oven cleaner remove burnt-on sugar?
Burnt-on sugar can be particularly difficult to remove. For this, you might need to pre-treat the area. Try soaking a cloth in hot water and placing it over the burnt sugar for about 30 minutes to soften it. Then, proceed with the baking soda paste and vinegar cleaning method. You may also find that a plastic scraper is helpful in lifting the softened sugar.
How often should I clean my oven with this DIY method?
The frequency of cleaning depends on how often you use your oven. If you use your oven frequently, you may want to clean it every month or two. If you only use your oven occasionally, you can clean it less often. Regular cleaning will prevent grime from building up and make the cleaning process easier.
What if I don’t have vinegar? Can I use something else?
While vinegar is the most effective and readily available option, you can try using lemon juice as a substitute. Lemon juice has similar acidic properties to vinegar and can help to dissolve grease and grime. However, it may not be as effective as vinegar, especially for heavily soiled ovens.
Is it safe to use this DIY oven cleaner around pets?
Yes, this DIY oven cleaner is generally safe to use around pets, as it doesn’t contain any harsh chemicals or toxic ingredients. However, it’s always a good idea to keep your pets away from the area while you’re cleaning and to rinse the oven thoroughly after cleaning to remove any residue.
How do I get rid of the vinegar smell after cleaning?
The vinegar smell should dissipate on its own within a few hours. To speed up the process, you can open a window to ventilate the kitchen. You can also place a bowl of baking soda or coffee grounds in the oven to absorb the odor. Another option is to boil a pot of water with a few slices of lemon or orange peel to freshen the air.
Leave a Comment