
Microwave lemon cleaning trick: Sounds too good to be true, right? I thought so too, until I tried it myself! Let’s be honest, cleaning the microwave is one of those chores we all dread. It’s a sticky, splattered mess that seems to defy even the strongest cleaners. But what if I told you there’s a simple, natural, and incredibly effective way to banish that microwave grime using just a lemon and your microwave itself?
Lemons have been used for centuries for their cleaning properties. From ancient civilizations using citrus oils to freshen their homes to modern-day DIY enthusiasts, the power of lemons is undeniable. Their acidity helps to break down grease and grime, and their fresh scent leaves everything smelling sparkling clean. Think of it as a little burst of sunshine tackling those stubborn food splatters!
This microwave lemon cleaning trick isn’t just about saving time and elbow grease; it’s about creating a healthier and more pleasant kitchen environment. Harsh chemical cleaners can leave behind lingering fumes and residues, which can then transfer to your food. By using a natural solution like lemon, you’re not only cleaning your microwave effectively but also ensuring that your food stays pure and delicious. Plus, who doesn’t love the fresh, zesty scent of lemon wafting through their kitchen? So, ditch the harsh chemicals and get ready to discover the magic of this simple yet powerful cleaning hack. I promise, you’ll never look at microwave cleaning the same way again!
DIY Microwave Cleaning with Lemon Power!
Okay, let’s be honest, cleaning the microwave is probably on everyone’s “least favorite chores” list. But fear not! I’m going to show you a super easy, all-natural way to get your microwave sparkling clean using just a lemon and a few other household items. This method is not only effective but also leaves your microwave smelling fresh and lemony. Say goodbye to harsh chemicals and hello to a clean, happy microwave!
What You’ll Need
Before we dive in, let’s gather our supplies. This is a pretty low-key project, so you probably already have everything you need.
* One lemon
* A microwave-safe bowl
* Water
* A clean sponge or cloth
* Optional: White vinegar (for extra cleaning power)
The Lemon Steam Cleaning Method: A Step-by-Step Guide
This method relies on the power of steam and lemon juice to loosen up all that baked-on food splatters. It’s surprisingly effective, and I promise you’ll be amazed at how easy it is.
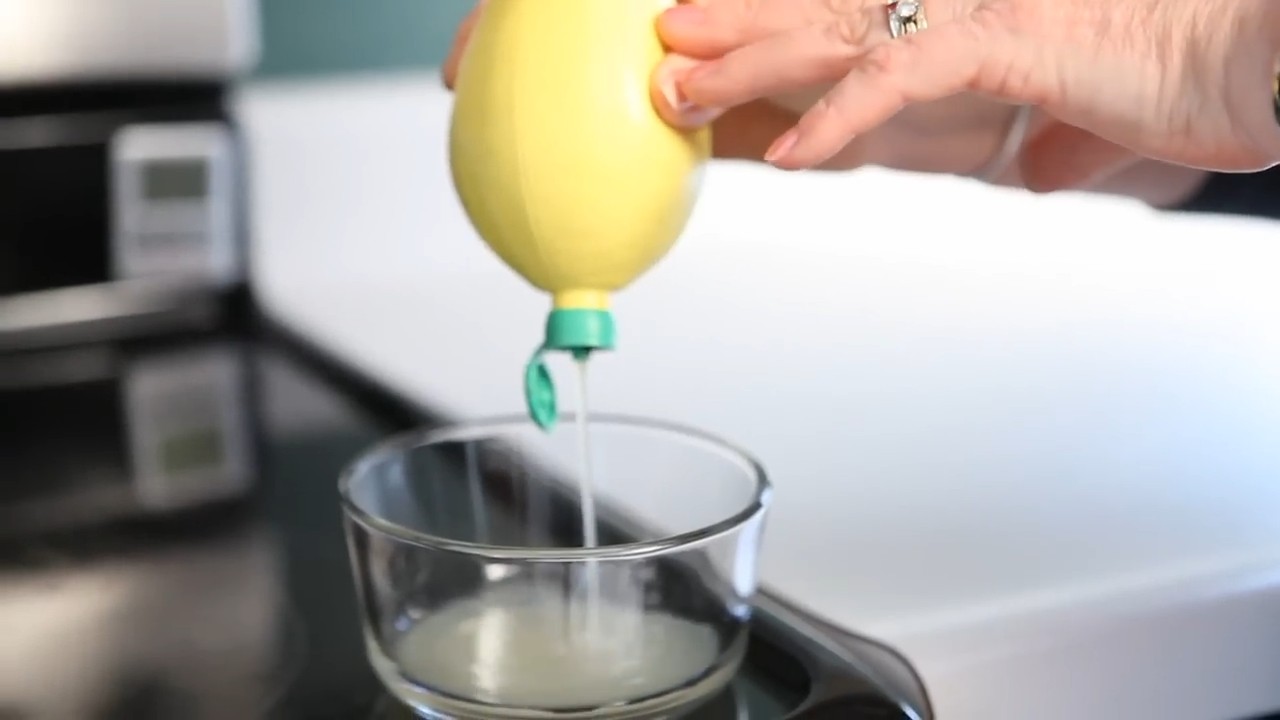
1. Prepare the Lemon: First, grab your lemon and cut it in half. You can either squeeze the juice from both halves into your microwave-safe bowl or simply place the lemon halves directly into the bowl. I usually squeeze the juice in, just to make sure we’re getting the most lemony goodness possible.
2. Add Water: Next, add about one cup of water to the bowl. You want enough water to create steam, but not so much that it’s going to boil over. If you’re feeling extra ambitious, you can add a tablespoon of white vinegar to the water for an added cleaning boost. Vinegar is a natural disinfectant and helps to cut through grease.
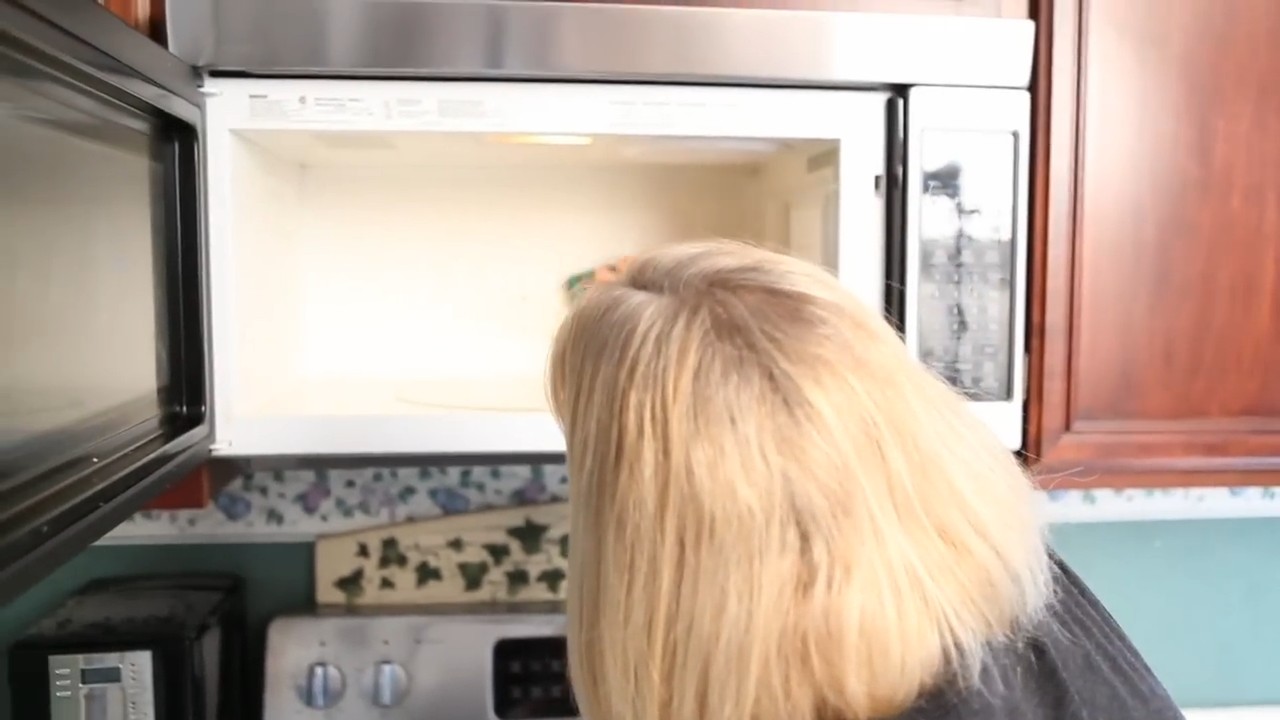
3. Microwave Magic: Place the bowl with the lemon water into your microwave. Now, set the microwave to high for 3-5 minutes. The goal here is to bring the water to a boil and let the steam work its magic. You’ll see the steam building up inside the microwave, which is exactly what we want. The exact time will depend on your microwave’s power, so keep an eye on it.
4. Let it Sit (Important!): Once the timer goes off, do not open the microwave door immediately! This is a crucial step. Let the bowl sit inside the microwave for another 5-10 minutes. This allows the steam to continue to loosen up the grime and makes it much easier to wipe away. I know it’s tempting to peek, but trust me, the wait is worth it.
5. Wipe Away the Mess: After the waiting period, carefully remove the bowl from the microwave (it will be hot!). Now, take your clean sponge or cloth and start wiping down the inside of the microwave. You’ll be amazed at how easily the food splatters come off. The steam has softened everything, so you shouldn’t have to scrub too hard. Pay special attention to the top, bottom, and sides of the microwave.
6. Clean the Turntable and Roller Ring: Don’t forget to remove the turntable and roller ring from the microwave. These can often accumulate food debris as well. Wash them with warm, soapy water and rinse thoroughly. Make sure they are completely dry before placing them back in the microwave.
7. Final Touches: Give the outside of the microwave a quick wipe down with a damp cloth. This will remove any drips or splatters that may have occurred during the cleaning process.
Dealing with Stubborn Stains
Sometimes, you might encounter some particularly stubborn stains that just won’t budge with the lemon steam method alone. Don’t worry, I’ve got a few tricks up my sleeve!
* Baking Soda Paste: Make a paste of baking soda and water. Apply the paste to the stubborn stain and let it sit for a few minutes. Then, gently scrub with a sponge or cloth. Baking soda is a mild abrasive that can help to lift away tough stains.
* Vinegar Power: If baking soda doesn’t do the trick, try using undiluted white vinegar. Soak a cloth in vinegar and apply it to the stain. Let it sit for a few minutes, then scrub. Vinegar is a powerful cleaner and disinfectant.
* Lemon Scrub: For a natural approach, try rubbing the cut side of a lemon directly onto the stain. The citric acid in the lemon will help to break down the grime.
Preventing Future Messes
Okay, now that your microwave is sparkling clean, let’s talk about how to keep it that way! Prevention is key to avoiding future cleaning headaches.
* Cover Your Food: Always cover your food when microwaving. This will prevent splatters and spills from coating the inside of the microwave. You can use a microwave-safe lid, plastic wrap, or even a paper towel.
* Wipe Up Spills Immediately: If something does spill or splatter, wipe it up immediately. The longer it sits, the harder it will be to remove.
* Regular Cleaning: Make it a habit to clean your microwave regularly, even if it doesn’t look particularly dirty. A quick wipe down once a week can prevent buildup and keep your microwave looking its best.
Why This Method Works
You might be wondering why this simple lemon steam method is so effective. Here’s the science behind it:
* Steam: The steam helps to loosen up the dried-on food particles, making them easier to wipe away.
* Citric Acid: The citric acid in the lemon acts as a natural degreaser and disinfectant. It helps to break down grease and kill bacteria.
* Fresh Scent: The lemon also leaves your microwave smelling fresh and clean, which is a nice bonus!
Troubleshooting
* Not Enough Steam: If you’re not seeing enough steam, make sure you’re using enough water in the bowl. You may also need to increase the microwave time.
* Stubborn Stains Persist: If you’re still struggling with stubborn stains, try using one of the methods I mentioned earlier, such as baking soda paste or vinegar.
* Microwave Smells Burnt: If your microwave smells burnt after cleaning, it’s likely due to food residue that wasn’t completely removed. Try repeating the cleaning process or using a stronger cleaning solution.
Safety First!
Before I forget, let’s quickly cover some safety precautions:
* Hot Bowl: Be careful when removing the bowl from the microwave, as it will be very hot. Use oven mitts or a towel to protect your hands.
* Steam Burns: Avoid getting too close to the steam when opening the microwave door, as it can cause burns.
* Microwave-Safe Bowl: Make sure you’re using a microwave-safe bowl. Some materials can melt or crack in the microwave.
* Unplug the Microwave: For extra safety, you can unplug the microwave before cleaning it.
Final Thoughts
So there you have it! A simple, effective, and all-natural way to clean your microwave using just a lemon and a few other household items. I hope you found this guide helpful. Now go forth and conquer that dirty microwave! You’ll be amazed at how much better your food tastes when it’s not being cooked in a grime-filled environment. Happy cleaning!
Conclusion
So, there you have it! The microwave lemon cleaning trick is more than just a quick fix; it’s a game-changer for anyone who wants a sparkling clean microwave without harsh chemicals or endless scrubbing. It’s a simple, effective, and delightfully fragrant way to tackle even the most stubborn splatters and grime.
Why is this a must-try? Because it’s incredibly efficient. In just a few minutes, the steam from the lemon-infused water loosens all the baked-on food particles, making them incredibly easy to wipe away. No more spending ages scraping and scrubbing, only to be left with lingering odors and sticky residue. Plus, it’s a natural and eco-friendly alternative to chemical cleaners, making it a safer option for your family and the environment.
But the best part? It’s customizable! Feel free to experiment with variations to suit your preferences. Add a few drops of your favorite essential oil, like lavender or eucalyptus, to the water for an extra boost of freshness. Or, if you’re dealing with particularly stubborn stains, try adding a tablespoon of white vinegar to the water along with the lemon. The vinegar’s acidity will help to break down even the toughest grime. You can also use lime instead of lemon for a slightly different scent and cleaning power.
Don’t be afraid to adjust the microwave time based on the severity of the mess. For light cleaning, 3 minutes might be sufficient. For heavier messes, you might need to extend it to 5-7 minutes. Just keep an eye on the water level to ensure it doesn’t boil dry.
This microwave lemon cleaning trick is a true kitchen essential. It’s quick, easy, natural, and effective. It’s a win-win-win!
We wholeheartedly encourage you to give this DIY cleaning method a try. You’ll be amazed at how easily you can transform your microwave from a grimy mess to a sparkling clean appliance. And once you’ve experienced the magic of lemon-powered cleaning, we’d love to hear about your results! Share your experiences, tips, and variations in the comments below. Let’s create a community of clean microwave enthusiasts! Tell us what worked best for you, what challenges you encountered, and any creative twists you added to the process. Your feedback will help others discover the joy of a clean and fresh microwave.
So go ahead, grab a lemon, and get ready to experience the easiest and most effective microwave cleaning trick you’ll ever try. You won’t regret it!
Frequently Asked Questions (FAQ)
1. Can I use bottled lemon juice instead of a fresh lemon?
While fresh lemon is ideal for the microwave lemon cleaning trick due to its natural oils and pulp, bottled lemon juice can be used as a substitute in a pinch. However, keep in mind that bottled lemon juice may not be as potent as fresh lemon juice, so you might need to use a larger quantity (about 1/2 cup) and increase the microwaving time slightly. The fresh lemon peel also contributes to the cleaning power, so you’ll be missing out on that benefit. If you do use bottled juice, consider adding a few drops of lemon essential oil to the water for an extra boost of fragrance and cleaning power.
2. What kind of bowl should I use in the microwave?
It’s crucial to use a microwave-safe bowl for this cleaning trick. Glass or ceramic bowls are generally safe, but avoid using metal bowls or containers with metallic trim, as they can cause sparks and damage your microwave. Make sure the bowl is large enough to hold the water and lemon without overflowing when boiling. A bowl with a wide opening will also allow the steam to circulate more effectively throughout the microwave.
3. How often should I clean my microwave using this method?
The frequency of cleaning depends on how often you use your microwave and how prone it is to splatters. As a general guideline, cleaning your microwave every 1-2 weeks is a good practice to prevent buildup and maintain a fresh scent. If you notice frequent splatters or spills, you might want to clean it more often. Regular cleaning will also make the process easier and faster each time.
4. What if the stains are really stubborn and don’t come off easily?
For particularly stubborn stains, there are a few things you can try. First, make sure you’re microwaving the lemon water for a sufficient amount of time (5-7 minutes). You can also add a tablespoon of white vinegar to the water along with the lemon. The vinegar’s acidity will help to break down tough grime. After microwaving, let the steam sit for a few minutes before wiping. If the stains still persist, try using a non-abrasive sponge or cloth with a bit of baking soda paste to gently scrub the affected areas. Avoid using harsh scouring pads, as they can scratch the interior of your microwave.
5. Can I use this method to clean the outside of my microwave?
While the microwave lemon cleaning trick is primarily designed for cleaning the interior of your microwave, you can certainly use the lemon-infused water to wipe down the exterior as well. Simply dip a clean cloth into the water and wipe the outside surfaces, paying attention to areas that tend to get greasy or dirty, such as the door handle and control panel. Be sure to dry the exterior thoroughly after wiping to prevent water spots.
6. Is it safe to use this method if I have a stainless steel microwave interior?
Yes, the microwave lemon cleaning trick is generally safe to use on stainless steel microwave interiors. However, it’s always a good idea to test a small, inconspicuous area first to ensure there are no adverse reactions. Avoid using abrasive sponges or cloths, as they can scratch the stainless steel surface. After wiping with the lemon-infused water, be sure to dry the interior thoroughly with a clean, soft cloth to prevent water spots and maintain the shine of the stainless steel.
7. What if I don’t have a lemon? Are there any other alternatives?
While lemon is the star of this cleaning trick, you can try using other citrus fruits like limes or oranges as alternatives. They contain similar acids and oils that help to loosen grime and leave a fresh scent. You can also use a mixture of water and white vinegar (1:1 ratio) as a substitute, although it won’t have the same pleasant fragrance. If you’re using vinegar, be sure to ventilate your kitchen well, as the scent can be quite strong.
8. My microwave smells lemony after cleaning. How can I get rid of the scent?
The lemony scent is generally pleasant and dissipates on its own within a few hours. However, if you prefer to get rid of it more quickly, you can leave the microwave door open for a while to allow the air to circulate. You can also place a small bowl of baking soda inside the microwave overnight to absorb any lingering odors.
9. Can I reuse the lemon water after cleaning the microwave?
It’s not recommended to reuse the lemon water after cleaning the microwave. The water will contain dissolved food particles and grime, and reusing it could potentially spread bacteria or leave behind residue. It’s best to discard the water and start fresh each time you clean your microwave.
10. What if my microwave has a turntable? Should I remove it before cleaning?
Yes, it’s generally a good idea to remove the turntable from your microwave before cleaning. This will allow you to clean the turntable separately and ensure that you reach all areas of the microwave interior. You can wash the turntable with warm, soapy water or even place it in the dishwasher if it’s dishwasher-safe. Be sure to dry the turntable thoroughly before placing it back in the microwave.


Leave a Comment