
Grow Arugula Fast Kitchen Trick: Who doesn’t love the peppery bite of fresh arugula in their salads, on pizzas, or even as a vibrant pesto? I know I do! But sometimes, waiting for those tiny seeds to sprout and mature can feel like an eternity. That’s where this amazing kitchen trick comes in, and trust me, it’s a game-changer for any home gardener eager to enjoy homegrown arugula sooner rather than later.
Arugula, also known as rocket, has a rich history dating back to Roman times, where it was prized for its flavor and believed to be an aphrodisiac. Today, it’s a staple in Mediterranean cuisine and increasingly popular worldwide. But let’s face it, buying arugula from the store can be expensive, and the flavor just doesn’t compare to the fresh, vibrant taste of homegrown.
That’s why I’m so excited to share this simple yet effective DIY trick with you. If you’re tired of waiting weeks for your arugula to grow, or if you’re simply looking for a way to boost your harvest, this method is for you. It’s perfect for beginners and experienced gardeners alike, and it requires minimal effort and supplies. Get ready to grow arugula fast and enjoy a constant supply of this delicious green right from your own kitchen!
Grow Arugula Indoors in Just a Week: My Super-Fast Kitchen Trick!
Hey there, fellow foodies and green-thumb enthusiasts! I’m so excited to share my absolute favorite kitchen trick for growing fresh arugula indoors – and get this, you can have a harvest in as little as a week! Forget waiting weeks for those tiny sprouts to mature; this method is all about speed and convenience. Trust me, once you try this, you’ll never buy arugula from the store again.
What You’ll Need: The Arugula Arsenal
Before we dive in, let’s gather our supplies. This is a pretty low-key project, so you probably already have most of these things lying around:
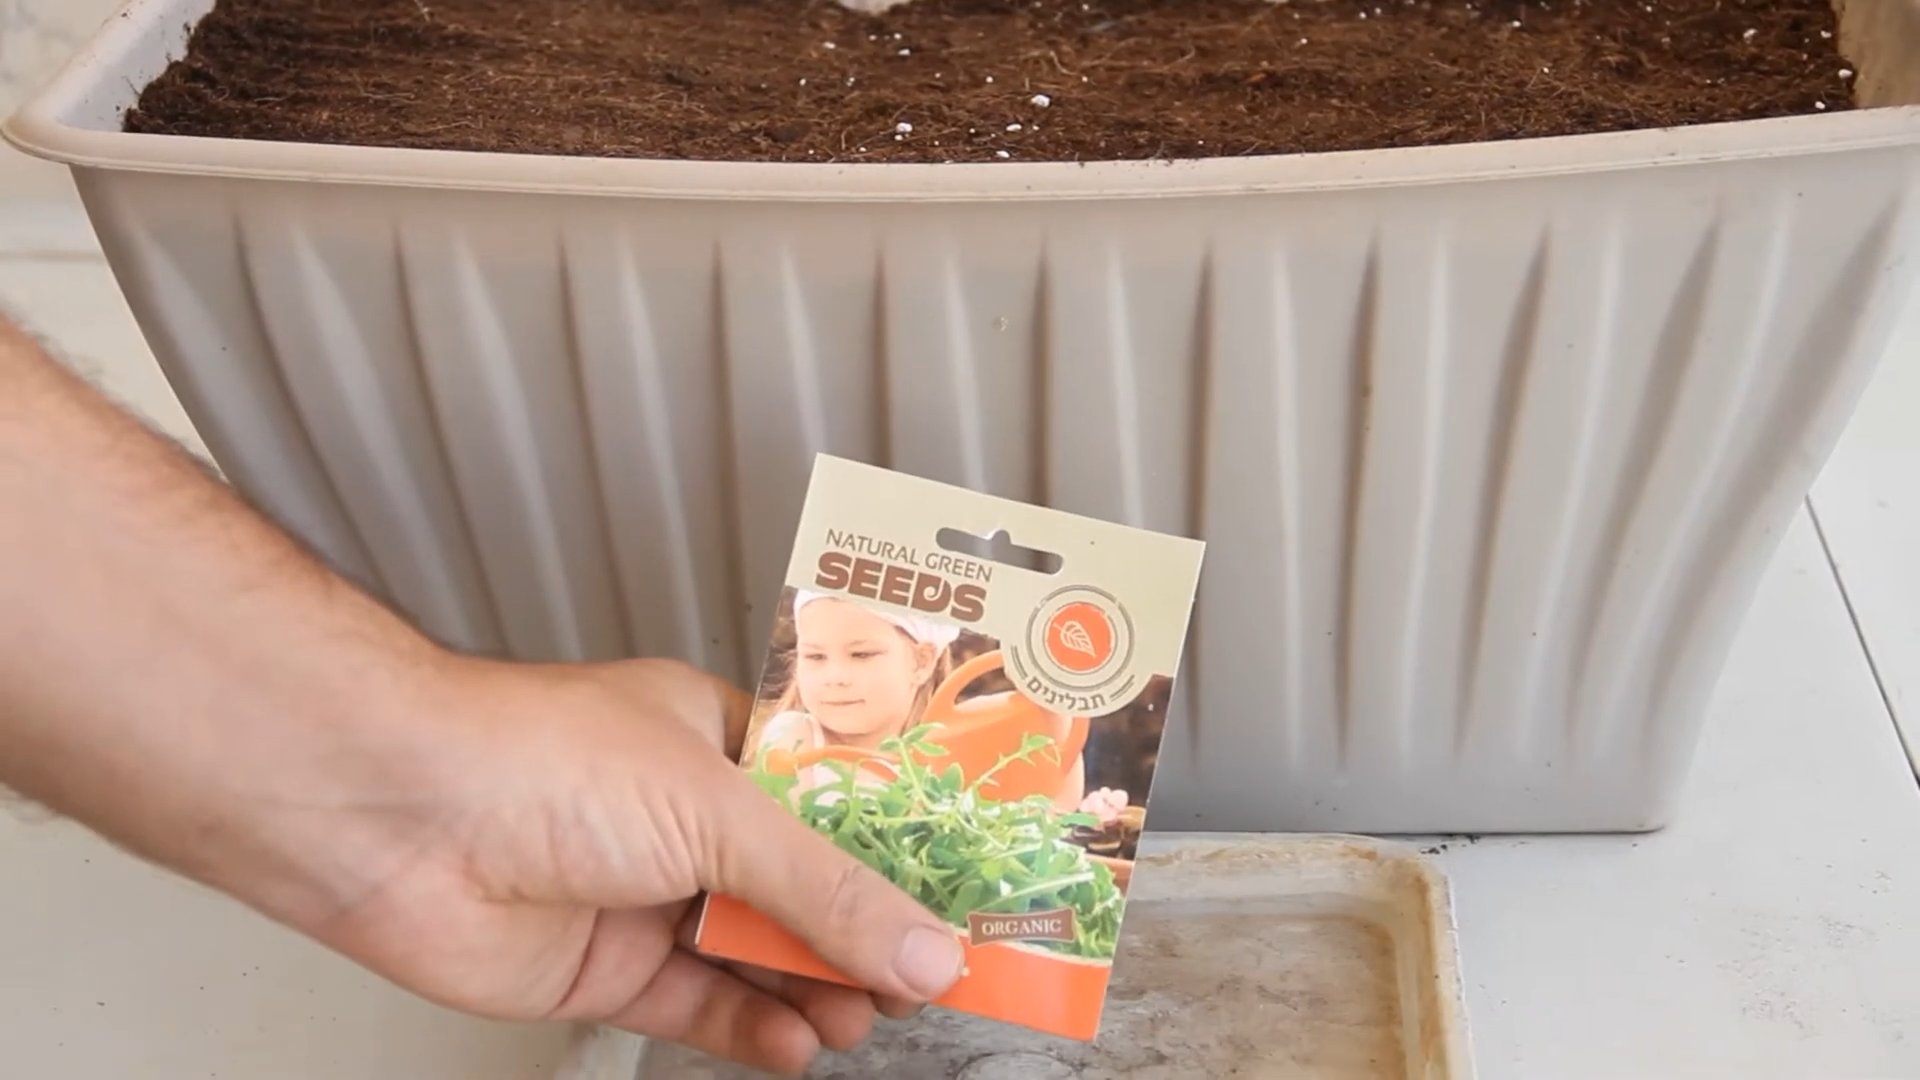
* Arugula Seeds: Obviously! Look for organic seeds if possible. I usually get mine online, but most garden centers carry them.
* Shallow Container: Think plastic takeout containers, yogurt tubs, or even a baking dish. Just make sure it’s clean!
* Paper Towels: The key to our rapid growth!
* Spray Bottle: For keeping things nice and moist.
* Water: Tap water is fine, but filtered water is even better.
* A Warm, Bright Spot: A windowsill or under a grow light works perfectly.
The Secret Sauce: Paper Towel Power
The magic behind this method lies in the paper towels. They provide the perfect moist environment for the arugula seeds to germinate quickly.
Step-by-Step: From Seed to Salad in 7 Days
Alright, let’s get our hands dirty (well, not really dirty, since we’re using paper towels!). Here’s the breakdown:
1. Prep the Container: Grab your chosen container and give it a good wash. We want to start with a clean slate to prevent any unwanted mold or bacteria.
2. Layer the Paper Towels: Line the bottom of the container with 2-3 layers of paper towels. You want them to be thick enough to hold moisture without falling apart.
3. Moisten the Paper Towels: This is crucial! Use your spray bottle to thoroughly wet the paper towels. They should be damp, but not soaking wet. You don’t want the seeds swimming in water. Think of it like a wrung-out sponge.
4. Sow the Seeds: Sprinkle the arugula seeds evenly over the moist paper towels. Don’t overcrowd them! Give them a little space to breathe. I usually aim for about ¼ inch between seeds.
5. Cover (Optional): You can loosely cover the container with plastic wrap or a lid to create a mini-greenhouse effect. This helps retain moisture and speed up germination. If you do this, make sure to vent it daily to prevent mold. I often skip this step and it works just fine.
6. Find the Perfect Spot: Place the container in a warm, bright location. A sunny windowsill is ideal, but if you don’t have one, a grow light will do the trick. Arugula needs light to thrive, even in this early stage.
7. Maintain Moisture: This is the most important part! Check the paper towels daily and mist them with water whenever they start to dry out. The paper towels should always be damp, but never soggy.
8. Watch the Magic Happen: Within a day or two, you should start to see tiny sprouts emerging. It’s so exciting!
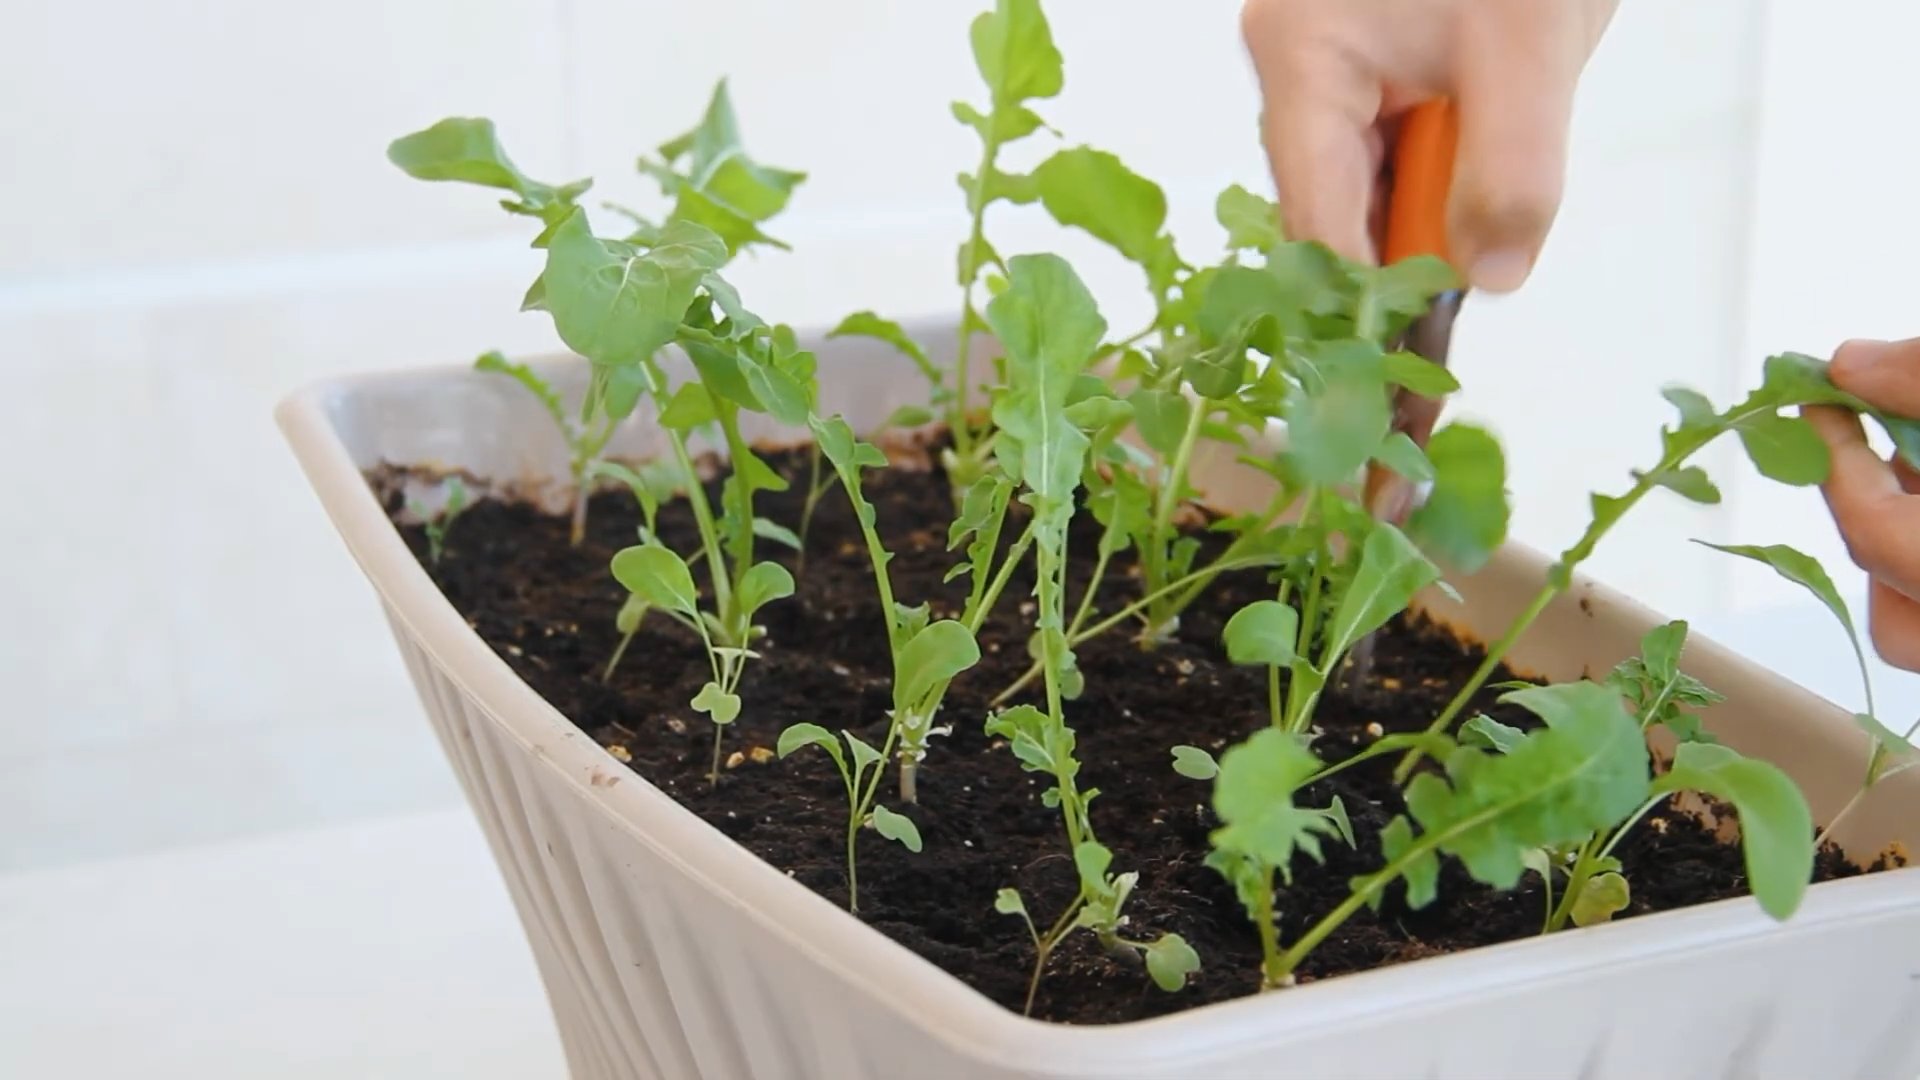
9. Harvest Time: Once the arugula leaves are about 2-3 inches tall (usually around day 7-10), it’s time to harvest! Use scissors to snip the leaves just above the paper towels.
10. Enjoy Your Fresh Arugula: Rinse the harvested arugula and add it to salads, sandwiches, pizzas, or anything else your heart desires!
Troubleshooting: Common Issues and Solutions
Even with this simple method, you might encounter a few hiccups. Here’s how to handle them:
* Mold: If you see mold growing on the paper towels, it means they’re too wet. Remove the moldy areas and reduce the amount of water you’re using. Make sure there’s good air circulation.
* Seeds Not Germinating: This could be due to several factors: old seeds, not enough moisture, or not enough light. Make sure your seeds are fresh, the paper towels are consistently damp, and the container is in a bright location.
* Leggy Sprouts: If your sprouts are tall and spindly, it means they’re not getting enough light. Move the container to a brighter spot or use a grow light.
* Yellowing Leaves: This could indicate overwatering or nutrient deficiency. Make sure the paper towels aren’t soggy and consider adding a very diluted liquid fertilizer to the water. I rarely need to do this, but it’s an option.
Maximizing Your Arugula Harvest: Tips and Tricks
Want to get the most out of your indoor arugula garden? Here are a few extra tips:
* Succession Planting: To have a continuous supply of arugula, start a new batch of seeds every few days. This way, you’ll always have fresh leaves ready to harvest.
* Rotate Your Crops: After harvesting a batch of arugula, discard the paper towels and start fresh. This helps prevent the buildup of bacteria and diseases.
* Experiment with Varieties: There are many different varieties of arugula, each with its own unique flavor and texture. Try growing a few different types to see which ones you like best.
* Use a Grow Light: If you don’t have a sunny windowsill, a grow light is a great investment. It will provide your arugula with the light it needs to thrive, even in the darkest corners of your home.
* Don’t Overwater: I know I’ve emphasized the importance of moisture, but it’s equally important not to overwater. Soggy paper towels can lead to mold and rot.
* Harvest Regularly: The more you harvest, the more the arugula will grow. Regular harvesting encourages new growth and keeps your plants producing fresh leaves.
* Consider Hydroponics: Once you’ve mastered the paper towel method, you might want to try growing arugula hydroponically. This involves growing plants in water without soil, and it can be even faster and more efficient. There are tons of DIY hydroponic setups you can find online.
* Save Your Seeds: If you let some of your arugula plants flower and go to seed, you can collect the seeds and use them to grow even more arugula! This is a great way to save money and become more self-sufficient.
* Add Nutrients (Carefully): While arugula doesn’t need a lot of fertilizer, you can give it a boost by adding a very diluted liquid fertilizer to the water every few weeks. Be careful not to over-fertilize, as this can burn the plants. I use a very weak solution of fish emulsion.
* Observe Your Plants: The best way to become a successful arugula grower is to pay attention to your plants. Observe their growth, note any changes in their appearance, and adjust your care accordingly.
Beyond the Basics: Creative Uses for Your Homegrown Arugula
Okay, so you’ve got a bounty of fresh arugula. Now what? Here are some of my favorite ways to use it:
* Salads: Arugula is a classic salad ingredient. Its peppery flavor pairs well with sweet fruits, creamy cheeses, and crunchy nuts.
* Pesto: Arugula pesto is a delicious and healthy alternative to traditional basil pesto. It’s great on pasta, sandwiches, and pizzas.
* Pizza Topping: Add fresh arugula to your pizza after it comes out of the oven for a burst of flavor and freshness.
* Sandwiches and Wraps: Arugula adds a peppery kick to any sandwich or wrap.
* Smoothies: Sneak a handful of arugula into your smoothies for a boost of vitamins and minerals. You won’t even taste it!
* Soups: Stir fresh arugula into soups just before serving for a touch of freshness and flavor.
* Eggs: Add arugula to scrambled eggs, omelets, or frittatas for a healthy and delicious breakfast.
* Garnish: Use arugula as a garnish for any dish to add a pop of color and flavor.
Why I Love This Method: The Benefits of Growing Arugula Indoors
I’m a huge fan of this paper towel method for growing arugula indoors, and here’s why:
* It’s Fast: You can harvest arugula in as little as a week!
* It’s Easy: It requires minimal effort and supplies.
* It’s Convenient: You can grow arugula indoors year-round, regardless of the weather.
* It’s Healthy: Freshly grown arugula is packed with vitamins and minerals.
* It’s Sustainable: Growing your own arugula reduces your reliance on store-bought produce and minimizes your environmental impact.
* It
Conclusion
So, there you have it! This simple kitchen trick for growing arugula fast is more than just a gardening hack; it’s a gateway to fresh, peppery greens right at your fingertips. Forget those wilted, overpriced bags at the grocery store. Imagine the satisfaction of snipping vibrant arugula leaves just moments before adding them to your salad, sandwich, or pizza. The difference in flavor and freshness is truly remarkable.
Why is this a must-try? Because it’s incredibly easy, cost-effective, and space-saving. You don’t need a sprawling garden or fancy equipment. A sunny windowsill and a few basic supplies are all it takes to cultivate your own little arugula patch. Plus, it’s a fantastic way to reduce food waste by using leftover arugula seeds or even regrowing arugula from store-bought stems.
But the beauty of this DIY trick lies in its adaptability. Feel free to experiment with different containers. Upcycled yogurt containers, mason jars, or even repurposed plastic tubs can all work beautifully. Just ensure they have adequate drainage. You can also try different growing mediums. While soil works perfectly well, you could also explore hydroponic options using coconut coir or perlite for a soilless approach.
For a spicier kick, consider adding a pinch of red pepper flakes to your growing medium. If you prefer a milder flavor, ensure your arugula receives plenty of sunlight, as this can help reduce its peppery intensity. You can even try growing different varieties of arugula, such as wild arugula, which has a more intense flavor, or baby arugula, which is milder and more tender.
Don’t be afraid to get creative with your harvesting techniques. You can either harvest individual leaves as needed or cut the entire plant back to about an inch above the soil. This will encourage new growth and provide you with multiple harvests. Remember to keep the soil consistently moist but not waterlogged, and provide adequate sunlight for optimal growth.
This method of growing arugula fast is not only practical but also incredibly rewarding. It’s a chance to connect with nature, learn about the growing process, and enjoy the fruits (or rather, the leaves) of your labor. It’s a fantastic project for families, children, or anyone who wants to add a touch of green to their lives.
We wholeheartedly encourage you to give this DIY trick a try. We’re confident that you’ll be amazed at how easy and rewarding it is to grow your own fresh arugula. And once you’ve experienced the joy of homegrown arugula, we’d love to hear about your experience! Share your photos, tips, and variations in the comments below. Let’s create a community of arugula enthusiasts and inspire others to embrace the joys of homegrown goodness. Let us know if you have any questions, and happy growing!
Frequently Asked Questions (FAQ)
What kind of arugula seeds should I use?
You can use any variety of arugula seeds for this trick. Common arugula (Eruca sativa) is a great starting point, offering a classic peppery flavor. If you’re looking for something a bit more intense, try wild arugula (Diplotaxis tenuifolia). Baby arugula is also a popular choice for its milder, more tender leaves. You can find arugula seeds at most garden centers or online retailers. Consider purchasing organic seeds to avoid any unwanted chemicals.
How much sunlight does arugula need?
Arugula thrives in full sun, which means at least 6 hours of direct sunlight per day. However, it can also tolerate partial shade, especially in hotter climates. If you’re growing arugula indoors, place it near a sunny windowsill or use a grow light to supplement natural light. Insufficient sunlight can result in leggy growth and a less intense flavor.
How often should I water my arugula?
Keep the soil consistently moist but not waterlogged. Water when the top inch of soil feels dry to the touch. Overwatering can lead to root rot, while underwatering can cause the leaves to wilt and become bitter. A good rule of thumb is to water deeply every few days, depending on the weather and the drainage of your container.
How long does it take for arugula to grow?
One of the best things about arugula is how quickly it grows! You can typically start harvesting leaves within 3-4 weeks of planting the seeds. The exact time will depend on factors such as temperature, sunlight, and watering. With this trick for growing arugula fast, you might even see results sooner!
Can I grow arugula indoors year-round?
Yes, you can absolutely grow arugula indoors year-round! This is one of the biggest advantages of this DIY trick. By providing adequate sunlight (or using a grow light) and maintaining consistent moisture, you can enjoy fresh arugula even during the colder months.
What kind of soil should I use?
Arugula prefers well-draining soil that is rich in organic matter. A good potting mix will work perfectly well. You can also amend your soil with compost or other organic materials to improve its fertility and drainage. Avoid using heavy clay soils, as they can become waterlogged and inhibit growth.
How do I harvest arugula?
You can harvest arugula leaves as needed, starting with the outer leaves. Simply snip them off with scissors or your fingers. Alternatively, you can cut the entire plant back to about an inch above the soil. This will encourage new growth and provide you with multiple harvests. Avoid harvesting more than one-third of the plant at a time to allow it to recover.
What are some common problems when growing arugula?
Some common problems when growing arugula include pests such as aphids and flea beetles, as well as diseases such as powdery mildew. To prevent these problems, ensure your arugula receives adequate sunlight and ventilation. You can also use organic pest control methods, such as insecticidal soap or neem oil, to control pests. For powdery mildew, improve air circulation and avoid overhead watering.
Can I regrow arugula from store-bought stems?
Yes, you can! This is a great way to reduce food waste and get even more value from your arugula. Simply place the stems in a glass of water, making sure the leaves are above the water line. Change the water every day or two. After a few days, you should see new roots sprouting from the stems. Once the roots are about an inch long, you can transplant the stems into soil.
How can I make my arugula less bitter?
The bitterness of arugula can be influenced by several factors. Providing adequate sunlight can help reduce bitterness. Also, harvesting in the morning, before the heat of the day, can result in milder-tasting leaves. Watering regularly and avoiding drought stress can also help. If you find your arugula is consistently bitter, try growing it in partial shade or choosing a milder variety.
Is growing arugula fast using this method organic?
Whether or not your arugula is organic depends on the seeds and soil you use. If you use organic seeds and organic potting mix, and avoid using any synthetic fertilizers or pesticides, then your arugula will be organically grown.
Leave a Comment