
Grow Dill Fast? Absolutely! Imagine snipping fresh, fragrant dill right from your own backyard to sprinkle over your creamy potato salad or add a zing to your homemade pickles. Sounds dreamy, right? Well, it doesn’t have to be just a dream! For centuries, dill has been cherished not only for its culinary uses but also for its medicinal properties. Ancient Egyptians even used it to soothe digestive issues.
But let’s be honest, sometimes getting dill to thrive can feel like a bit of a challenge. It can be slow to germinate, and those delicate seedlings can be a bit finicky. That’s where these DIY tricks and hacks come in! I’m going to share some simple, yet incredibly effective, methods to help you grow dill fast and enjoy a bountiful harvest.
Whether you’re a seasoned gardener or just starting out, these tips will empower you to cultivate your own thriving dill patch. Say goodbye to expensive store-bought herbs and hello to fresh, flavorful dill whenever you need it. Ready to get started? Let’s dive in!
“`html
Grow Dill Faster: My Secret DIY Hack!
Hey there, fellow herb enthusiasts! I’m so excited to share my tried-and-true method for getting dill to sprout and thrive in record time. Forget waiting weeks for those delicate fronds to appear – with this simple DIY hack, you’ll be snipping fresh dill for your recipes in no time! I’ve struggled with slow-growing dill in the past, and after a lot of experimenting, I’ve finally cracked the code. Let’s get started!
Understanding Dill’s Needs
Before we dive into the hack, it’s important to understand what dill needs to flourish. Dill is a sun-loving herb that prefers well-drained soil. It can be a bit finicky about transplanting, which is why direct sowing is often recommended. However, direct sowing can be slow, especially in cooler climates. That’s where my hack comes in!
Here’s a quick rundown of dill’s key requirements:
- Sunlight: At least 6 hours of direct sunlight per day.
- Soil: Well-draining soil with a pH between 6.0 and 7.5.
- Water: Consistent moisture, but avoid overwatering.
- Temperature: Dill prefers cooler temperatures (60-70°F) for optimal germination.
The Dill Germination Boosting Hack: Pre-Sprouting Indoors
This hack focuses on pre-sprouting the dill seeds indoors before transplanting them. This gives them a head start and significantly reduces the germination time. It also allows you to control the environment and provide optimal conditions for sprouting.
Here’s what you’ll need:
- Dill seeds (fresh seeds are best!)
- Paper towels
- A resealable plastic bag (sandwich bag size works great)
- A spray bottle filled with water
- Seed starting mix or potting soil
- Small pots or seedling trays
- A warm, bright location (a sunny windowsill or under grow lights)
Step-by-Step Instructions: Pre-Sprouting Dill Seeds
1. Prepare the Paper Towels: Take two paper towels and dampen them thoroughly with water from your spray bottle. You want them to be moist, but not soaking wet. Gently squeeze out any excess water.
2. Scatter the Dill Seeds: Lay one of the damp paper towels flat on a clean surface. Sprinkle your dill seeds evenly across the paper towel, leaving a little space between each seed. Don’t overcrowd them!
3. Cover the Seeds: Place the second damp paper towel on top of the seeds, creating a sandwich. Gently press down to ensure the seeds are in contact with the moist paper towels.
4. Seal in Moisture: Carefully slide the paper towel sandwich into the resealable plastic bag. Seal the bag tightly, leaving a small gap for air circulation. This will help maintain humidity and prevent the paper towels from drying out too quickly.
5. Find a Warm Spot: Place the sealed bag in a warm, bright location. A sunny windowsill is ideal, but you can also use a heat mat or place it near a warm appliance. The optimal temperature for dill germination is around 70°F (21°C).
6. Monitor and Mist: Check the paper towels daily to ensure they remain moist. If they start to dry out, lightly mist them with water from your spray bottle. You should start to see tiny sprouts emerging from the seeds within 2-5 days. This is so exciting!
7. Prepare Your Pots: While you’re waiting for the seeds to sprout, prepare your small pots or seedling trays. Fill them with seed starting mix or potting soil, leaving about half an inch of space at the top. Lightly moisten the soil.
Transplanting the Sprouted Dill Seeds
Once the dill seeds have sprouted and have tiny roots (about 1/4 inch long), it’s time to transplant them into your pots. This is a delicate process, so be patient and gentle.
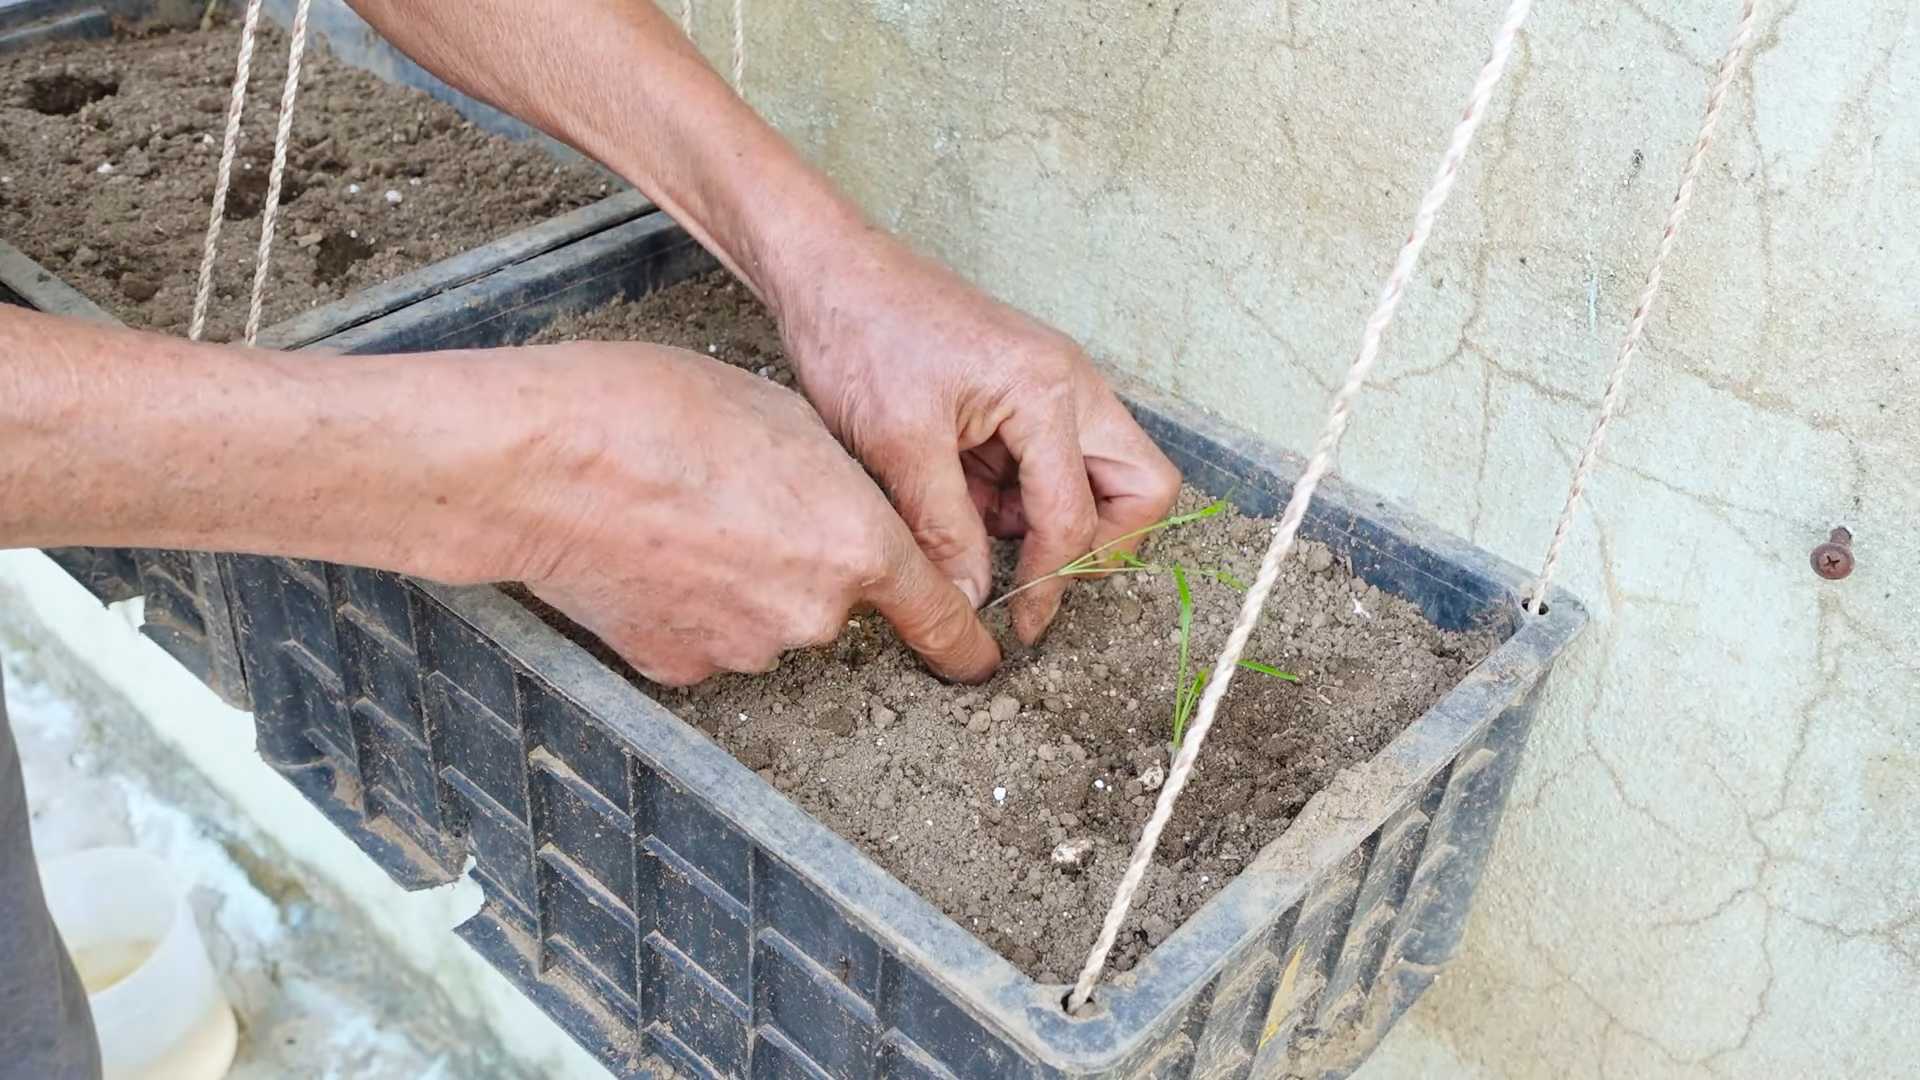
1. Carefully Remove the Sprouts: Gently open the plastic bag and carefully peel back the top paper towel. Using tweezers or your fingers, gently separate the sprouted dill seeds from the paper towel. Be very careful not to damage the delicate roots.
2. Plant the Sprouts: Make a small hole in the soil in each pot or cell of your seedling tray. Gently place a sprouted dill seed into each hole, ensuring the roots are pointing downwards. Cover the roots with soil and lightly press down.
3. Water Gently: Water the newly transplanted dill sprouts gently, using a spray bottle or a watering can with a fine rose. Avoid overwatering, as this can lead to root rot.
4. Provide Light and Warmth: Place the pots or seedling trays in a warm, bright location. If you’re using a windowsill, rotate the pots regularly to ensure the seedlings receive even light. You can also use grow lights to supplement natural light.
5. Harden Off the Seedlings: After a week or two, once the dill seedlings have developed a few true leaves, it’s time to harden them off before transplanting them outdoors. This process gradually acclimates the seedlings to outdoor conditions. Start by placing the seedlings outdoors in a sheltered location for a few hours each day, gradually increasing the amount of time they spend outside.
Transplanting Dill Outdoors
Once the dill seedlings have been hardened off, they’re ready to be transplanted into your garden or a larger container.
1. Choose a Sunny Location: Select a location in your garden that receives at least 6 hours of direct sunlight per day.
2. Prepare the Soil: Ensure the soil is well-draining and amended with compost or other organic matter.
3. Dig Holes: Dig holes that are slightly larger than the root balls of the dill seedlings. Space the holes about 12 inches apart.
4. Transplant the Seedlings: Gently remove the dill seedlings from their pots or seedling trays. Carefully place each seedling into a hole, ensuring the top of the root ball is level with the surrounding soil.
5. Fill and Water: Fill the holes with soil and gently press down to secure the seedlings. Water thoroughly.
6. Mulch (Optional): Apply a layer of mulch around the dill plants to help retain moisture and suppress weeds.
Caring for Your Dill Plants
Once your dill plants are established, they’re relatively easy to care for. Here are a few tips:
- Water Regularly: Water dill plants regularly, especially during dry periods. Avoid overwatering, as this can lead to root rot.
- Fertilize Sparingly: Dill doesn’t require heavy fertilization. You can apply a light feeding of balanced fertilizer every few weeks.
- Pinch Back: Pinch back the tips of the dill plants to encourage bushier growth.
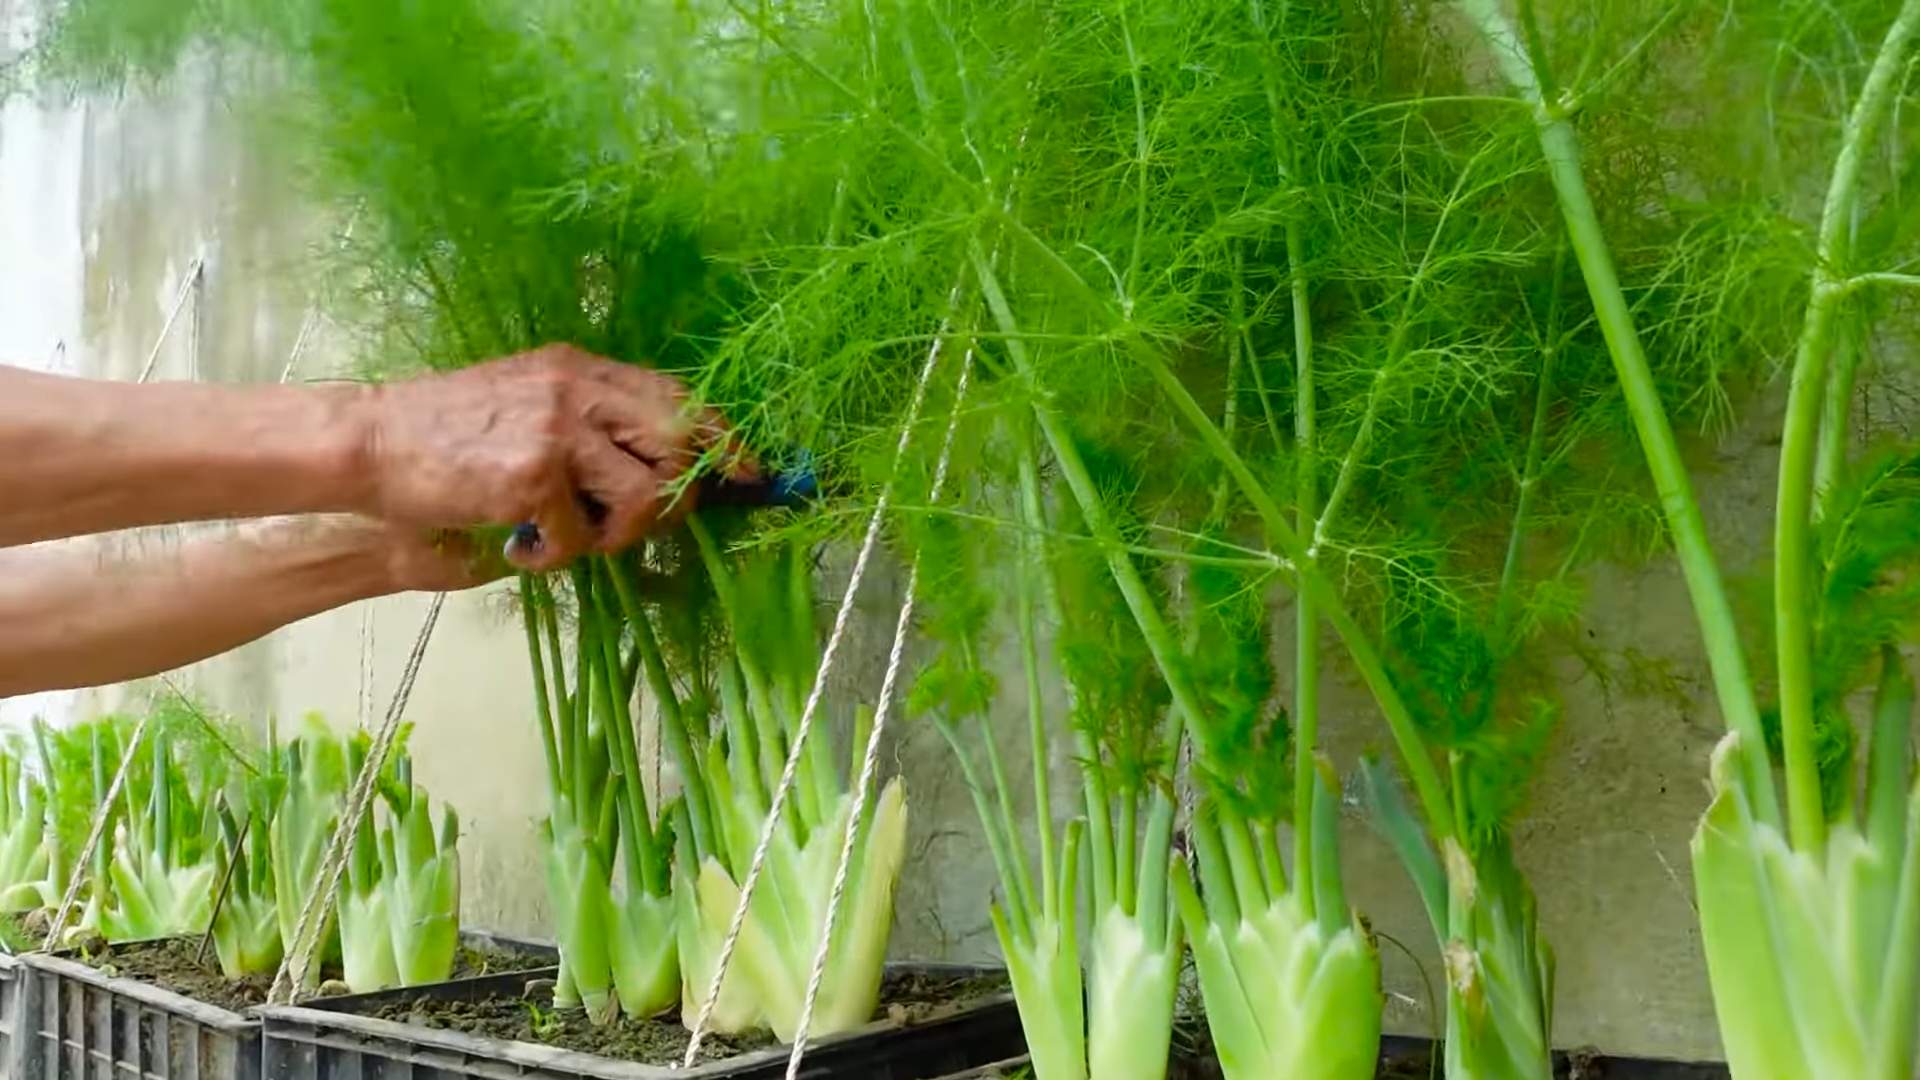
- Harvest Regularly: Harvest dill leaves as needed, starting from the top of the plant. Regular harvesting will encourage new growth.
- Control Pests: Keep an eye out for pests such as aphids and caterpillars. Treat infestations promptly with insecticidal soap or other appropriate methods.
Troubleshooting Common Dill Problems
Even with the best care, you may encounter some problems with your dill plants. Here are a few common issues and how to address them:
- Yellowing Leaves: Yellowing leaves can be caused by overwatering, underwatering, or nutrient deficiencies. Adjust your watering schedule and fertilize as needed.
- Leggy Growth: Leggy growth is often caused by insufficient sunlight. Ensure your dill plants are receiving at least 6 hours of direct sunlight per day.
- Bolting: Bolting (premature flowering) can occur in hot weather. To prevent bolting, provide shade during the hottest part of the day and harvest dill leaves regularly.
- Pests: Aphids and caterpillars are common pests of dill. Treat infestations promptly with insecticidal soap or other appropriate methods.
Enjoy Your Fresh Dill!
With this simple DIY hack, you’ll be enjoying fresh, flavorful dill in no time! Use it in your favorite recipes, such as dill pickles, potato salad, and fish dishes. I love adding fresh dill to almost everything! Happy gardening!
“`
Conclusion
So, there you have it! Mastering the art of growing dill fast isn’t some elusive gardener’s secret; it’s a perfectly achievable goal with a few simple, strategic steps. We’ve debunked the myths, highlighted the crucial elements, and armed you with the knowledge to transform your dill-growing experience.
Why is this DIY trick a must-try? Because it empowers you to enjoy the fresh, vibrant flavor of dill whenever you desire, without relying on expensive store-bought options or settling for wilted, lackluster herbs. Imagine the satisfaction of snipping fragrant sprigs from your own thriving dill patch, ready to elevate your culinary creations. Think of the burst of freshness it will add to your salads, dips, sauces, and seafood dishes. This isn’t just about growing dill; it’s about enhancing your lifestyle and connecting with the natural world in a tangible, rewarding way.
But the beauty of gardening lies in its adaptability. Feel free to experiment with variations to suit your specific environment and preferences. For instance, if you live in a particularly hot climate, consider providing your dill plants with afternoon shade to prevent bolting. If you’re short on space, explore container gardening options, ensuring you choose a pot that’s large enough to accommodate the dill’s root system. You could even try companion planting, pairing your dill with vegetables like cucumbers or cabbage, which are said to benefit from its presence.
Don’t be afraid to get creative! Try different soil mixes, experiment with various watering schedules, and observe how your dill plants respond. The more you engage with the process, the more you’ll learn and the more successful you’ll become.
We wholeheartedly encourage you to embark on this dill-growing adventure. It’s a journey filled with learning, discovery, and ultimately, the reward of fresh, flavorful dill at your fingertips. And most importantly, don’t keep your newfound knowledge to yourself! Share your experiences, successes, and even your challenges with fellow gardening enthusiasts. Let’s create a community of dill-growing experts, supporting each other and celebrating the joys of homegrown herbs.
So, grab your seeds, prepare your soil, and get ready to witness the magic of growing dill fast. We’re confident that you’ll be amazed by the results. Happy gardening!
Frequently Asked Questions (FAQ)
Q: How long does it really take to grow dill fast using these methods?
A: While “fast” is relative, you can realistically expect to harvest dill within 4-6 weeks of planting seeds using the methods described. This is significantly faster than relying solely on natural conditions, which can take 8 weeks or longer. Factors like sunlight, soil quality, and temperature will still play a role, so consistent monitoring and adjustments are key. Remember, patience is a virtue, but with the right techniques, you can definitely accelerate the process.
Q: What’s the best type of dill to grow for a quick harvest?
A: While all dill varieties share similar characteristics, some are known for their faster growth rates. ‘Fernleaf’ dill is a popular choice for container gardening and tends to mature relatively quickly. ‘Bouquet’ dill is another reliable option, known for its abundant foliage and early flowering. Ultimately, the best variety for you will depend on your personal preferences and local climate. Researching different varieties and selecting one that’s well-suited to your growing conditions is always a good idea.
Q: Can I grow dill indoors to speed up the process?
A: Absolutely! Growing dill indoors can provide a controlled environment, allowing you to maintain optimal temperature and light conditions, which can indeed speed up growth. Use a well-draining potting mix and place your dill in a sunny windowsill or under grow lights. Ensure adequate ventilation to prevent fungal diseases. Remember to rotate the pot regularly to ensure even growth. Indoor growing is a fantastic option, especially if you live in an area with harsh weather conditions.
Q: What are the signs that my dill plant is bolting, and how can I prevent it?
A: Bolting is when a plant prematurely flowers and goes to seed, often resulting in a decline in flavor and leaf production. Signs of bolting in dill include the development of a tall flower stalk and a change in leaf texture. To prevent bolting, ensure your dill plant receives adequate water, especially during hot weather. Providing afternoon shade can also help. Regularly harvesting the leaves can also delay bolting. If your dill plant does bolt, you can still harvest the seeds for future planting or culinary use.
Q: How often should I water my dill plants to promote fast growth?
A: Dill prefers consistently moist soil, but it’s crucial to avoid overwatering, which can lead to root rot. Water deeply when the top inch of soil feels dry to the touch. The frequency of watering will depend on factors like temperature, humidity, and soil type. During hot, dry periods, you may need to water daily, while during cooler, wetter periods, you can reduce the frequency. Monitor your plants closely and adjust your watering schedule accordingly.
Q: What kind of fertilizer should I use to encourage rapid dill growth?
A: Dill generally doesn’t require heavy fertilization, but a light feeding can certainly boost growth. Use a balanced, water-soluble fertilizer diluted to half strength. Apply the fertilizer every 2-3 weeks during the growing season. Avoid over-fertilizing, as this can lead to leggy growth and a less intense flavor. Organic options like compost tea or fish emulsion are also excellent choices.
Q: My dill seedlings are leggy and weak. What am I doing wrong?
A: Leggy seedlings are often a sign of insufficient light. Dill needs at least 6 hours of direct sunlight per day to thrive. If you’re growing your seedlings indoors, supplement with grow lights. Also, ensure that your seedlings are not overcrowded, as this can also contribute to leggy growth. Thin out the seedlings to provide adequate space for each plant to develop.
Q: Can I transplant dill seedlings, or is it better to direct sow the seeds?
A: Dill can be transplanted, but it’s best to do so when the seedlings are young and small. Dill has a taproot, which can be easily damaged during transplanting. If you’re starting your seeds indoors, use biodegradable pots that can be planted directly into the ground to minimize root disturbance. Alternatively, direct sowing is a great option, especially if you live in an area with a long growing season.
Q: How do I harvest dill to encourage continued growth?
A: The best way to harvest dill is to snip off the leaves or entire stems as needed. Avoid cutting more than one-third of the plant at a time, as this can stress the plant and slow down growth. Regularly harvesting the leaves will also encourage the plant to produce more foliage. You can also harvest the dill seeds once the flower heads have dried and turned brown.
Q: What are some common pests and diseases that affect dill, and how can I prevent them?
A: Dill is generally a relatively pest-resistant plant, but it can be susceptible to aphids, spider mites, and fungal diseases like powdery mildew. To prevent pests, inspect your plants regularly and remove any infestations promptly. You can also use insecticidal soap or neem oil to control pests. To prevent fungal diseases, ensure adequate ventilation and avoid overwatering. If you notice signs of disease, remove the affected leaves and treat the plant with a fungicide.
Q: Can I save dill seeds for future planting?
A: Absolutely! Saving dill seeds is a great way to ensure a continuous supply of this flavorful herb. Allow the flower heads to dry completely on the plant. Once they are dry and brown, cut them off and place them in a paper bag. Shake the bag to release the seeds. Remove any debris and store the seeds in an airtight container in a cool, dark, and dry place. Dill seeds can remain viable for several years if stored properly.
Leave a Comment