
Grow Juicy Watermelons Fast – imagine sinking your teeth into a perfectly ripe, incredibly sweet watermelon that you nurtured from seed to fruit, right in your own backyard! It’s a dream many gardeners share, and I’m here to tell you it’s absolutely achievable, even if you’re short on space or time. Forget those bland, store-bought watermelons; we’re talking about homegrown goodness bursting with flavor.
Watermelons have a rich history, dating back thousands of years to Africa. They were even found in King Tut’s tomb! Over centuries, different varieties have been cultivated, each with its unique sweetness and texture. But the core desire remains the same: to enjoy that refreshing taste of summer.
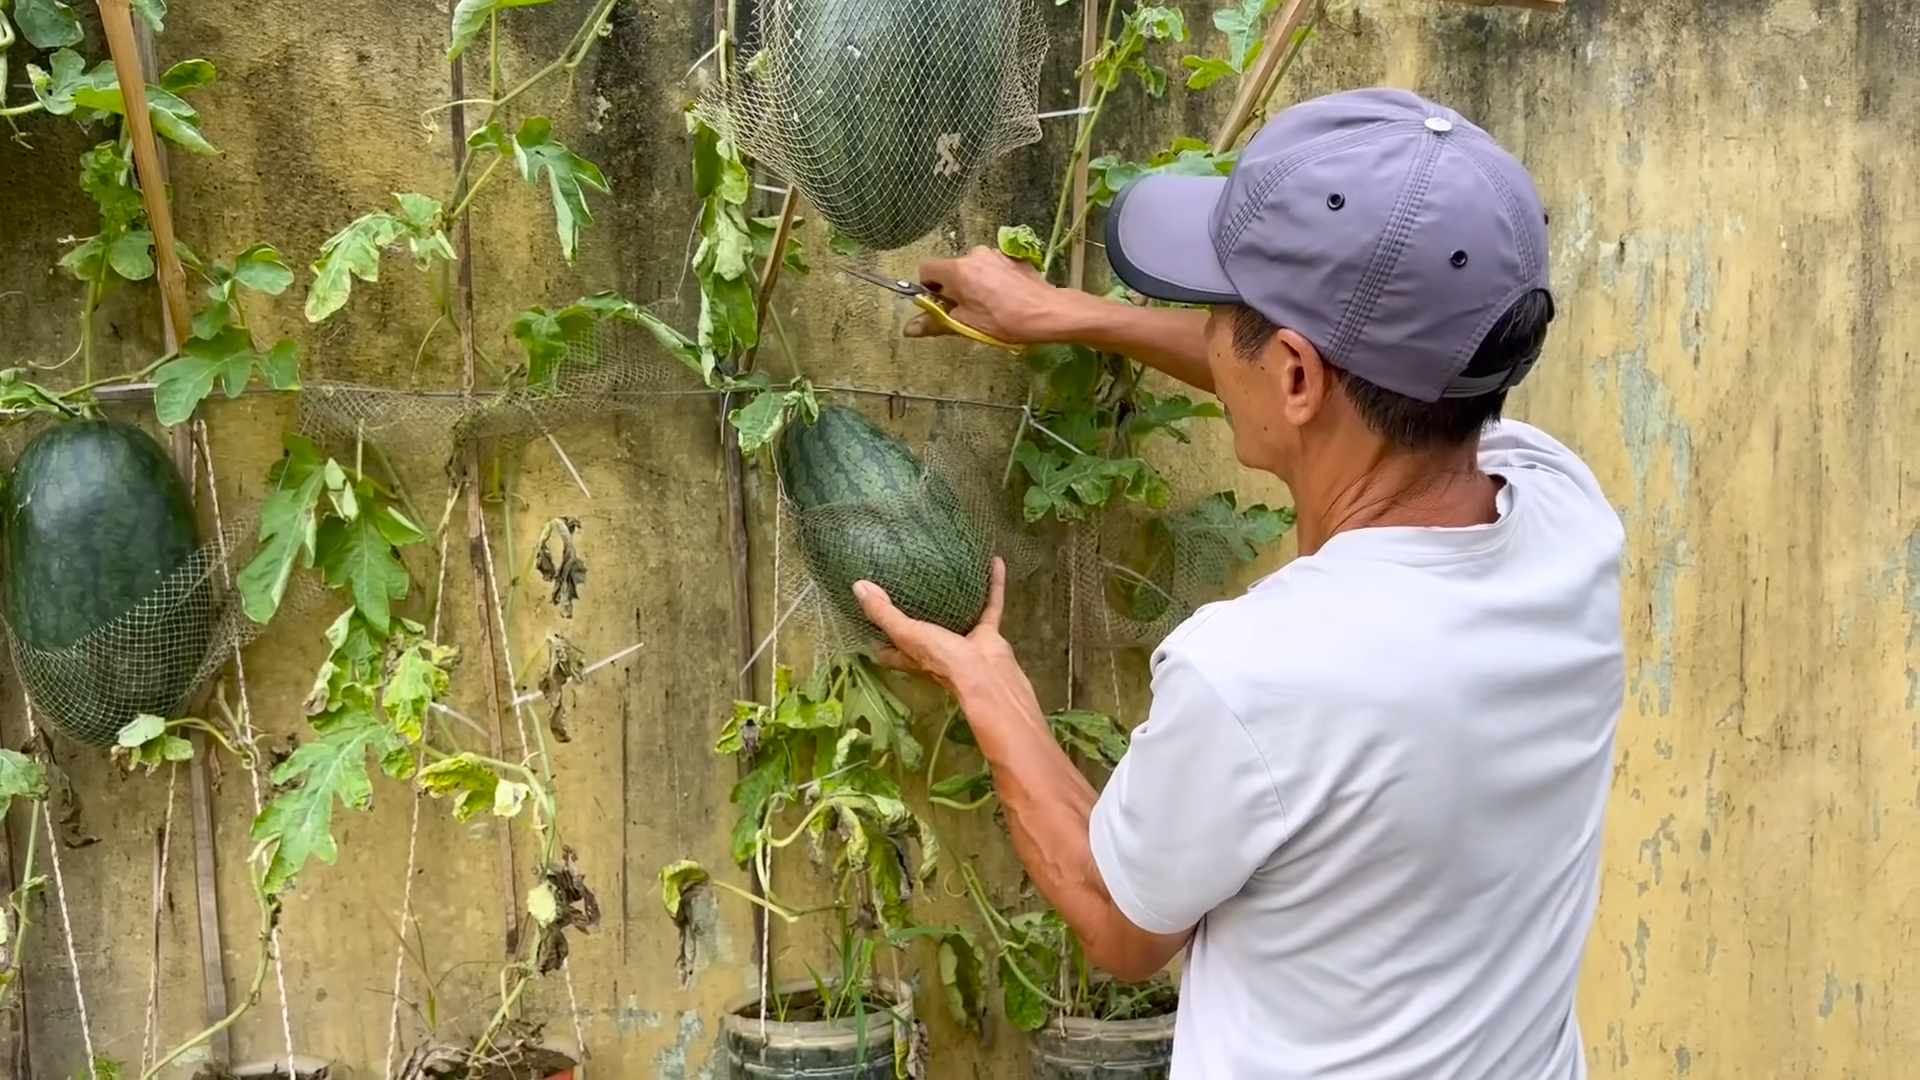
Let’s face it, growing watermelons can seem daunting. They’re known for being space-hungry and slow to mature. But what if I told you there are simple, effective DIY tricks and hacks that can dramatically speed up the process? This article is your guide to unlocking the secrets to grow juicy watermelons fast, regardless of your gardening experience. I’ll share my favorite tips and techniques, from seed starting to harvesting, ensuring you’ll be enjoying your own delicious watermelons sooner than you think. Get ready to impress your friends and family with your green thumb!
Harvesting Pumpkins All Season: A DIY Guide to Extended Pumpkin Bliss
Okay, pumpkin lovers, let’s face it: pumpkin season is way too short! I’m always sad when my beautiful pumpkins start to rot before I can even carve them all. So, I’ve developed a system to extend my pumpkin harvest and enjoyment throughout the fall and even into winter. This guide will walk you through everything I do, from planting to preserving, so you can have pumpkins galore!
Choosing the Right Pumpkin Varieties
First things first, not all pumpkins are created equal when it comes to long-term storage. Some varieties are bred for their flavor and texture, while others are specifically designed to last. Here’s what I look for:
* ‘Long Island Cheese’: This heirloom variety is a fantastic keeper. It has a beautiful tan color and a sweet, nutty flavor.
* ‘Jarrahdale’: With its distinctive blue-gray skin, this Australian pumpkin is not only gorgeous but also stores incredibly well.
* ‘Queensland Blue’: Similar to Jarrahdale, this variety boasts a striking blue hue and excellent storage capabilities.
* ‘Lakota’: This unique pumpkin has a teardrop shape and vibrant orange and green stripes. It’s a good keeper and has a delicious, sweet flavor.
* ‘Butternut Squash’: While technically a squash, butternut squash stores exceptionally well and can be used in many of the same recipes as pumpkin.
Planting for a Staggered Harvest
The key to having pumpkins all season long is to plant at different times. This way, you’re not stuck with a huge glut of pumpkins all ripening at once. Here’s my planting schedule:
* First Planting (Late Spring/Early Summer): I start my first batch of pumpkins indoors about 2-3 weeks before the last expected frost. This gives them a head start and allows them to mature earlier in the season.
* Second Planting (Mid-Summer): About 2-3 weeks after transplanting the first batch, I sow another round of seeds directly into the garden. This ensures a second wave of pumpkins that will ripen later in the fall.
* Third Planting (Late Summer): For a late-season harvest, I plant a third batch of seeds in late summer. These pumpkins may not get as large as the earlier ones, but they’ll still provide a welcome supply of fresh pumpkins as the weather cools down.
Growing Healthy Pumpkins
Healthy pumpkins are happy pumpkins, and happy pumpkins store better! Here are some tips for growing strong, resilient pumpkins:
* Sunlight: Pumpkins need at least 6-8 hours of direct sunlight per day.
* Soil: They thrive in well-drained soil that’s rich in organic matter. I amend my soil with compost and aged manure before planting.
* Watering: Water deeply and regularly, especially during dry spells. Avoid overhead watering, as this can lead to fungal diseases.
* Fertilizing: I fertilize my pumpkins with a balanced fertilizer every few weeks.
* Pest Control: Keep an eye out for common pumpkin pests like squash bugs and vine borers. I use organic pest control methods like hand-picking and insecticidal soap.
* Pollination: If you’re not seeing many pumpkins forming, you may need to hand-pollinate the flowers. This is especially important in areas with low bee populations.
Harvesting at the Right Time
Knowing when to harvest your pumpkins is crucial for long-term storage. Here’s what I look for:
* Hard Rind: The rind should be hard and resistant to scratching with your fingernail.
* Dull Color: The color should be deep and dull, not shiny.
* Dry Stem: The stem should be dry and brown, not green and pliable.
* Sound Test: When you tap on the pumpkin, it should sound hollow.
Important: Always leave at least 3-4 inches of stem attached to the pumpkin when harvesting. This helps prevent rot.
Curing Your Pumpkins for Long-Term Storage
Curing is the process of hardening the pumpkin’s skin and drying out the stem, which helps prevent rot and extends its shelf life. Here’s how I cure my pumpkins:
1. Clean the Pumpkins: Gently wipe down the pumpkins with a clean, dry cloth to remove any dirt or debris.
2. Find a Warm, Dry Place: Choose a well-ventilated area with temperatures between 80-85°F (27-29°C) and humidity around 50-75%. A sunny porch or shed works well.
3. Arrange the Pumpkins: Place the pumpkins in a single layer, making sure they don’t touch each other.
4. Cure for 10-14 Days: Leave the pumpkins to cure for 10-14 days, turning them occasionally to ensure even curing.
Storing Your Cured Pumpkins
Once your pumpkins are cured, it’s time to store them properly. Here’s what I do:
1. Choose a Cool, Dry Place: The ideal storage location is a cool, dry, and well-ventilated area with temperatures between 50-60°F (10-15°C) and humidity around 50-70%. A basement, root cellar, or unheated garage works well.
2. Elevate the Pumpkins: Place the pumpkins on shelves or pallets to allow for air circulation.
3. Don’t Stack Them: Avoid stacking pumpkins, as this can lead to bruising and rot.
4. Check Regularly: Inspect your pumpkins regularly for any signs of rot or spoilage. Remove any damaged pumpkins immediately to prevent the spread of disease.
Preserving Pumpkin for Later Use
Even with proper storage, pumpkins won’t last forever. To enjoy pumpkin flavor year-round, I also preserve some of my harvest. Here are a few methods I use:
Freezing Pumpkin Puree
This is my go-to method for preserving pumpkin for baking and cooking.
1. Roast or Steam the Pumpkin: Cut the pumpkin in half, remove the seeds, and roast it cut-side down in a 350°F (175°C) oven for about an hour, or until the flesh is tender. Alternatively, you can steam the pumpkin chunks until tender.
2. Scoop Out the Flesh: Once the pumpkin is cool enough to handle, scoop out the flesh and discard the skin.
3. Puree the Pumpkin: Use a food processor or blender to puree the pumpkin until smooth.
4. Cool the Puree: Let the puree cool completely.
5. Package and Freeze: Divide the puree into freezer-safe bags or containers, leaving some headspace for expansion. Label and date the containers, and freeze for up to a year.
Canning Pumpkin
Canning pumpkin requires a pressure canner and is a bit more involved than freezing, but it’s a great way to preserve pumpkin for long-term storage. Important: Due to density issues, the USDA recommends canning pumpkin puree only, not chunks.
1. Prepare the Pumpkin: Follow steps 1-3 from the freezing instructions to prepare the pumpkin puree.
2. Prepare the Jars: Wash and sterilize canning jars and lids according to manufacturer’s instructions.
3. Fill the Jars: Fill the jars with hot pumpkin puree, leaving 1 inch of headspace.
4. Remove Air Bubbles: Run a nonmetallic spatula around the inside of the jar to release any trapped air bubbles.
5. Wipe the Rims: Wipe the rims of the jars with a clean, damp cloth.
6. Place Lids and Rings: Place the lids on the jars and screw on the rings finger-tight.
7. Process in a Pressure Canner: Process the jars in a pressure canner according to USDA guidelines for your altitude. The processing time will vary depending on the size of the jars. Always follow the manufacturer’s instructions for your pressure canner.
8. Cool and Store: After processing, let the jars cool completely. Check the seals to make sure they are properly sealed. Store the jars in a cool, dark place for up to a year.
Dehydrating Pumpkin
Dehydrating pumpkin is a great way to make pumpkin chips or pumpkin powder.
1. Prepare the Pumpkin: Peel and slice the pumpkin into thin, even slices.
2. Blanch the Slices: Blanch the pumpkin slices in boiling water for 2-3 minutes to help preserve their color and flavor.
3. Arrange on Dehydrator Trays: Arrange the blanched pumpkin slices on dehydrator trays in a single layer.
4. Dehydrate: Dehydrate at 135°F (57°C) for 8-12 hours
Conclusion
So, there you have it! Growing juicy watermelons fast isn’t some unattainable gardening dream. It’s a tangible reality within your reach, achievable with a little planning, the right techniques, and a whole lot of sunshine. We’ve walked you through everything from selecting the perfect variety to optimizing your soil and providing the essential nutrients your watermelons crave. Remember, the key is consistency and attentiveness. Check your plants regularly for signs of pests or diseases, and don’t be afraid to adjust your watering and feeding schedule based on their needs.
This isn’t just about growing watermelons; it’s about experiencing the satisfaction of nurturing life from seed to fruit. Imagine the pride you’ll feel when you harvest your first, perfectly ripe watermelon, knowing you played an integral role in its creation. The taste of a homegrown watermelon, bursting with sweetness and freshness, is simply unmatched. It’s a flavor that store-bought varieties can only dream of replicating.
Why is this DIY trick a must-try? Because it empowers you to take control of your food source, reduces your reliance on commercially grown produce, and provides you with a delicious and healthy treat that you can share with family and friends. Plus, it’s a fantastic learning experience that connects you with nature and deepens your appreciation for the natural world.
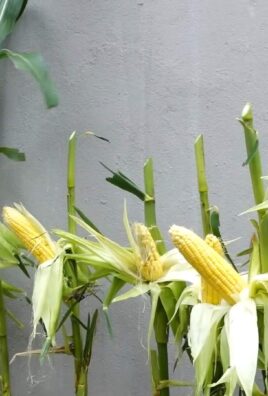
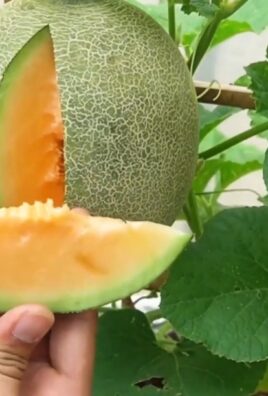
Looking for variations? Consider experimenting with different watermelon varieties to find your personal favorite. Try growing seedless watermelons for convenience, or explore heirloom varieties for unique flavors and colors. You can also adapt these techniques to grow other melons, such as cantaloupe or honeydew. For those with limited space, consider growing bush-type watermelons in containers. Just be sure to choose a large container and provide adequate support for the developing fruit.
We’ve covered a lot of ground, but don’t feel overwhelmed. Start small, focus on the basics, and learn as you go. Gardening is a journey, not a destination. There will be challenges along the way, but the rewards are well worth the effort.
We wholeheartedly encourage you to try this DIY trick for growing juicy watermelons fast. It’s a rewarding experience that will transform your garden and your taste buds. And most importantly, we want to hear about your success! Share your experiences, photos, and tips in the comments below. Let’s create a community of watermelon growers and learn from each other. What worked for you? What challenges did you face? What are your favorite watermelon recipes? We can’t wait to hear your stories! Happy gardening!
Frequently Asked Questions (FAQ)
What is the best time to start watermelon seeds indoors?
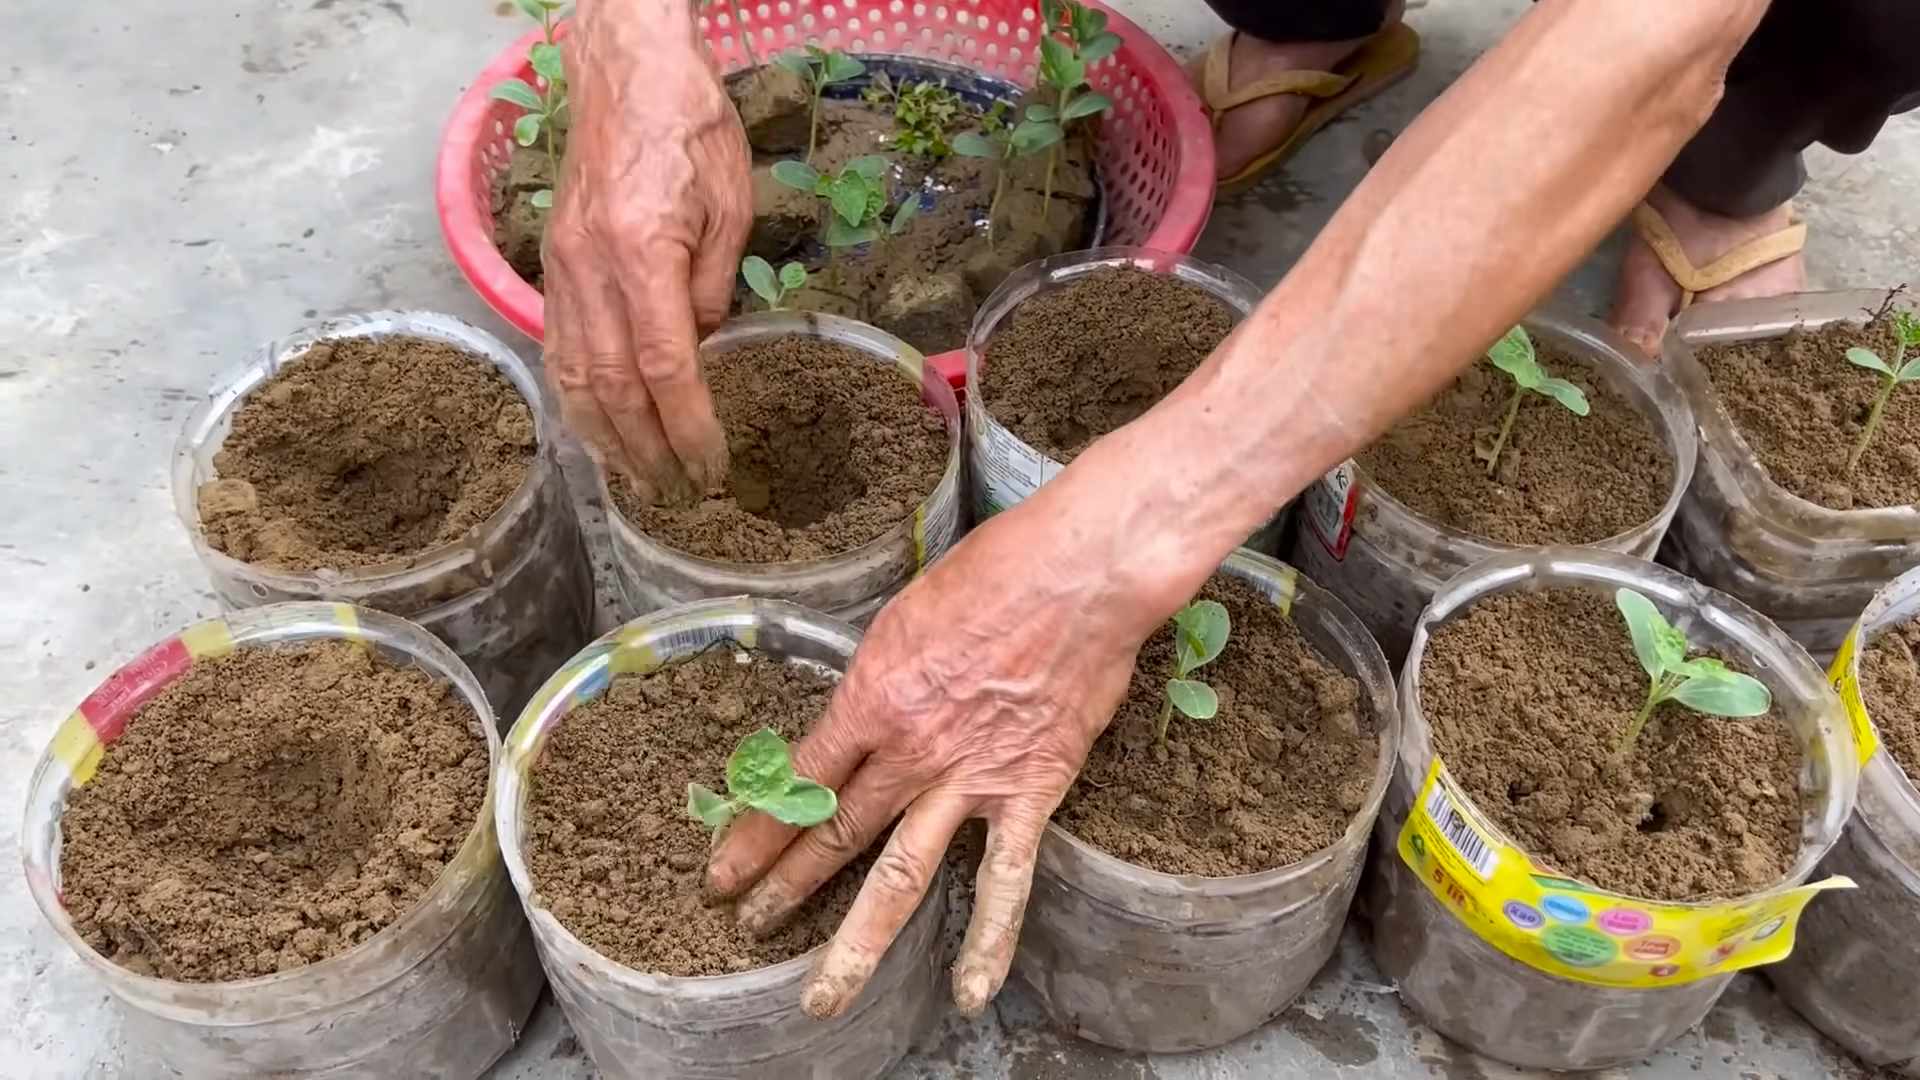
The ideal time to start watermelon seeds indoors is typically 4-6 weeks before the last expected frost in your area. This allows the seedlings to develop a strong root system before being transplanted outdoors. Check your local weather forecasts and planting calendars to determine the appropriate timing for your region. Starting too early can result in leggy, weak seedlings, while starting too late may shorten your growing season and reduce your yield.
How often should I water my watermelon plants?
Watermelon plants need consistent moisture, especially during hot weather and fruit development. Water deeply and regularly, aiming for about 1-2 inches of water per week. Water at the base of the plant to avoid wetting the foliage, which can increase the risk of fungal diseases. Check the soil moisture regularly by sticking your finger about an inch into the soil. If it feels dry, it’s time to water. Reduce watering as the fruits ripen to prevent them from cracking.
What kind of fertilizer should I use for watermelons?
Watermelons are heavy feeders and benefit from regular fertilization. Start with a balanced fertilizer (e.g., 10-10-10) at planting time. Once the plants start to vine, switch to a fertilizer higher in phosphorus and potassium to promote fruit development (e.g., 5-10-10). You can also supplement with compost tea or other organic fertilizers. Avoid over-fertilizing, as this can lead to excessive foliage growth at the expense of fruit production.
How do I know when my watermelon is ripe?
Determining watermelon ripeness can be tricky, but there are several indicators to look for. The most reliable sign is the “ground spot,” the area where the watermelon rests on the ground. When the watermelon is ripe, the ground spot will turn from white to a creamy yellow color. Other indicators include a dull thud when you tap the watermelon (a ripe watermelon will sound hollow), a dried tendril closest to the fruit, and a slight change in the skin’s appearance (it may become less shiny).
What are some common pests and diseases that affect watermelons?
Watermelons are susceptible to various pests and diseases, including aphids, squash bugs, vine borers, powdery mildew, and fusarium wilt. Regularly inspect your plants for signs of infestation or disease. Use organic pest control methods, such as insecticidal soap or neem oil, to control pests. To prevent diseases, ensure good air circulation, avoid overhead watering, and practice crop rotation. Choose disease-resistant varieties whenever possible.
Can I grow watermelons in containers?
Yes, you can grow watermelons in containers, but you’ll need to choose a large container (at least 20 gallons) and select a bush-type or dwarf watermelon variety. Ensure the container has good drainage and use a high-quality potting mix. Provide adequate support for the developing fruit, as the vines may become heavy. Water and fertilize regularly, as container-grown plants tend to dry out and deplete nutrients more quickly.
How can I improve pollination for my watermelons?
Watermelons require pollination to set fruit. If you’re not seeing many bees or other pollinators in your garden, you may need to hand-pollinate the flowers. To hand-pollinate, use a small paintbrush to transfer pollen from the male flowers (which have a slender stem) to the female flowers (which have a small fruit behind the flower). Do this in the morning, when the pollen is most viable. You can also attract more pollinators to your garden by planting flowers that they love, such as sunflowers, zinnias, and lavender.
What should I do if my watermelon plant is not producing fruit?
If your watermelon plant is not producing fruit, there could be several reasons. First, ensure that the plant is getting enough sunlight (at least 6-8 hours per day). Second, check for proper pollination. If there are not enough pollinators in your area, you may need to hand-pollinate the flowers. Third, make sure the plant is getting adequate water and nutrients. Finally, rule out any pest or disease problems. If you’ve addressed all of these factors and the plant is still not producing fruit, it may simply be a late-blooming variety or the growing conditions may not be ideal.
How do I store a harvested watermelon?
Once you’ve harvested your watermelon, store it in a cool, dry place. Whole watermelons can be stored at room temperature for about a week. For longer storage, refrigerate the watermelon. Cut watermelons should be wrapped tightly in plastic wrap and stored in the refrigerator. They will typically last for about 3-5 days.

Leave a Comment