
Grow Kale at Home, even if you think you don’t have a green thumb! I know, I know, the idea of cultivating your own leafy greens might seem daunting, reserved for seasoned gardeners with sprawling backyards. But trust me, growing kale at home is surprisingly simple, rewarding, and totally achievable, even if you’re starting with a tiny balcony or just a sunny windowsill.
Kale, a nutritional powerhouse, has a rich history dating back to ancient Greece and Rome, where it was a staple food. For centuries, it has been celebrated for its hardiness and health benefits. Today, it’s experiencing a well-deserved renaissance, popping up in everything from smoothies to salads. But why buy it at the store when you can have fresh, organic kale right at your fingertips?
In this DIY guide, I’m going to share some of my favorite tricks and hacks for successfully growing kale at home. We’ll cover everything from choosing the right variety and preparing your soil to troubleshooting common problems and harvesting your bounty. Imagine stepping outside your door and snipping fresh kale leaves for your morning juice or a delicious side dish. Not only will you save money, but you’ll also enjoy the satisfaction of knowing exactly where your food comes from and that it’s free from harmful pesticides. So, let’s get started and unlock the secrets to successfully grow kale at home!
Grow Your Own Delicious Kale: A Beginner’s Guide
Hey there, fellow gardening enthusiasts! I’m so excited to share my experience with growing kale at home. It’s surprisingly easy, incredibly rewarding, and you’ll have a constant supply of this superfood right at your fingertips. Trust me, nothing beats the taste of freshly harvested kale from your own garden!
Choosing Your Kale Variety
Before we get our hands dirty, let’s talk kale varieties. There are so many to choose from, each with its own unique flavor and texture. Here are a few of my favorites:
- Curly Kale (Scotch Kale): This is the classic kale you probably picture. It has tightly curled, frilly leaves and a slightly bitter taste that mellows out when cooked.
- Lacinato Kale (Dinosaur Kale or Tuscan Kale): Also known as cavolo nero, this kale has long, dark green, almost black leaves with a slightly bumpy texture. It has a milder, sweeter flavor than curly kale and holds up well in soups and stews.
- Red Russian Kale: This variety has flat, fringed leaves with purple stems. It’s sweeter and more tender than curly kale, making it great for salads.
- Redbor Kale: A beautiful ornamental kale with deeply ruffled, purple leaves. It’s also edible and has a slightly sweet flavor.
I recommend trying a few different varieties to see which ones you like best! You can find seeds or seedlings at most garden centers or online.
Getting Started: Planting Your Kale
Now for the fun part! You can start kale from seeds or buy seedlings from a nursery. I’ve done both, and honestly, starting from seedlings is a bit easier, especially if you’re a beginner. But don’t let that scare you off from starting from seed! It’s very doable.
Starting from Seeds:
- Timing is Key: Kale is a cool-season crop, meaning it thrives in cooler temperatures. For a spring harvest, start seeds indoors 6-8 weeks before the last expected frost. For a fall harvest, start seeds outdoors in mid-summer.
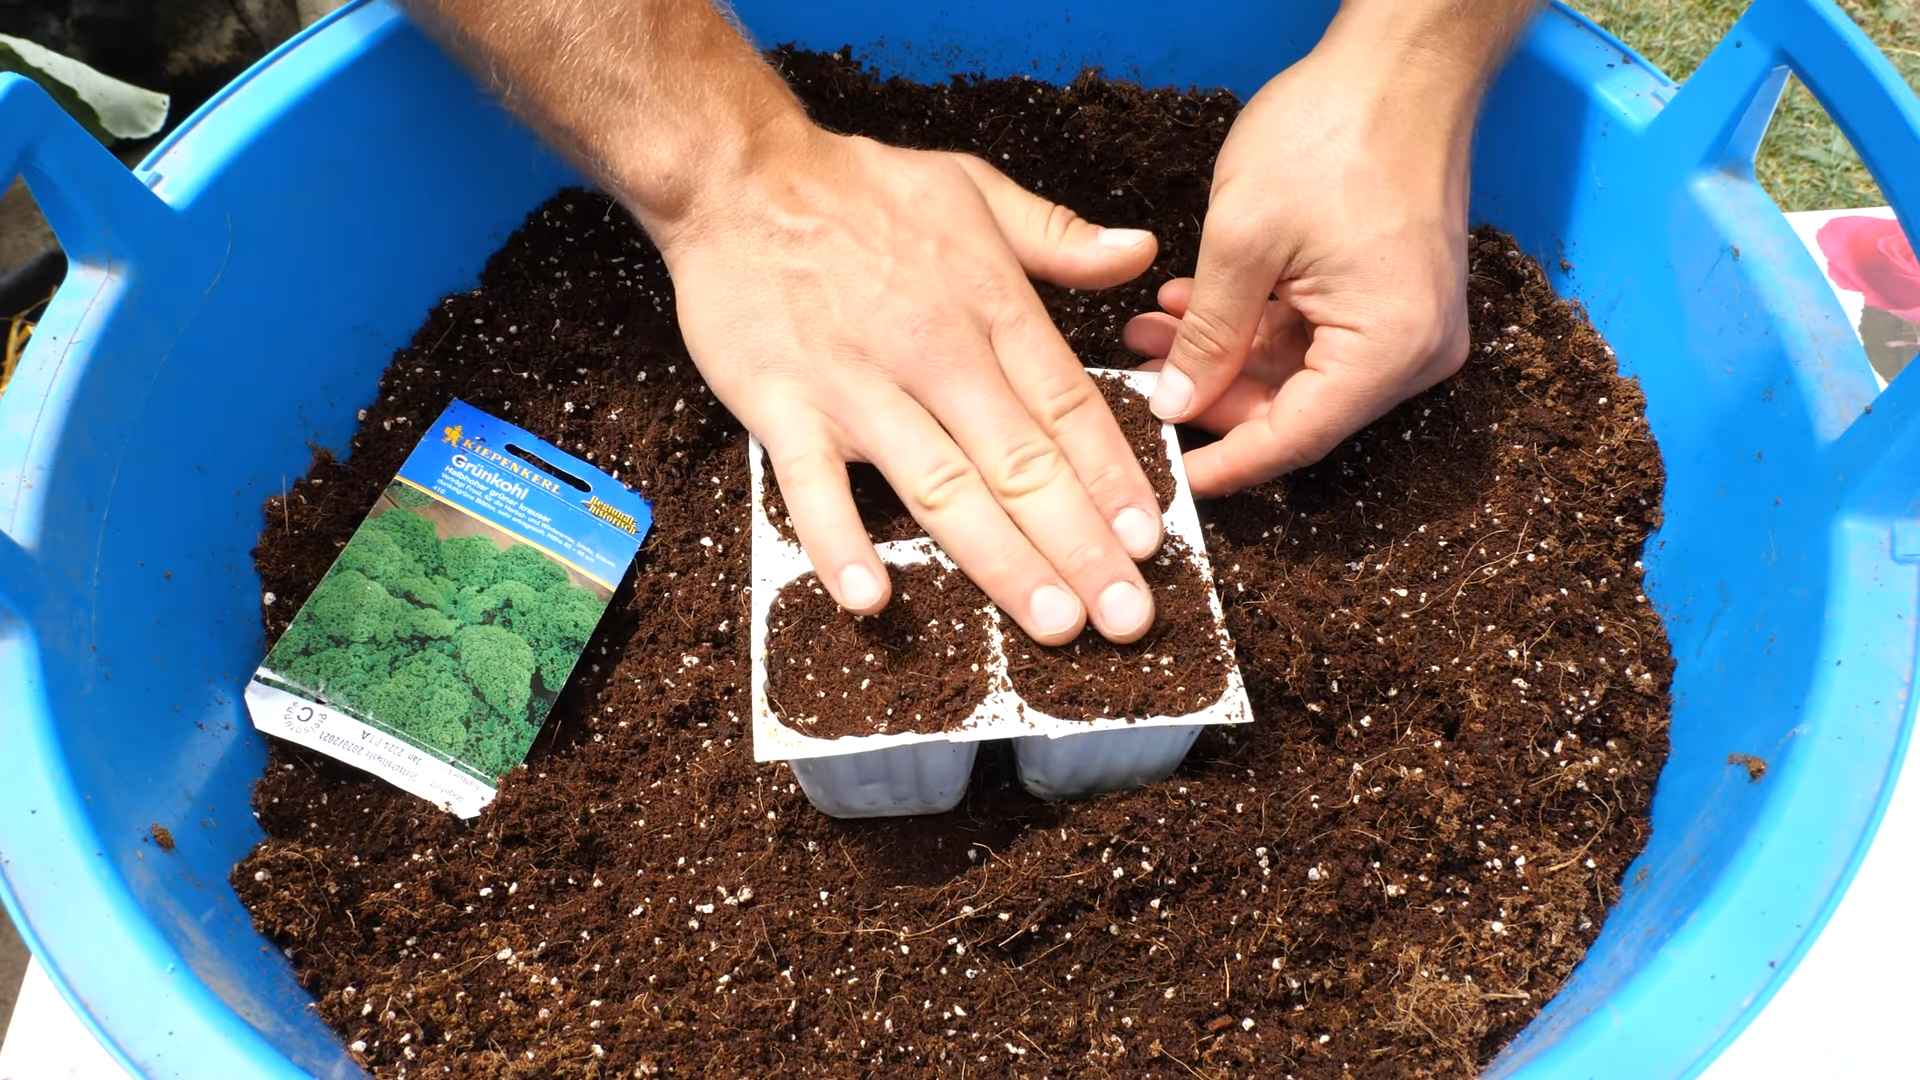
- Sowing the Seeds: Fill seed trays or small pots with a good quality seed-starting mix. Sow seeds about 1/4 inch deep and gently water.
- Creating the Right Environment: Keep the soil moist but not soggy. Place the seed trays in a warm, sunny location or under grow lights.
- Thinning Seedlings: Once the seedlings have a few true leaves, thin them out, leaving the strongest seedling in each pot.
- Hardening Off: Before transplanting the seedlings outdoors, you’ll need to “harden them off.” This means gradually exposing them to outdoor conditions over a period of a week or two. Start by placing them outside for a few hours each day, gradually increasing the amount of time they spend outdoors.
Planting Seedlings:
- Choosing the Right Location: Kale needs at least 6 hours of sunlight per day. Choose a location in your garden that gets plenty of sun.
- Preparing the Soil: Kale prefers well-drained soil that is rich in organic matter. Amend the soil with compost or well-rotted manure before planting.
- Planting the Seedlings: Dig holes that are slightly larger than the root balls of the seedlings. Gently remove the seedlings from their pots and place them in the holes. Space the seedlings about 12-18 inches apart.
- Watering and Mulching: Water the seedlings thoroughly after planting. Add a layer of mulch around the plants to help retain moisture and suppress weeds.
Caring for Your Kale Plants
Once your kale plants are in the ground, it’s important to provide them with the care they need to thrive.
- Watering: Kale needs consistent moisture, especially during hot, dry weather. Water deeply whenever the soil feels dry to the touch.
- Fertilizing: Kale is a heavy feeder, so it benefits from regular fertilization. Use a balanced fertilizer or side-dress with compost every few weeks.
- Weeding: Keep the area around your kale plants free of weeds. Weeds compete with kale for nutrients and water.
- Pest Control: Kale can be susceptible to pests such as aphids, cabbage worms, and flea beetles. Inspect your plants regularly and take action if you see any signs of pests. I like to use organic pest control methods, such as insecticidal soap or neem oil. You can also cover your plants with row covers to protect them from pests.
Dealing with Common Kale Problems
Even with the best care, you might encounter a few problems while growing kale. Here are some common issues and how to deal with them:
- Yellowing Leaves: Yellowing leaves can be a sign of nutrient deficiency, overwatering, or underwatering. Check the soil moisture and fertilize if necessary.
- Holes in Leaves: Holes in leaves are often caused by pests such as cabbage worms or flea beetles. Inspect your plants regularly and take action if you see any signs of pests.
- Bolting: Bolting is when kale plants start to produce flowers and seeds. This usually happens when the weather gets too hot. To prevent bolting, plant kale in the spring or fall and provide shade during the hottest part of the day.
Harvesting Your Kale
The best part of growing kale is, of course, harvesting it! You can start harvesting kale leaves as soon as they are large enough to eat.
- Harvesting Individual Leaves: The easiest way to harvest kale is to simply pick individual leaves as you need them. Start with the outer leaves, which are the oldest. Leave the inner leaves to continue growing.
- Harvesting the Whole Plant: If you want to harvest the entire plant, cut it off at the base.
- When to Harvest: Kale tastes best when it’s harvested in cool weather. Frost can actually improve the flavor of kale, making it sweeter.
Using Your Homegrown Kale
Now that you have a bounty of fresh kale, what do you do with it? The possibilities are endless!
- Salads: Kale is a great addition to salads. Massage the leaves with olive oil and lemon juice to tenderize them before adding them to your salad.
- Smoothies: Add a handful of kale to your smoothies for a boost of nutrients.
- Soups and Stews: Kale holds up well in soups and stews. Add it towards the end of cooking to prevent it from becoming mushy.
- Sautéed Kale: Sauté kale with garlic and olive oil for a simple and delicious side dish.
- Kale Chips: Make your own kale chips by tossing kale leaves with olive oil and salt and baking them in the oven until crispy.
Extending Your Kale Season
Want to enjoy fresh kale all year round? Here are a few tips for extending your kale season:
- Succession Planting: Plant new kale seeds or seedlings every few weeks to ensure a continuous harvest.
- Cold Frames: Use cold frames to protect your kale plants from frost and extend the growing season into the winter.
- Overwintering: In mild climates, you can overwinter kale plants. Simply protect them from frost with mulch or row covers.
Growing kale at home is a rewarding experience that anyone can enjoy. With a little bit of planning and care, you can have a constant supply of fresh, delicious kale right in your own backyard. So get out there and start planting! Happy gardening!
Conclusion
So, there you have it! Growing kale at home is not only achievable, but it’s also incredibly rewarding. From the vibrant, nutrient-packed leaves gracing your plate to the sheer satisfaction of nurturing your own food, this DIY project is a game-changer for any home cook or gardening enthusiast. We’ve walked you through the simple steps, debunked common myths, and armed you with the knowledge to cultivate a thriving kale patch right in your backyard, balcony, or even on your windowsill.
But why is this DIY trick a must-try? Beyond the obvious benefits of fresh, organic produce, growing your own kale offers unparalleled control over the quality and variety you consume. No more wilted, pre-packaged greens from the supermarket! You’ll have access to crisp, flavorful kale whenever you need it, ready to be transformed into delicious salads, smoothies, soups, or even kale chips. Plus, you’ll be reducing your carbon footprint by eliminating the transportation and packaging associated with store-bought produce.
And the possibilities don’t stop there! Feel free to experiment with different varieties of kale. Try the classic curly kale, the robust Lacinato (dinosaur) kale, or the vibrant Red Russian kale. Each variety offers a unique flavor profile and texture, allowing you to tailor your harvest to your specific culinary preferences. You can also explore different growing methods. If you’re short on space, consider container gardening or vertical gardening techniques. If you live in a colder climate, you can extend your growing season by using cold frames or greenhouses.
Don’t be afraid to get creative and personalize your kale-growing experience. Add companion plants like marigolds or nasturtiums to deter pests and attract beneficial insects. Use organic fertilizers like compost or worm castings to nourish your plants and promote healthy growth. And most importantly, don’t give up if you encounter challenges along the way. Gardening is a learning process, and every mistake is an opportunity to improve your skills.
We are confident that you’ll find growing kale at home to be a fulfilling and enjoyable experience. It’s a simple, sustainable way to enhance your diet, connect with nature, and add a touch of green to your life. So, grab your seeds, prepare your soil, and get ready to embark on your kale-growing adventure!
Now, we want to hear from you! Have you tried growing kale at home before? What challenges did you face, and what tips would you share with other beginners? We encourage you to try this DIY trick and share your experiences in the comments below. Let’s build a community of kale-loving gardeners and inspire each other to grow our own food! Share your photos, recipes, and success stories. We can’t wait to see what you create!
Frequently Asked Questions (FAQ)
What is the best time of year to plant kale?
Kale is a cool-season crop, meaning it thrives in cooler temperatures. The best time to plant kale depends on your climate. In general, you can plant kale in early spring (as soon as the soil can be worked) or in late summer/early fall for a fall or winter harvest. For spring planting, start seeds indoors 6-8 weeks before the last expected frost. For fall planting, sow seeds directly into the garden in late summer. In warmer climates, you can grow kale throughout the winter.
How much sunlight does kale need?
Kale needs at least 6 hours of sunlight per day to thrive. If you’re growing kale indoors, place it near a sunny window or use grow lights to supplement natural light. Insufficient sunlight can result in leggy, weak plants with poor leaf development.
What kind of soil is best for growing kale?
Kale prefers well-drained soil that is rich in organic matter. The ideal soil pH is between 6.0 and 7.5. Before planting, amend your soil with compost, aged manure, or other organic materials to improve its fertility and drainage. If your soil is heavy clay, consider adding sand or perlite to improve drainage.
How often should I water kale?
Kale needs consistent moisture to thrive. Water deeply whenever the top inch of soil feels dry to the touch. Avoid overwatering, as this can lead to root rot. During hot, dry weather, you may need to water more frequently. Mulching around your kale plants can help retain moisture in the soil.
What are some common pests and diseases that affect kale?
Kale can be susceptible to various pests and diseases, including aphids, cabbage worms, flea beetles, and fungal diseases like powdery mildew. To prevent pest and disease problems, practice good garden hygiene, such as removing weeds and debris from around your plants. Inspect your plants regularly for signs of pests or diseases, and take action promptly if you notice any problems. Organic pest control methods, such as insecticidal soap or neem oil, can be effective for controlling aphids and other pests. For fungal diseases, ensure good air circulation around your plants and avoid overhead watering.
How do I harvest kale?
You can begin harvesting kale leaves once they are large enough to use, typically when they are about 4-6 inches long. Harvest the outer leaves first, leaving the inner leaves to continue growing. You can harvest kale leaves continuously throughout the growing season. Simply snap or cut the leaves off near the base of the plant. Avoid harvesting more than one-third of the plant at a time, as this can stress the plant and reduce its yield.
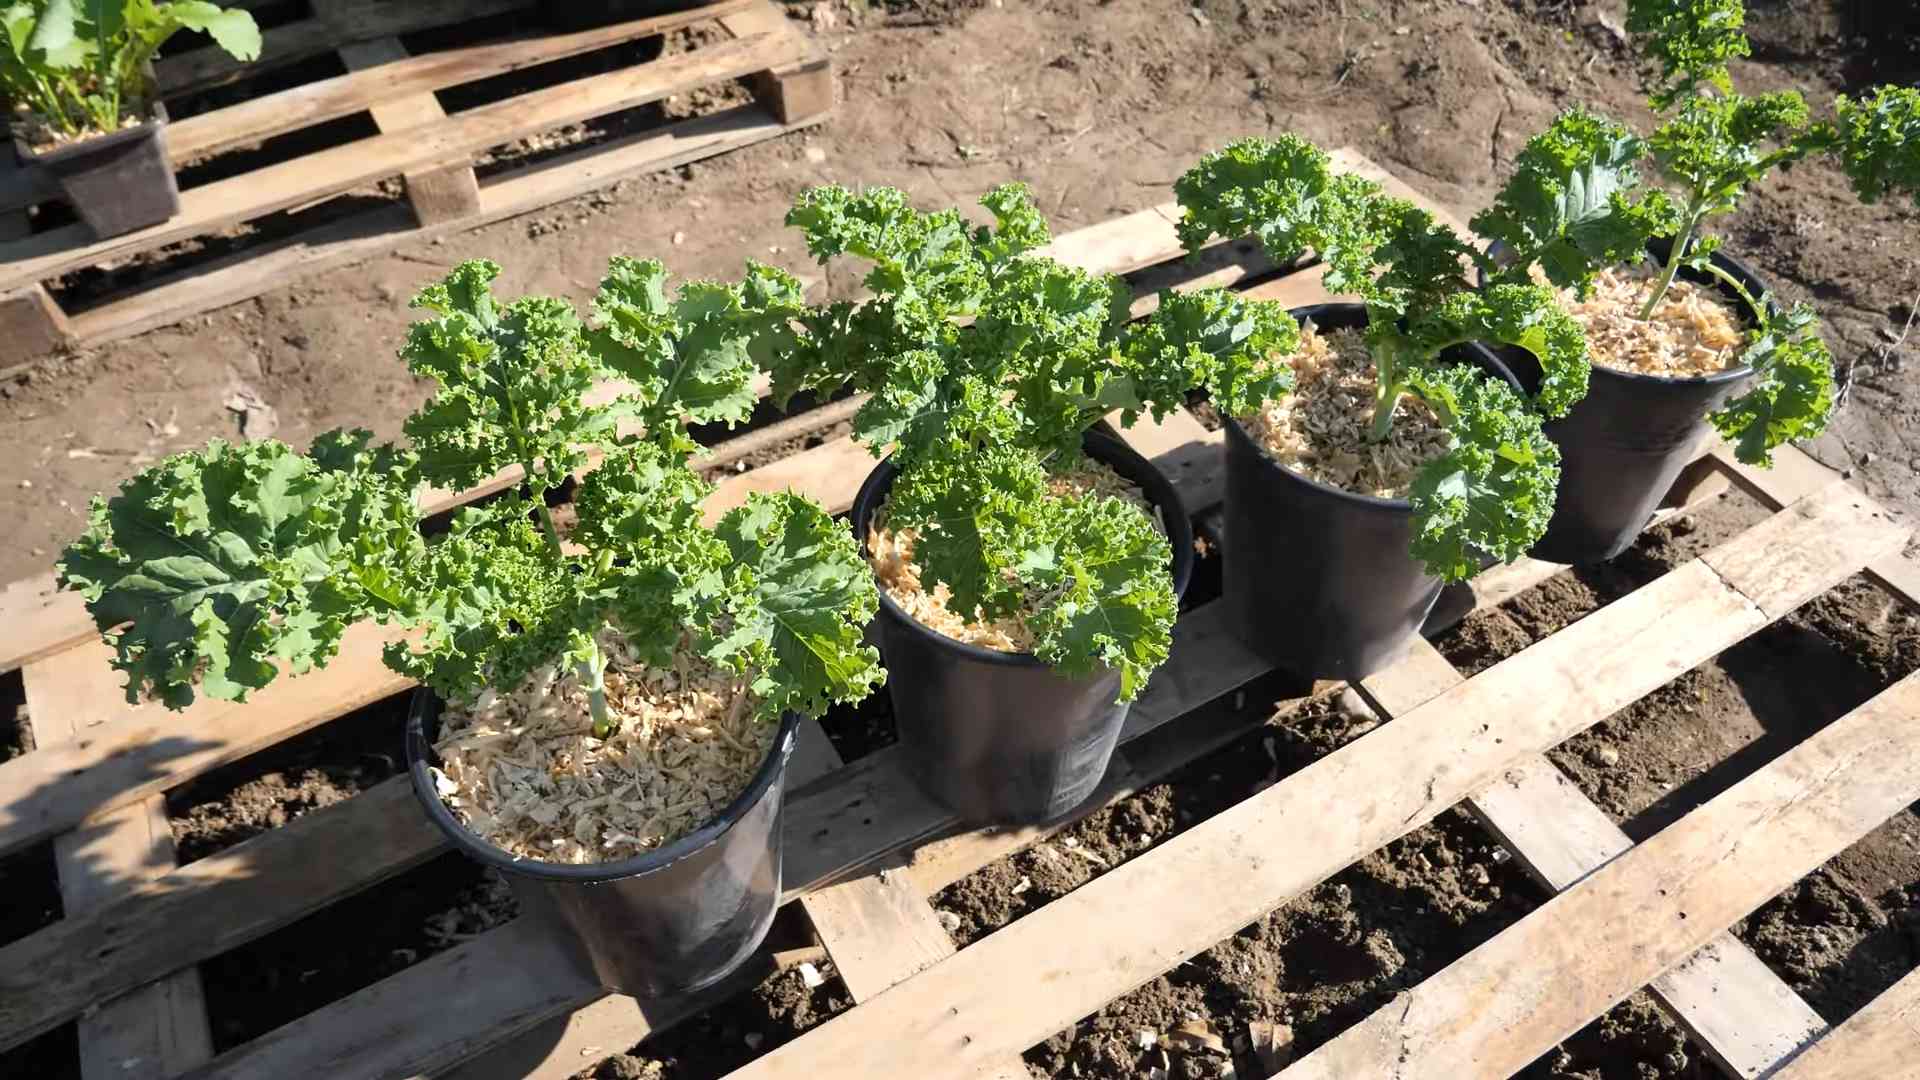
Can I grow kale in containers?
Yes, kale can be grown successfully in containers. Choose a container that is at least 12 inches deep and wide to allow enough room for the roots to grow. Use a well-draining potting mix and provide your kale plants with plenty of sunlight and water. Container-grown kale may need to be fertilized more frequently than kale grown in the ground.
How do I store kale after harvesting?
To store kale after harvesting, wash the leaves thoroughly and dry them with a salad spinner or paper towels. Store the kale in a plastic bag or container in the refrigerator. Kale can be stored for up to a week in the refrigerator. For longer storage, you can blanch and freeze kale.
Is kale a good source of nutrients?
Yes, kale is an excellent source of nutrients. It is packed with vitamins A, C, and K, as well as minerals like calcium, iron, and potassium. Kale is also a good source of fiber and antioxidants. Adding kale to your diet can help improve your overall health and well-being.
Can I eat the stems of kale?
Yes, you can eat the stems of kale, but they can be tough and fibrous. To make them more palatable, remove the leaves from the stems and then chop the stems into small pieces. You can then sauté, steam, or roast the stems along with the leaves. Alternatively, you can add the stems to soups or stews for added flavor and nutrients.

Leave a Comment