
Grow Melons Faster and savor the sweet taste of summer sooner than you ever thought possible! Imagine biting into a juicy, homegrown melon bursting with flavor, weeks before your neighbors even see a hint of fruit on their vines. Sounds like a dream, right? Well, it doesn’t have to be! For centuries, gardeners have sought ways to coax the most out of their melon patches, from ancient Egyptians who revered watermelons as symbols of abundance to modern-day enthusiasts obsessed with perfecting the sweetest cantaloupe.
But let’s be honest, waiting for melons to ripen can feel like an eternity. That’s where these clever DIY tricks and hacks come in. I’m going to share some simple, yet effective techniques that will help you grow melons faster and enjoy a bountiful harvest. Whether you’re a seasoned gardener or just starting out, these tips will give you the edge you need to accelerate growth, improve fruit quality, and ultimately, enjoy the delicious reward of your labor. Get ready to transform your melon patch into a thriving oasis of sweetness!
Grow Melons Faster: My Secret DIY Greenhouse Hack
Okay, melon lovers, let’s talk about getting those juicy, sweet melons ripening faster than you ever thought possible! I’ve been experimenting with different techniques for years, and I’ve finally perfected a DIY greenhouse hack that really kicks things into high gear. This isn’t just about throwing some plastic over your plants; it’s about creating a controlled environment that maximizes sunlight, warmth, and humidity – all the things melons crave.
Choosing the Right Melon Variety
Before we dive into the greenhouse build, let’s quickly touch on melon varieties. Some melons naturally ripen faster than others. Look for varieties labeled as “early” or “short-season.” These are bred to mature quickly, giving you a head start. Some of my favorites include:
* Sugar Baby Watermelon: A classic for a reason – it’s compact and ripens relatively quickly.
* Honey Dew: A sweet and refreshing melon that does well in warmer climates.
* Cantaloupe: A popular choice that’s relatively easy to grow and ripens in a reasonable timeframe.
Building Your Mini Melon Greenhouse
This is where the magic happens! We’re going to build a simple, yet effective, mini greenhouse specifically designed to accelerate melon growth.
Materials You’ll Need:
* PVC Pipes (1/2 inch or 3/4 inch): The amount will depend on the size of your melon patch. I usually get enough to create hoops spaced about 2-3 feet apart.
* PVC Pipe Cutter or Saw: For cutting the PVC pipes to the desired length.
* Heavy-Duty Clear Plastic Sheeting (6 mil or thicker): This will be the cover of your greenhouse. Make sure it’s large enough to cover the entire structure with some overlap.
* Clamps or Clips: To secure the plastic sheeting to the PVC frame. Spring clamps or binder clips work well.
* Landscape Fabric or Weed Barrier: To suppress weeds and retain moisture.
* Rocks or Bricks: To weigh down the edges of the plastic sheeting.
* Measuring Tape: For accurate measurements.
* Gloves: To protect your hands.
* Optional: Thermometer with Min/Max Readings: To monitor the temperature inside the greenhouse.
Step-by-Step Instructions:
1. Prepare Your Melon Patch:
* Choose a sunny location that receives at least 6-8 hours of direct sunlight per day.
* Amend the soil with compost or well-rotted manure to improve drainage and fertility. Melons are heavy feeders!
* Lay down landscape fabric or weed barrier over the planting area. This will help suppress weeds and retain moisture. Cut holes in the fabric where you plan to plant your melon seedlings.
2. Plant Your Melon Seedlings:
* Start your melon seedlings indoors 4-6 weeks before the last expected frost. This gives them a head start.
* Transplant the seedlings into your prepared melon patch, spacing them according to the variety’s recommendations.
* Water the seedlings thoroughly after planting.
3. Construct the PVC Hoop Frame:
* Measure the width of your melon patch. This will determine the length of your PVC pipes.
* Cut the PVC pipes into equal lengths. I usually aim for lengths that will create hoops about 2-3 feet high.
* Insert the ends of the PVC pipes into the ground on either side of the melon row, creating hoops. Space the hoops about 2-3 feet apart. You can use rebar pounded into the ground to hold the PVC pipes in place for extra stability, especially in windy areas.
* Make sure the hoops are securely anchored in the ground.
4. Cover the Frame with Plastic Sheeting:
* Drape the clear plastic sheeting over the PVC hoop frame.
* Make sure the plastic covers the entire structure, with some overlap on the sides and ends.
* Secure the plastic sheeting to the PVC frame using clamps or clips. Space the clamps every foot or so to prevent the plastic from flapping in the wind.
5. Secure the Edges:
* Weigh down the edges of the plastic sheeting with rocks or bricks. This will prevent the wind from blowing the plastic away and help to trap heat inside the greenhouse.
* You can also bury the edges of the plastic in the soil for extra security.
6. Ventilation is Key:
* This is crucial! Greenhouses can overheat quickly, which can damage your melon plants.
* On warm days, open the ends or sides of the greenhouse to allow for ventilation.
* I usually use clothespins or binder clips to hold the plastic open.
* You can also install a small fan inside the greenhouse to circulate the air.
* A thermometer with min/max readings is super helpful for monitoring the temperature inside. Aim to keep the temperature between 70-85°F (21-29°C).
7. Watering and Fertilizing:
* Water your melon plants regularly, especially during dry periods.
* Water deeply at the base of the plants to avoid wetting the foliage, which can lead to fungal diseases.
* Fertilize your melon plants every 2-3 weeks with a balanced fertilizer.
8. Pollination Assistance (If Needed):
* Melons rely on pollinators like bees to produce fruit. If you’re not seeing a lot of bee activity in your area, you may need to hand-pollinate the flowers.
* To hand-pollinate, use a small paintbrush to transfer pollen from the male flowers to the female flowers. The female flowers have a small swelling at the base of the flower (the developing melon).
9. Monitor for Pests and Diseases:
* Keep an eye out for common melon pests like aphids, squash bugs, and cucumber beetles.
* Treat any infestations promptly with insecticidal soap or neem oil.
* Prevent fungal diseases by providing good ventilation and avoiding overhead watering.
Maintaining Your Mini Greenhouse
Once your mini greenhouse is up and running, it’s important to maintain it properly to ensure optimal melon growth.
* Regularly check the temperature inside the greenhouse. Adjust the ventilation as needed to keep the temperature within the ideal range.
* Water your melon plants regularly. The plastic sheeting can prevent rainwater from reaching the plants, so you’ll need to water them manually.
* Fertilize your melon plants every 2-3 weeks.
* Monitor for pests and diseases.
* As the melons grow, provide support to prevent them from touching the ground. You can use slings made from old pantyhose or netting.
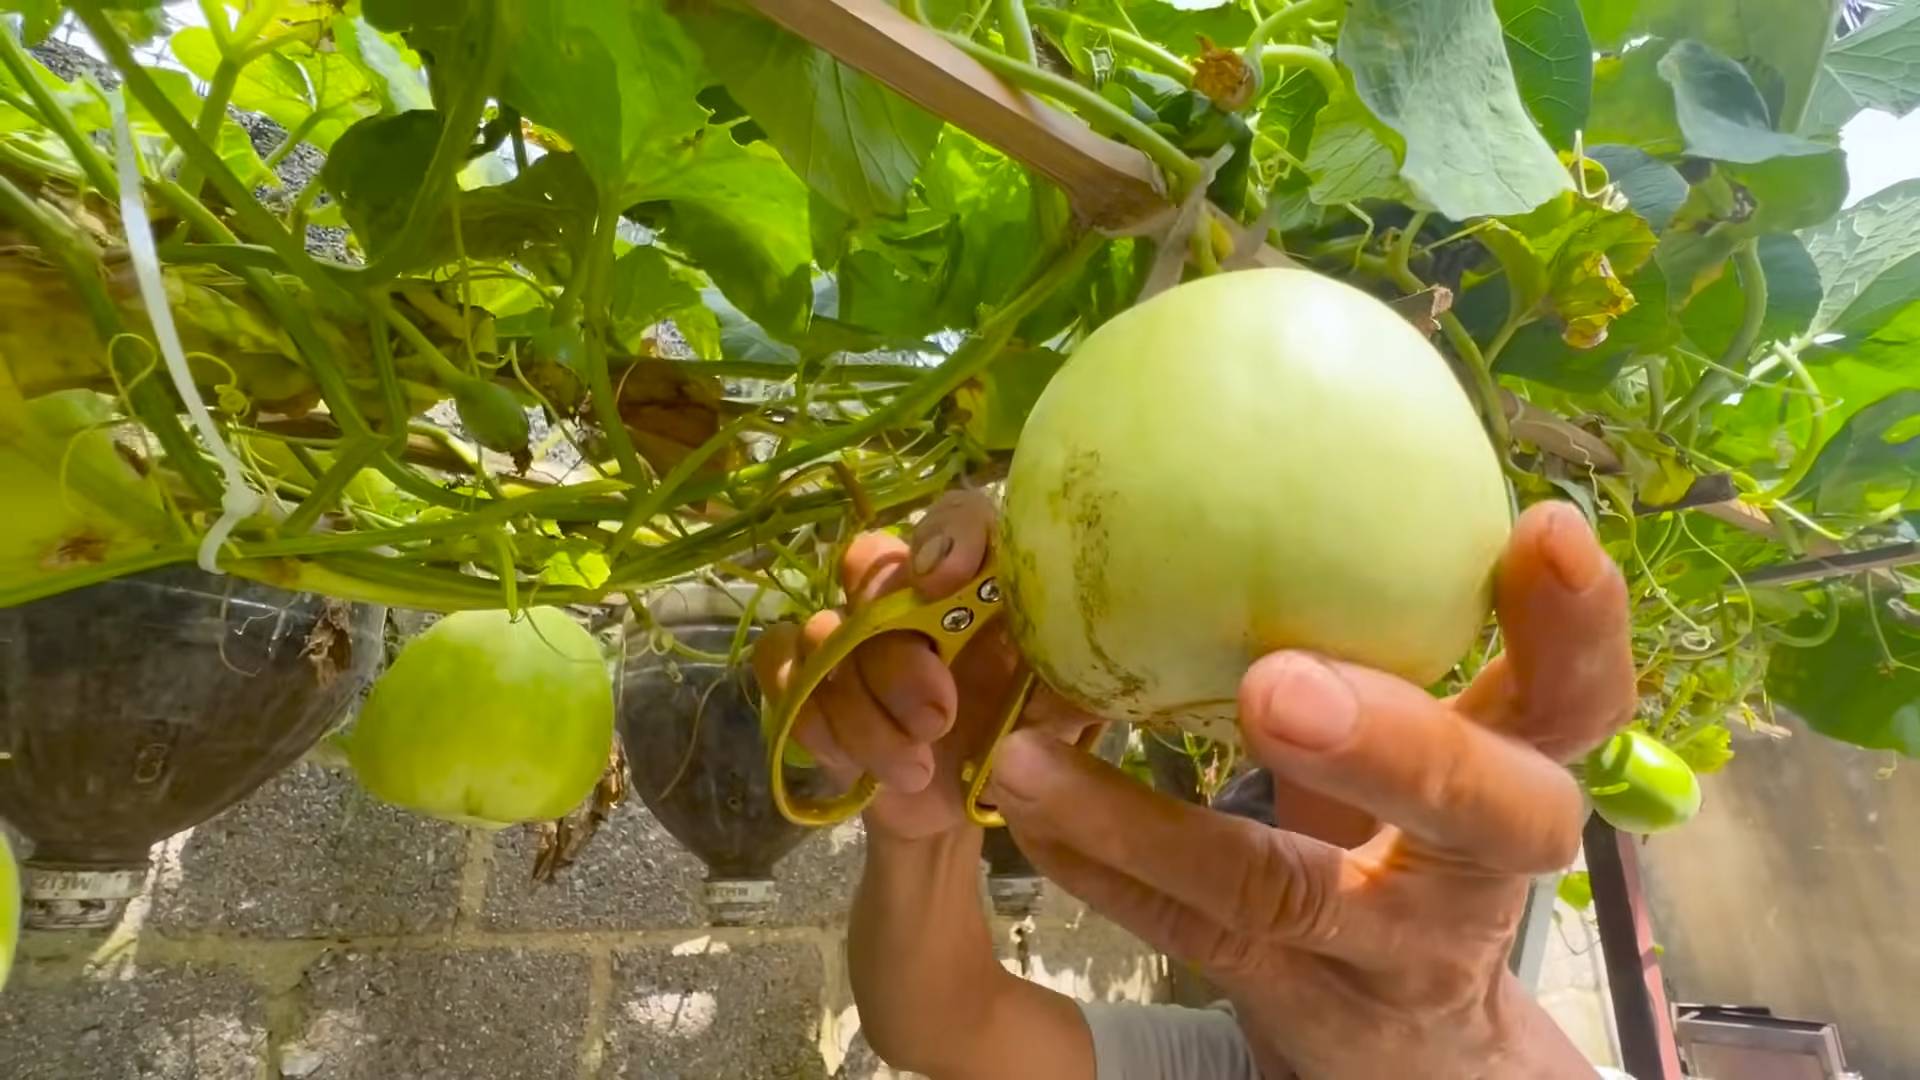
Harvesting Your Melons
The moment we’ve all been waiting for! Knowing when to harvest your melons is key to enjoying their full flavor.
* Watermelons: Look for a dull sound when you thump the melon. The tendril closest to the melon should be brown and dry. The spot where the melon rests on the ground (the ground spot) should be yellow or cream-colored.
* Cantaloupes: The melon should slip easily from the vine with a gentle tug. The skin should have a sweet aroma.
* Honeydew Melons: The skin should turn from green to a creamy yellow color. The blossom end should be slightly soft.
Troubleshooting
Even with the best planning, things can sometimes go wrong. Here are a few common problems and how to fix them:
* Overheating: If the temperature inside the greenhouse gets too high, open the vents wider or add shade cloth to reduce the amount of sunlight entering the greenhouse.
* Lack of Pollination: If you’re not seeing any fruit set, try hand-pollinating the flowers.
* Pests and Diseases: Treat any infestations or diseases promptly with appropriate organic or chemical controls.
* Wind Damage: If the wind is strong, reinforce the greenhouse structure with extra stakes or weights.
Extra Tips for Supercharged Melon Growth
* Black Plastic Mulch: Laying down black plastic mulch under the landscape fabric can further warm the soil and suppress weeds.
* Water Wisely: Use drip irrigation to deliver water directly to the roots of the plants, minimizing water waste and reducing the risk of fungal diseases.
* Companion Planting: Plant basil or marigolds near your melons to deter pests.
* Pruning: Prune away any non-productive vines to encourage the plant to focus its energy on developing fruit.
Why This Works
This mini greenhouse hack works because it creates a microclimate that’s ideal for melon growth. The plastic sheeting traps heat, raising the soil and air temperature. This speeds up germination, promotes faster growth, and shortens the time to harvest. The greenhouse also protects the plants from wind, rain, and pests, creating a more
Conclusion
So, there you have it! This simple, yet effective DIY trick to grow melons faster is a game-changer for any gardener, whether you’re a seasoned pro or just starting out. We’ve walked you through the process, highlighting how a little bit of planning and a few readily available materials can significantly accelerate the growth and improve the overall health of your melon plants.
Think about it: imagine biting into a juicy, perfectly ripe watermelon or cantaloupe weeks earlier than you ever thought possible. No more waiting impatiently, watching the days tick by, hoping for a decent harvest. This method empowers you to take control and enjoy the fruits (literally!) of your labor sooner.
The beauty of this DIY approach lies not only in its effectiveness but also in its adaptability. Feel free to experiment with different types of mulch. While black plastic mulch is highly effective at warming the soil, you could also try using organic mulches like straw or hay, especially if you live in a region with milder summers. Just be mindful that organic mulches might not warm the soil as quickly, so you might need to adjust your planting schedule accordingly.
Another variation to consider is the type of container you use for starting your seedlings. While peat pots are convenient, they can sometimes restrict root growth. Consider using biodegradable pots made from coconut coir or even repurposing yogurt containers with drainage holes. The key is to ensure that the roots have ample space to develop before transplanting.
Furthermore, don’t be afraid to experiment with different melon varieties. Some melons are naturally faster growers than others. Research which varieties are best suited for your climate and growing conditions. You might discover a new favorite!
But the most important thing is to give it a try! Don’t let the fear of failure hold you back. Gardening is all about learning and experimenting. Even if your first attempt isn’t perfect, you’ll gain valuable experience that will help you improve your technique in the future.
We are confident that this DIY trick will revolutionize your melon-growing experience. It’s a cost-effective, environmentally friendly way to boost your harvest and enjoy delicious, homegrown melons all season long.
So, grab your seeds, gather your materials, and get ready to witness the magic of accelerated melon growth. And most importantly, we want to hear about your results! Share your experiences, tips, and photos with us in the comments section below. Let’s create a community of melon-growing enthusiasts and learn from each other. Your insights could help other gardeners achieve even greater success. Happy gardening!
Frequently Asked Questions (FAQ)
Q: What type of melons does this DIY trick work best for?
A: This method is generally effective for all types of melons, including watermelons, cantaloupes, honeydew melons, and even smaller varieties like Galia melons. However, the specific results may vary depending on the variety, your local climate, and the overall growing conditions. Some faster-maturing varieties will naturally benefit more from this accelerated growth technique. Experimenting with different varieties is encouraged to find what works best in your garden.
Q: Is black plastic mulch really necessary? Can I use something else?
A: While black plastic mulch is highly recommended for its ability to warm the soil quickly and effectively, it’s not strictly necessary. You can use other types of mulch, such as clear plastic mulch, which also warms the soil but may not suppress weeds as effectively as black plastic. Organic mulches like straw, hay, or shredded leaves can also be used, but they will not warm the soil as much as plastic mulches. If you opt for organic mulch, consider starting your seedlings indoors earlier to compensate for the slower soil warming. Also, ensure the organic mulch is well-decomposed to avoid nitrogen depletion in the soil.
Q: How early should I start my melon seedlings indoors?
A: Generally, you should start your melon seedlings indoors about 4-6 weeks before the last expected frost in your area. This gives them a head start and allows them to develop a strong root system before being transplanted outdoors. However, be mindful of the specific variety you’re growing, as some may prefer a shorter or longer indoor growing period. Check the seed packet for specific recommendations.
Q: What kind of fertilizer should I use for my melon plants?
A: Melons are heavy feeders and require a balanced fertilizer to thrive. A fertilizer with a higher phosphorus content (the middle number in the N-P-K ratio) is particularly beneficial for promoting root development and fruit production. You can use a commercially available fertilizer specifically formulated for melons or tomatoes, or you can use a general-purpose fertilizer with a balanced N-P-K ratio. Organic options like compost tea or bone meal are also excellent choices. Be sure to follow the instructions on the fertilizer packaging and avoid over-fertilizing, as this can damage the plants.
Q: How often should I water my melon plants?
A: Melons need consistent watering, especially during hot and dry weather. Water deeply and regularly, aiming to keep the soil consistently moist but not waterlogged. The frequency of watering will depend on your climate, soil type, and the size of your plants. A good rule of thumb is to water when the top inch of soil feels dry to the touch. Consider using a soaker hose or drip irrigation system to deliver water directly to the roots and minimize water loss through evaporation. During fruit development, ensure consistent watering to prevent cracking or splitting.
Q: How do I know when my melons are ripe?
A: Determining when a melon is ripe can be tricky, but there are a few telltale signs to look for. For watermelons, check the underside where it rests on the ground. This spot should be yellowish or creamy in color. Also, thump the watermelon; a ripe watermelon will have a deep, hollow sound. For cantaloupes, the stem should easily slip from the fruit when it’s ripe. The melon should also have a fragrant aroma. Honeydew melons are ripe when the skin turns a creamy yellow color and feels slightly waxy.
Q: What if I don’t have a greenhouse or a sunny windowsill to start my seedlings indoors?
A: If you don’t have a greenhouse or a sunny windowsill, you can use grow lights to provide your seedlings with the light they need. Grow lights are available in various sizes and types, and they can be easily set up in a spare room or basement. Position the grow lights a few inches above the seedlings and adjust the height as they grow. You can also use a heat mat to warm the soil and promote germination.
Q: My melon plants are producing flowers, but no fruit. What could be the problem?
A: There are several reasons why your melon plants might be producing flowers but not fruit. One common reason is a lack of pollination. Melons require pollination to set fruit, and if there are not enough bees or other pollinators in your area, you may need to hand-pollinate the flowers. Another possible reason is nutrient deficiency. Make sure your plants are getting enough phosphorus and potassium, which are essential for fruit development. Stressful growing conditions, such as extreme heat or drought, can also prevent fruit set. Ensure your plants are adequately watered and protected from the elements.
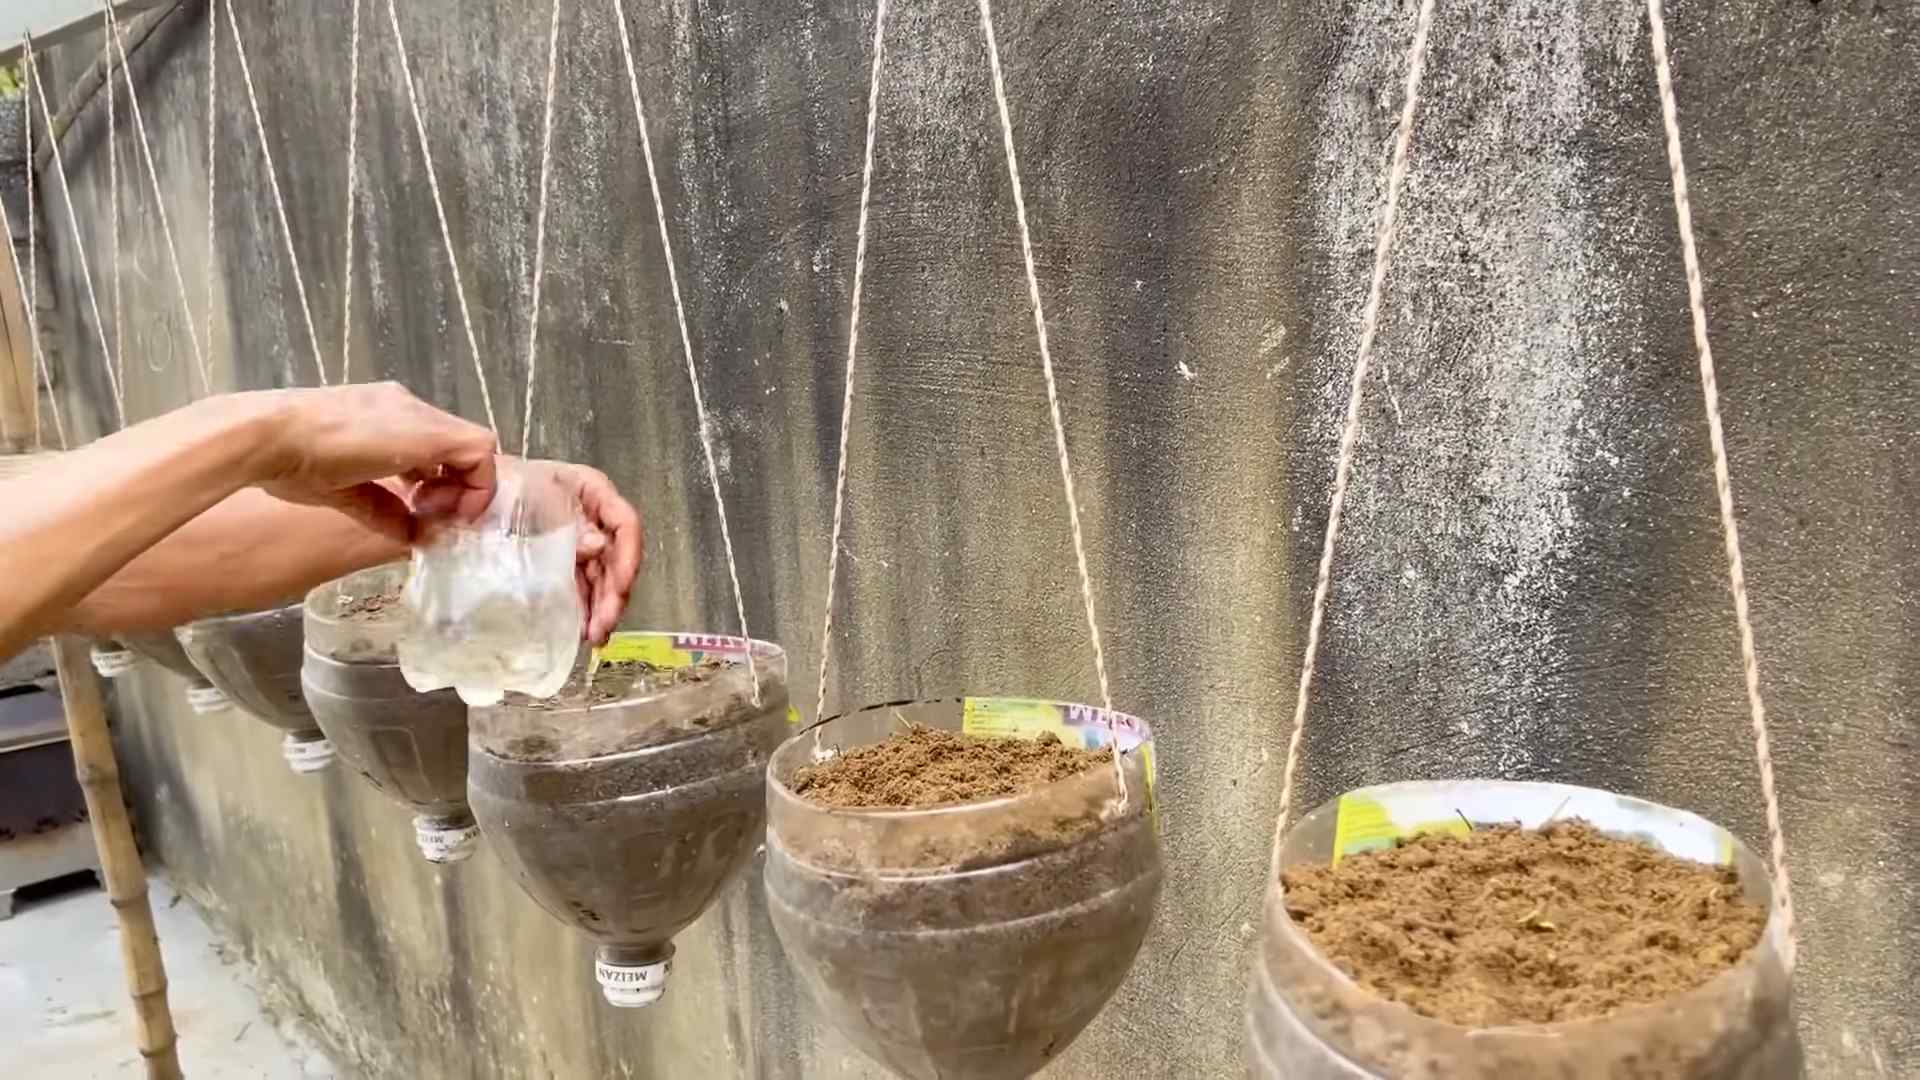
Q: Can I use this trick to grow melons in containers?
A: Yes, you can definitely use this trick to grow melons in containers. Choose a large container with good drainage and use a high-quality potting mix. Dwarf or bush varieties of melons are best suited for container gardening. Provide the plants with plenty of sunlight, water, and fertilizer. You may also need to provide support for the vines as they grow. The black plastic mulch can still be used to warm the soil in the container.
Q: How can I protect my melon plants from pests and diseases?
A: Protecting your melon plants from pests and diseases is crucial for a successful harvest. Common pests that attack melons include aphids, squash bugs, and cucumber beetles. You can control these pests by handpicking them off the plants, using insecticidal soap, or introducing beneficial insects like ladybugs. Common diseases that affect melons include powdery mildew and fusarium wilt. To prevent these diseases, ensure good air circulation around the plants, avoid overhead watering, and use disease-resistant varieties. Crop rotation can also help to prevent soilborne diseases.
Leave a Comment