
Grow pineapples backyard – sounds like a tropical dream, right? Well, it doesn’t have to be just a dream! Imagine plucking a juicy, sun-ripened pineapple straight from your own garden. It’s easier than you think, and this DIY guide will show you exactly how to make it happen.
For centuries, pineapples have been a symbol of hospitality and luxury. Originating in South America, they were once so prized that owning one was a status symbol! Now, thanks to some clever gardening tricks, you can bring a touch of that tropical elegance to your own backyard, no matter where you live.
Why should you learn to grow pineapples backyard? Because store-bought pineapples simply can’t compare to the flavor of a homegrown one. Plus, it’s an incredibly rewarding experience to nurture a plant from start to finish and then enjoy the delicious fruits of your labor. Not only that, but you’ll be reducing your carbon footprint by sourcing your food locally. This DIY project is perfect for anyone looking to add a unique and delicious element to their garden, save money, and impress their friends and family. Let’s get started!
Growing Pineapples in Your Backyard: A Tropical Treat You Can DIY!
Okay, let’s be honest, who doesn’t love a juicy, sweet pineapple? And the thought of growing your own, right in your backyard, is pretty darn appealing. I’m here to tell you it’s totally doable, even if you don’t live in the tropics! It takes a little patience and some know-how, but trust me, the reward of harvesting your own homegrown pineapple is totally worth it. So, grab your gardening gloves, and let’s get started!
What You’ll Need:
Before we dive into the nitty-gritty, let’s gather our supplies. Here’s what you’ll need to successfully grow your own pineapple:
* A Fresh Pineapple: This is the most important ingredient! Look for a ripe pineapple with healthy-looking green leaves. The fruit should be fragrant and slightly soft to the touch.
* A Sharp Knife: For removing the crown of the pineapple. Make sure it’s clean to prevent infection.
* Potting Soil: A well-draining potting mix is crucial. I recommend a mix specifically formulated for tropical plants or a blend of regular potting soil, perlite, and sand.
* A Pot: Choose a pot that’s at least 6-8 inches in diameter. It needs to have drainage holes to prevent waterlogging.
* Rooting Hormone (Optional): This can help speed up the rooting process, but it’s not essential.
* Watering Can or Hose: For keeping your pineapple plant hydrated.
* Fertilizer: A balanced liquid fertilizer or slow-release fertilizer formulated for tropical plants.
* Gardening Gloves: To protect your hands.
* Patience: This is key! Growing a pineapple takes time, so be prepared to wait.
Preparing the Pineapple Crown: The Foundation for Success
This is where the magic begins! We’re going to take the top of the pineapple – the crown – and turn it into a brand new pineapple plant.
1. Twist or Cut Off the Crown: The easiest way is to firmly grasp the leaves of the crown and twist it off the fruit. If it doesn’t come off easily, use your sharp knife to carefully cut it off, leaving about an inch of fruit attached.
2. Remove the Excess Fruit: Carefully remove any remaining fruit flesh from the base of the crown. This is important because the fruit can rot and attract pests, which can harm your new plant. I usually use my fingers to gently peel away the fruit.
3. Peel Back the Lower Leaves: Peel back several layers of the lower leaves from the base of the crown. This will expose the stem, where the roots will eventually emerge. You should aim to expose about an inch or two of the stem.
4. Let the Crown Dry: This is a crucial step to prevent rot. Place the crown in a cool, dry place for 2-3 days. This allows the cut end to callous over, which helps protect it from fungal infections. I usually just leave it on a paper towel on my kitchen counter.
Planting Your Pineapple Crown: Giving it a Home
Now that our pineapple crown is prepped and ready, it’s time to give it a new home in a pot!
1. Fill the Pot with Potting Soil: Fill your chosen pot with the well-draining potting mix, leaving about an inch of space at the top.
2. Make a Hole in the Center: Use your finger or a small trowel to create a hole in the center of the soil, large enough to accommodate the base of the pineapple crown.
3. Dip in Rooting Hormone (Optional): If you’re using rooting hormone, dip the exposed stem of the pineapple crown into the powder. This will encourage root growth.
4. Plant the Crown: Carefully place the pineapple crown into the hole, making sure the base of the leaves is just above the soil line. Gently press the soil around the base of the crown to secure it in place.
5. Water Thoroughly: Water the newly planted pineapple crown thoroughly, until water drains out of the drainage holes. This will help settle the soil and provide the plant with the initial moisture it needs.
Caring for Your Pineapple Plant: Nurturing Growth
Now that your pineapple crown is planted, it’s time to provide it with the care it needs to thrive. This involves proper watering, sunlight, and fertilization.
1. Watering: Water your pineapple plant regularly, but avoid overwatering. Allow the soil to dry out slightly between waterings. I usually water mine about once a week, but this will depend on the climate and the time of year. You can check the soil moisture by sticking your finger into the soil. If it feels dry an inch or two down, it’s time to water.
2. Sunlight: Pineapples love sunlight! Place your pineapple plant in a location that receives at least 6 hours of direct sunlight per day. A south-facing window is ideal if you’re growing it indoors. If you’re growing it outdoors, make sure it’s in a sunny spot.
3. Fertilizing: Fertilize your pineapple plant every 2-3 months with a balanced liquid fertilizer or slow-release fertilizer formulated for tropical plants. Follow the instructions on the fertilizer packaging. I usually dilute the fertilizer to half strength to avoid burning the plant.
4. Temperature: Pineapples thrive in warm temperatures, ideally between 65°F and 85°F (18°C and 29°C). Protect your plant from frost and freezing temperatures. If you live in a colder climate, you’ll need to bring your pineapple plant indoors during the winter months.
5. Humidity: Pineapples also appreciate humidity. If you live in a dry climate, you can increase the humidity around your plant by misting it with water regularly or placing it on a tray filled with pebbles and water.
Encouraging Fruiting: The Patience Game
This is where the real test of patience comes in. It can take anywhere from 2 to 3 years for a pineapple plant to produce fruit. But don’t worry, there are things you can do to encourage fruiting!
1. Ethylene Gas: Pineapples are stimulated to fruit by ethylene gas. You can create ethylene gas by placing a ripe apple or banana near your pineapple plant. Cover the plant and fruit with a plastic bag for a few days to trap the gas. Be careful not to overheat the plant in the bag.
2. Magnesium Sulfate (Epsom Salts): Some gardeners recommend applying magnesium sulfate (Epsom salts) to the soil to encourage fruiting. Dissolve 1 tablespoon of Epsom salts in 1 gallon of water and water your pineapple plant with this solution every few months.
3. Patience, Patience, Patience: The most important thing is to be patient. Keep providing your pineapple plant with the care it needs, and eventually, it will reward you with a delicious, homegrown pineapple!
Harvesting Your Pineapple: The Sweet Reward
After all that waiting, the moment you’ve been dreaming of has finally arrived – it’s time to harvest your pineapple!
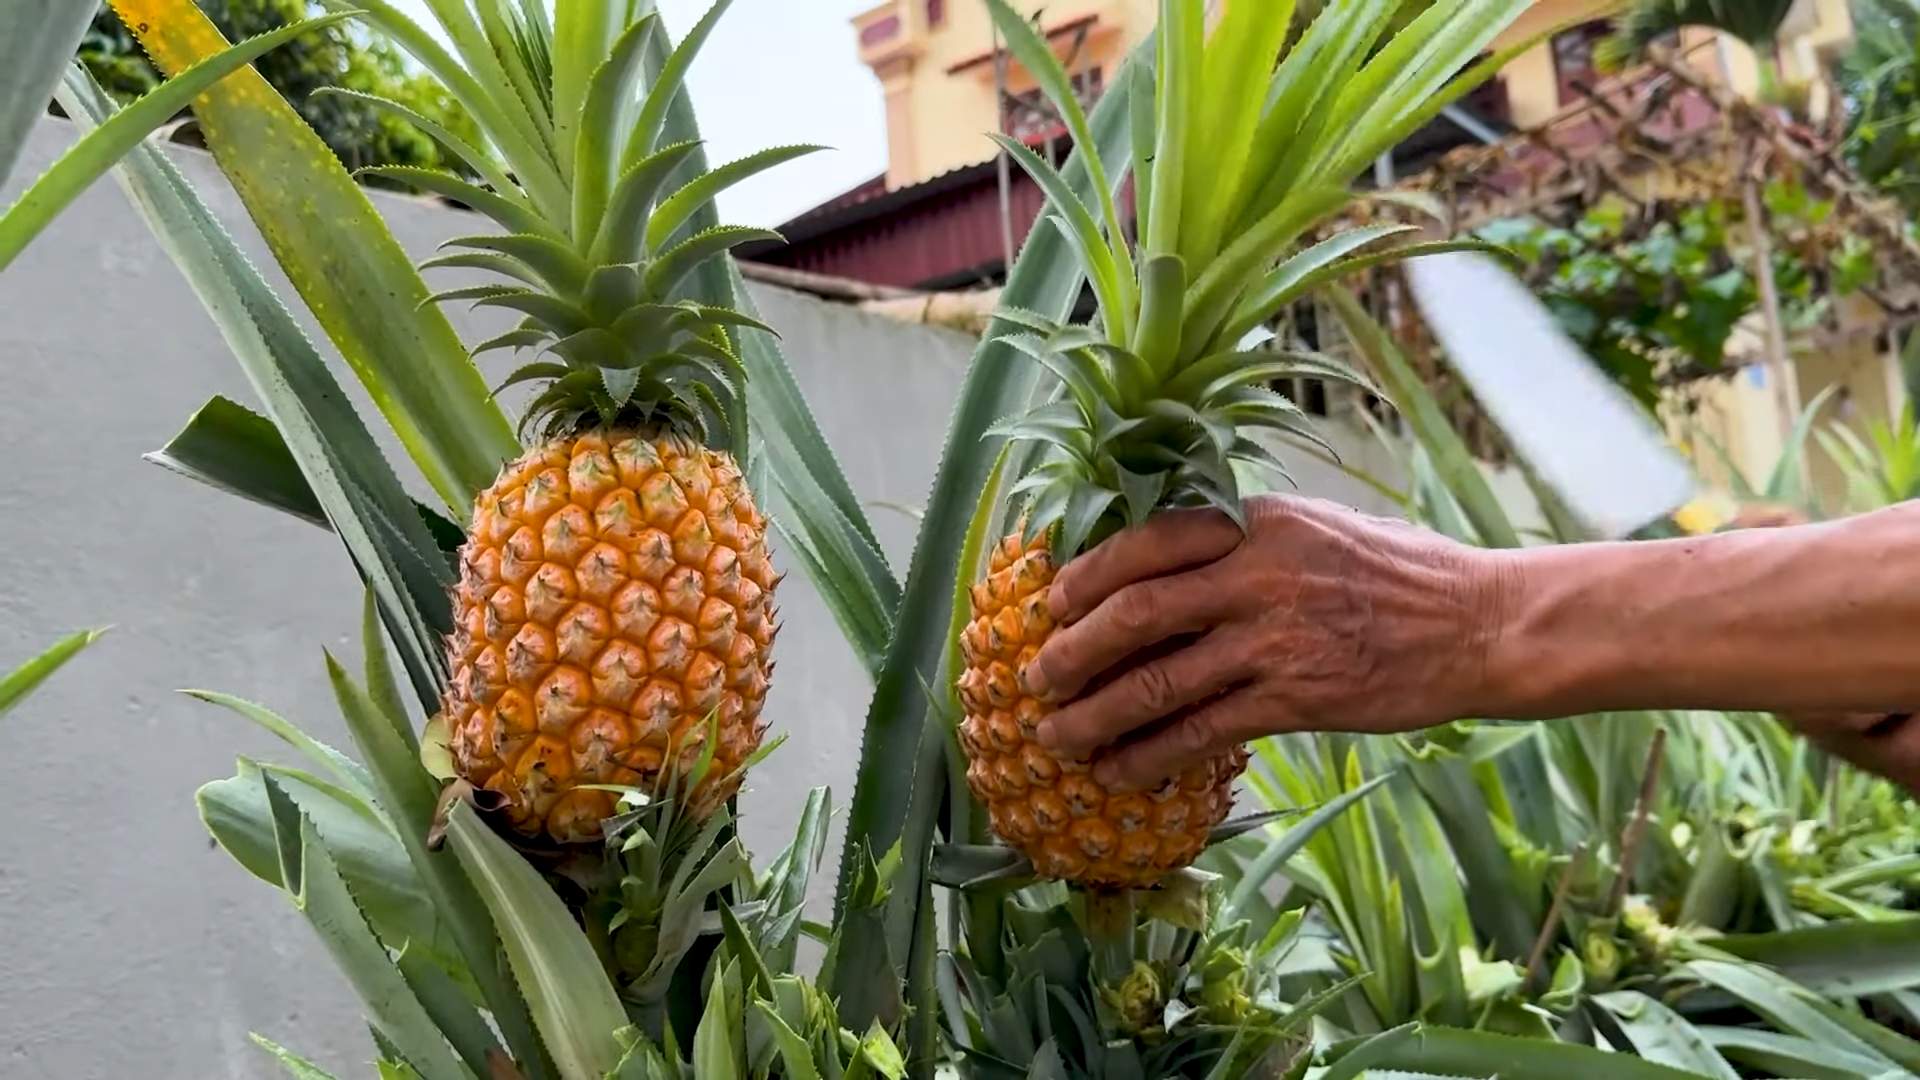
1. Check for Ripeness: A ripe pineapple will have a fragrant aroma and will be slightly soft to the touch. The color of the fruit will also change from green to yellow or golden.
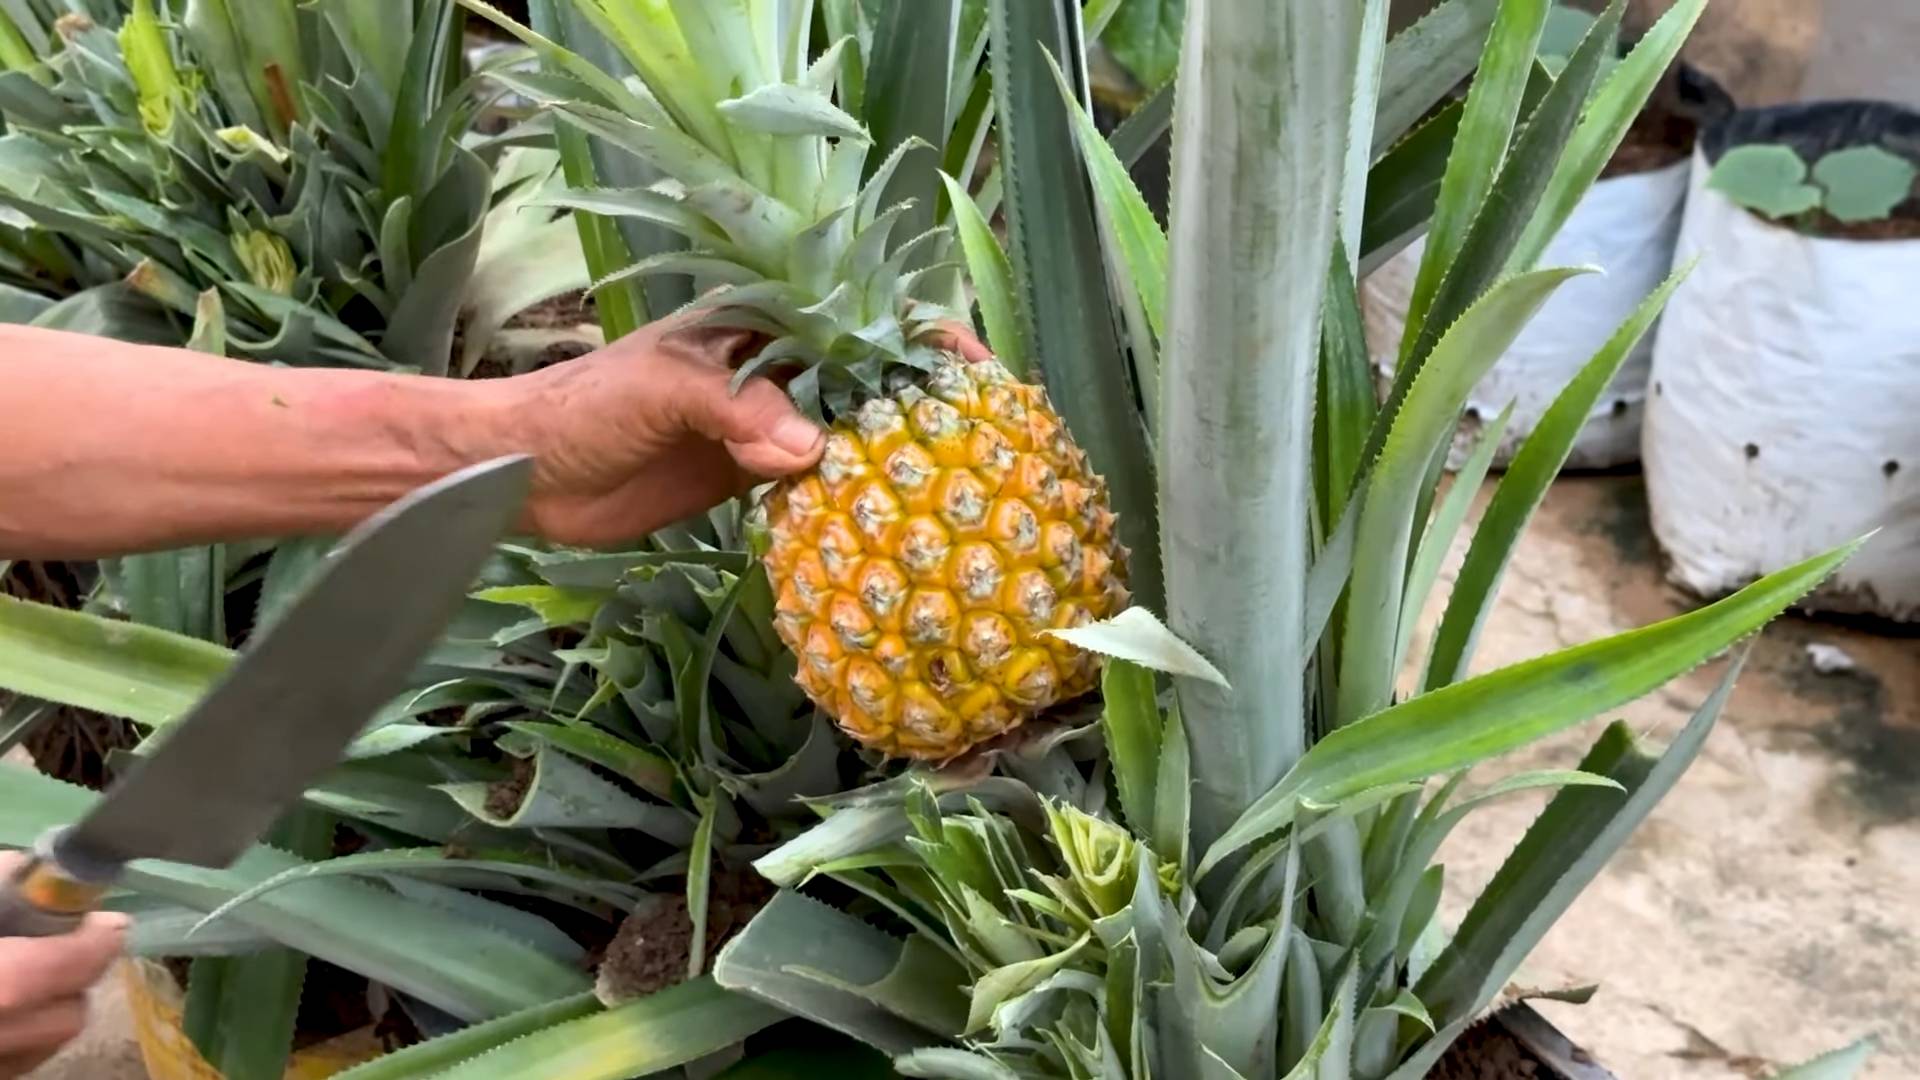
2. Cut the Pineapple: Use a sharp knife to cut the pineapple from the plant, leaving a few inches of stem attached.
3. Enjoy Your Homegrown Pineapple: Now it’s time to savor the fruits (literally!) of your labor. Cut up your pineapple and enjoy it fresh, grilled, or in your favorite recipes.
Troubleshooting: Common Pineapple Problems
Even with the best care, you might encounter some problems along the way. Here are a few common issues and how to address them:
* Rotting Crown: If the crown starts to rot, it’s usually due to overwatering or poor drainage. Remove the rotting leaves and allow the crown to dry out completely before replanting it in fresh, well-draining soil.
* Yellowing Leaves: Yellowing leaves can be a sign of overwatering, underwatering, or nutrient deficiency. Check the soil moisture and adjust your watering accordingly. Fertilize your plant with a balanced fertilizer.
* Pests: Pineapples can be susceptible to pests like mealybugs and scale. Inspect your plant regularly and treat any infestations with insecticidal soap or neem oil.
Growing your own pineapple is a rewarding experience that brings a touch of the tropics to your backyard. With a little patience and care, you can enjoy the sweet taste of homegrown pineapple. Happy growing!
Conclusion
So, there you have it! Growing pineapples in your backyard might seem like a tropical dream reserved for expert gardeners, but with this simple DIY trick, it’s an achievable reality for anyone with a sunny spot and a little patience. We’ve demystified the process, breaking it down into manageable steps that even beginners can follow. Forget expensive store-bought pineapples that lack that fresh-from-the-garden flavor. Imagine the satisfaction of harvesting your own juicy, sun-ripened fruit, knowing you nurtured it from start to finish.
This isn’t just about saving money; it’s about connecting with nature, learning a new skill, and enjoying the unparalleled taste of homegrown produce. The DIY approach we’ve outlined is not only cost-effective but also environmentally friendly, reducing your carbon footprint by eliminating the need for long-distance transportation of your pineapples.
Why is this DIY trick a must-try? Because it empowers you to take control of your food source, experience the joy of gardening, and enjoy the most delicious pineapples you’ve ever tasted. It’s a rewarding project that yields tangible results, transforming your backyard into a mini-tropical paradise.
But don’t stop there! Experiment with different pineapple varieties to discover your favorite flavor profile. Try using organic fertilizers to enhance the natural sweetness of your fruit. Consider companion planting with herbs like basil or rosemary to deter pests and improve the overall health of your pineapple plants. You can even explore different container sizes and materials to optimize growth in your specific climate and space.
We encourage you to embrace this DIY adventure and share your experiences with us. Did you try a particular variation that worked wonders? Did you encounter any challenges along the way? Your insights can help other aspiring pineapple growers succeed. Post your photos, tips, and stories in the comments section below. Let’s create a community of backyard pineapple enthusiasts, sharing our knowledge and celebrating our successes together.
Growing pineapples in your backyard is more than just a gardening project; it’s a journey of discovery, a testament to the power of nature, and a delicious reward for your efforts. So, grab a pineapple top, follow our simple steps, and get ready to experience the magic of homegrown pineapples. You won’t regret it! This DIY project is a game changer for any home gardener.
Frequently Asked Questions (FAQ)
Q: What kind of pineapple should I use to start my DIY project?
A: The best pineapple to use is a fresh, ripe pineapple from your local grocery store or farmer’s market. Look for a pineapple with healthy, green leaves and a firm, golden-yellow body. Avoid pineapples with brown or wilted leaves, as these may not root properly. Smooth Cayenne pineapples are a popular choice due to their readily available nature and relatively easy rooting. However, you can experiment with other varieties like MD-2 or Sugarloaf, depending on what’s available in your area. Just ensure the pineapple is ripe and the leaves are in good condition.
Q: How long does it take to grow a pineapple from a top?
A: Growing a pineapple from a top is a patient process. It typically takes anywhere from 2 to 3 years for a pineapple plant to mature and produce fruit. The first few months are crucial for root development. After that, the plant will focus on vegetative growth, producing more leaves and increasing in size. Once the plant is mature enough, it will eventually flower and develop a pineapple. Factors like climate, sunlight, soil quality, and watering practices can all influence the growth rate.
Q: What kind of soil is best for growing pineapples?
A: Pineapples thrive in well-draining, slightly acidic soil. A sandy loam soil is ideal, as it allows for good drainage and aeration. You can create a suitable soil mix by combining equal parts of potting soil, perlite, and sand. Avoid heavy clay soils, as they can retain too much moisture and lead to root rot. The pH of the soil should be between 5.5 and 6.5. You can amend the soil with sulfur to lower the pH if necessary.
Q: How much sunlight do pineapples need?
A: Pineapples need at least 6-8 hours of direct sunlight per day to thrive. Choose a location in your backyard that receives ample sunlight throughout the day. If you’re growing your pineapple in a container, you can move it around to ensure it gets enough sunlight. In hotter climates, providing some afternoon shade can prevent the leaves from scorching.
Q: How often should I water my pineapple plant?
A: Water your pineapple plant regularly, especially during the growing season (spring and summer). Keep the soil consistently moist but not waterlogged. Allow the top inch of soil to dry out between waterings. Reduce watering during the dormant season (fall and winter). Overwatering can lead to root rot, so it’s important to ensure good drainage. You can also mist the leaves occasionally to increase humidity, especially in dry climates.
Q: What kind of fertilizer should I use for my pineapple plant?
A: Feed your pineapple plant with a balanced fertilizer every 2-3 months during the growing season. A fertilizer with an NPK ratio of 10-10-10 or 14-14-14 is a good choice. You can also use a liquid fertilizer diluted to half strength. Avoid over-fertilizing, as this can burn the roots. Organic fertilizers like compost tea or fish emulsion can also be used to provide essential nutrients.
Q: How do I protect my pineapple plant from pests and diseases?
A: Pineapples are relatively pest-resistant, but they can be susceptible to mealybugs, scale, and spider mites. Inspect your plant regularly for signs of infestation. If you notice any pests, you can treat them with insecticidal soap or neem oil. Root rot is a common disease that can affect pineapples, especially in poorly drained soil. To prevent root rot, ensure good drainage and avoid overwatering. You can also use a fungicide to treat root rot if necessary.
Q: How do I know when my pineapple is ripe?
A: A ripe pineapple will have a golden-yellow color and a sweet, fragrant aroma. The eyes (the individual segments of the pineapple) should be relatively flat and slightly bulging. You can also gently tug on one of the leaves; if it comes out easily, the pineapple is likely ripe. The bottom of the pineapple will often be slightly softer than the top when it’s ripe.
Q: Can I grow pineapples indoors?
A: Yes, you can grow pineapples indoors, but it can be more challenging. You’ll need to provide your pineapple plant with plenty of bright, indirect sunlight. A south-facing window is ideal. You’ll also need to ensure good drainage and maintain a warm, humid environment. Use a well-draining potting mix and water regularly, allowing the top inch of soil to dry out between waterings. You may also need to supplement with artificial light, especially during the winter months. While indoor-grown pineapples may not be as large or flavorful as those grown outdoors, it’s still a rewarding experience.
Q: What are some variations I can try when growing pineapples?
A: There are several variations you can experiment with when growing pineapples. You can try different pineapple varieties, such as MD-2, Sugarloaf, or Red Spanish. You can also experiment with different growing mediums, such as coco coir or perlite. Some gardeners have success using a “forcing” method to encourage flowering by placing an apple core near the base of the plant or enclosing the plant in a plastic bag with a ripe apple for a few days. This releases ethylene gas, which can stimulate flowering. You can also try growing pineapples hydroponically, which involves growing them in water with added nutrients.

Leave a Comment