
Grow Vegetables at Home, even if you think you don’t have a green thumb! Have you ever dreamed of stepping into your backyard and harvesting fresh, juicy tomatoes for a summer salad, or snipping fragrant herbs to season your favorite dish? It’s a wonderfully rewarding experience, and trust me, it’s more achievable than you might think. For centuries, cultivating our own food has been a cornerstone of human civilization, connecting us to the earth and providing sustenance. From ancient Roman kitchen gardens to the victory gardens of wartime, the desire to nurture and grow vegetables at home has deep roots.
But in today’s busy world, who has the time, right? That’s where these clever DIY tricks and hacks come in! I’m going to share some simple, yet effective, strategies to help you overcome common gardening challenges, maximize your yields, and enjoy the satisfaction of homegrown goodness, no matter how small your space. Whether you’re a seasoned gardener or a complete beginner, these tips will empower you to create a thriving vegetable patch right outside your door. Get ready to dig in and discover the joy of growing your own food!
Propagating Fast-Growing Plants in June: A DIY Guide
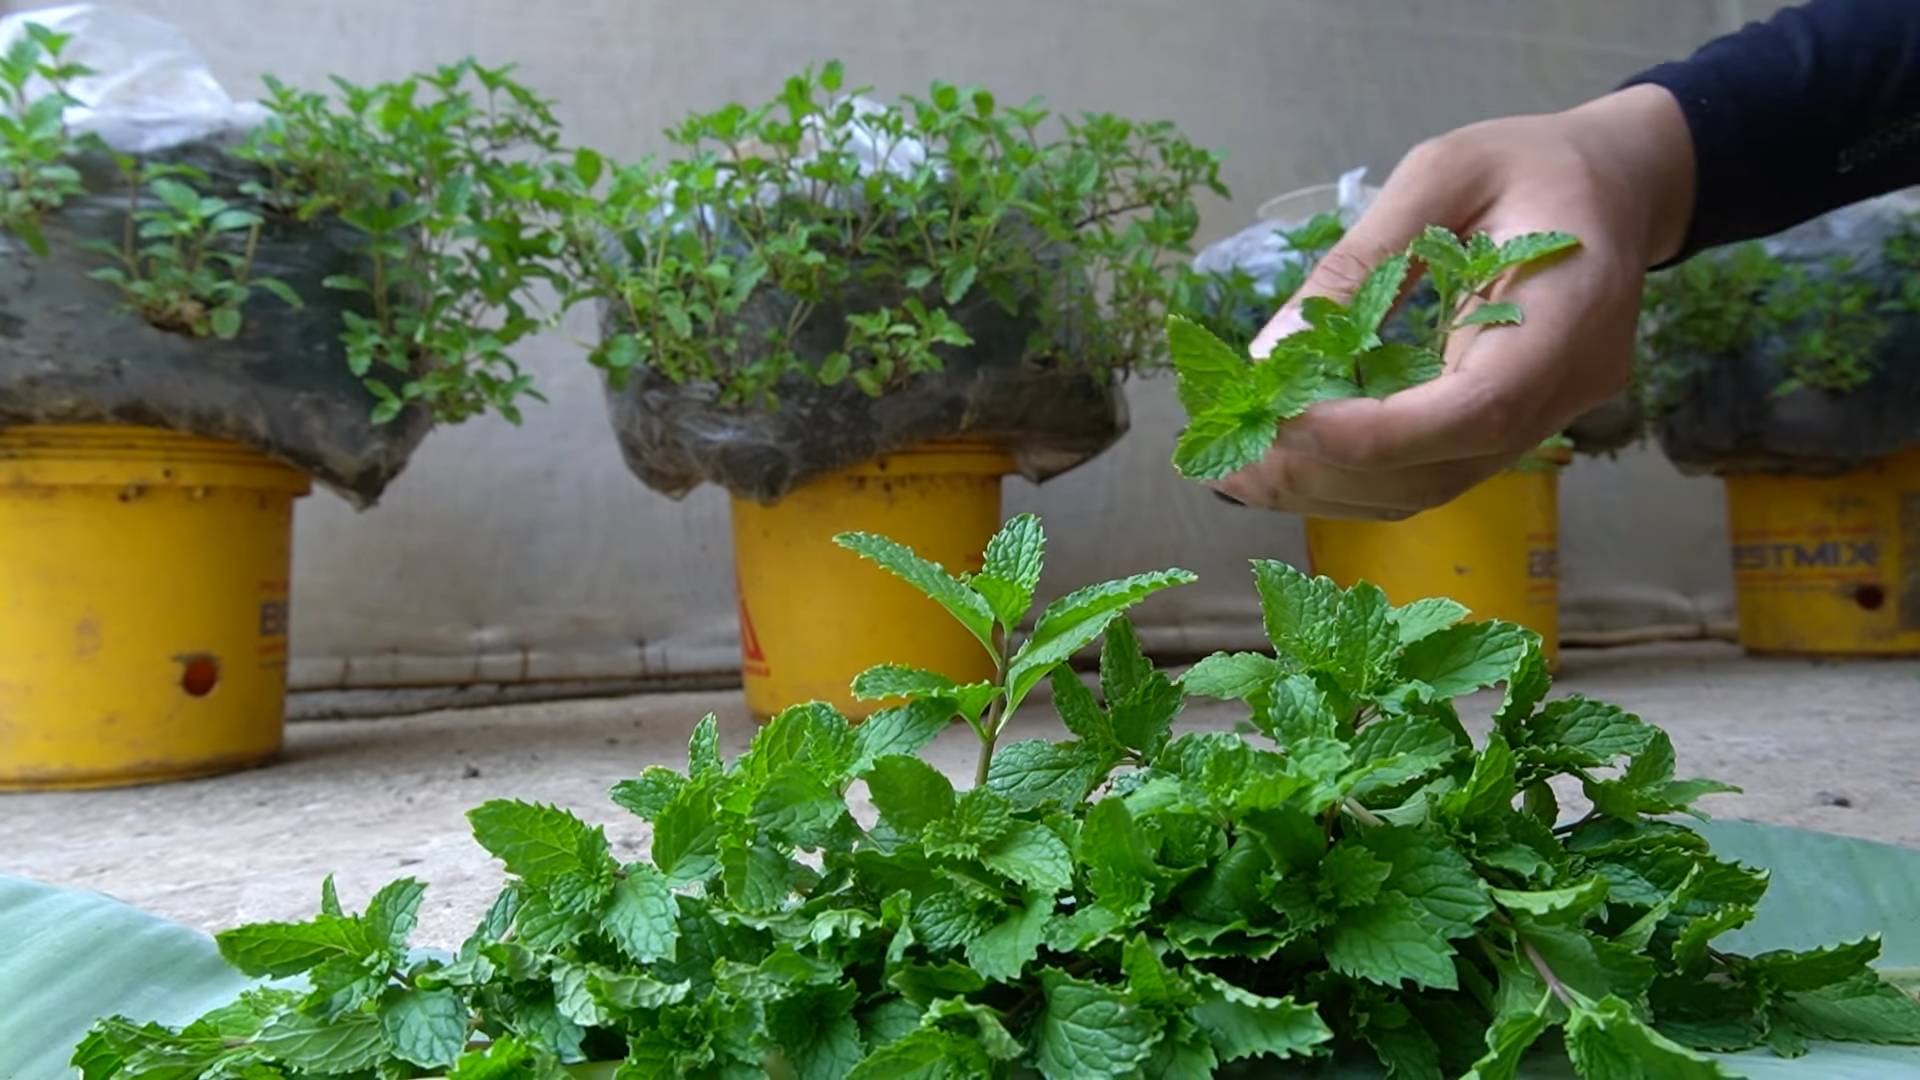
Hey there, fellow plant enthusiasts! June is prime time for propagating many of our favorite fast-growing plants. The warmer weather and longer days give those little cuttings the perfect boost to root and thrive. I’m going to walk you through a few different methods, focusing on plants that are generally easy to propagate and grow quickly. Let’s get our hands dirty!
Choosing Your Propagation Method
Before we dive into specific plants, let’s talk about the main propagation methods we’ll be using. Each has its pros and cons, and some plants respond better to certain methods than others.
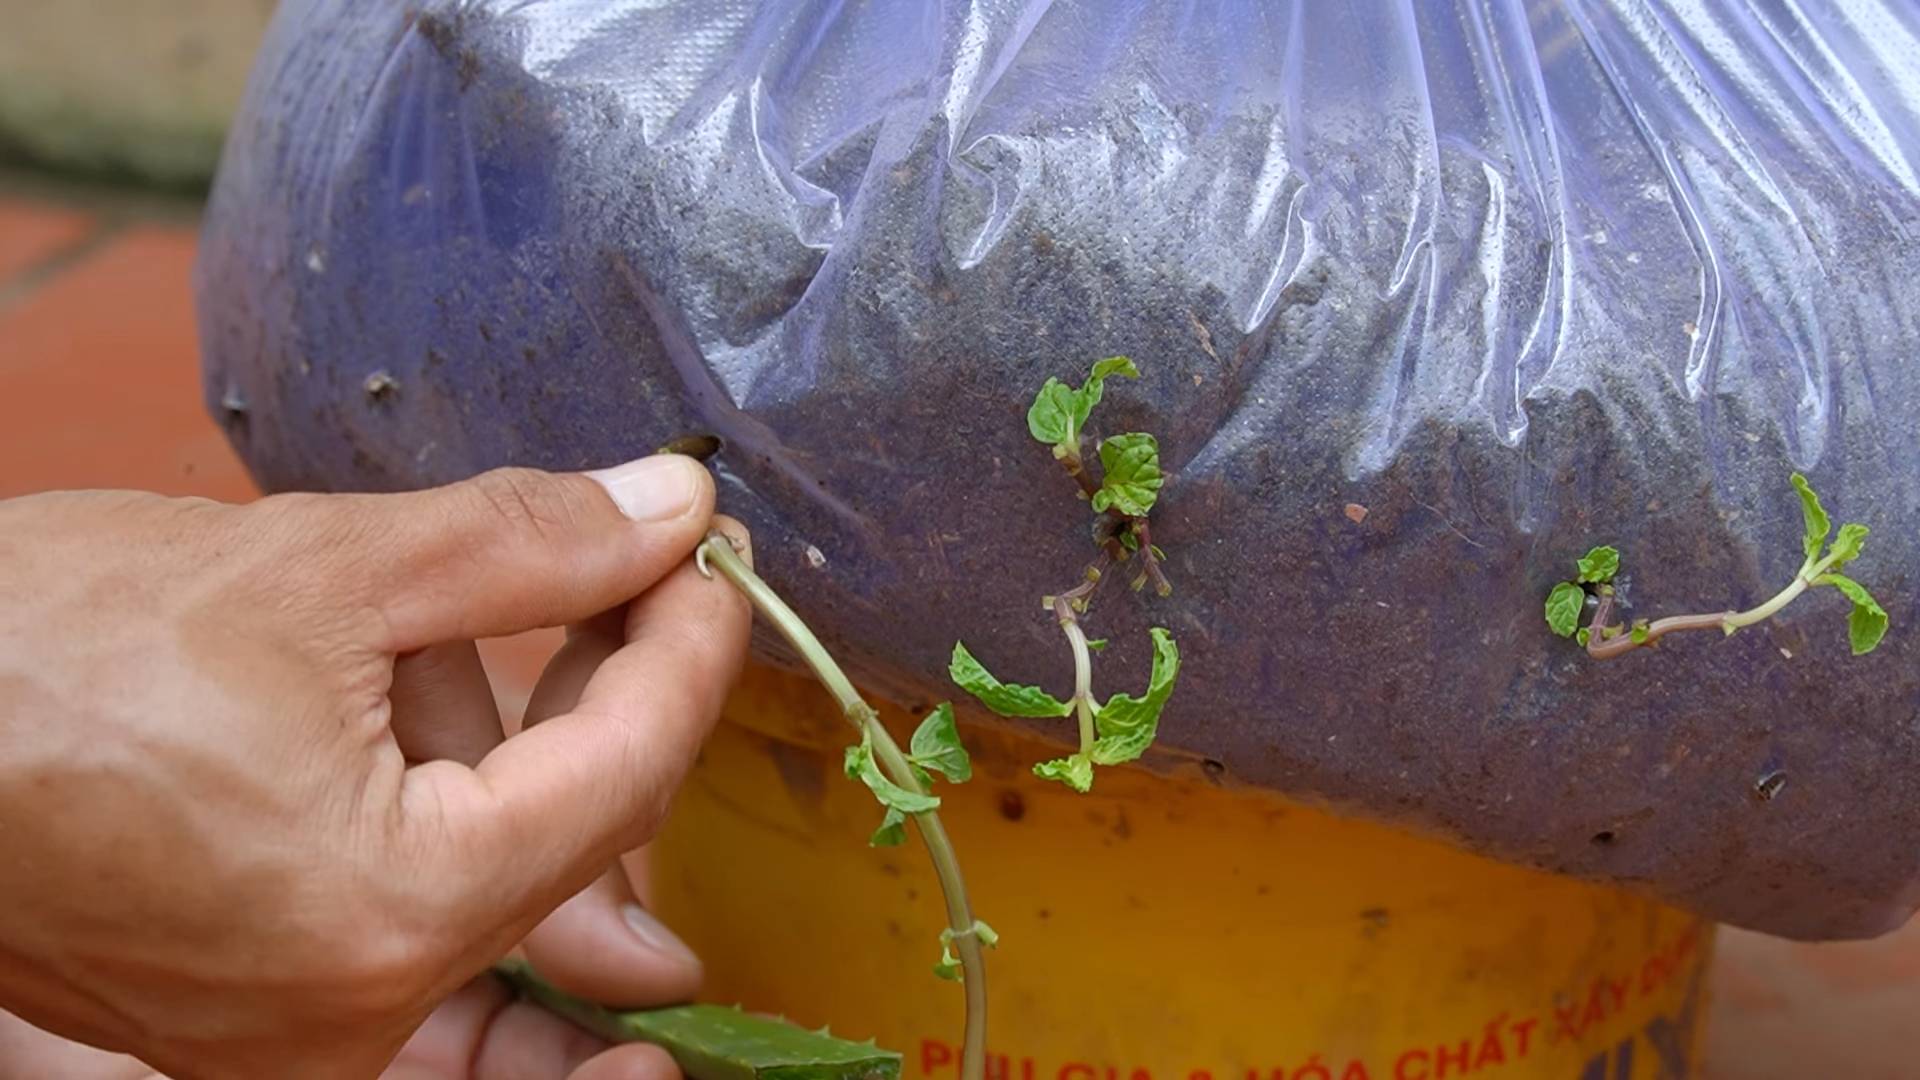
* Stem Cuttings: This is probably the most common and versatile method. You simply take a cutting from a stem, remove the lower leaves, and root it in water or directly in soil. It works wonders for plants like pothos, philodendrons, and coleus.
* Leaf Cuttings: Some plants, like snake plants and succulents, can be propagated from just a single leaf! This is a fun and economical way to expand your collection.
* Division: This method involves separating a mature plant into multiple smaller plants, each with its own roots and shoots. It’s great for plants that grow in clumps, like ZZ plants and peace lilies.
* Air Layering: This is a slightly more advanced technique where you encourage roots to grow on a stem while it’s still attached to the parent plant. It’s useful for plants that are difficult to root from cuttings, like some types of ficus.
Propagating Pothos and Philodendrons from Stem Cuttings
These two are practically propagation champions! They root easily in water and are super forgiving, making them perfect for beginners.
Materials You’ll Need:
* A healthy pothos or philodendron plant
* Clean, sharp scissors or pruning shears
* A glass or jar of water (tap water is fine, but filtered water is even better)
* Optional: Rooting hormone (this isn’t essential, but it can speed up the rooting process)
* Small pots and potting mix for planting the rooted cuttings
Step-by-Step Instructions:
1. Select a Healthy Stem: Look for a stem with several leaves and nodes (the little bumps where leaves emerge). These nodes are where the roots will grow from.
2. Take the Cutting: Using your clean scissors or shears, cut the stem just below a node. Aim for a cutting that’s about 4-6 inches long.
3. Remove Lower Leaves: Gently remove the leaves from the bottom 1-2 inches of the cutting. This will prevent them from rotting in the water.
4. Optional: Apply Rooting Hormone: If you’re using rooting hormone, dip the cut end of the stem into the powder or gel. Follow the instructions on the product label.
5. Place in Water: Put the cutting in your glass or jar of water, making sure that the nodes are submerged but the leaves are above the water line.
6. Find a Bright Spot: Place the jar in a bright, indirect light location. Avoid direct sunlight, which can scorch the leaves.
7. Change the Water Regularly: Change the water every few days to keep it fresh and prevent algae growth.
8. Wait for Roots: Be patient! It usually takes a few weeks for roots to start forming. You’ll see small white roots emerging from the nodes.
9. Plant in Soil: Once the roots are about 1-2 inches long, it’s time to plant your cutting in soil. Choose a well-draining potting mix and a small pot.
10. Water and Care: Water the newly planted cutting thoroughly and keep the soil consistently moist but not soggy. Provide bright, indirect light and watch it grow!
Propagating Coleus from Stem Cuttings
Coleus are known for their vibrant colors and incredibly fast growth. They’re also incredibly easy to propagate!
Materials You’ll Need:
* A healthy coleus plant
* Clean, sharp scissors or pruning shears
* A glass or jar of water (tap water is fine)
* Optional: Rooting hormone
* Small pots and potting mix
Step-by-Step Instructions:
1. Select a Healthy Stem: Choose a stem that’s about 4-6 inches long and has several leaves.
2. Take the Cutting: Cut the stem just below a node.
3. Remove Lower Leaves: Remove the leaves from the bottom 1-2 inches of the cutting.
4. Optional: Apply Rooting Hormone: Dip the cut end in rooting hormone.
5. Place in Water: Put the cutting in a glass of water, ensuring the nodes are submerged.
6. Bright, Indirect Light: Place the jar in a bright location, avoiding direct sunlight.
7. Change the Water: Change the water every few days.
8. Wait for Roots: Coleus roots very quickly, often within a week or two.
9. Plant in Soil: Once the roots are about an inch long, plant the cutting in a small pot with well-draining potting mix.
10. Water and Care: Water thoroughly and provide bright, indirect light. Coleus love warmth and humidity, so keep them happy!
Propagating Snake Plants from Leaf Cuttings
Snake plants are incredibly low-maintenance and can be propagated from just a single leaf. This method takes a bit longer than stem cuttings, but it’s a great way to get more plants from a single leaf.
Materials You’ll Need:
* A healthy snake plant
* Clean, sharp knife or scissors
* Small pots and well-draining potting mix (cactus mix is ideal)
* Optional: Rooting hormone
Step-by-Step Instructions:
1. Select a Healthy Leaf: Choose a healthy, mature leaf from your snake plant.
2. Cut the Leaf: Using your clean knife or scissors, cut the leaf into 2-3 inch sections. Make sure to remember which end was the bottom of the leaf (the end that was attached to the plant). This is crucial!
3. Let the Cuttings Callus: Allow the cut ends of the leaf sections to callus over for a few days. This helps prevent rot. Place them on a dry paper towel in a well-ventilated area.
4. Optional: Apply Rooting Hormone: Dip the bottom end (the end that was originally attached to the plant) of each leaf section into rooting hormone.
5. Plant in Soil: Plant the leaf sections upright in small pots filled with well-draining potting mix. Bury the bottom inch or so of the leaf.
6. Water Sparingly: Water the cuttings sparingly, allowing the soil to dry out completely between waterings. Snake plants are prone to rot, so avoid overwatering.
7. Wait for Roots: This process can take several weeks or even months. Be patient! You’ll eventually see new growth emerging from the soil.
8. Care for New Plants: Once the new plants are established, care for them as you would a mature snake plant.
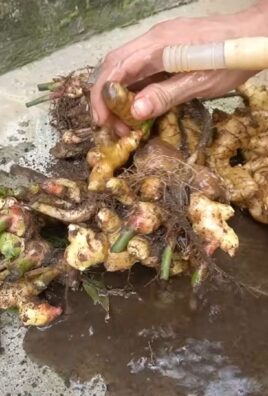
Propagating ZZ Plants by Division
ZZ plants are incredibly resilient and can be easily propagated by dividing the rhizomes (the underground stems).
Materials You’ll Need:
* A mature ZZ plant
* A sharp knife or trowel
* New pots and well-draining potting mix
Step-by-Step Instructions:
1. Remove the Plant from its Pot: Gently remove the ZZ plant from its pot.
2. Separate the Rhizomes: Carefully separate the rhizomes into smaller sections, ensuring that each section has at least one stem and some roots. Use your sharp knife or trowel to cut through the rhizomes if necessary.
3. Pot the Divisions: Plant each division in a new pot filled with well-draining potting mix.
4. Water and Care: Water the newly potted divisions thoroughly and allow the soil to dry out completely between waterings. ZZ plants are drought-tolerant, so don’t overwater them. Provide bright, indirect light.
Propagating Peace Lilies by Division
Similar to ZZ plants, peace lilies can be easily propagated by division.
Materials You’ll Need:
* A mature peace lily
* A sharp knife or trowel
* New pots and well-draining potting mix
Step-by-Step Instructions:
1. Remove the Plant from its Pot: Gently remove the peace lily from its pot.
2. Separate the Clumps: Carefully separate the plant into smaller clumps, ensuring that each clump has its own roots and leaves. Use your sharp knife or trowel to cut through the root ball if necessary.
3. Pot the Divisions: Plant
Conclusion
So, there you have it! Transforming your space into a thriving vegetable garden is not only achievable but incredibly rewarding. We’ve explored the simple yet effective methods to grow vegetables at home, even if you’re short on space or experience. This isn’t just about saving money on groceries; it’s about connecting with nature, understanding where your food comes from, and enjoying the unparalleled flavor of freshly harvested produce.
Why is this DIY approach a must-try? Because it empowers you to take control of your food supply, ensuring you’re consuming healthy, pesticide-free vegetables. Imagine the satisfaction of serving a salad made entirely from ingredients you nurtured from seed to table. It’s a feeling that store-bought vegetables simply can’t replicate. Plus, gardening is a fantastic stress reliever and a great way to get some fresh air and sunshine.
But the beauty of this DIY venture lies in its adaptability. Feel free to experiment with different vegetables based on your preferences and climate. If you’re a fan of spicy food, try growing chili peppers or jalapenos. If you have children, involve them in the process by letting them choose their favorite vegetables to plant. Consider companion planting to maximize space and deter pests naturally. For example, planting basil near tomatoes can improve their flavor and repel insects. You could also explore vertical gardening techniques using repurposed pallets or hanging planters to maximize space in smaller areas. Another variation is to focus on growing herbs alongside your vegetables. Fresh herbs like rosemary, thyme, and oregano can add incredible flavor to your dishes and are relatively easy to grow.
Don’t be afraid to start small. Even a single pot of herbs on your windowsill can be a gateway to a larger gardening adventure. The key is to learn as you go, adapt to your environment, and most importantly, have fun!
We wholeheartedly encourage you to give this DIY trick a try. Start with a few easy-to-grow vegetables like lettuce, spinach, or radishes. Observe how they grow, learn about their needs, and adjust your approach accordingly. The more you experiment, the more confident you’ll become in your ability to cultivate a thriving vegetable garden.
And once you’ve harvested your first crop, we’d love to hear about your experience! Share your successes, your challenges, and any tips you’ve learned along the way in the comments below. Let’s create a community of home gardeners who inspire and support each other. Together, we can transform our homes and communities into vibrant, sustainable spaces filled with fresh, delicious vegetables. So, grab your gardening gloves, get your hands dirty, and start growing your own vegetables today! You won’t regret it.
Frequently Asked Questions (FAQ)
What are the easiest vegetables to grow for beginners?
For those just starting out with home gardening, some vegetables are significantly easier to cultivate than others. These beginner-friendly options typically require less maintenance and are more forgiving of common mistakes. Radishes are an excellent choice, as they germinate quickly and can be harvested in as little as a month. Lettuce and spinach are also relatively easy to grow, especially in cooler weather. They can be harvested leaf by leaf, providing a continuous supply of fresh greens. Bush beans are another great option, as they don’t require staking and produce a bountiful harvest. Finally, cherry tomatoes are relatively low-maintenance and produce a large quantity of delicious, bite-sized tomatoes. Starting with these vegetables will give you a sense of accomplishment and build your confidence as a gardener.
How much sunlight do vegetables need?
Sunlight is crucial for vegetable growth, as it provides the energy needed for photosynthesis. Most vegetables require at least six hours of direct sunlight per day to thrive. However, some vegetables can tolerate partial shade, especially in hotter climates. Leafy greens like lettuce and spinach can often do well with as little as four hours of sunlight. Root vegetables like carrots and radishes also tend to be more tolerant of shade. If you’re unsure about the sunlight requirements of a particular vegetable, it’s always best to err on the side of more sunlight. Observe your garden throughout the day to see how much sunlight it receives and adjust your planting accordingly. If you don’t have enough natural sunlight, you can supplement with grow lights.
What kind of soil is best for growing vegetables?
The ideal soil for growing vegetables is well-draining, nutrient-rich, and slightly acidic. A loamy soil, which is a mixture of sand, silt, and clay, is generally considered the best option. This type of soil provides good drainage while still retaining enough moisture for the plants. It’s also important to amend your soil with organic matter, such as compost or aged manure, to improve its fertility and structure. This will provide your vegetables with the nutrients they need to grow strong and healthy. Before planting, it’s a good idea to test your soil’s pH level. Most vegetables prefer a pH between 6.0 and 7.0. You can purchase a soil testing kit at most garden centers. If your soil is too acidic, you can add lime to raise the pH. If it’s too alkaline, you can add sulfur to lower the pH.
How often should I water my vegetables?
The frequency of watering depends on several factors, including the type of vegetable, the weather, and the soil type. In general, vegetables need about one inch of water per week. However, during hot, dry weather, they may need to be watered more frequently. It’s important to water deeply and less often, rather than shallowly and frequently. This encourages the roots to grow deeper, making the plants more drought-tolerant. The best time to water is early in the morning, as this allows the foliage to dry before nightfall, reducing the risk of fungal diseases. You can also use a soaker hose or drip irrigation system to deliver water directly to the roots, minimizing water waste and reducing the risk of foliar diseases. Check the soil moisture regularly by sticking your finger about an inch into the soil. If the soil feels dry, it’s time to water.
How do I deal with pests and diseases in my vegetable garden?
Pests and diseases can be a challenge for any gardener, but there are many ways to manage them without resorting to harsh chemicals. One of the best ways to prevent problems is to choose disease-resistant varieties of vegetables. You can also practice crop rotation, which involves planting different vegetables in the same spot each year to prevent the buildup of pests and diseases in the soil. Companion planting can also be helpful, as some plants repel pests or attract beneficial insects. For example, marigolds are known to repel nematodes and other pests. If you do encounter pests or diseases, there are several organic control methods you can try. Insecticidal soap and neem oil are effective against many common pests. Baking soda solutions can help control fungal diseases. You can also handpick pests off of plants or use row covers to protect them from insects. Regularly inspect your plants for signs of pests or diseases and take action promptly to prevent problems from spreading.
Can I grow vegetables in containers?
Absolutely! Growing vegetables in containers is a great option for those with limited space or poor soil. When growing vegetables in containers, it’s important to choose the right size container for the type of vegetable you’re growing. Larger vegetables like tomatoes and peppers will need larger containers than smaller vegetables like lettuce and spinach. Make sure the container has drainage holes to prevent waterlogging. Use a high-quality potting mix, rather than garden soil, as it will provide better drainage and aeration. Container-grown vegetables tend to dry out more quickly than those grown in the ground, so you’ll need to water them more frequently. You’ll also need to fertilize them regularly, as the nutrients in the potting mix will be depleted over time. Choose a fertilizer that is specifically formulated for vegetables. With a little extra care, you can successfully grow a wide variety of vegetables in containers.
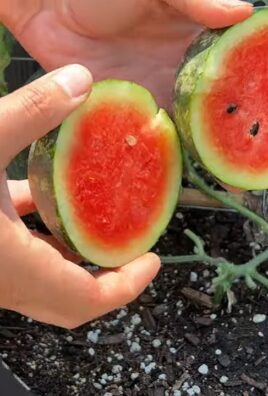
How do I know when my vegetables are ready to harvest?
Knowing when to harvest your vegetables is crucial for ensuring the best flavor and texture. Each vegetable has its own specific signs of ripeness. For example, tomatoes are ready to harvest when they are fully colored and slightly soft to the touch. Lettuce and spinach can be harvested leaf by leaf as soon as they are large enough to eat. Radishes are ready to harvest when they are about an inch in diameter. Carrots are ready to harvest when their tops are about an inch above the soil surface. Cucumbers are ready to harvest when they are firm and green. It’s always best to harvest vegetables at their peak of ripeness, as they will be at their most flavorful and nutritious. If you’re unsure about when to harvest a particular vegetable, consult a gardening guide or online resource.
Leave a Comment