
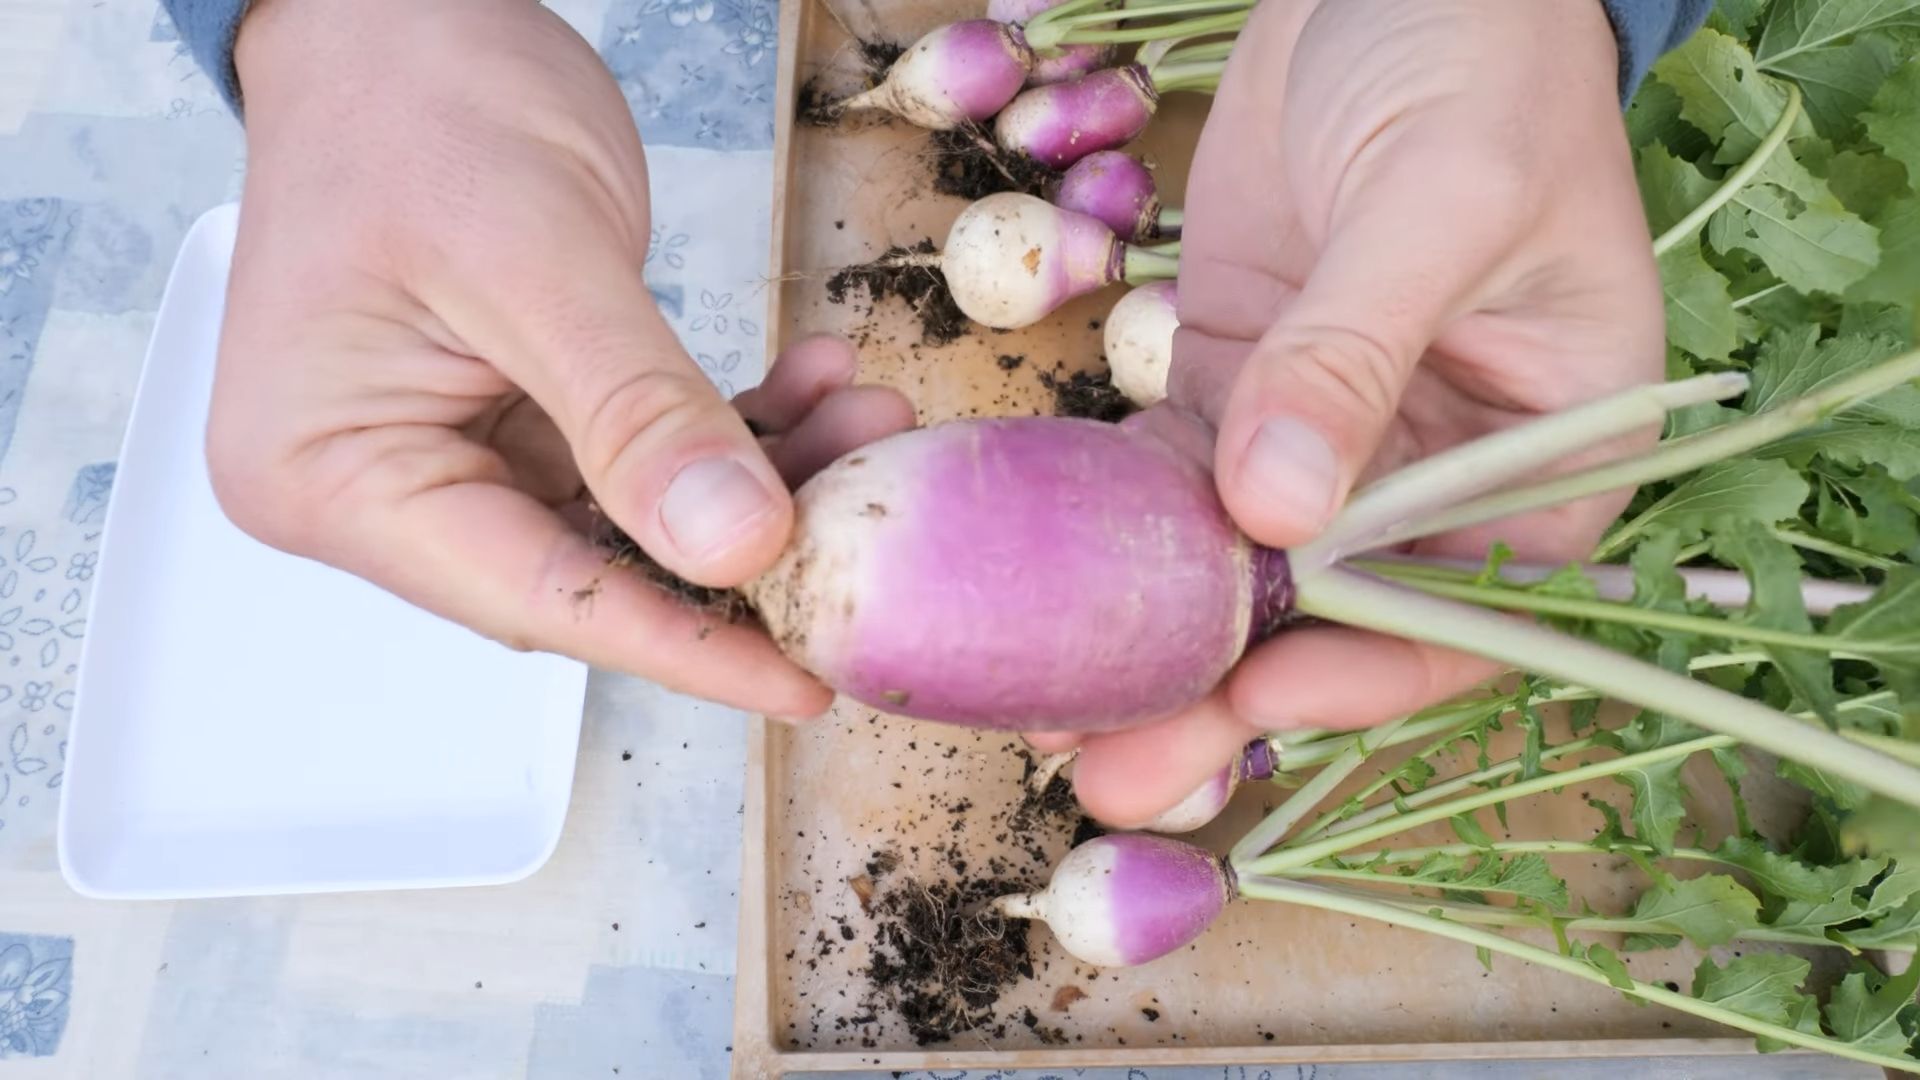
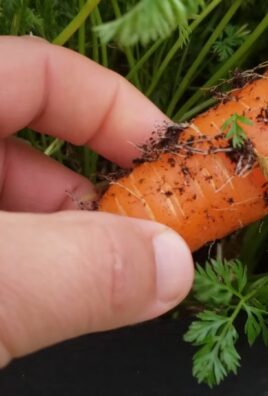
Grow Turnips in Your Backyard – sounds like a challenge, right? But trust me, it’s easier than you think! Imagine stepping outside your back door and harvesting fresh, crisp turnips for your next meal. No more trips to the grocery store for bland, mass-produced veggies. This is about bringing the farm-to-table experience right to your home.
Turnips have a rich history, dating back to ancient Rome and Greece, where they were a staple food. They’ve nourished civilizations for centuries, and now, you can tap into that tradition right in your own backyard. For generations, families have relied on the humble turnip for sustenance, and its versatility in the kitchen is unmatched. From roasted roots to pickled greens, the possibilities are endless!
In today’s world, where we’re increasingly conscious of where our food comes from, growing your own turnips is a fantastic way to ensure freshness and quality. Plus, it’s incredibly rewarding! This DIY guide will provide you with simple, effective tricks and hacks to successfully grow turnips in your backyard, even if you’re a complete beginner. I’ll walk you through everything from soil preparation to harvesting, ensuring you have a bountiful crop. So, grab your gardening gloves, and let’s get started on this exciting journey to cultivate your own delicious turnips!
Growing Artichokes: A Beginner’s Guide to Homegrown Goodness
Okay, artichoke lovers, listen up! I’m going to walk you through the surprisingly simple process of growing your own artichokes right at home. Forget those pricey grocery store globes; we’re about to have a garden overflowing with these delicious thistles! It might seem intimidating, but trust me, with a little patience and the right know-how, you’ll be harvesting your own artichokes in no time.
Choosing Your Artichoke Variety
First things first, let’s talk varieties. Not all artichokes are created equal! Some are better suited for certain climates, and some produce larger or smaller globes. Here are a few popular choices:
- Green Globe: This is the classic, most common variety. It’s reliable, produces large, round globes, and is relatively easy to grow. It’s a great choice for beginners.
- Violetta: If you’re looking for something a little different, Violetta artichokes are stunning with their beautiful purple hues. They tend to be a bit smaller than Green Globes, but they have a lovely, delicate flavor.
- Imperial Star: This variety is known for its early maturity, which is fantastic if you live in a region with a shorter growing season. It produces medium-sized, spineless globes.
- Big Heart: As the name suggests, Big Heart artichokes are prized for their large, meaty hearts. They’re a good choice if you’re all about that tender, edible center.
Consider your climate and your personal preferences when choosing your variety. Green Globe is always a safe bet for beginners, but don’t be afraid to experiment!
Getting Started: Seeds vs. Starts
You have two main options for starting your artichoke journey: seeds or starts (small, established plants).
- Seeds: Starting from seed is the more economical option, but it requires more time and effort. You’ll need to start your seeds indoors several weeks before the last frost.
- Starts: Buying starts is the easier and faster route. You’ll get a head start on the growing season, and you’ll have a higher chance of success, especially if you’re new to gardening.
I personally recommend starting with starts, especially if this is your first time growing artichokes. It’s less hassle, and you’ll see results sooner.
Preparing Your Garden Bed
Artichokes are hungry plants, so they need rich, well-drained soil. Here’s how to prepare your garden bed:
- Choose a sunny spot: Artichokes need at least 6-8 hours of sunlight per day.
- Amend the soil: Dig in plenty of compost or well-rotted manure to improve drainage and fertility. Artichokes thrive in soil that’s rich in organic matter.
- Check the pH: Artichokes prefer a slightly acidic to neutral soil pH (around 6.0-7.0). You can test your soil with a pH meter or a soil testing kit.
- Ensure good drainage: Artichokes don’t like soggy roots, so make sure your soil drains well. If you have heavy clay soil, consider adding sand or perlite to improve drainage.
Planting Your Artichokes
Now for the fun part: planting!
- Dig a hole: Dig a hole that’s slightly larger than the root ball of your artichoke start.
- Remove the plant from its container: Gently remove the artichoke start from its container, being careful not to damage the roots.
- Loosen the roots: Gently loosen the roots of the plant to encourage them to spread out.
- Place the plant in the hole: Place the artichoke start in the hole, making sure the top of the root ball is level with the surrounding soil.
- Backfill with soil: Backfill the hole with soil, gently firming it around the plant.
- Water thoroughly: Water the plant thoroughly after planting.
- Space them out: Space artichoke plants at least 3-4 feet apart. They get big!
Caring for Your Artichokes
Once your artichokes are planted, it’s time to give them some TLC.
- Watering: Artichokes need consistent moisture, especially during dry spells. Water deeply and regularly, but avoid overwatering, which can lead to root rot. Aim for about 1-2 inches of water per week.
- Fertilizing: Feed your artichokes regularly with a balanced fertilizer. You can use a granular fertilizer or a liquid fertilizer. Follow the instructions on the fertilizer package. I like to use a fish emulsion fertilizer every few weeks.
- Mulching: Apply a layer of mulch around your artichoke plants to help retain moisture, suppress weeds, and regulate soil temperature. Straw, wood chips, or shredded leaves are all good options.
- Weeding: Keep your garden bed free of weeds, which can compete with your artichokes for nutrients and water.
- Pest Control: Keep an eye out for pests like aphids, snails, and slugs. You can control these pests with organic methods like handpicking, insecticidal soap, or diatomaceous earth.
- Winter Protection: In colder climates, artichokes need winter protection. Cut back the foliage to about 6 inches above the ground and cover the plants with a thick layer of mulch or straw. You can also wrap the plants in burlap.
Harvesting Your Artichokes
This is the moment you’ve been waiting for! Harvesting your own artichokes is incredibly rewarding.
- Timing is key: Harvest your artichokes when the buds are still tight and firm, but before the scales start to open. The size of the globe will depend on the variety, but generally, you want to harvest them when they’re about 3-4 inches in diameter.
- Cut the stem: Use a sharp knife to cut the artichoke stem about 2-3 inches below the base of the globe.
- Enjoy your harvest: Artichokes are best enjoyed fresh. You can steam, boil, grill, or bake them. Don’t forget the dipping sauce!
Encouraging More Blooms
To encourage your artichoke plant to produce more blooms, you can do a few things:
- Deadhead spent blooms: Once an artichoke has been harvested, cut back the stem to encourage the plant to produce more side shoots.
- Fertilize regularly: Keep feeding your artichoke plant with a balanced fertilizer to provide it with the nutrients it needs to produce more blooms.
- Provide adequate water: Make sure your artichoke plant is getting enough water, especially during dry spells.
Dividing Artichoke Plants
Artichoke plants are perennials, meaning they can live for several years. Over time, they can become crowded and less productive. To rejuvenate your artichoke plants, you can divide them every few years.
- Dig up the plant: In the spring or fall, carefully dig up the entire artichoke plant.
- Divide the crown: Use a sharp knife or spade to divide the crown of the plant into several sections, each with its own roots and shoots.
- Replant the divisions: Replant the divisions in separate holes, spacing them at least 3-4 feet apart.
- Water thoroughly: Water the divisions thoroughly after planting.
Troubleshooting Common Problems
Even with the best care, you might encounter some problems when growing artichokes. Here are a few common issues and how to address them:
- Aphids: These tiny pests can suck the sap from your artichoke plants, causing them to weaken and become distorted. Control aphids with insecticidal soap or by introducing beneficial insects like ladybugs.
- Snails and Slugs: These slimy creatures can munch on your artichoke leaves and buds. Control snails and slugs with beer traps, copper tape, or by handpicking them off the plants.
- Root Rot: This fungal disease can occur in poorly drained soil. Prevent root rot by planting your artichokes in well-drained soil and avoiding overwatering.
- Curly Dwarf Virus: This virus can cause stunted growth and distorted leaves. There is no cure for curly dwarf virus, so it’s important to remove and destroy infected plants.
Enjoying Your Homegrown Artichokes
Growing your own artichokes is a rewarding experience that allows you to enjoy fresh, delicious produce straight from your garden. With a little care and attention, you can have a bountiful harvest of these unique and flavorful vegetables. So get out there, get your hands dirty, and start growing your own artichokes
Conclusion
So, there you have it! Growing turnips in your backyard is not only surprisingly simple, but also incredibly rewarding. From the crisp, peppery greens to the sweet, earthy roots, you’re getting a two-for-one deal with this versatile vegetable. Forget those bland, store-bought turnips; the flavor of homegrown is simply unmatched. This DIY gardening project is a must-try for anyone looking to add fresh, healthy produce to their table and connect with nature in a tangible way.
But don’t just take our word for it! The beauty of growing your own food lies in the experimentation and personalization. Feel free to explore different varieties of turnips. For a milder flavor, try the ‘Golden Globe’ or ‘Tokyo Cross’ varieties. If you’re after something with a bit more bite, ‘Purple Top White Globe’ is a classic choice. And don’t limit yourself to just the roots! Turnip greens are delicious sautéed, steamed, or added to soups and stews. Consider adding companion plants like marigolds to deter pests or planting turnips alongside legumes to improve soil health.
Furthermore, consider succession planting. By sowing seeds every few weeks, you can ensure a continuous harvest throughout the growing season. This is especially useful if you enjoy turnip greens regularly. You can also experiment with different soil amendments to see what works best in your specific garden environment. Some gardeners swear by adding compost tea, while others prefer a balanced organic fertilizer.
Growing turnips in your backyard is more than just a gardening project; it’s an investment in your health, your well-being, and your connection to the natural world. It’s a chance to learn, to experiment, and to enjoy the fruits (or rather, roots and greens!) of your labor.
We wholeheartedly encourage you to give this DIY trick a try. Start small, learn as you go, and don’t be afraid to make mistakes. Gardening is a journey, not a destination. And once you’ve harvested your first batch of homegrown turnips, we’d love to hear about your experience! Share your tips, your triumphs, and your challenges in the comments below. Let’s build a community of turnip-loving gardeners and inspire others to embrace the joy of growing their own food. Happy gardening!
Frequently Asked Questions (FAQ)
What is the best time of year to plant turnips?
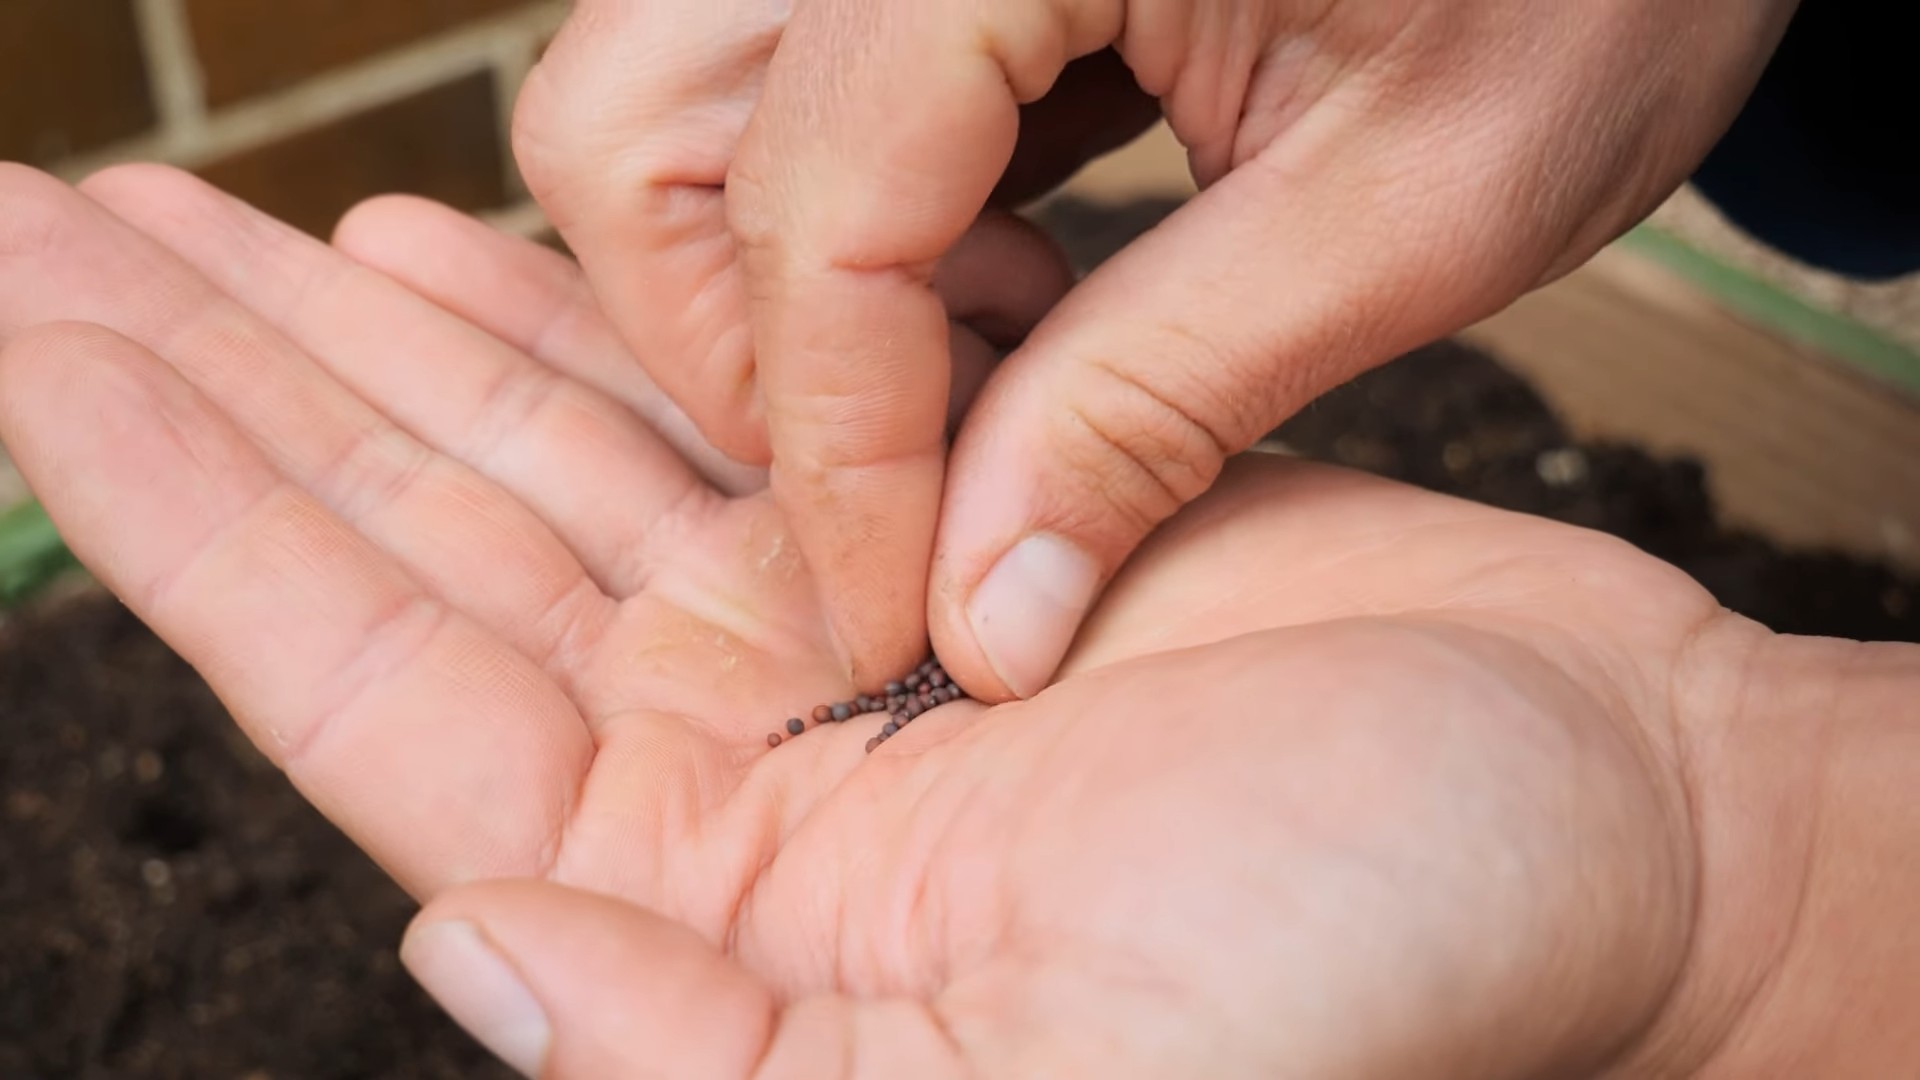
Turnips are a cool-season crop, meaning they thrive in cooler temperatures. The best time to plant them is typically in the spring or fall. For a spring crop, sow seeds 2-4 weeks before the last expected frost. For a fall crop, plant 6-8 weeks before the first expected frost. This allows the turnips to mature before the ground freezes. In regions with mild winters, you may even be able to grow turnips throughout the winter months. Consider your local climate and average frost dates when planning your planting schedule.
How much sunlight do turnips need?
Turnips need at least 6 hours of sunlight per day to grow well. Choose a location in your backyard that receives full sun for optimal growth. If you live in a particularly hot climate, some afternoon shade can be beneficial to prevent the greens from scorching. However, insufficient sunlight can result in leggy growth and smaller roots. Monitor your plants and adjust their location if necessary.
What kind of soil is best for growing turnips?
Turnips prefer well-drained, fertile soil with a pH between 6.0 and 7.0. Amend your soil with compost or other organic matter to improve drainage and fertility. Avoid heavy clay soils, as they can become waterlogged and hinder root development. If your soil is particularly acidic, you can add lime to raise the pH. A soil test can help you determine the pH and nutrient levels of your soil.
How often should I water my turnips?
Turnips need consistent moisture to thrive. Water deeply and regularly, especially during dry periods. Aim to keep the soil consistently moist but not waterlogged. Overwatering can lead to root rot, while underwatering can stunt growth. A good rule of thumb is to water when the top inch of soil feels dry to the touch. Mulching around the plants can help retain moisture and suppress weeds.
How long does it take for turnips to mature?
Turnips are a relatively fast-growing crop. The greens can be harvested in as little as 30 days, while the roots typically take 50-60 days to mature. The exact time will depend on the variety and growing conditions. Check the seed packet for specific maturity dates. You can harvest the greens at any time, but the roots are best harvested when they reach a size of 2-3 inches in diameter.
What are some common pests and diseases that affect turnips?
Turnips can be susceptible to several pests and diseases, including aphids, flea beetles, cabbage loopers, and clubroot. Monitor your plants regularly for signs of infestation or disease. Use organic pest control methods, such as insecticidal soap or neem oil, to control pests. Ensure good air circulation and avoid overwatering to prevent fungal diseases. Crop rotation can also help reduce the risk of soilborne diseases.
Can I eat both the turnip greens and the roots?
Yes, both the turnip greens and the roots are edible and nutritious. The greens are a good source of vitamins A and C, as well as calcium and iron. The roots are a good source of fiber and vitamin C. The greens can be eaten raw in salads or cooked in a variety of dishes. The roots can be eaten raw, roasted, boiled, or mashed.
How do I store turnips after harvesting?
To store turnips, cut off the greens, leaving about an inch of stem attached. Brush off any excess soil and store the turnips in a cool, dark, and humid place, such as a root cellar or refrigerator. They can be stored for several months under the right conditions. The greens should be stored separately in the refrigerator and used within a few days.
Can I grow turnips in containers?
Yes, turnips can be grown in containers, but you’ll need to choose a container that is at least 12 inches deep and wide to accommodate the root growth. Use a well-draining potting mix and water regularly. Container-grown turnips may need more frequent fertilization than those grown in the ground. Choose a sunny location for your container garden.
What are some good companion plants for turnips?
Good companion plants for turnips include legumes (such as beans and peas), which fix nitrogen in the soil, and aromatic herbs (such as rosemary and thyme), which can deter pests. Marigolds are also a good choice for deterring nematodes. Avoid planting turnips near other members of the brassica family (such as cabbage, broccoli, and kale), as they can attract the same pests and diseases.
Leave a Comment